All illustrations
The Hound of the Baskervilles
Chapter 1 · 11 illustrations The Visitor's Stick
-
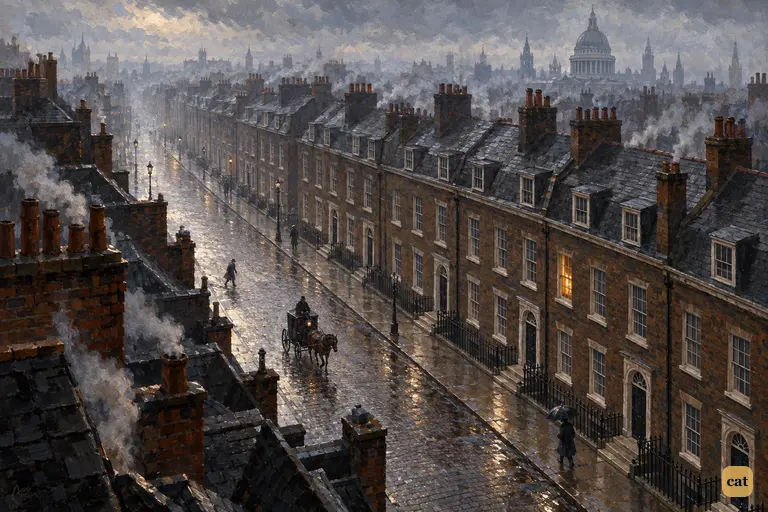
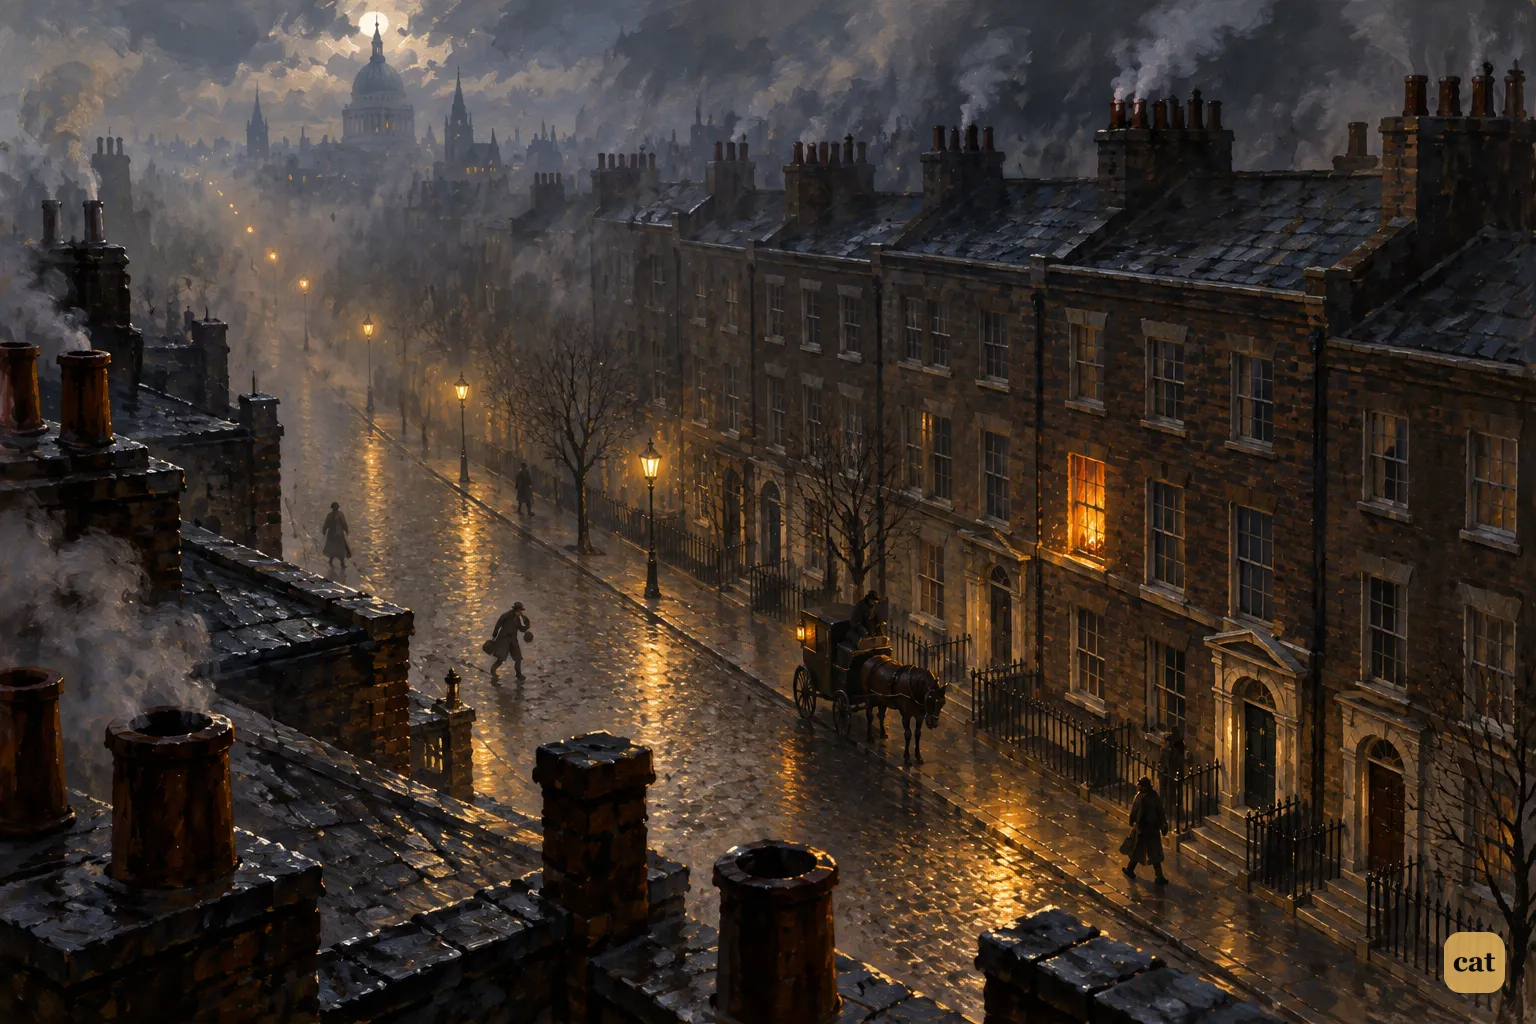
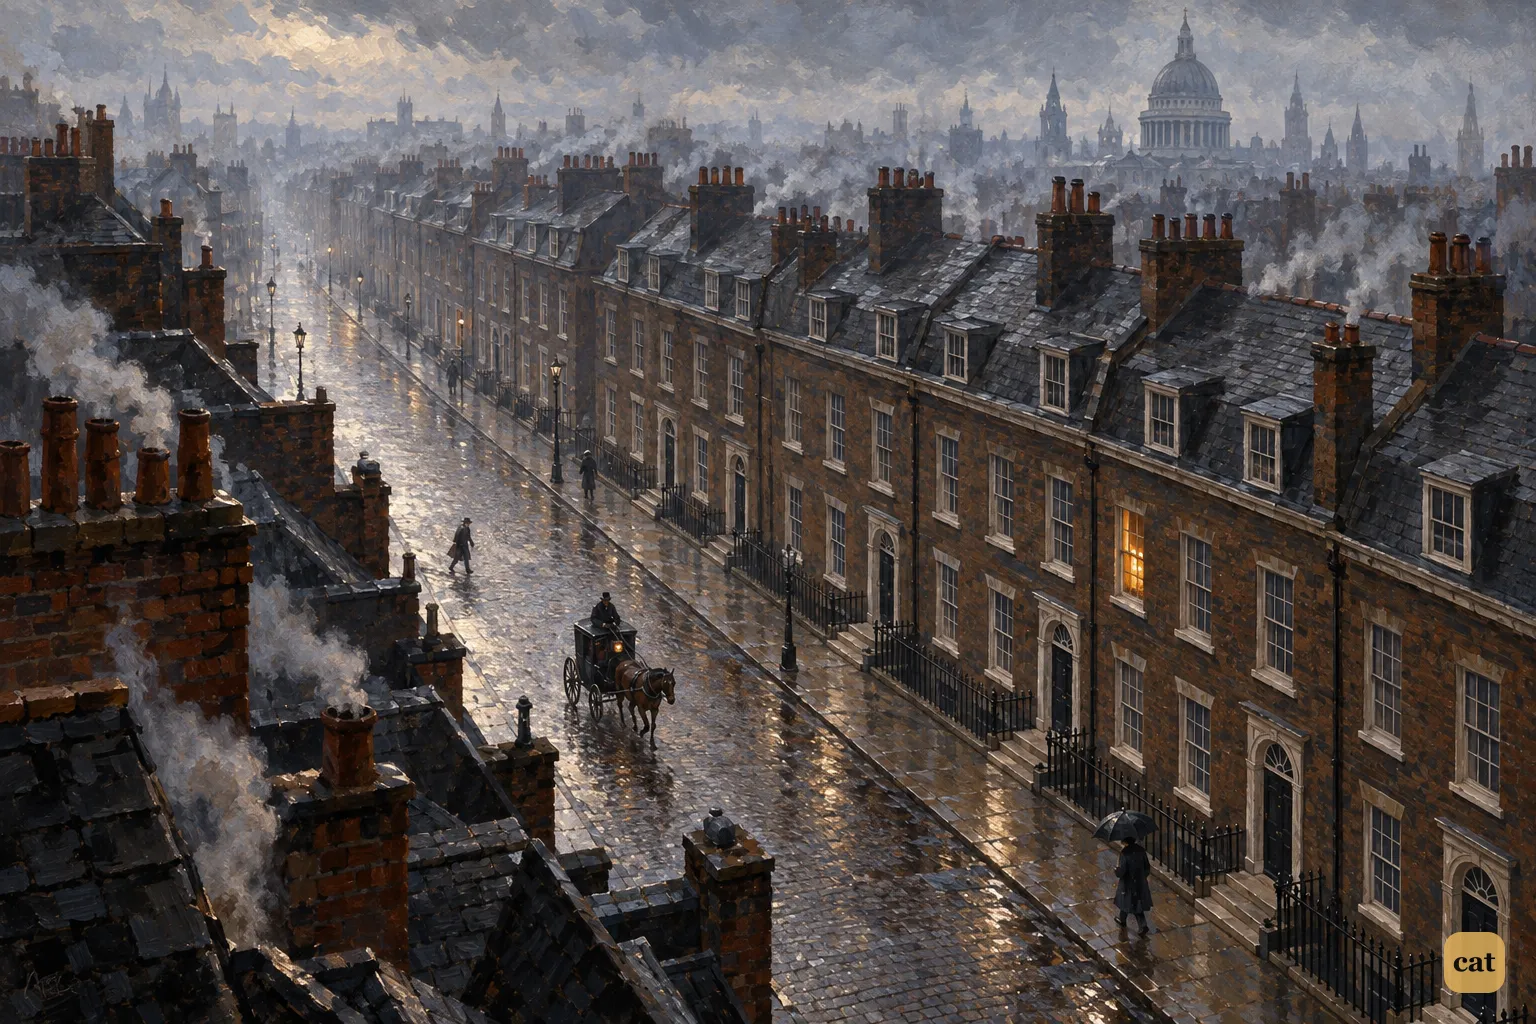
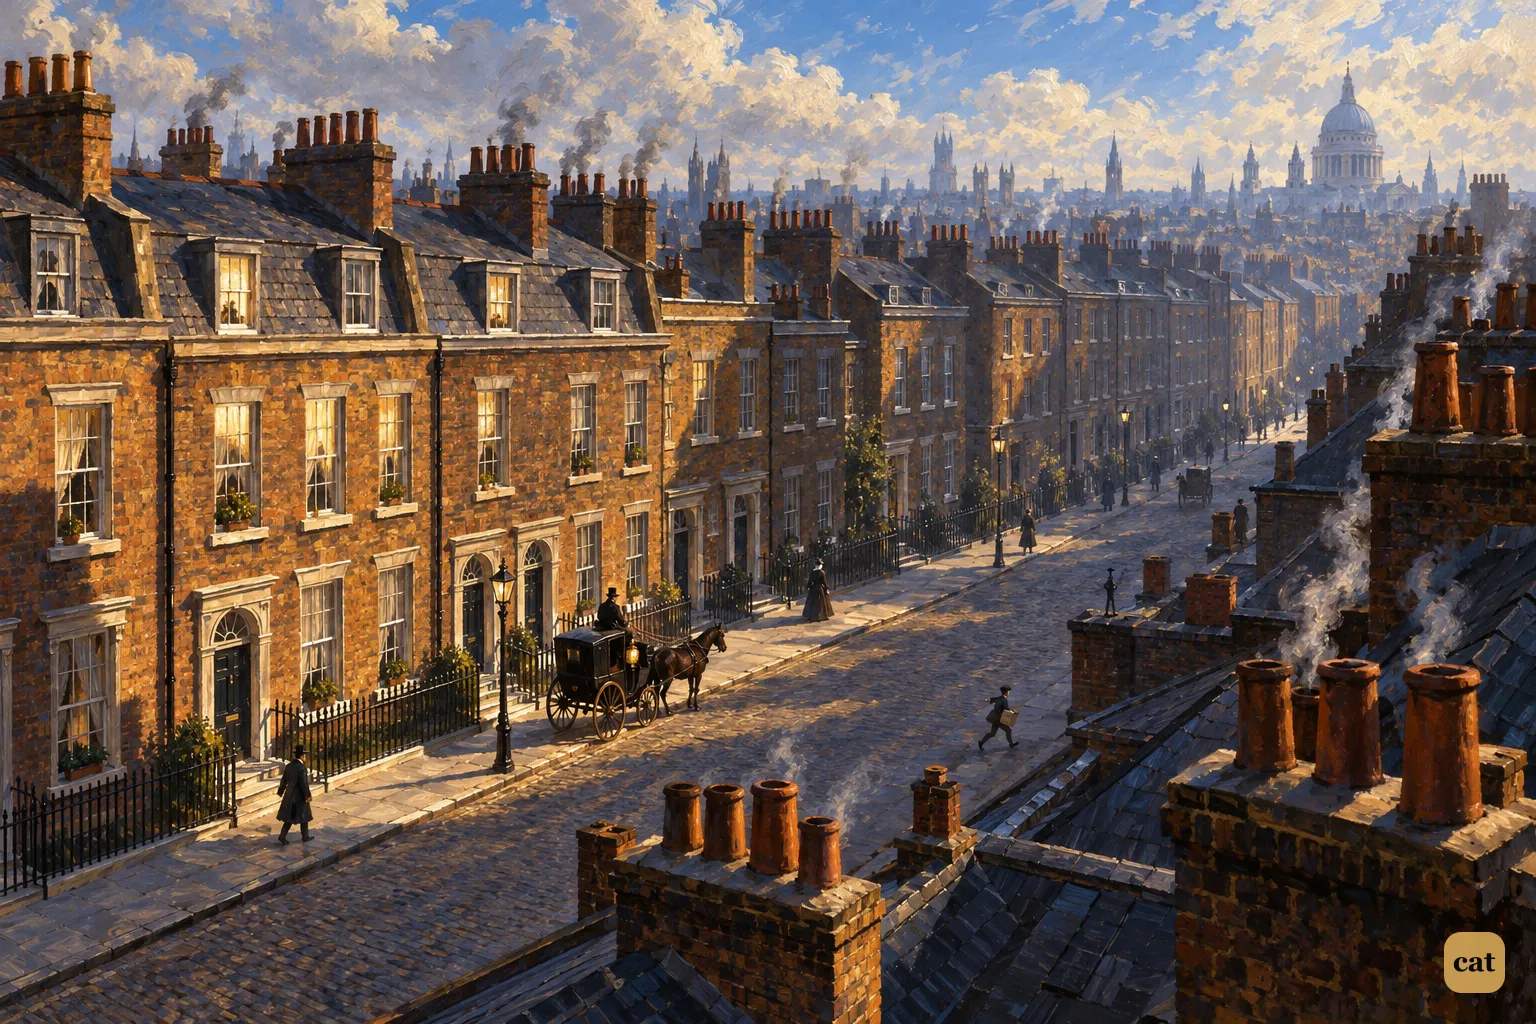
1·1 A high view over a long grey Baker Street terrace on a damp London morning.
In the text → -
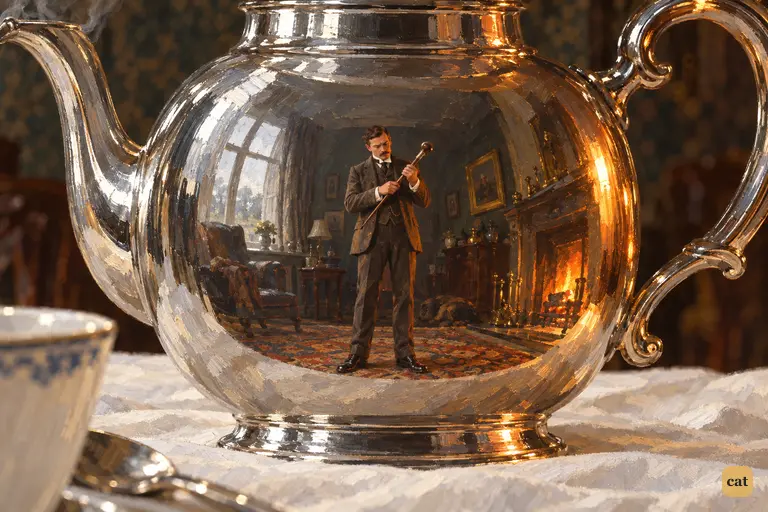
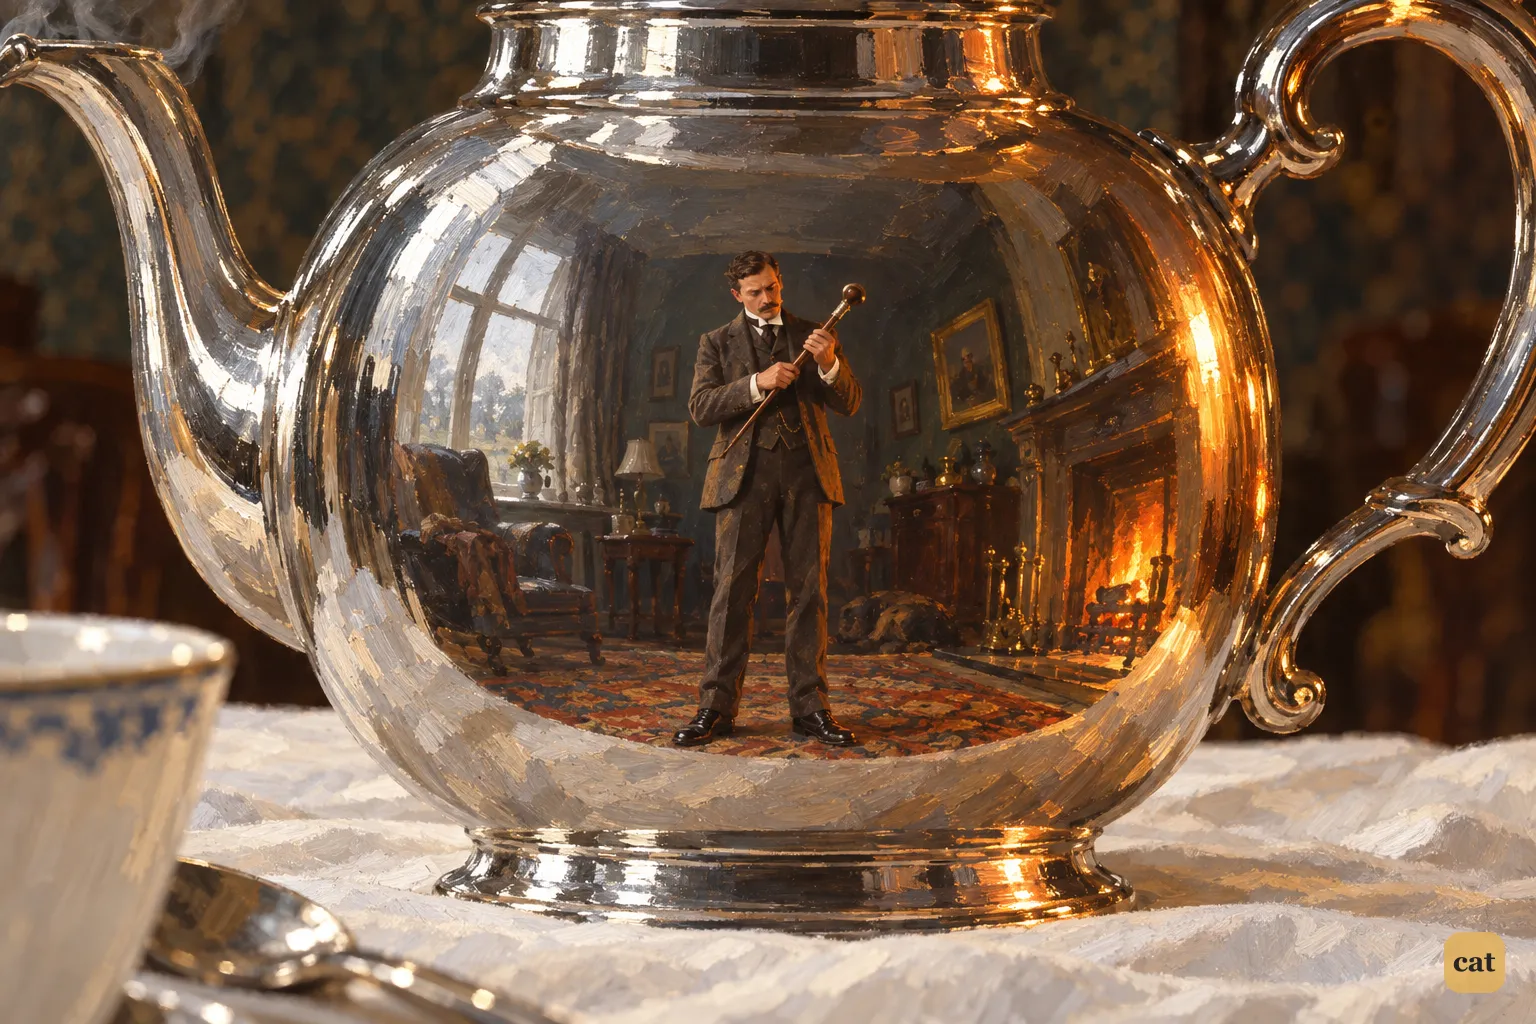
1·2 Holmes's "eyes in the back of his head" turn out to be a polished silver-plated coffee-pot.
In the text → -
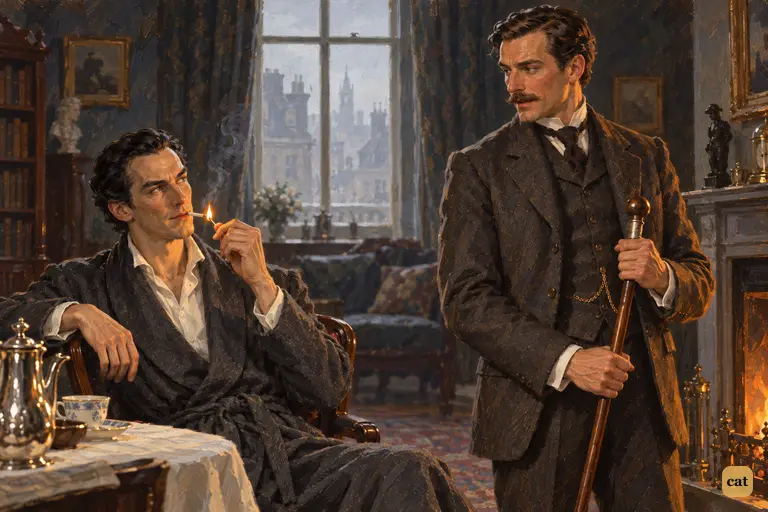
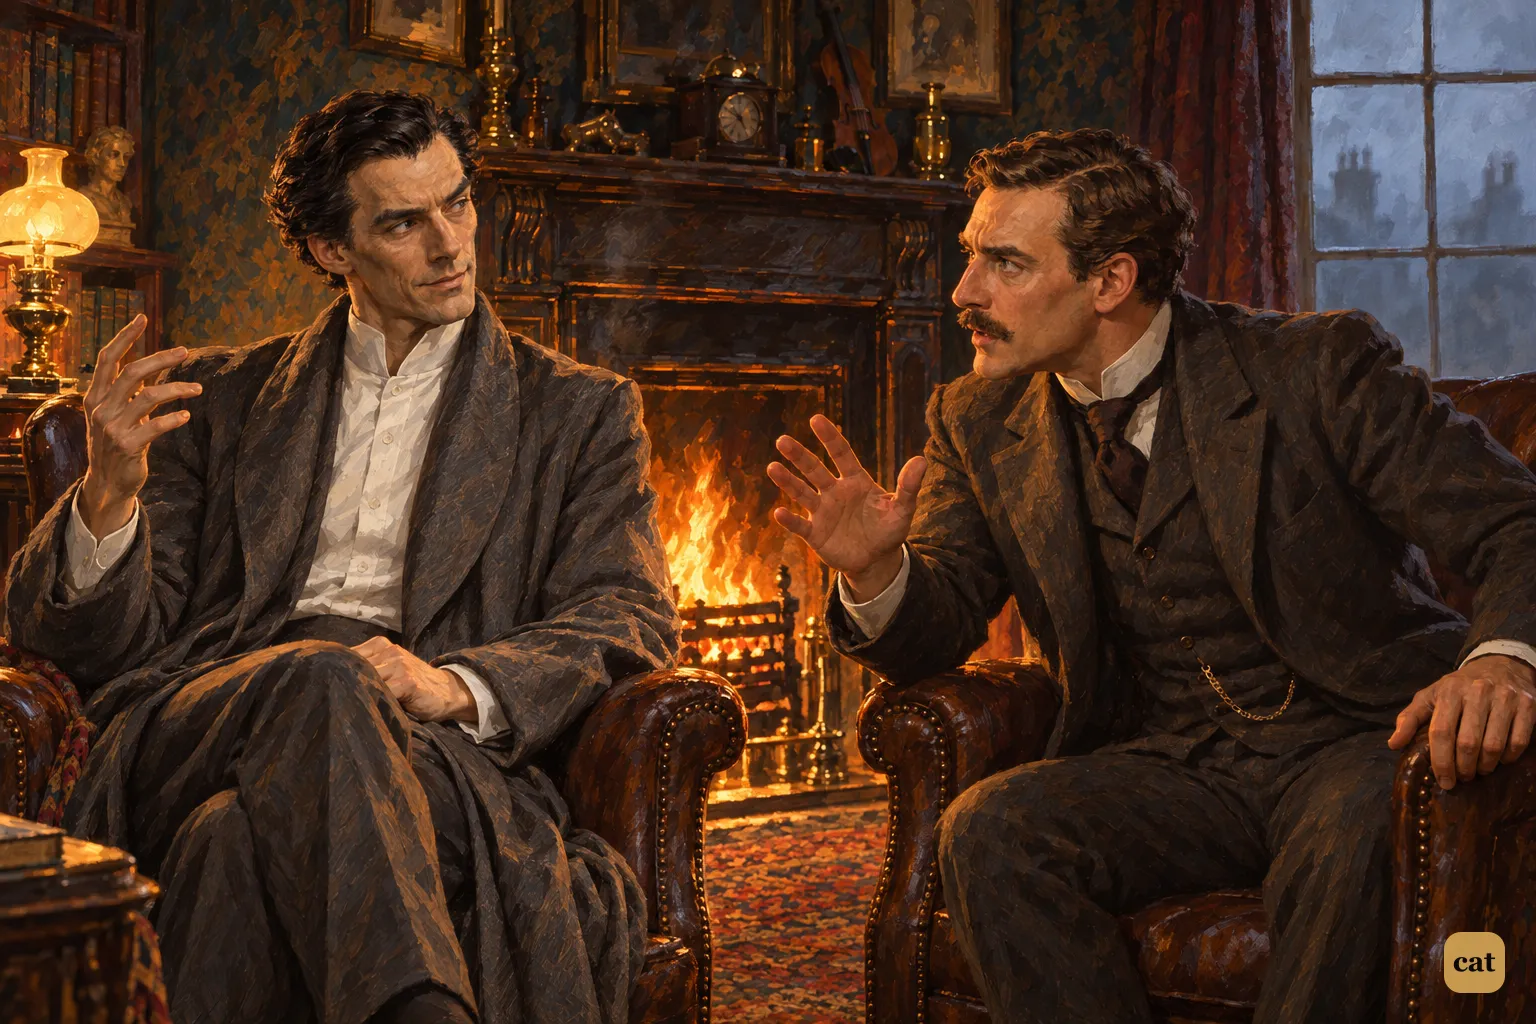
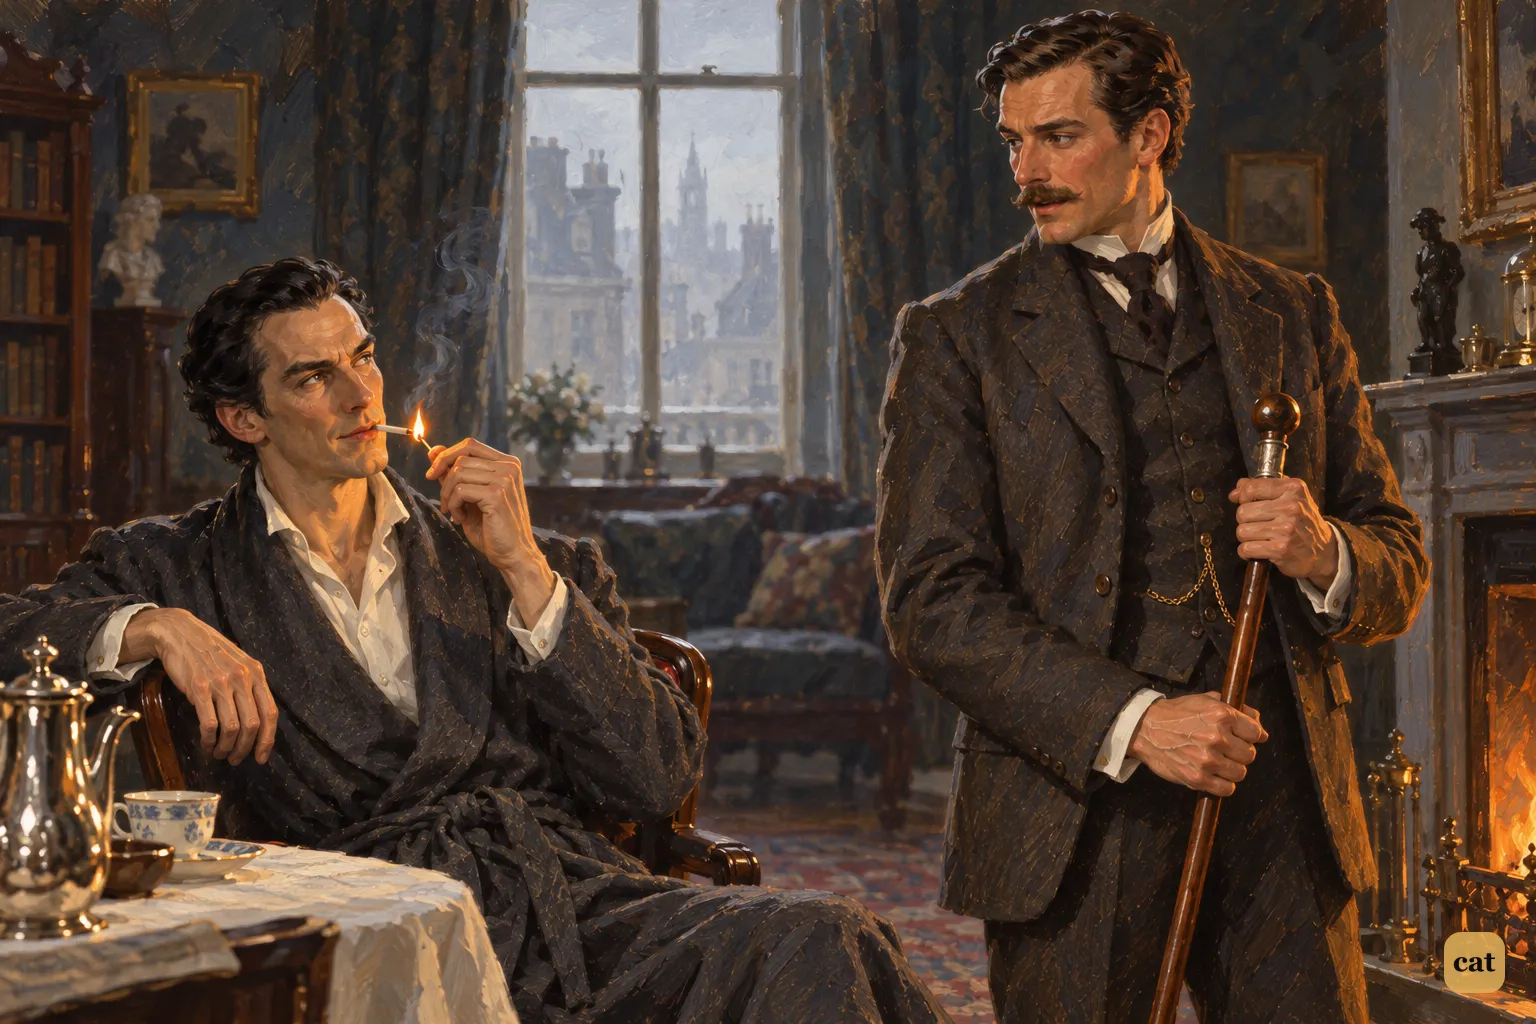
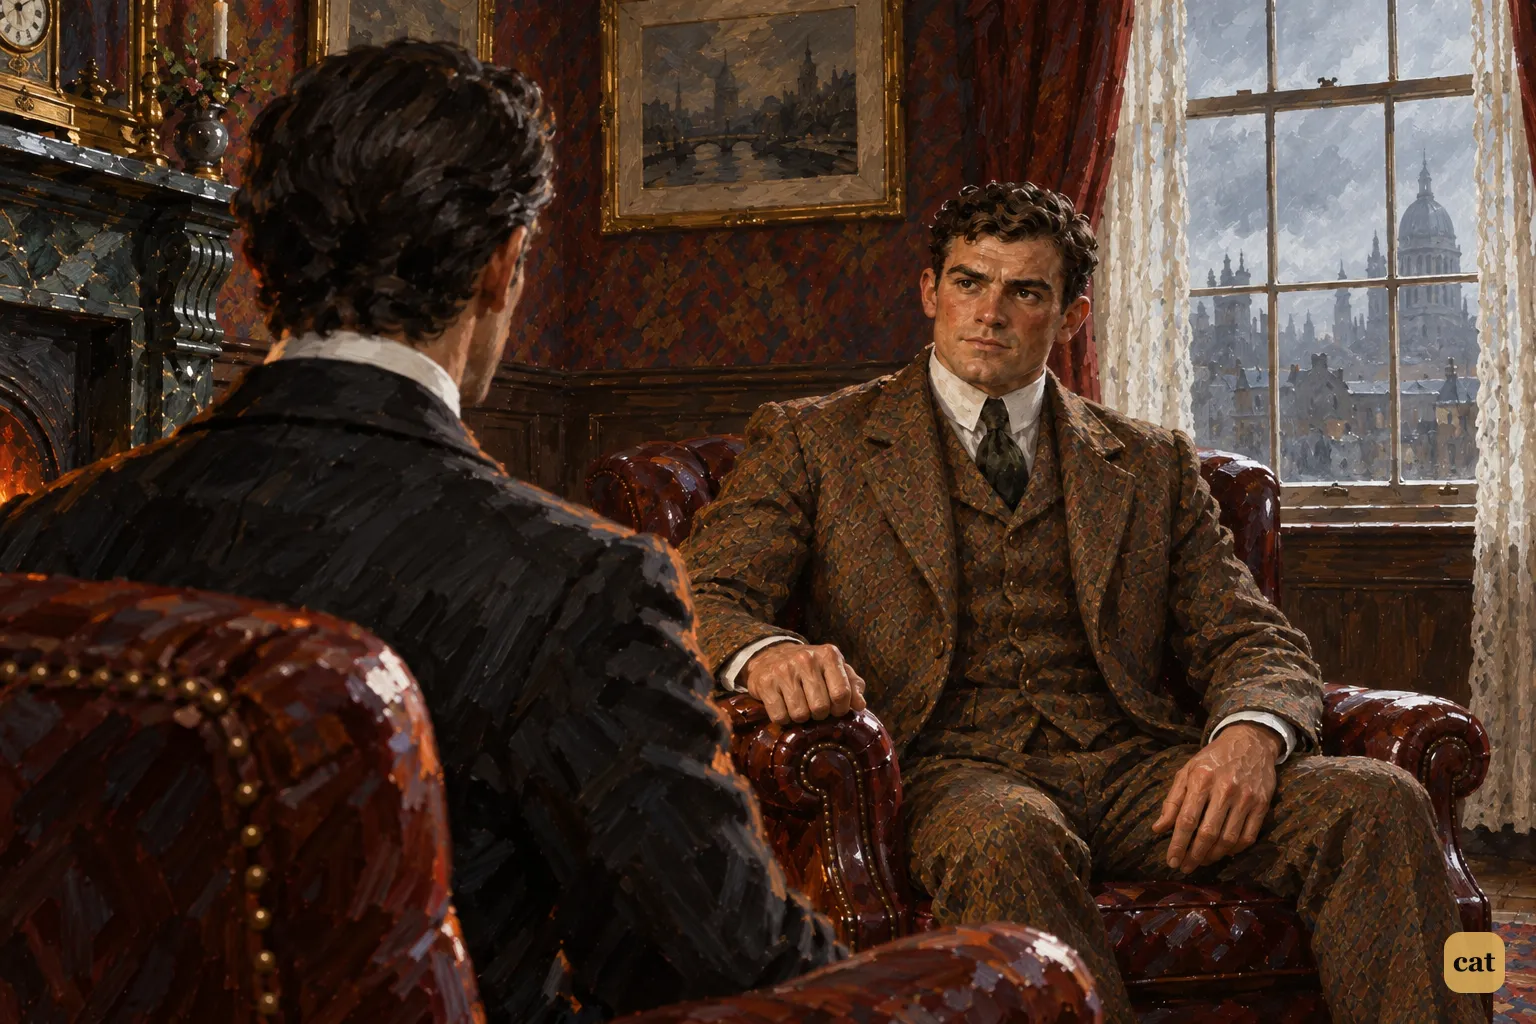
1·3 At the breakfast table, Holmes lights a cigarette and turns to Watson with a rare, open compliment.
In the text → -
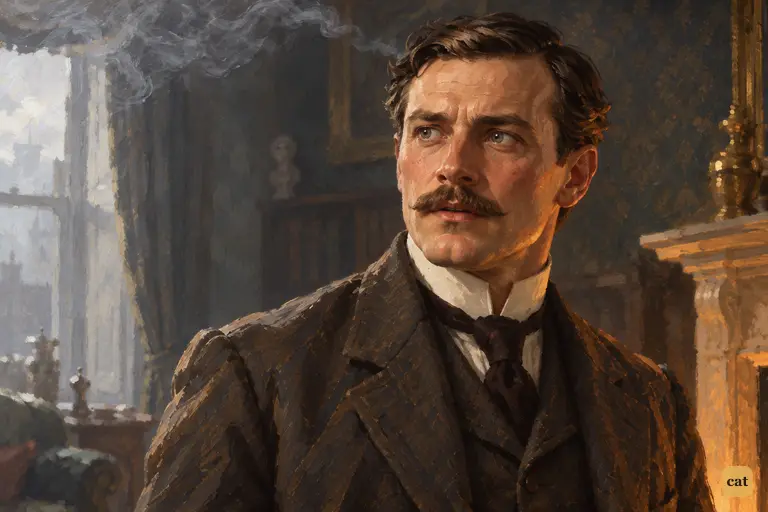
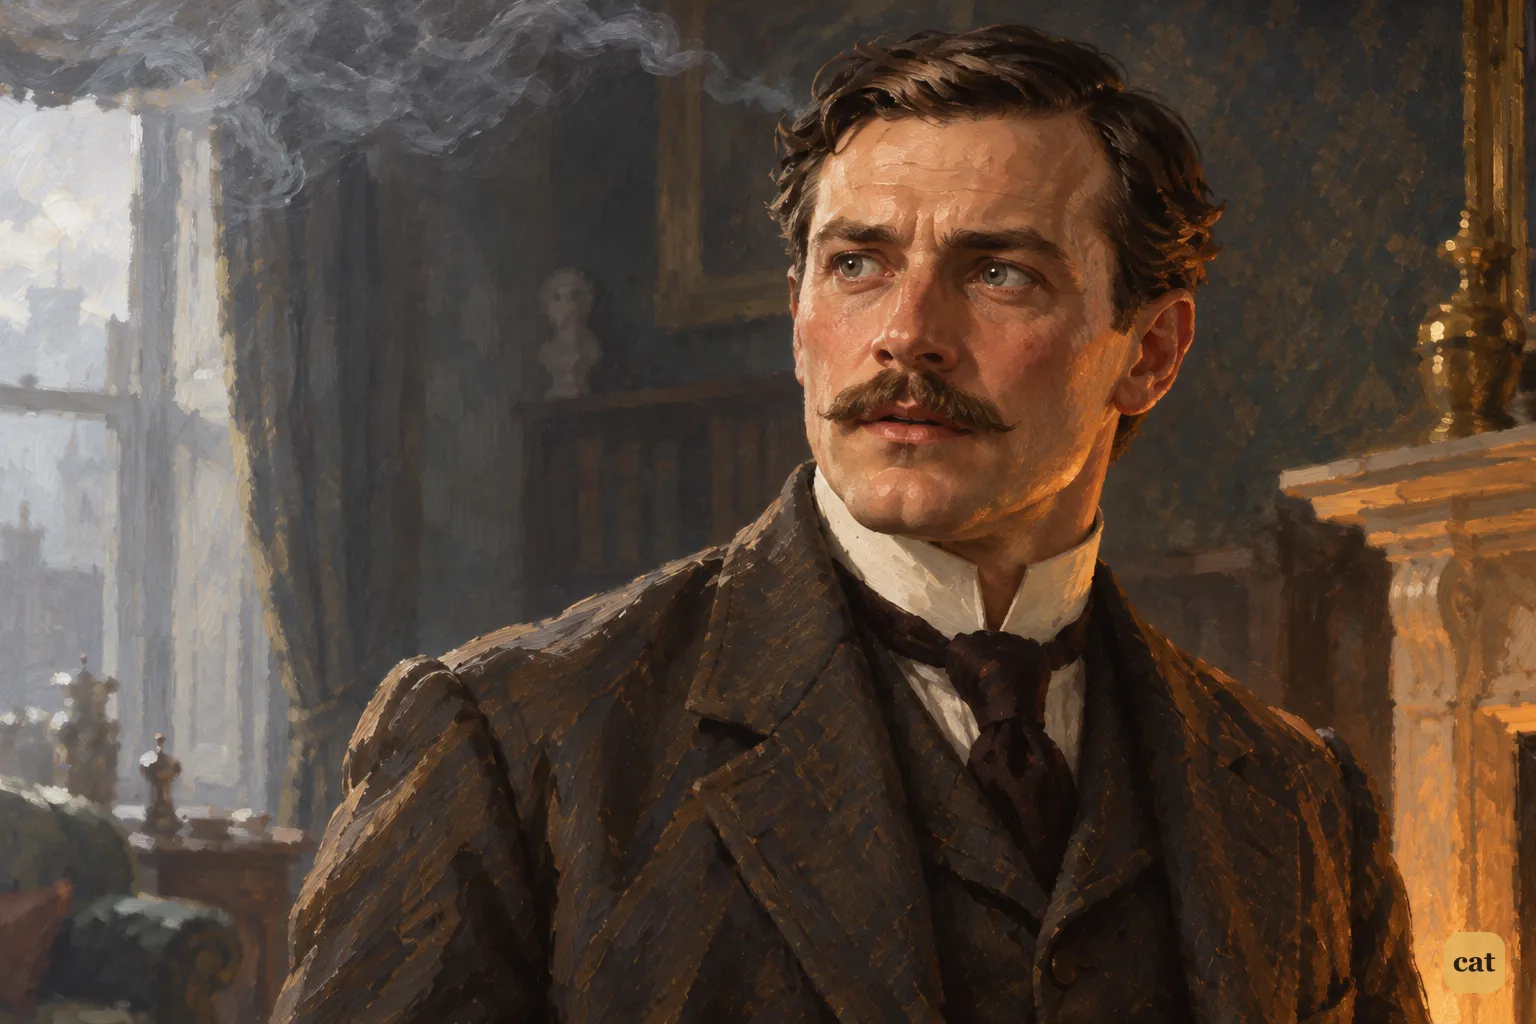
1·4 Watson's proud smile stiffens as Holmes says most of his conclusions were wrong
In the text → -
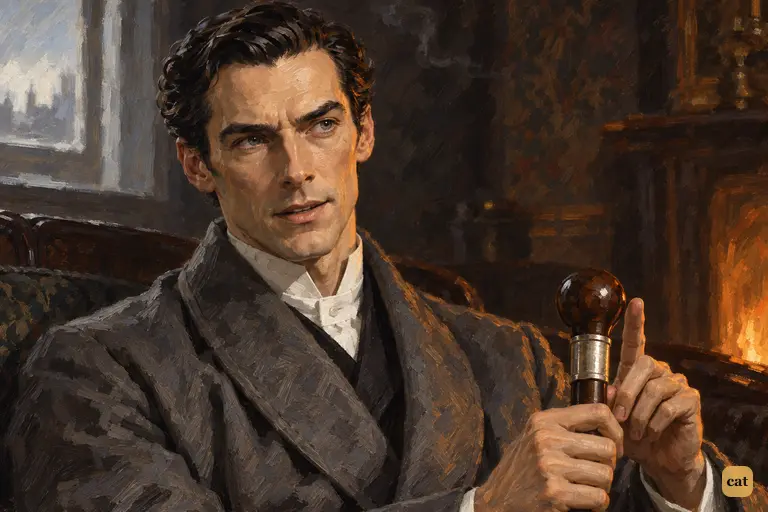
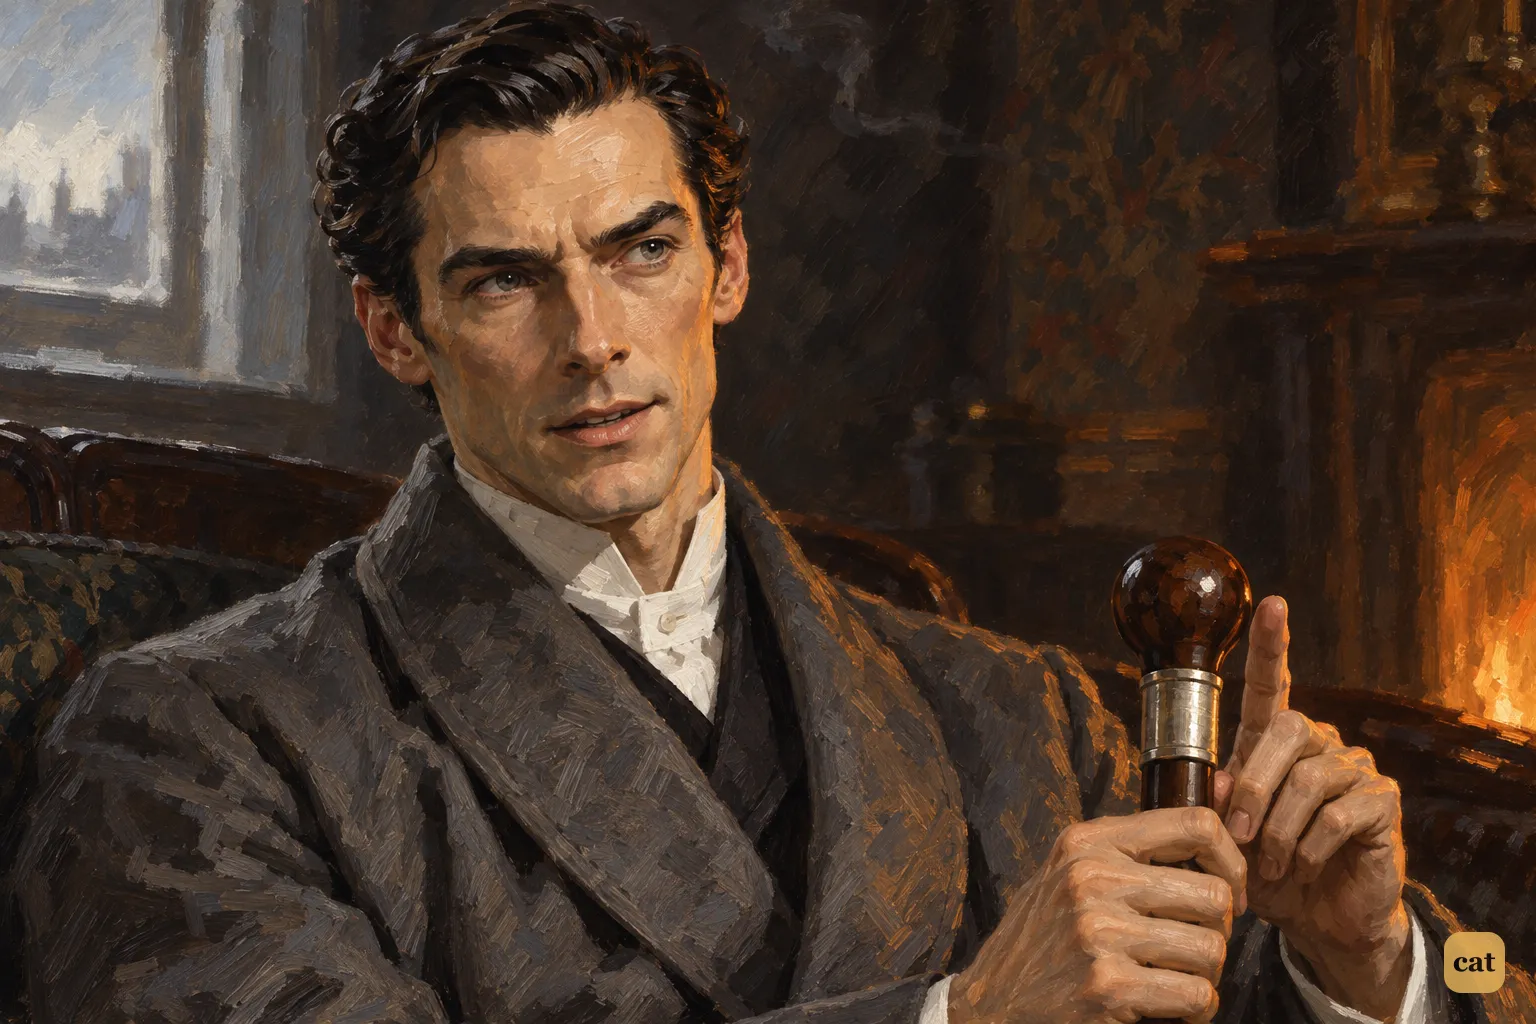
1·5 On the settee, Holmes raises one finger beside the stick's silver-banded head
In the text → -
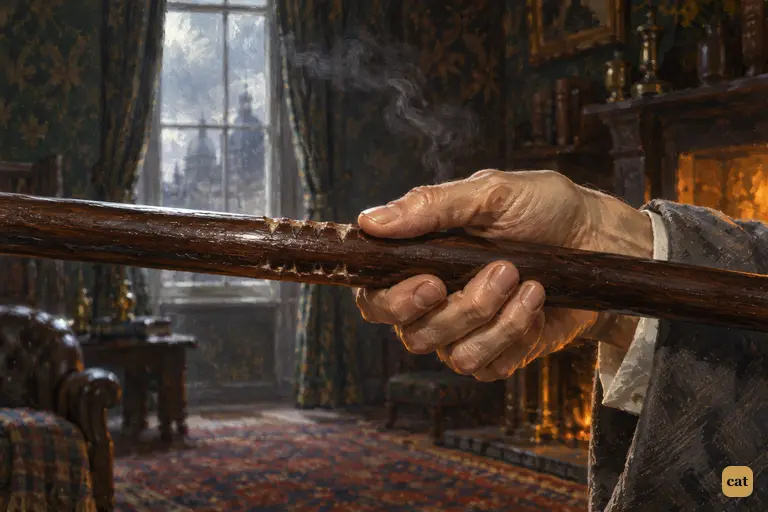
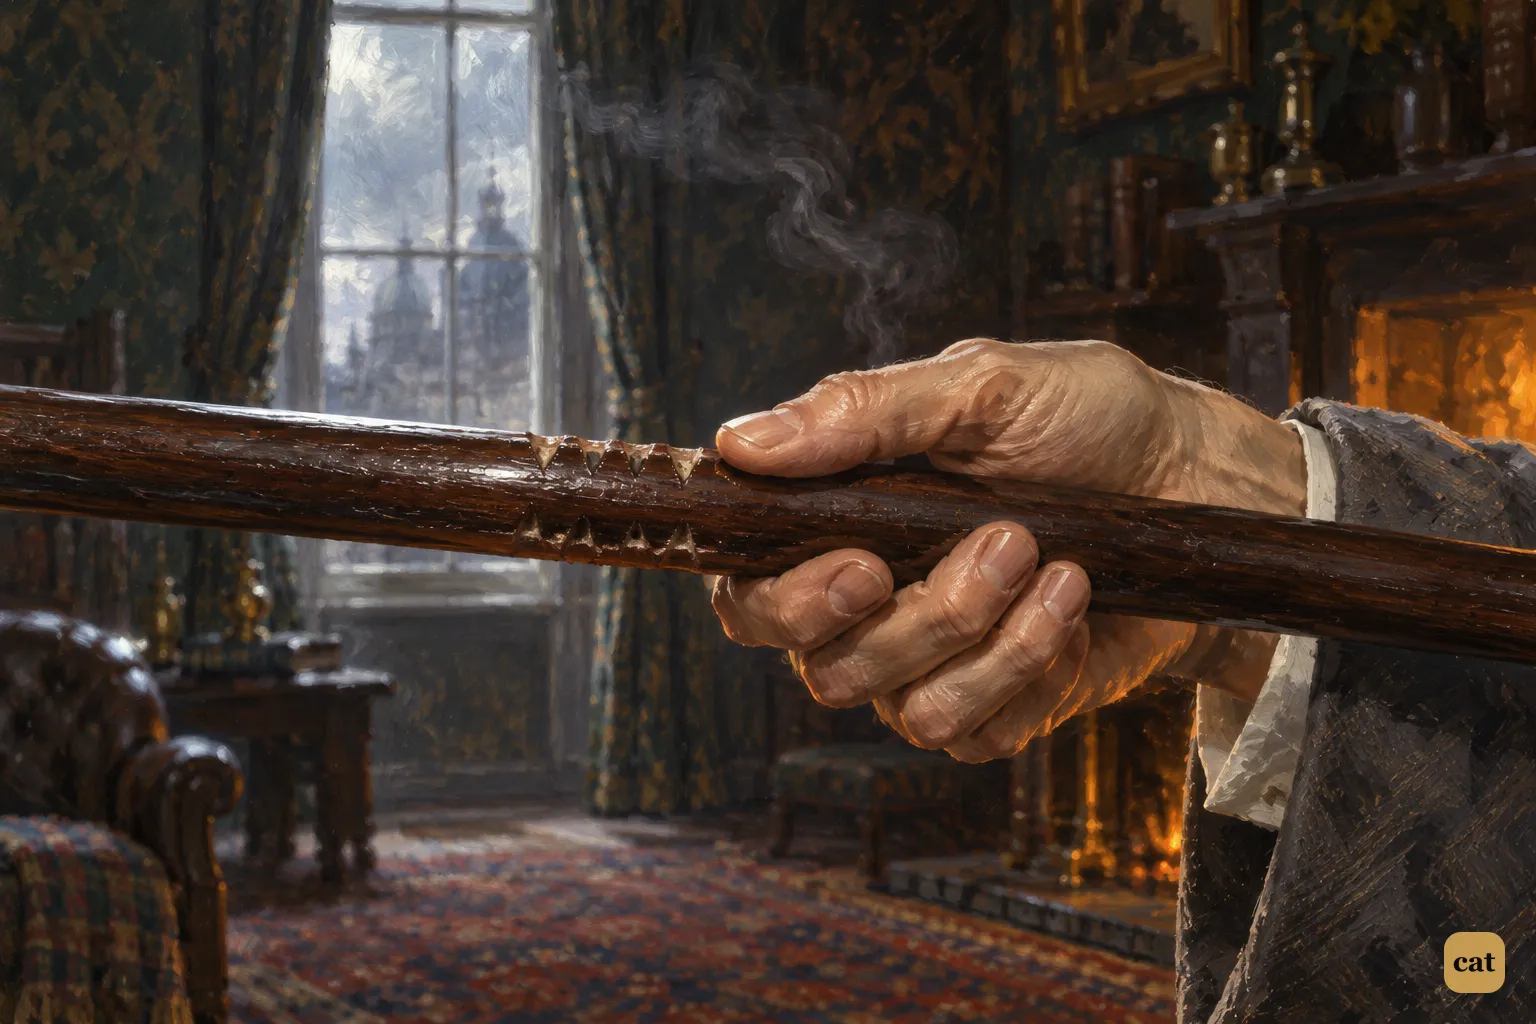
1·6 A close view of the middle of Dr. Mortimer's Penang-lawyer stick.
In the text → -
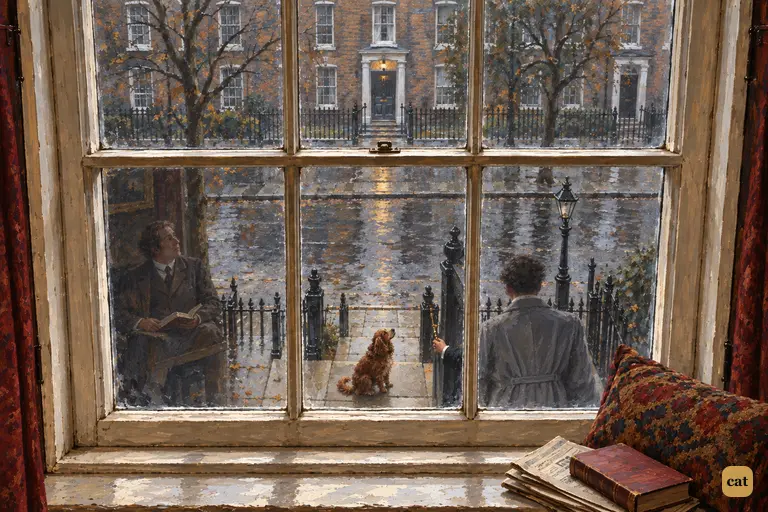
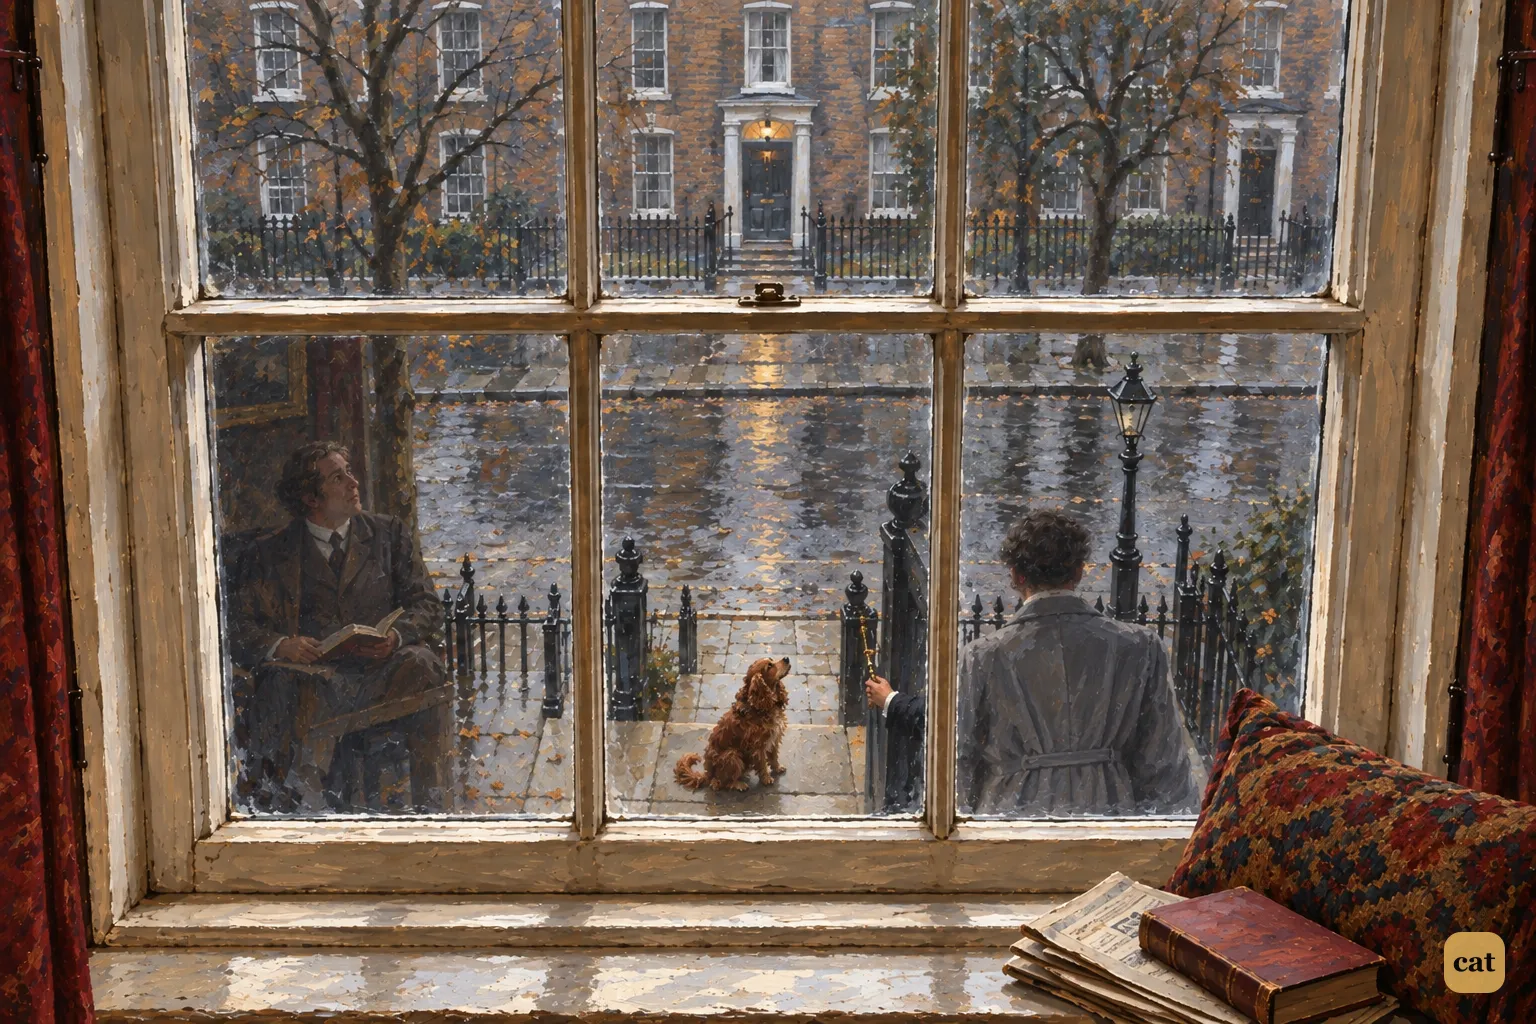
1·7 A curly-haired spaniel waits on the doorstep below 221B as its owner pulls the bell
In the text → -
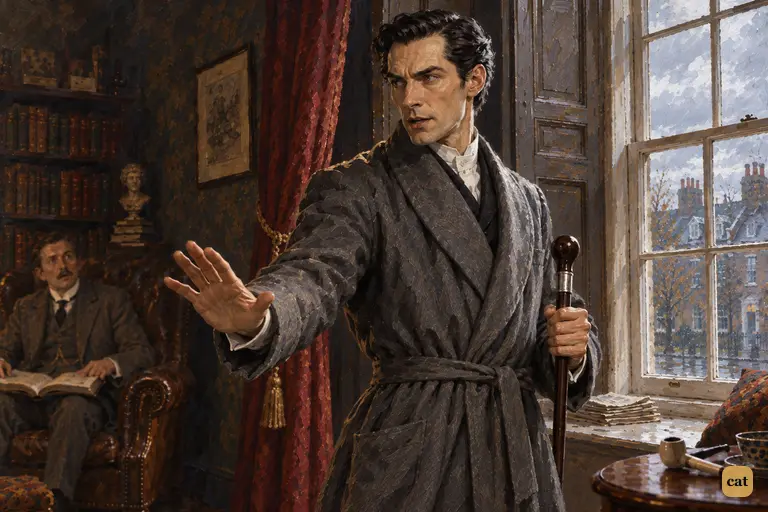
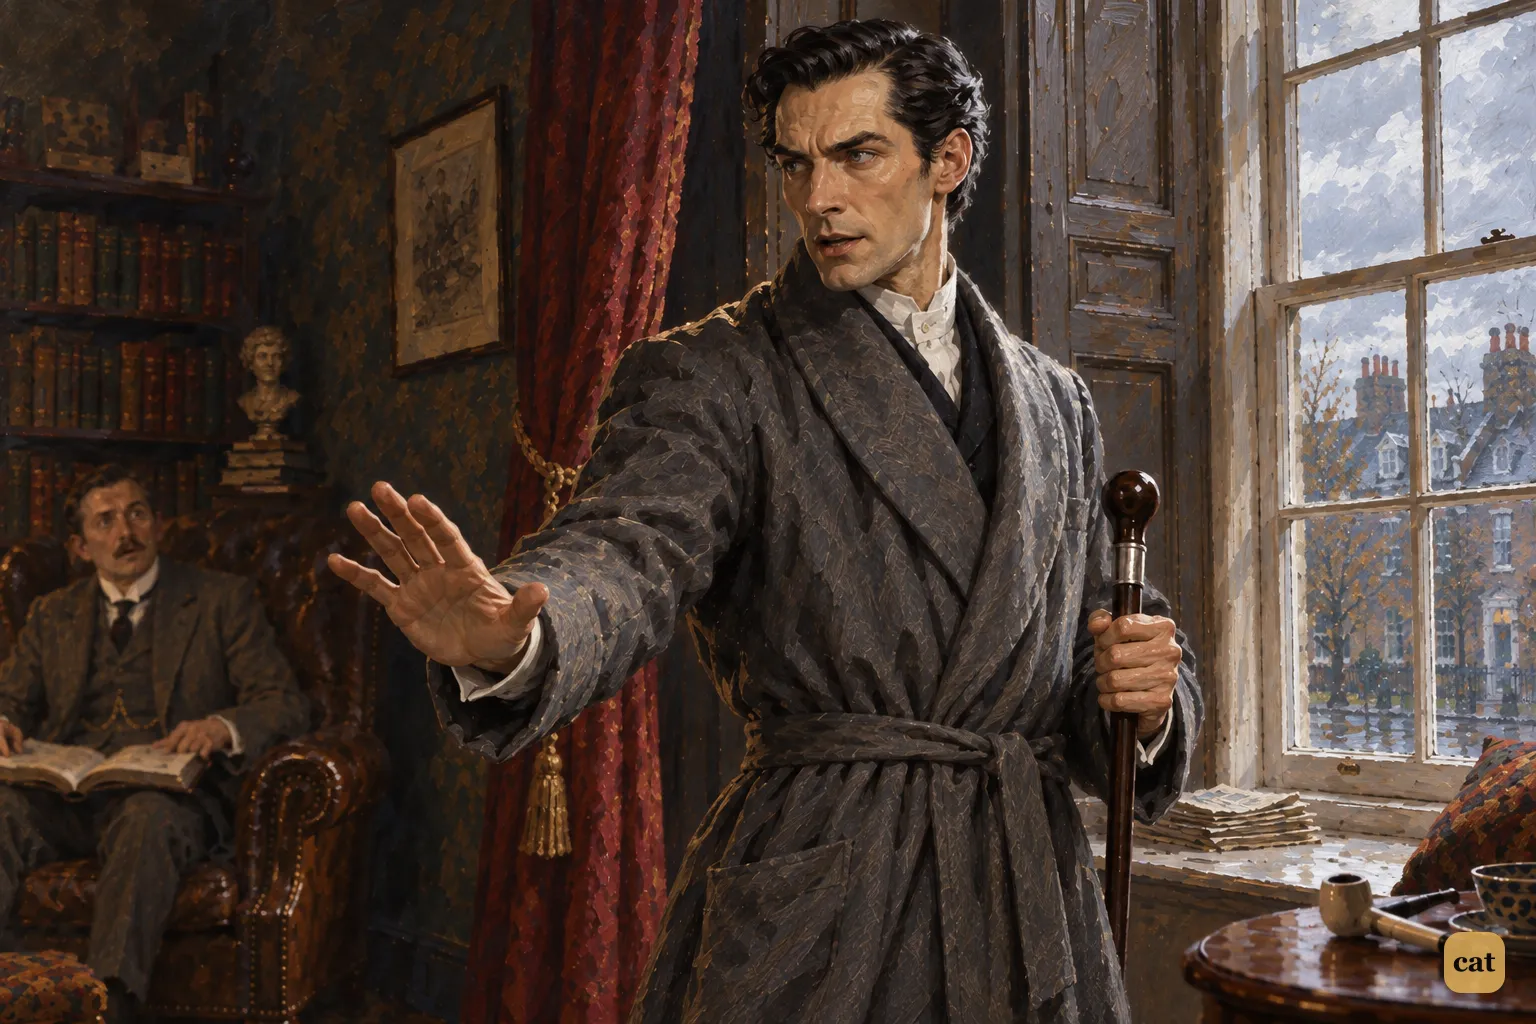
1·8 Holmes has just turned from the window, stick in hand.
In the text → -
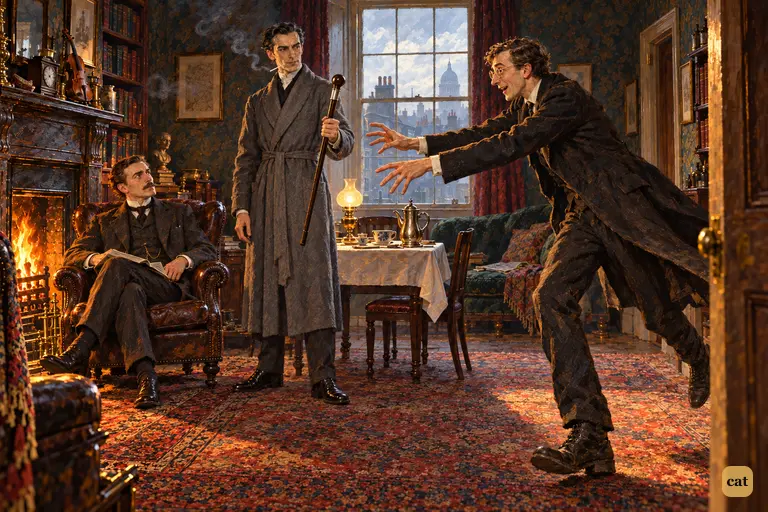
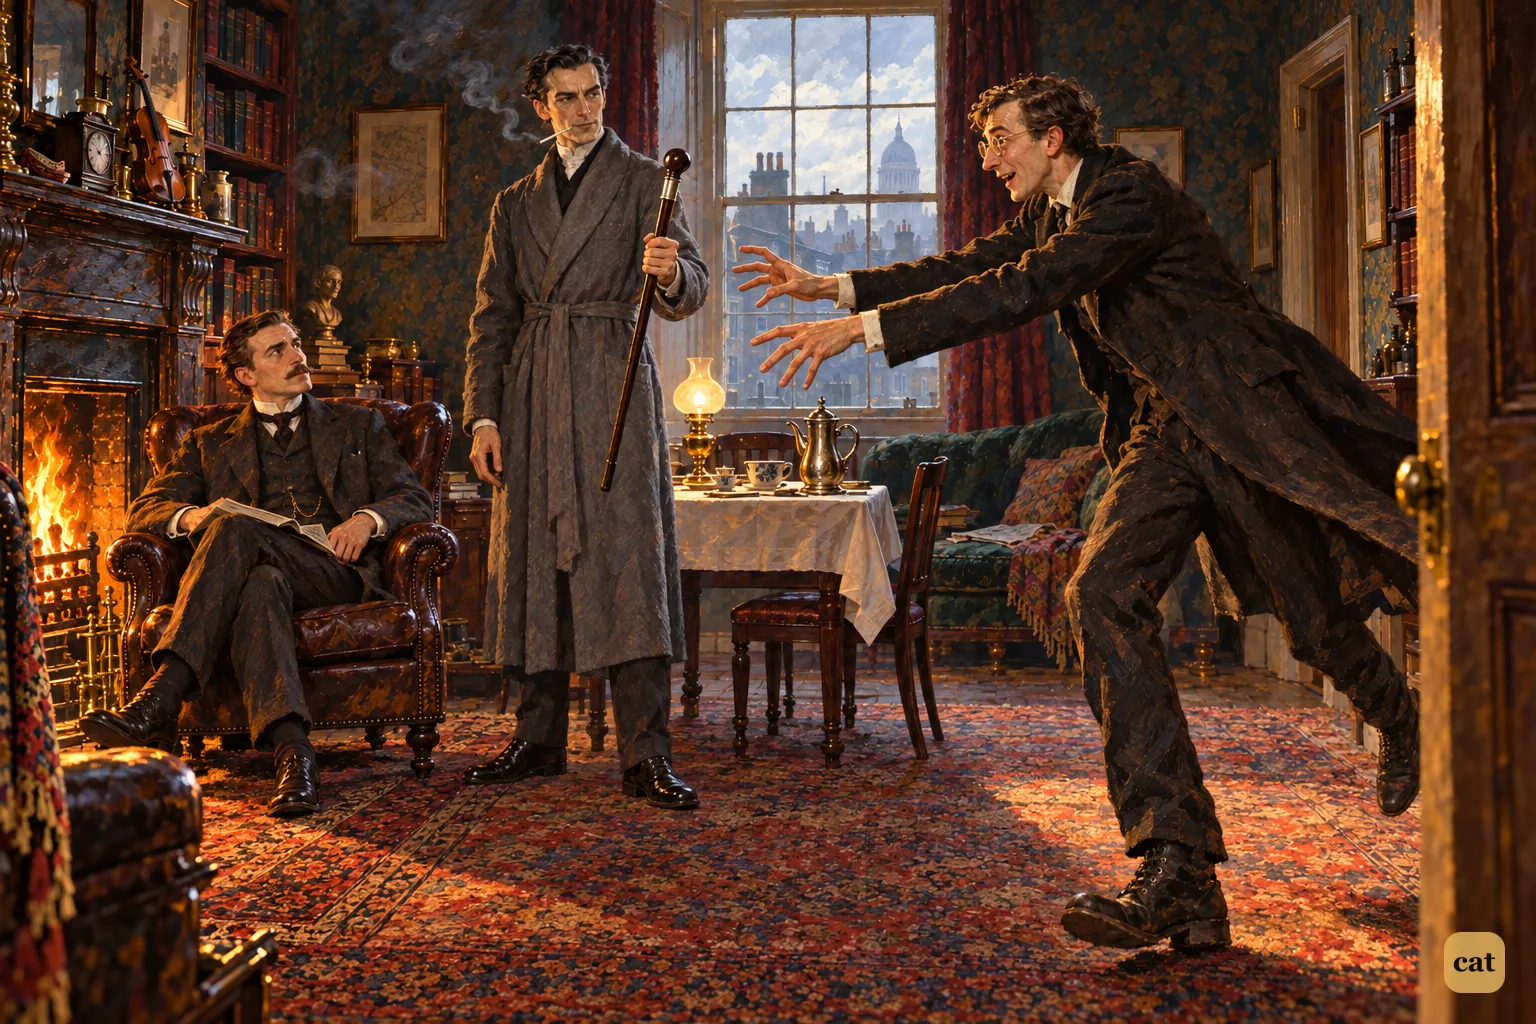
1·9 Dr. James Mortimer bursts in and rushes toward his lost stick in Holmes's hand
In the text → -
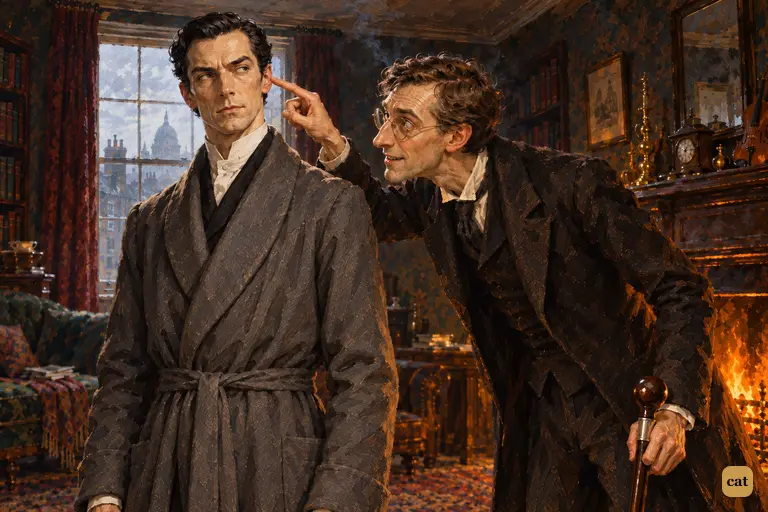
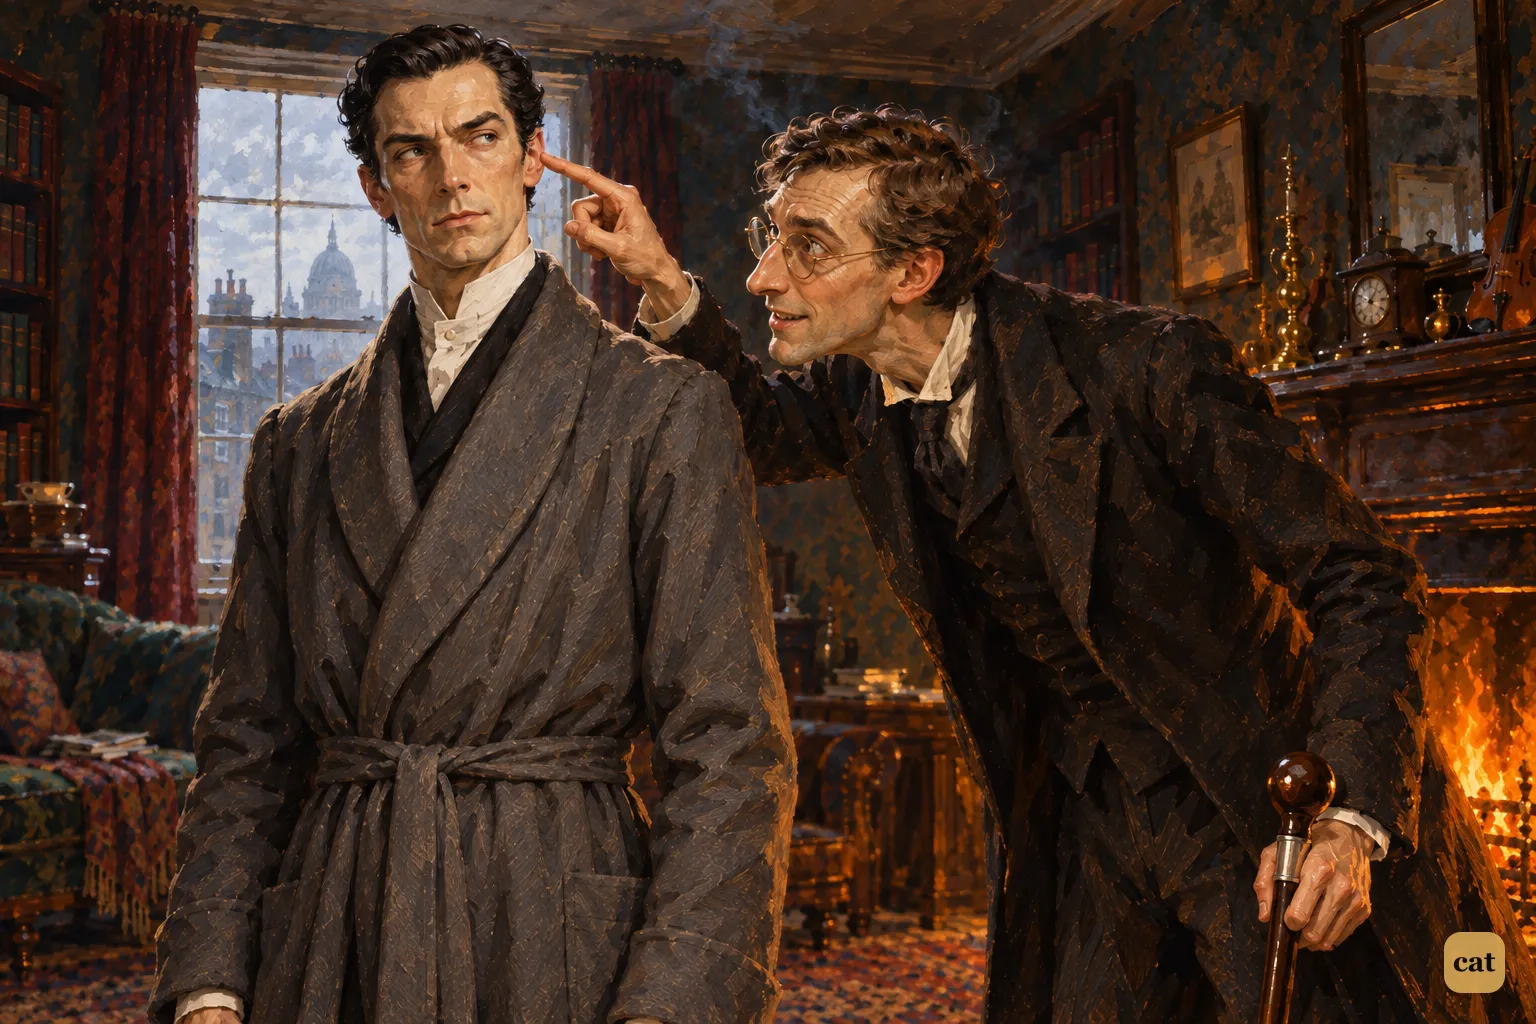
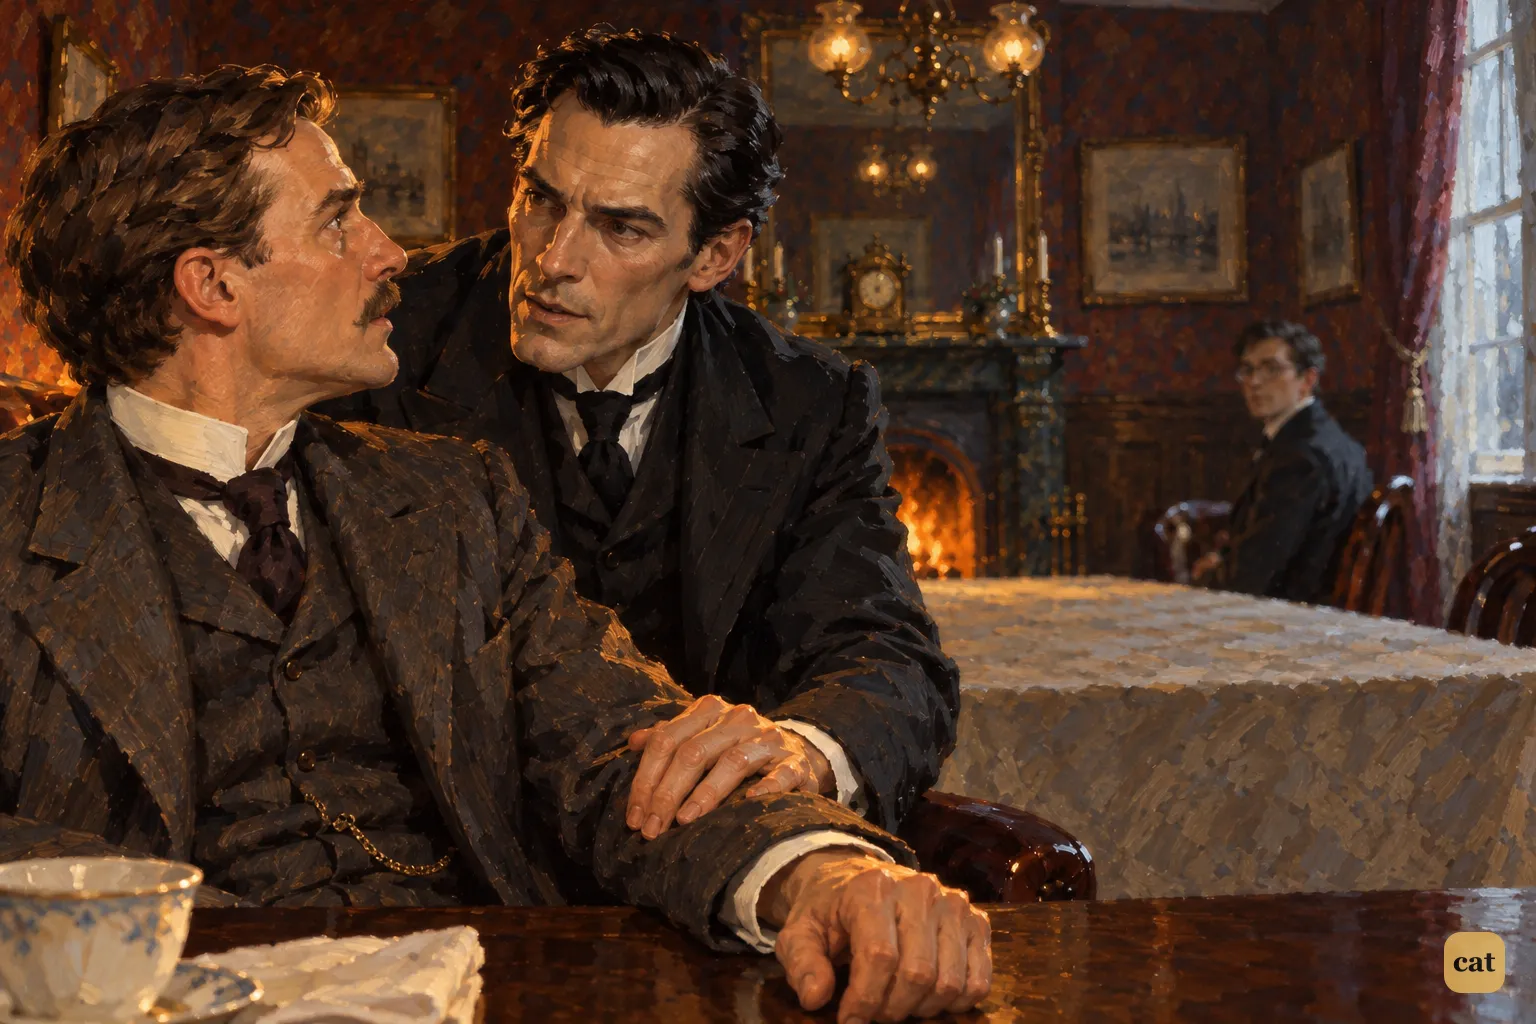
1·10 Dr. Mortimer leans in, his forefinger stopped a hair's breadth from Holmes's temple
In the text → -
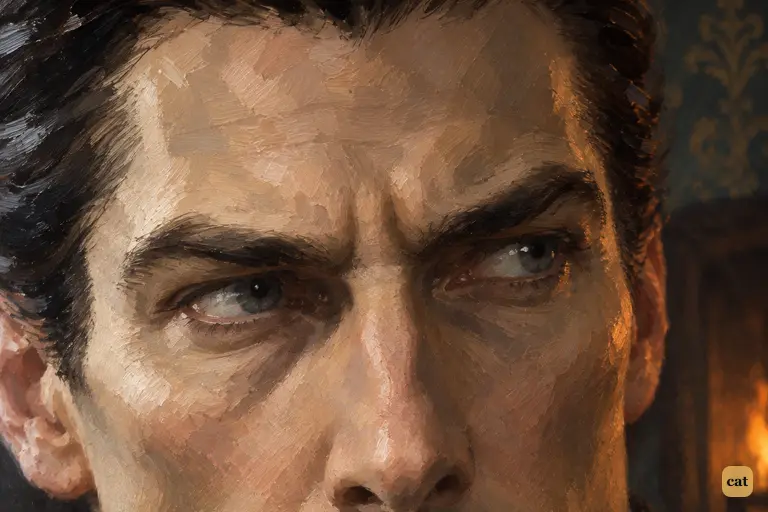
1·11 Holmes has just been called only the second highest expert in Europe.
In the text →
Chapter 2 · 11 illustrations The Legend, the Inquest and the Hound's Footprints
-
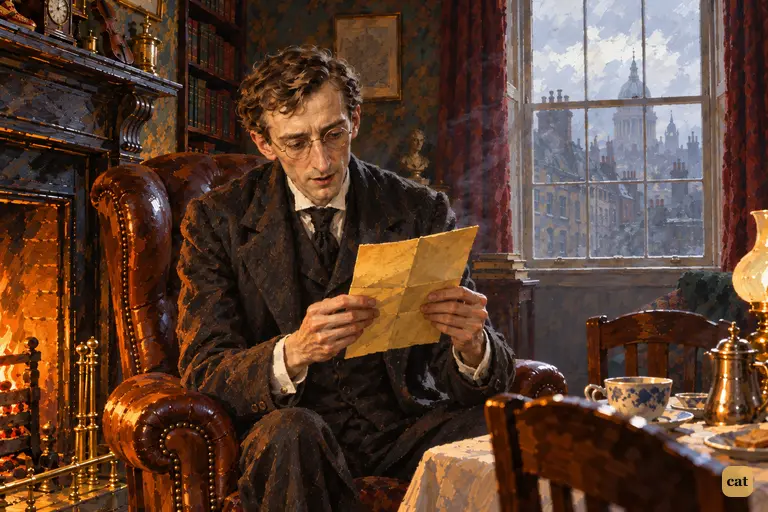
2·1 Dr. Mortimer holds up the 1742 Baskerville manuscript drawn from his breast-pocket
In the text → -
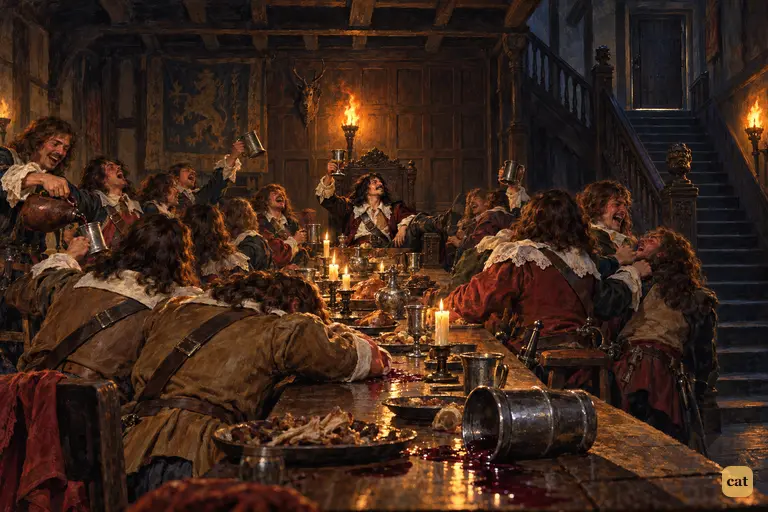
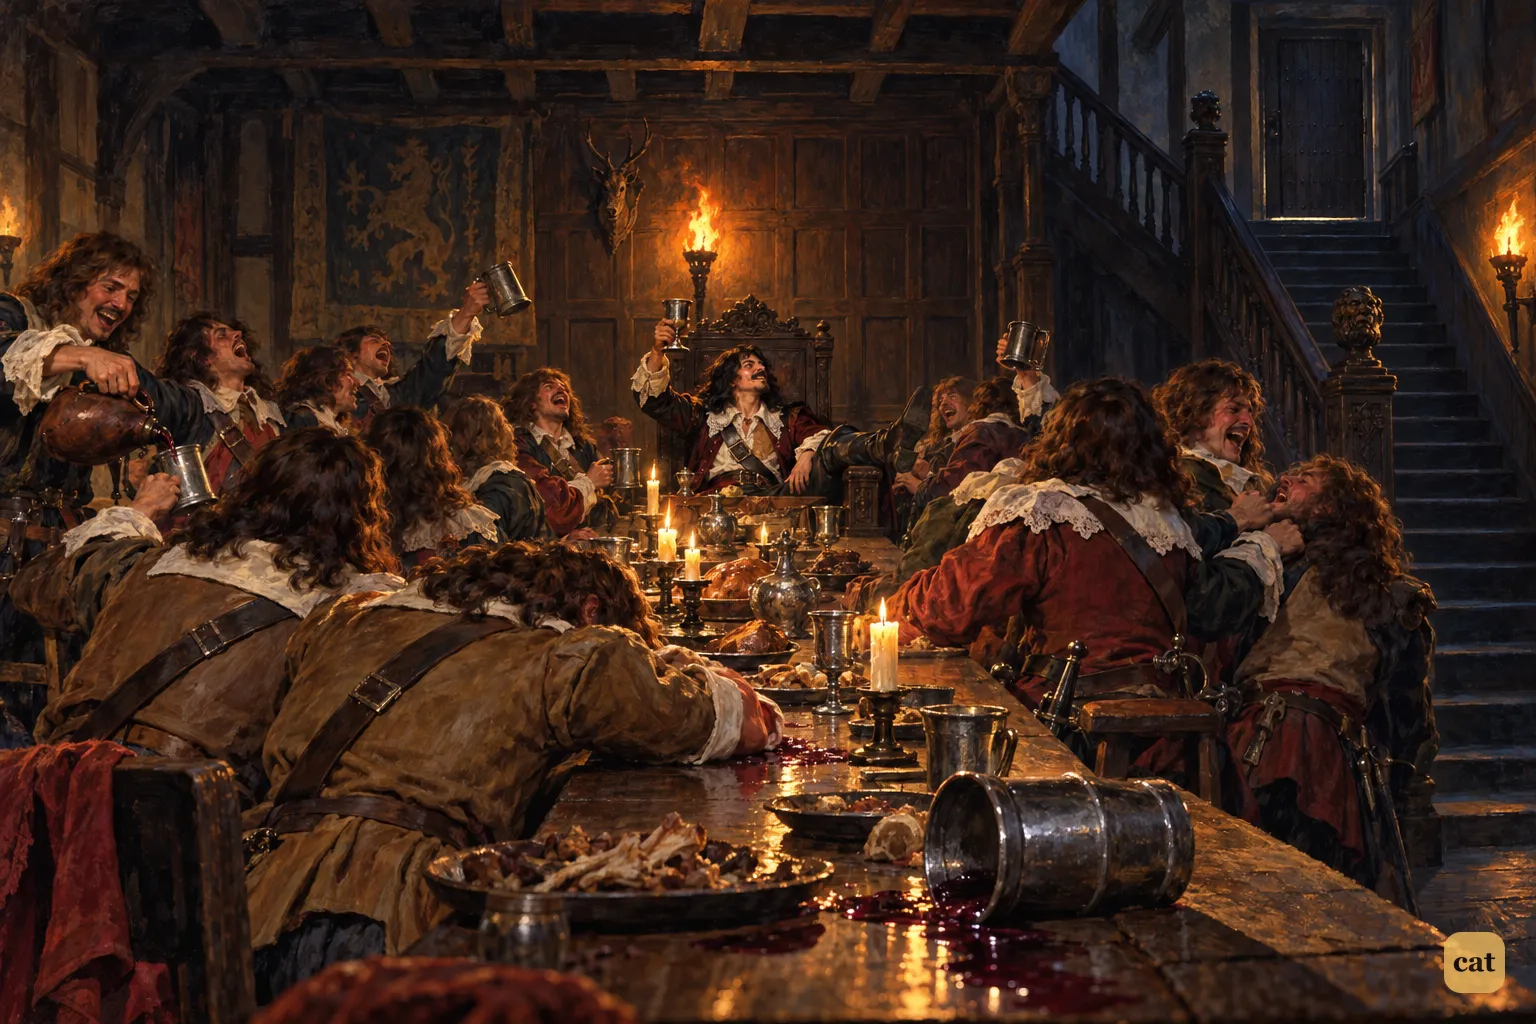
2·2 Hugo Baskerville and his drunken companions carouse under the Hall's blackened beams
In the text → -
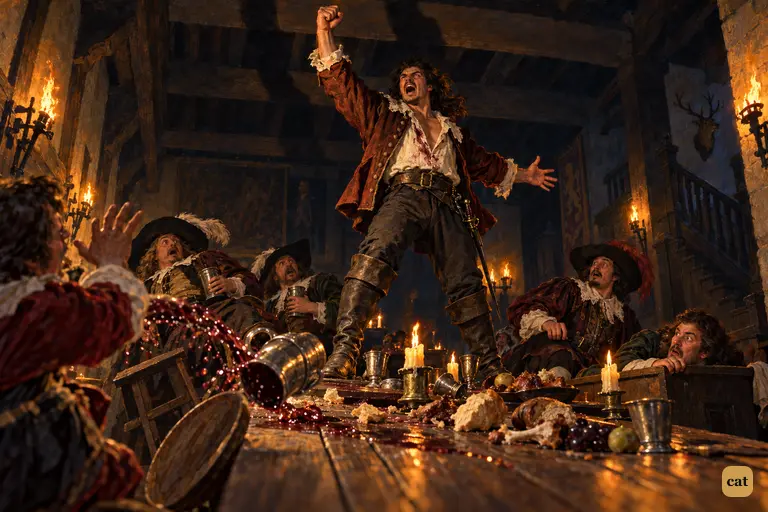
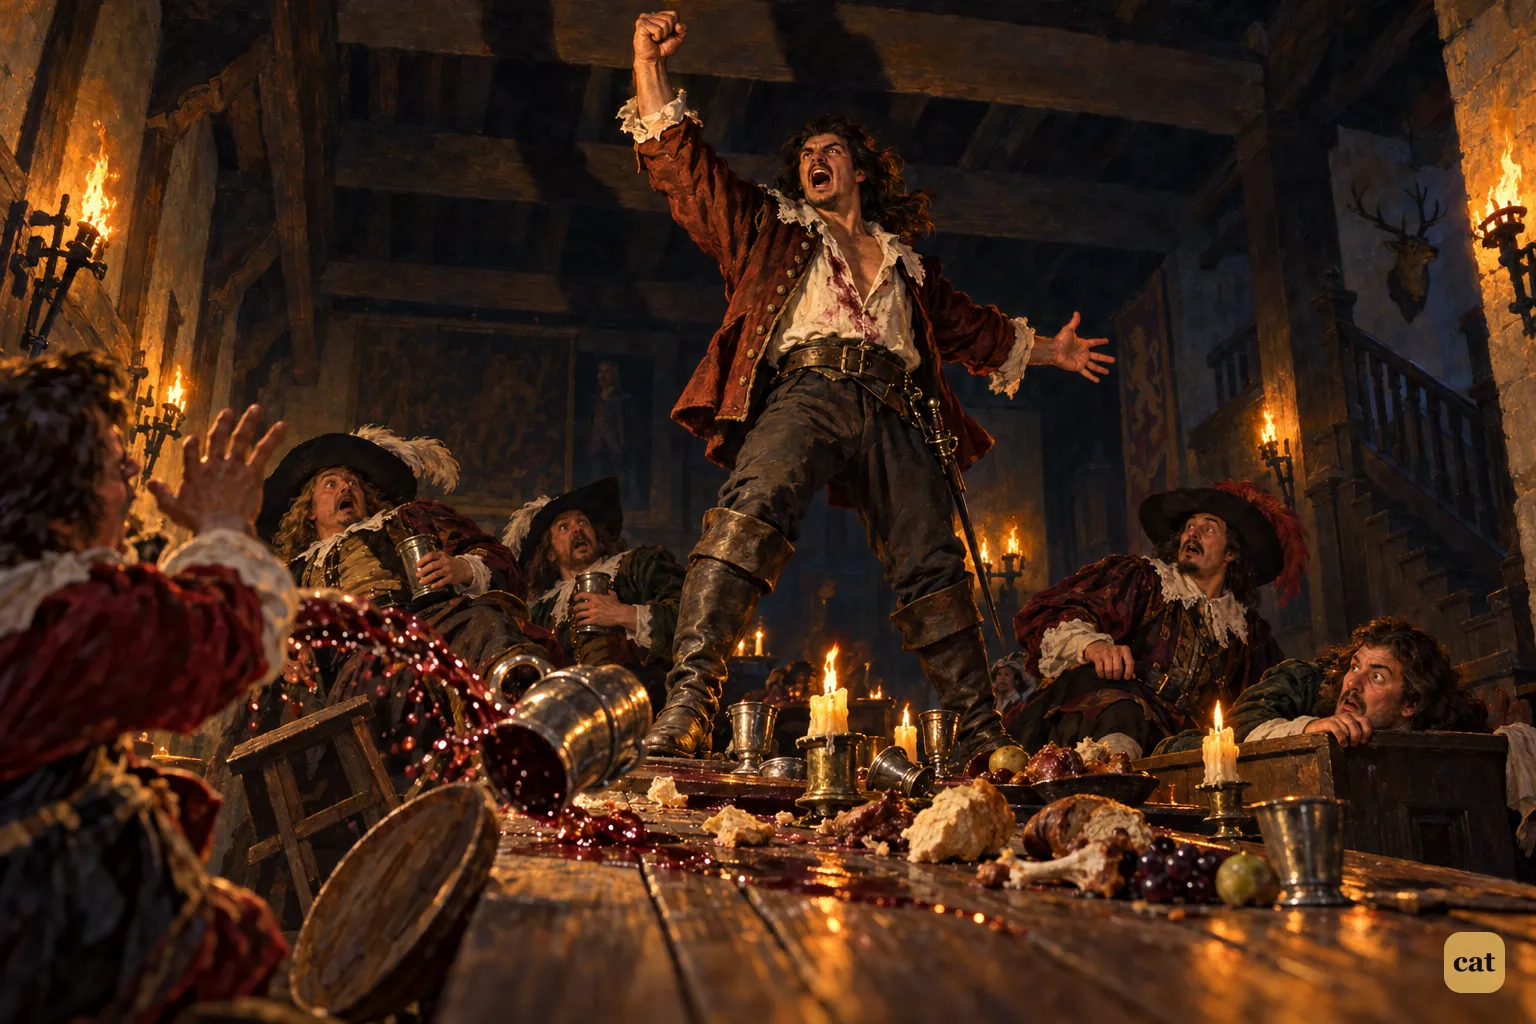
2·3 Hugo Baskerville has found the maiden gone.
In the text → -
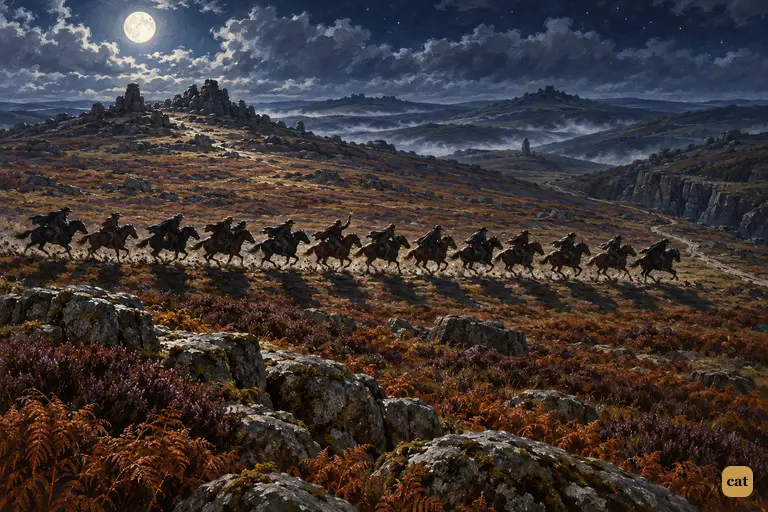
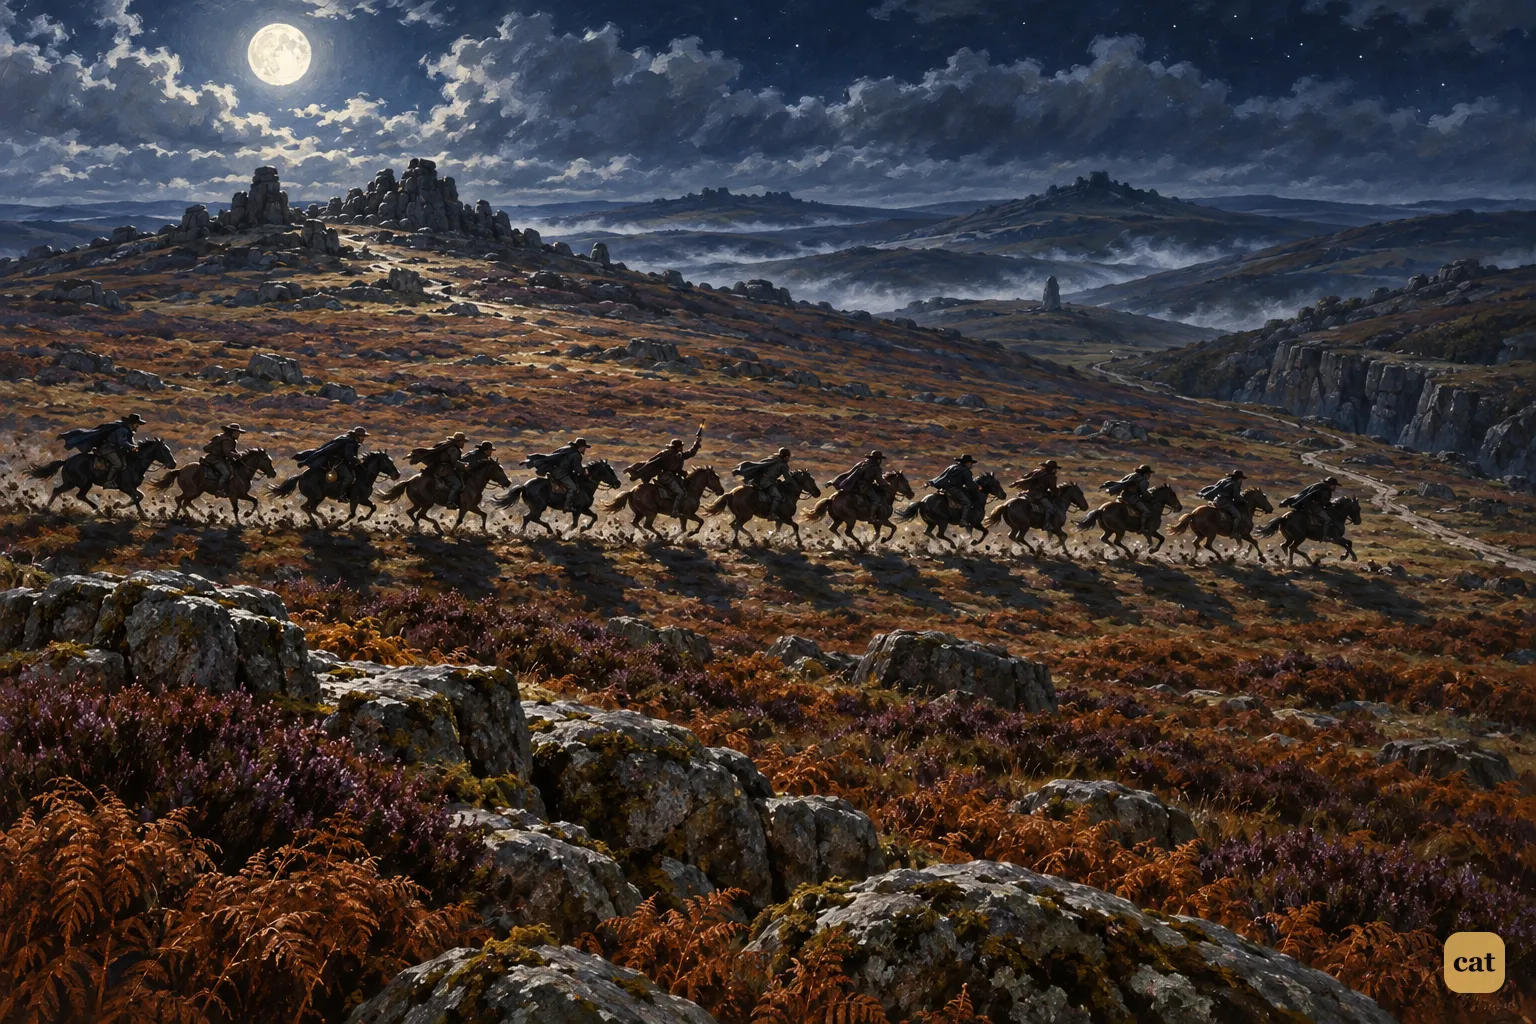
2·4 Under a full moon, thirteen revellers gallop across the moor after Hugo and his hounds
In the text → -
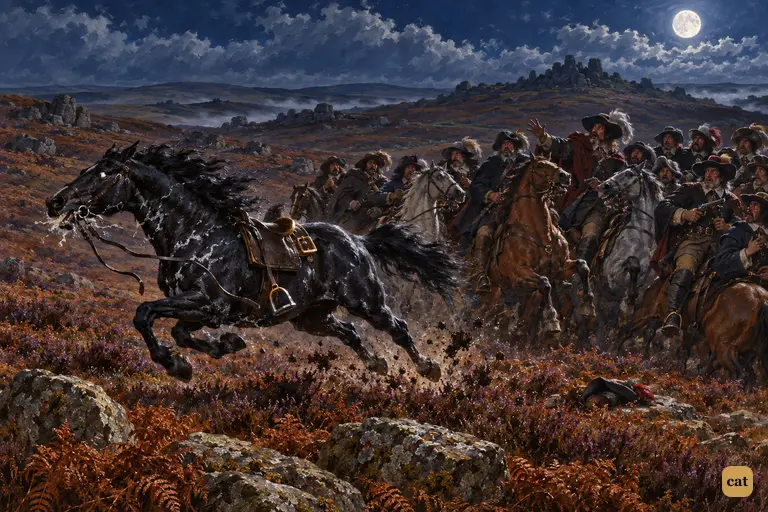
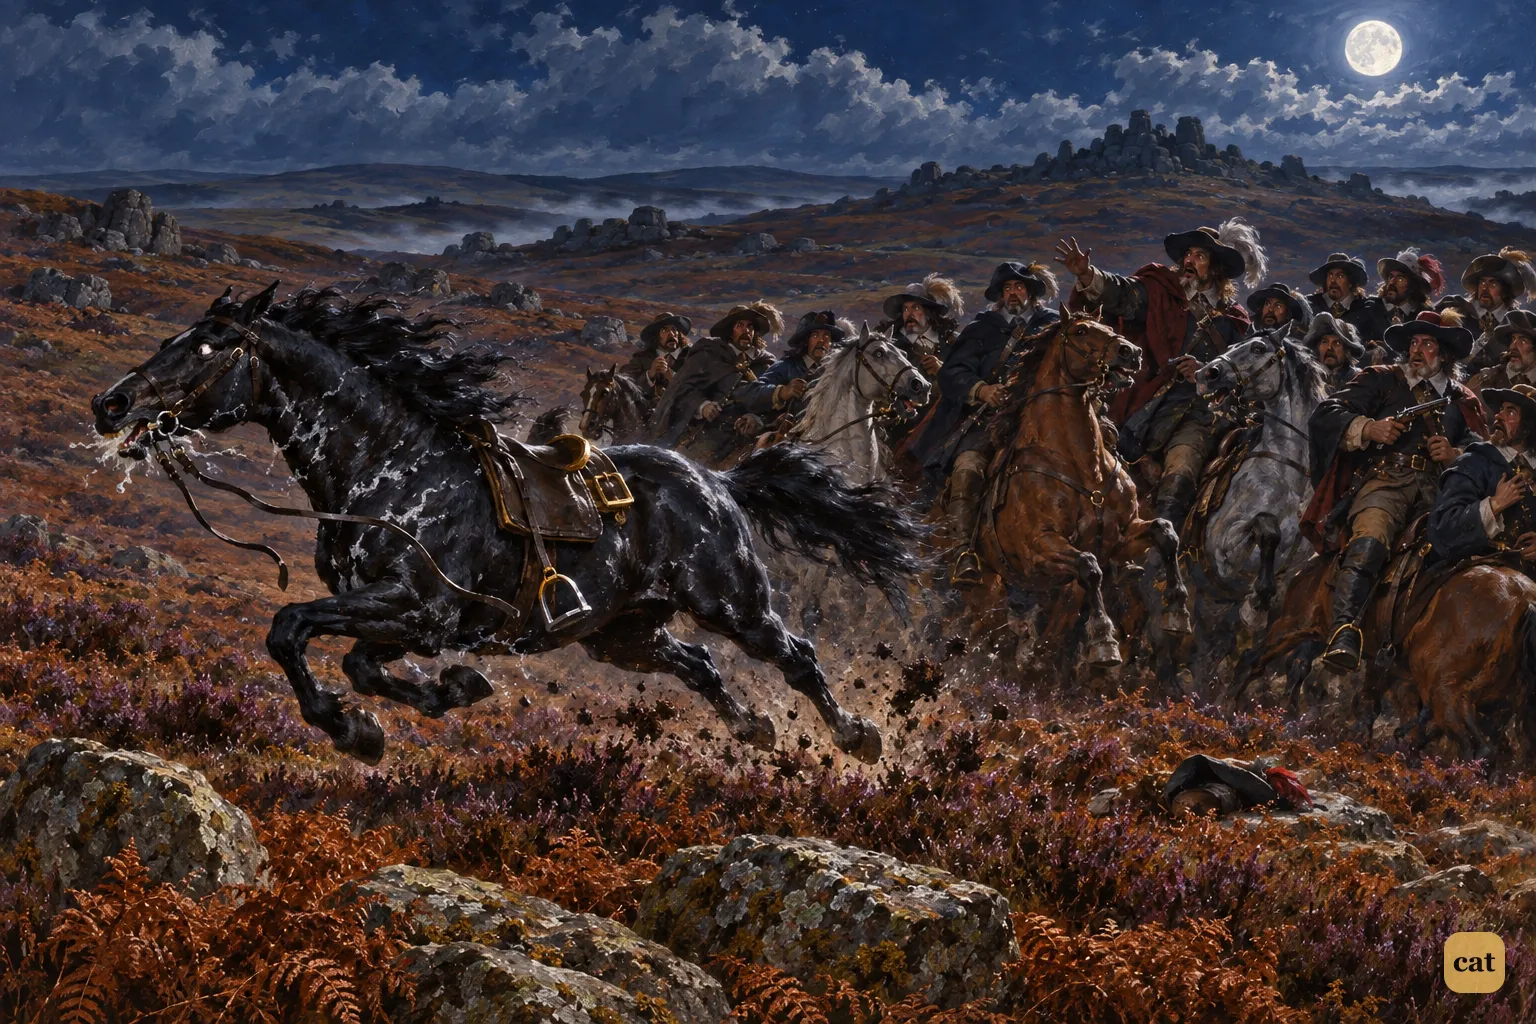
2·5 Hugo Baskerville's black mare gallops back across the moonlit moor with an empty saddle
In the text → -
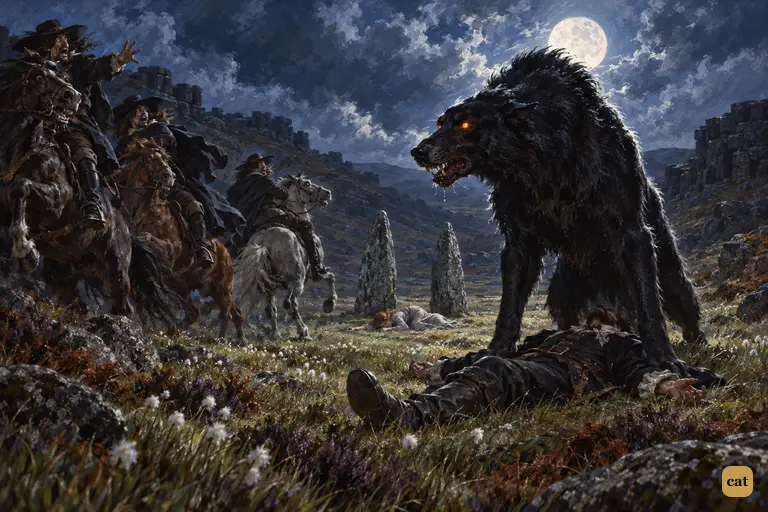
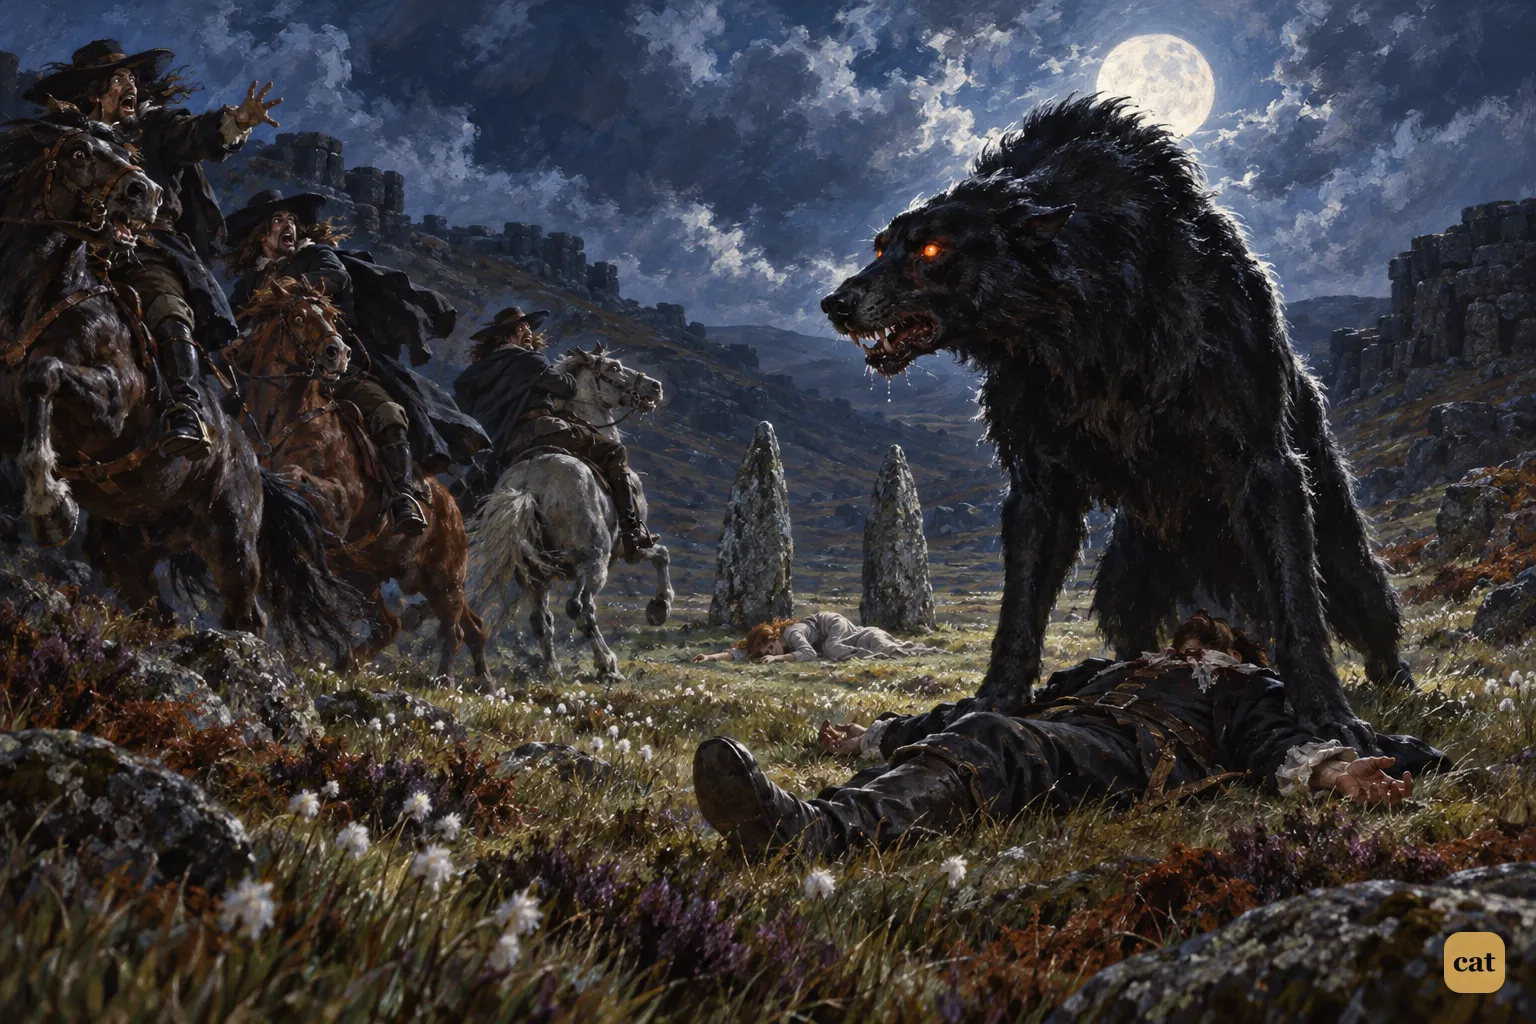
2·6 Between two standing stones, the huge black hound stands over Hugo's body as riders flee
In the text → -
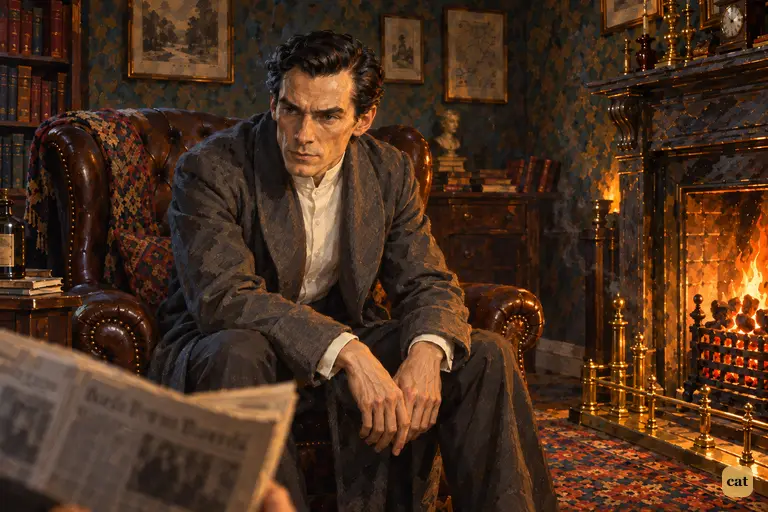
2·7 When the doctor pulls out the Devon County Chronicle, Holmes's boredom with the legend is gone.
In the text → -
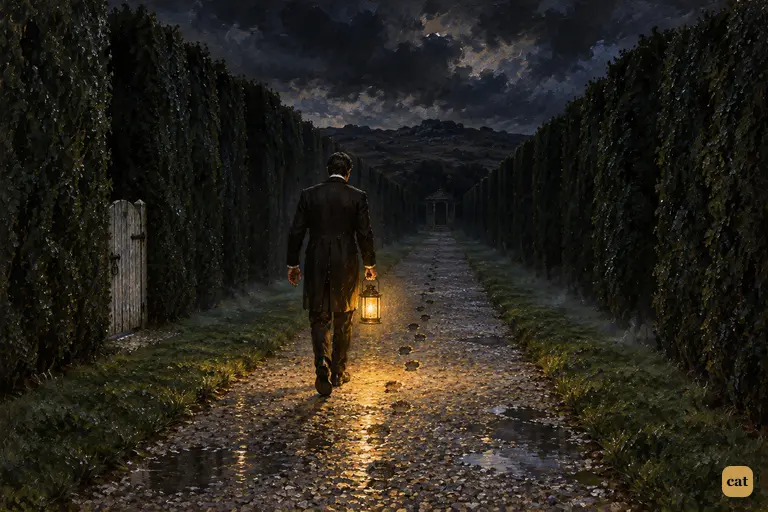
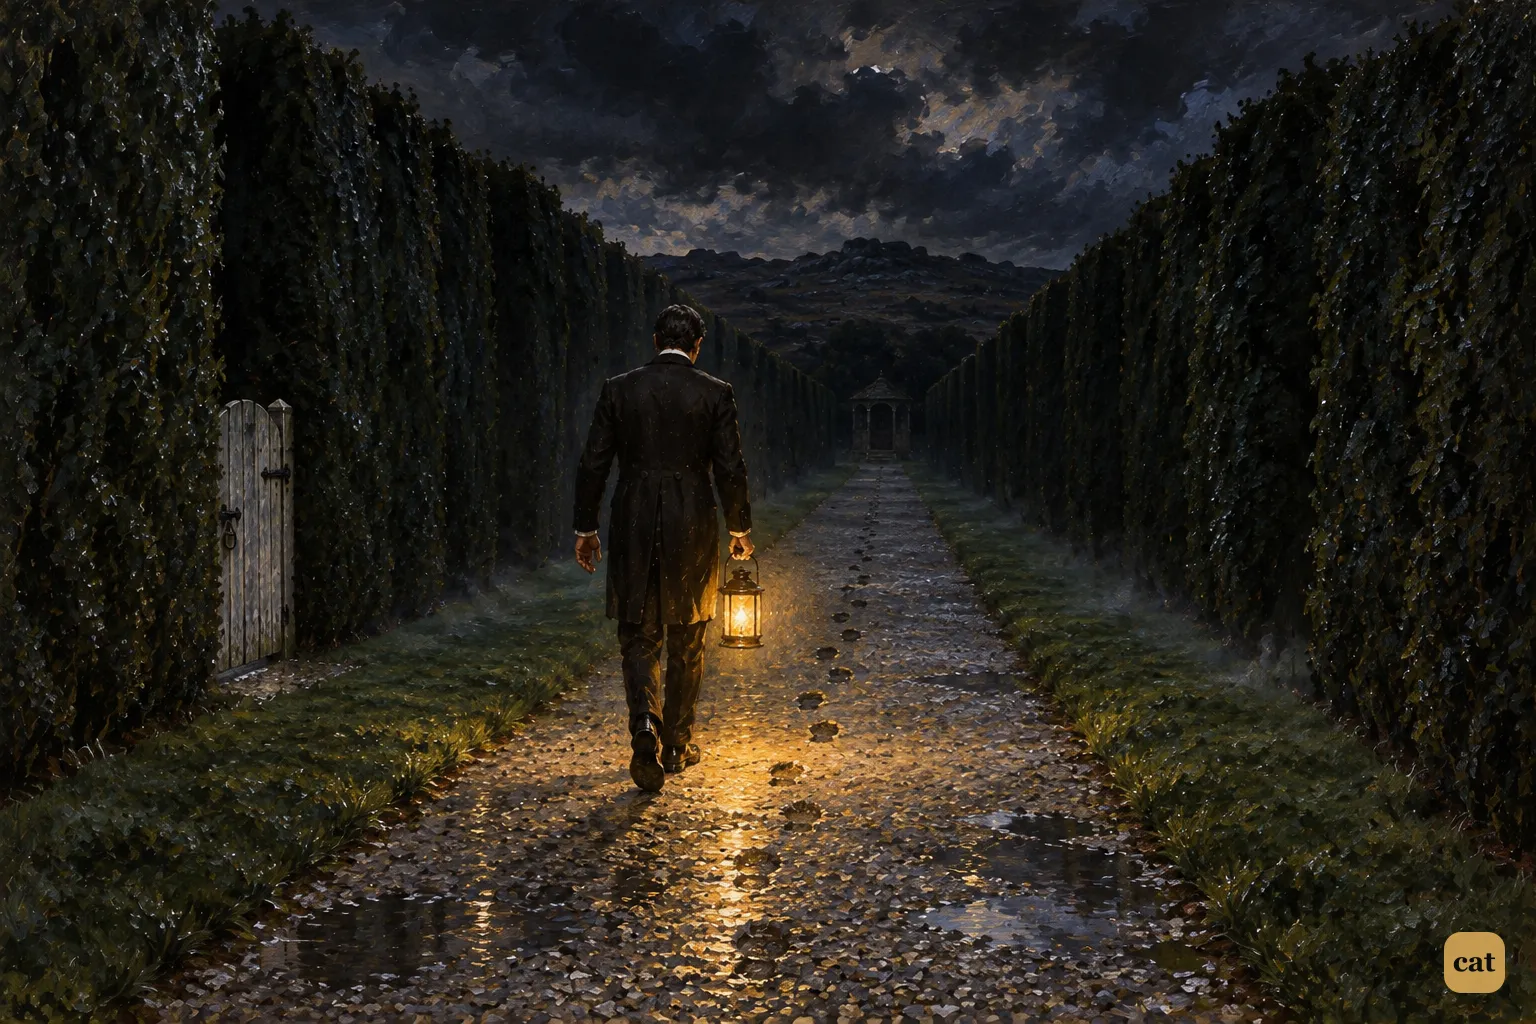
2·8 At midnight, Barrymore lights a lantern and walks alone down the black yew alley
In the text → -
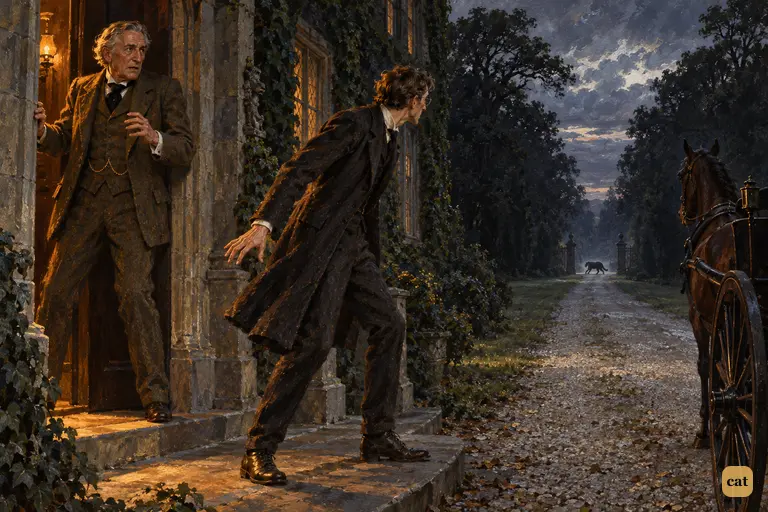
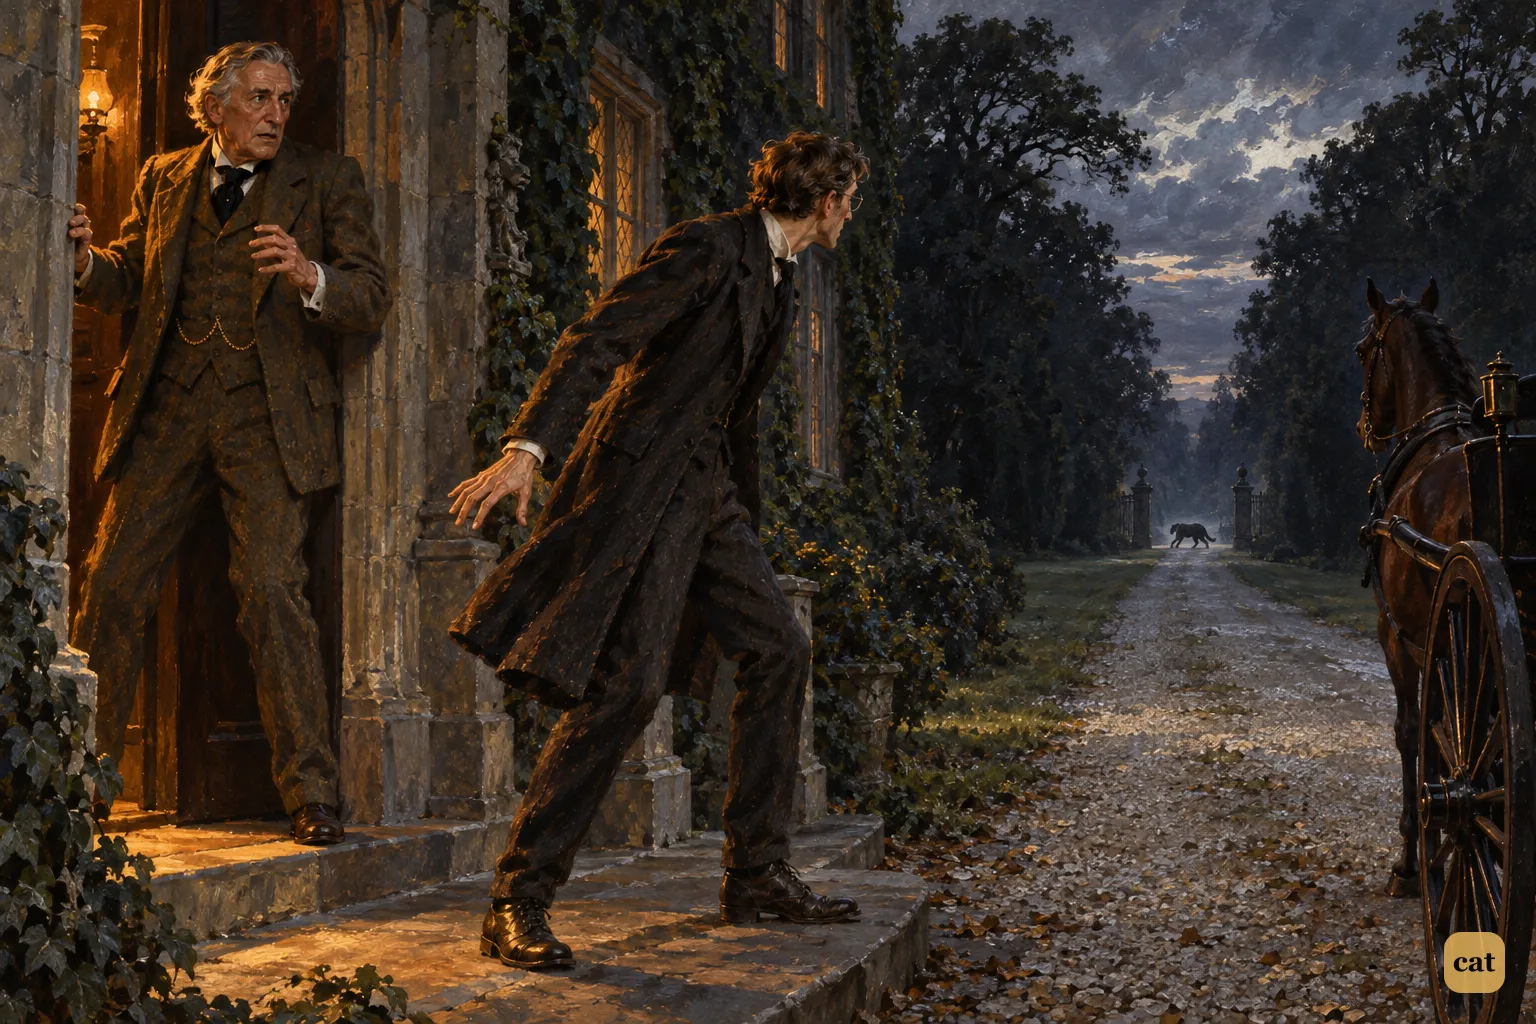
2·9 Sir Charles stands frozen with horror in his doorway as Dr. Mortimer whirls round
In the text → -
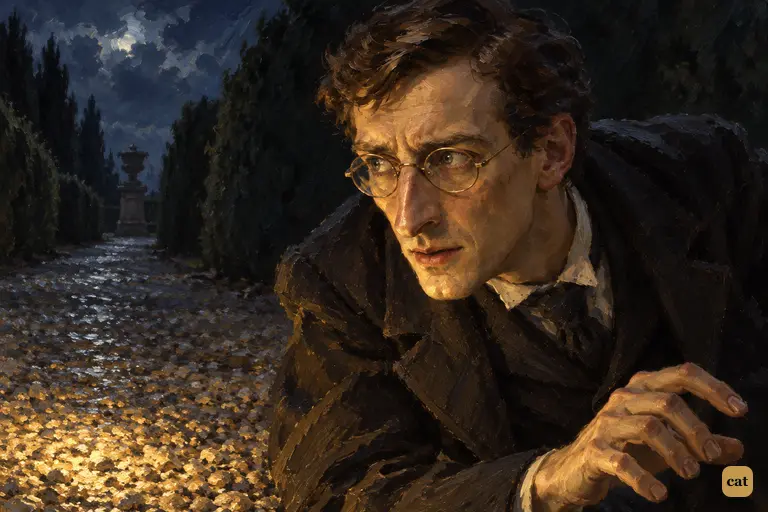
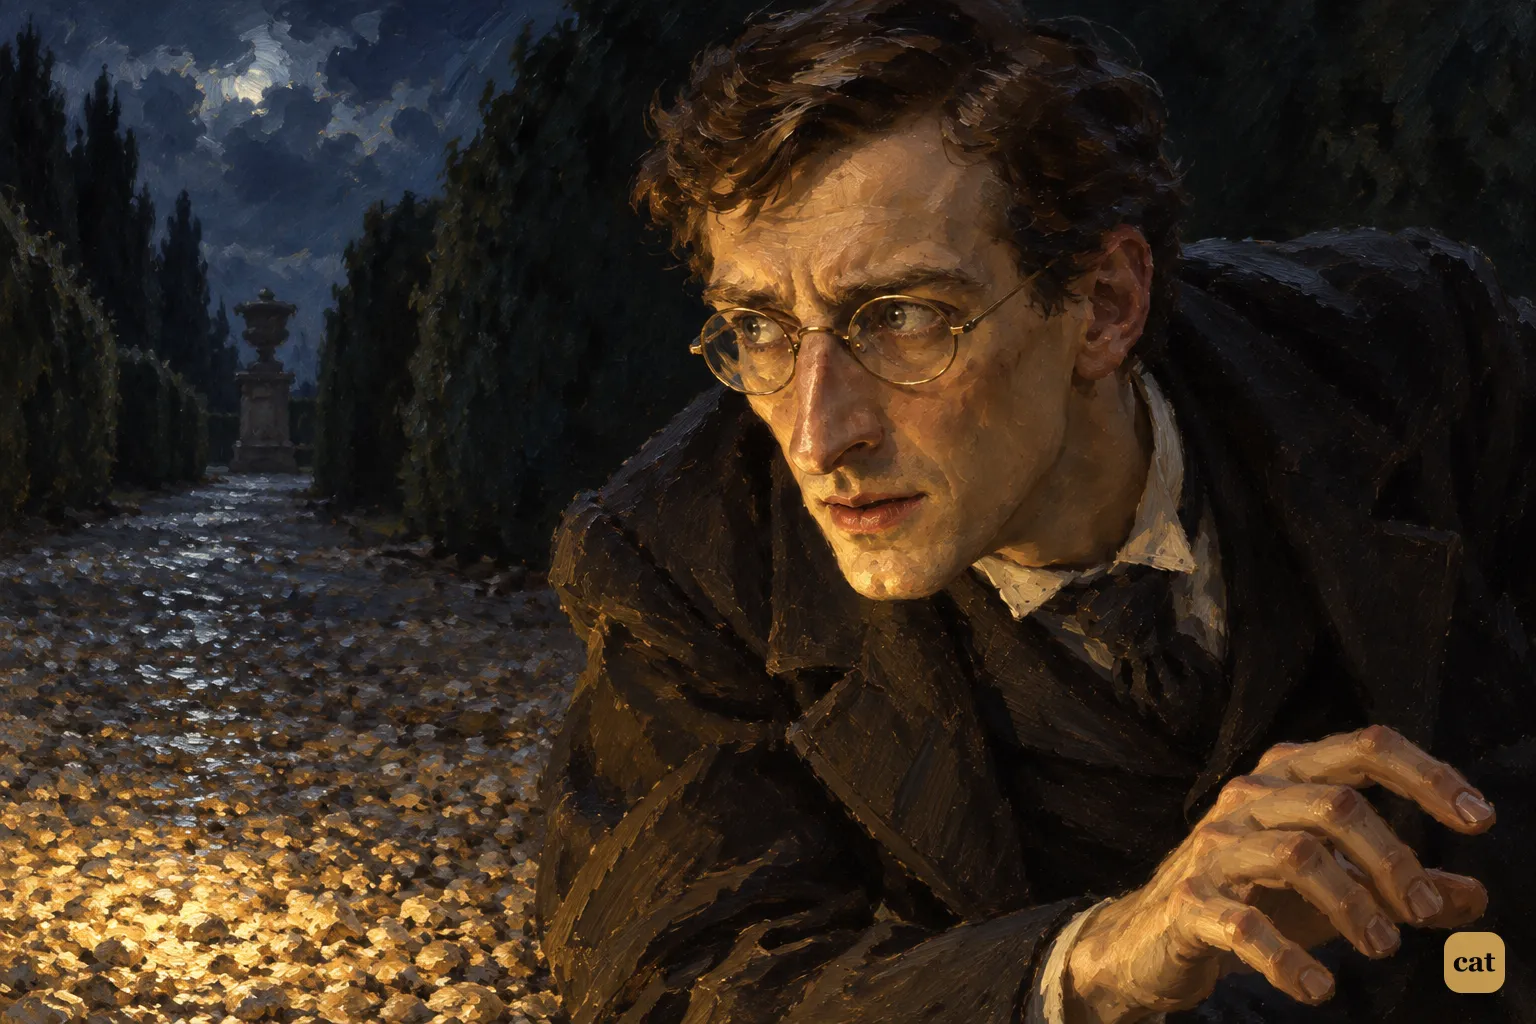
2·10 Dr. Mortimer kneels by the body in the yew alley and jerks toward a dark patch of gravel
In the text → -
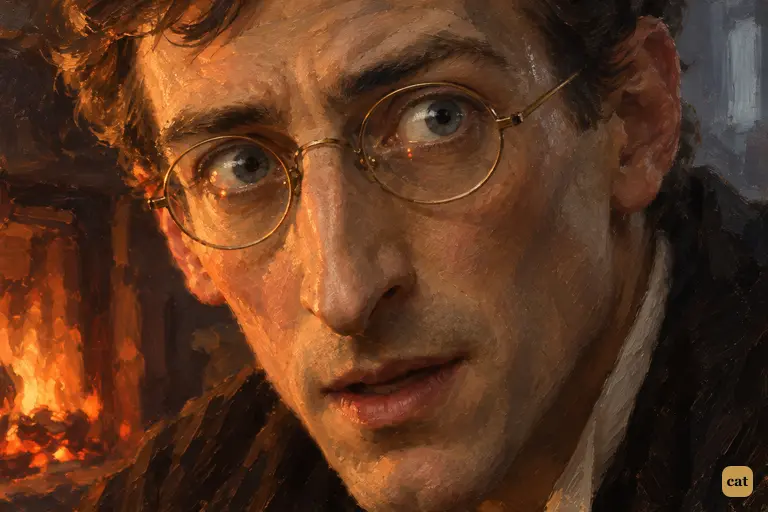
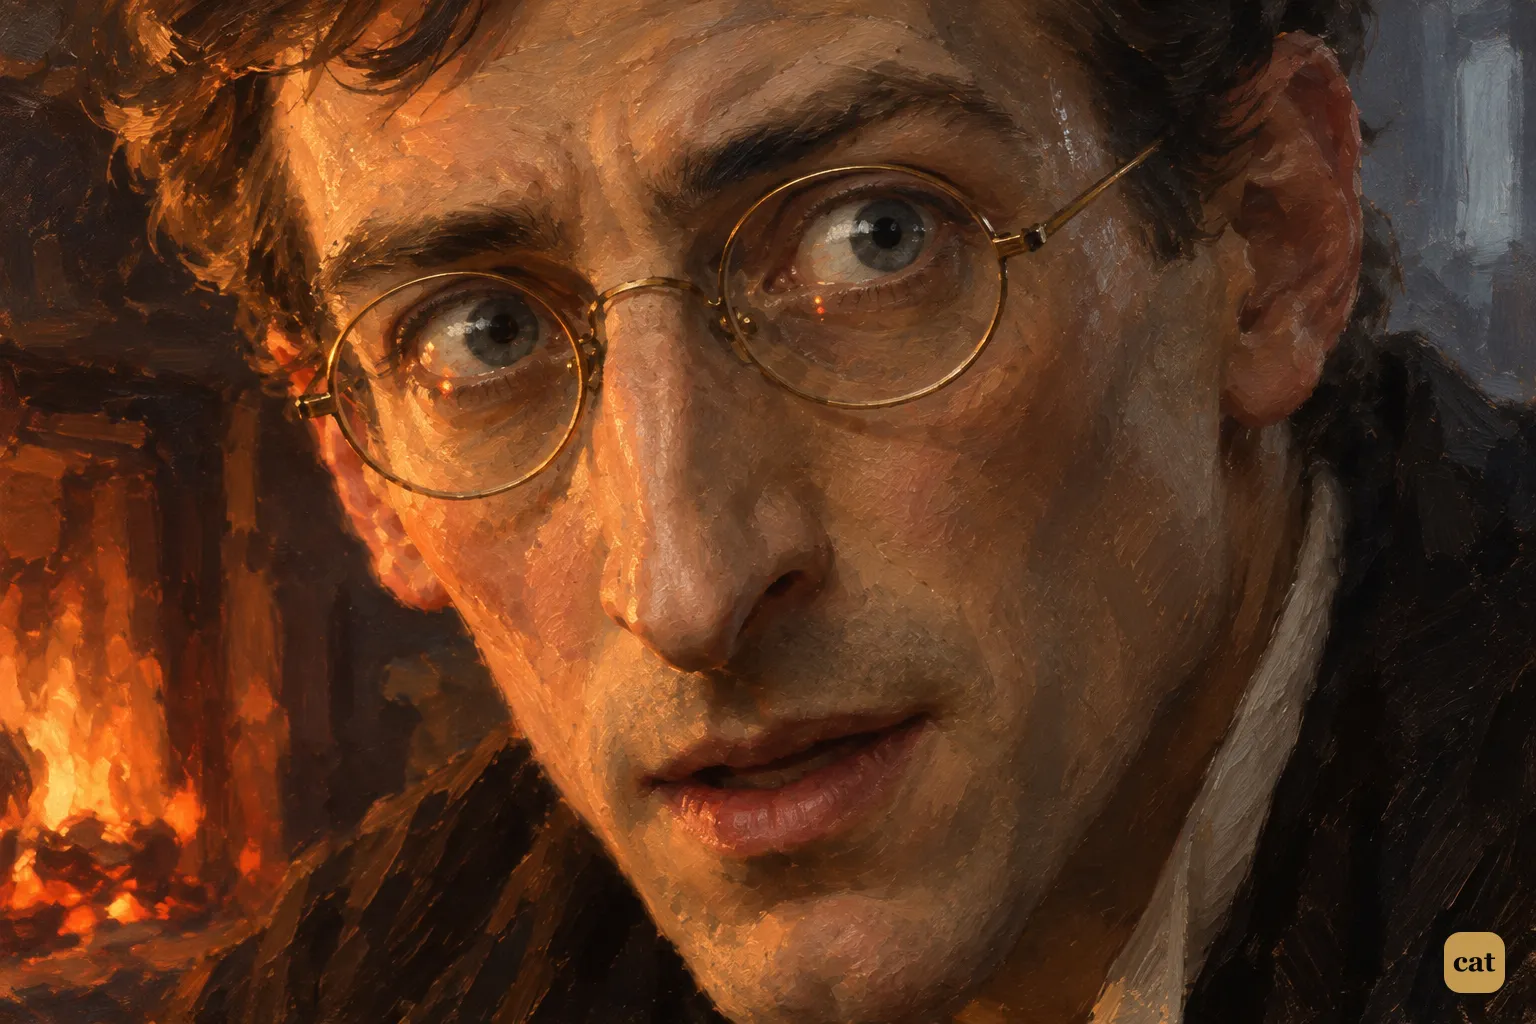
2·11 Dr. Mortimer whispers to Holmes that the footprints belonged to a gigantic hound
In the text →
Chapter 3 · 11 illustrations Holmes Takes the Case of the Spectral Hound
-
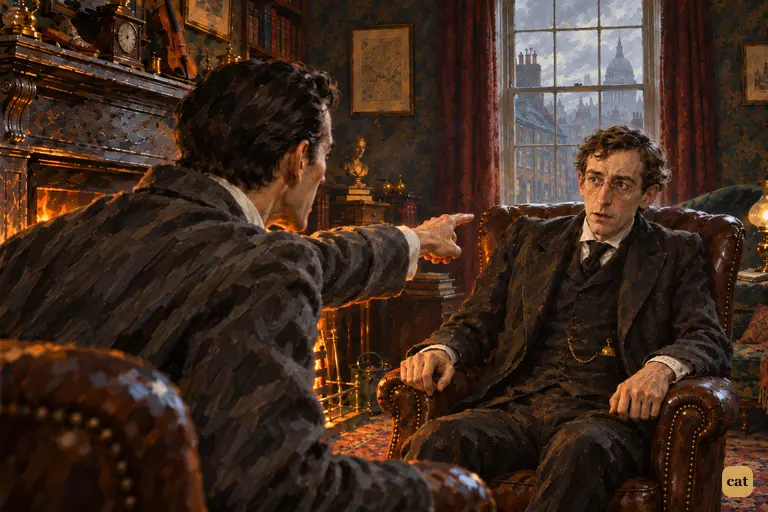
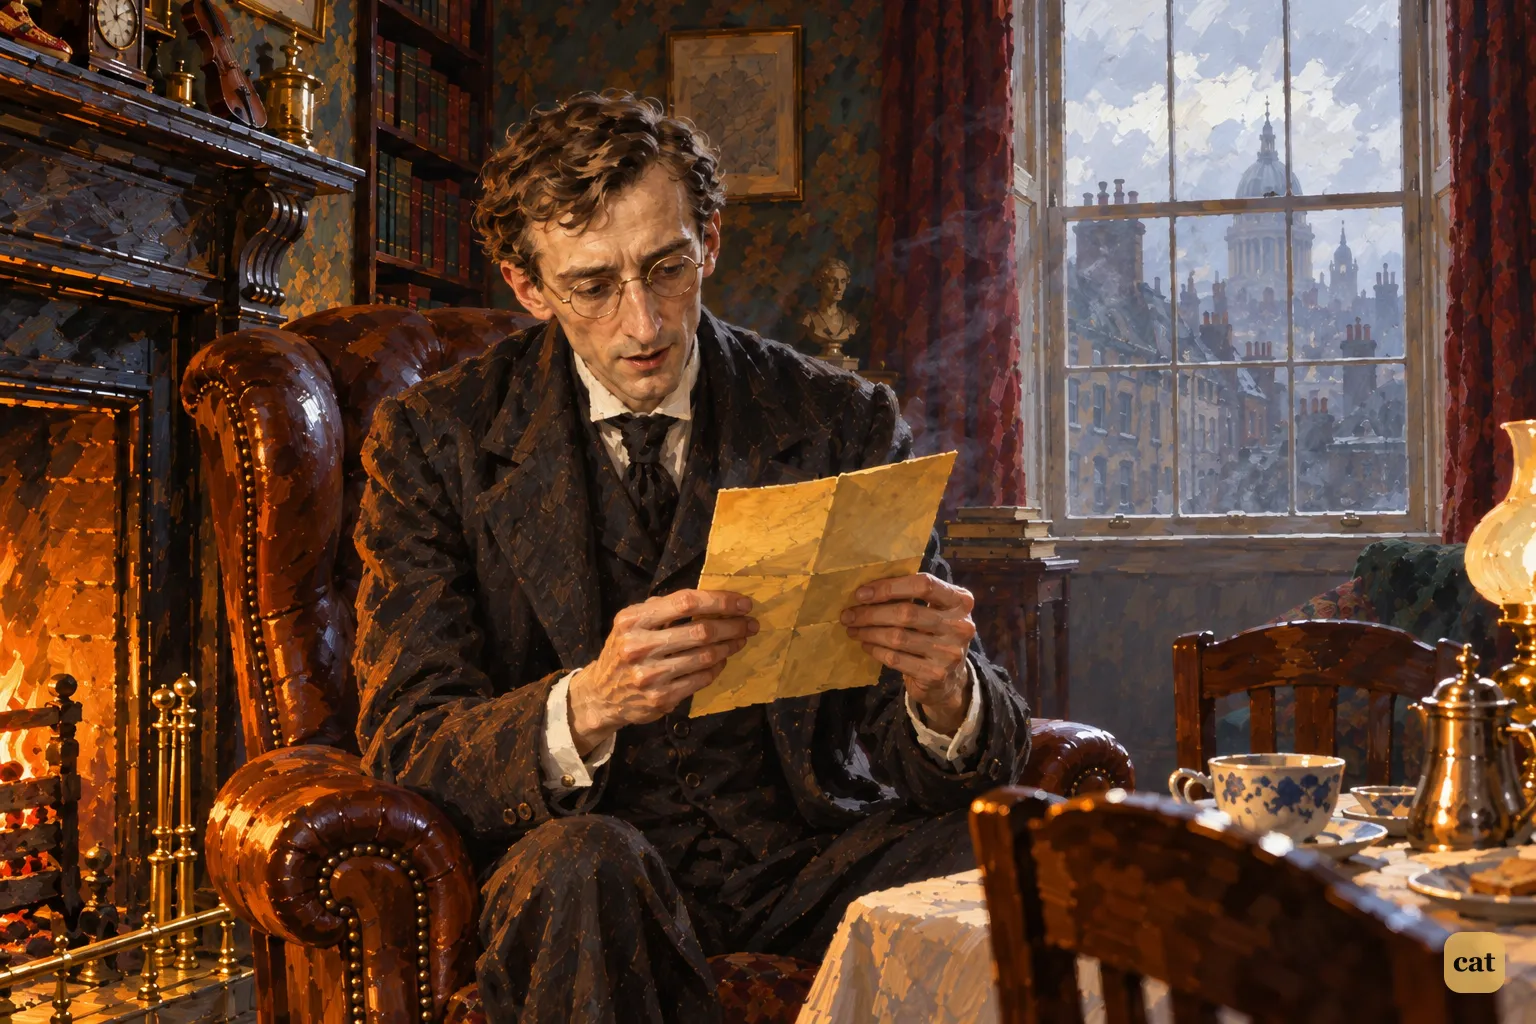
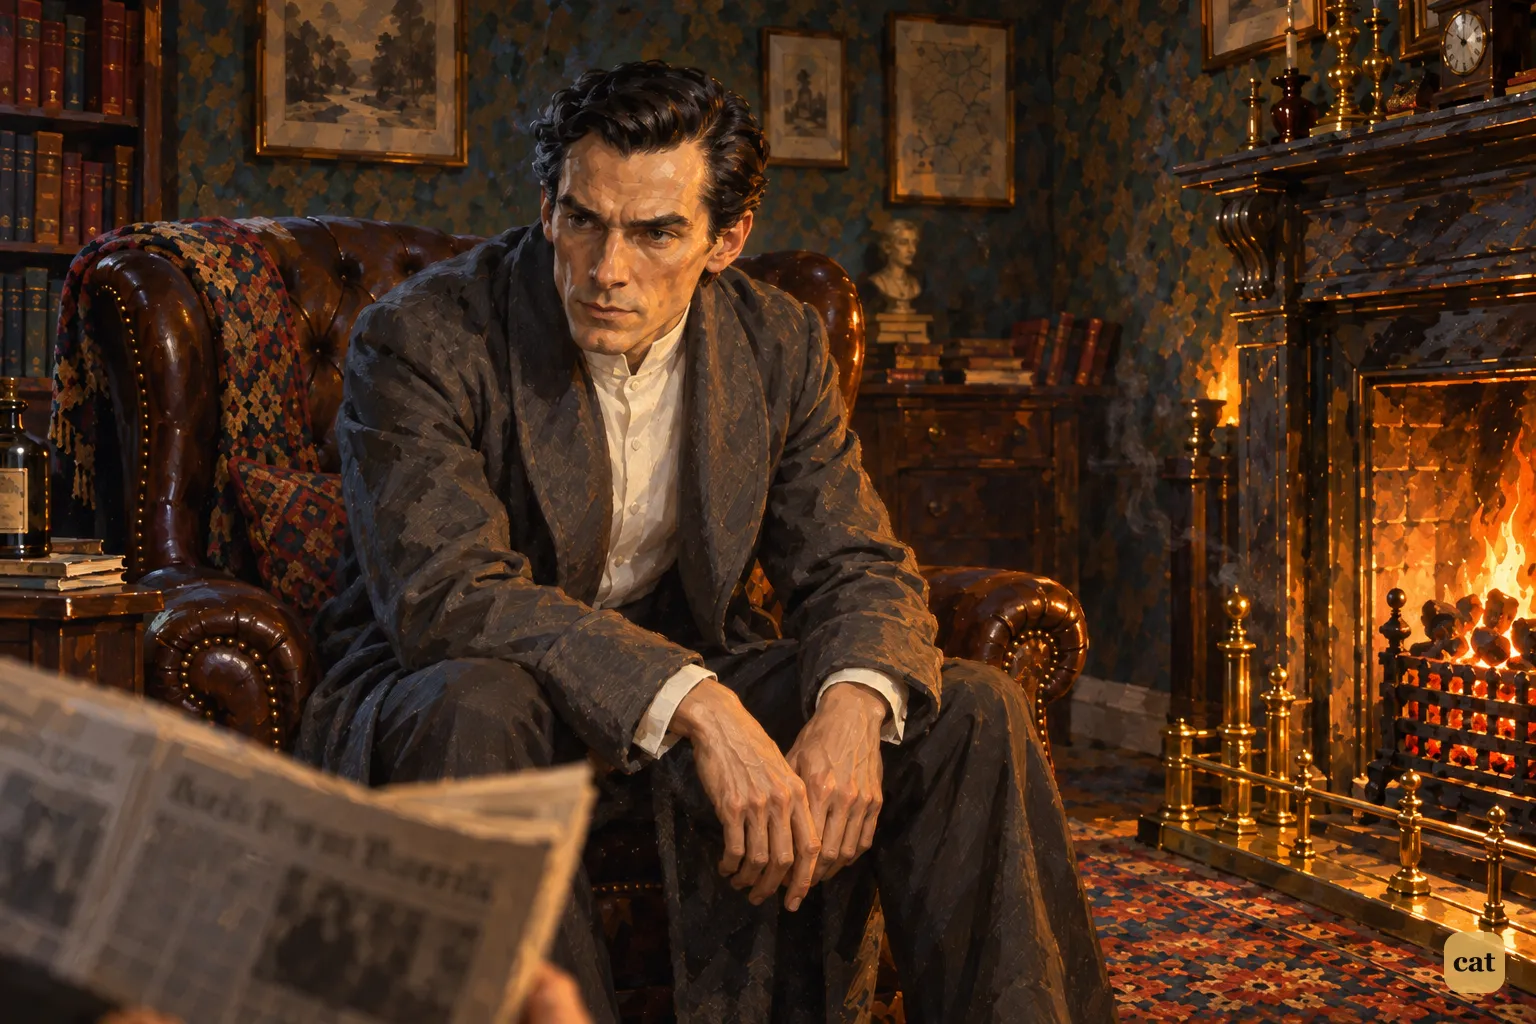
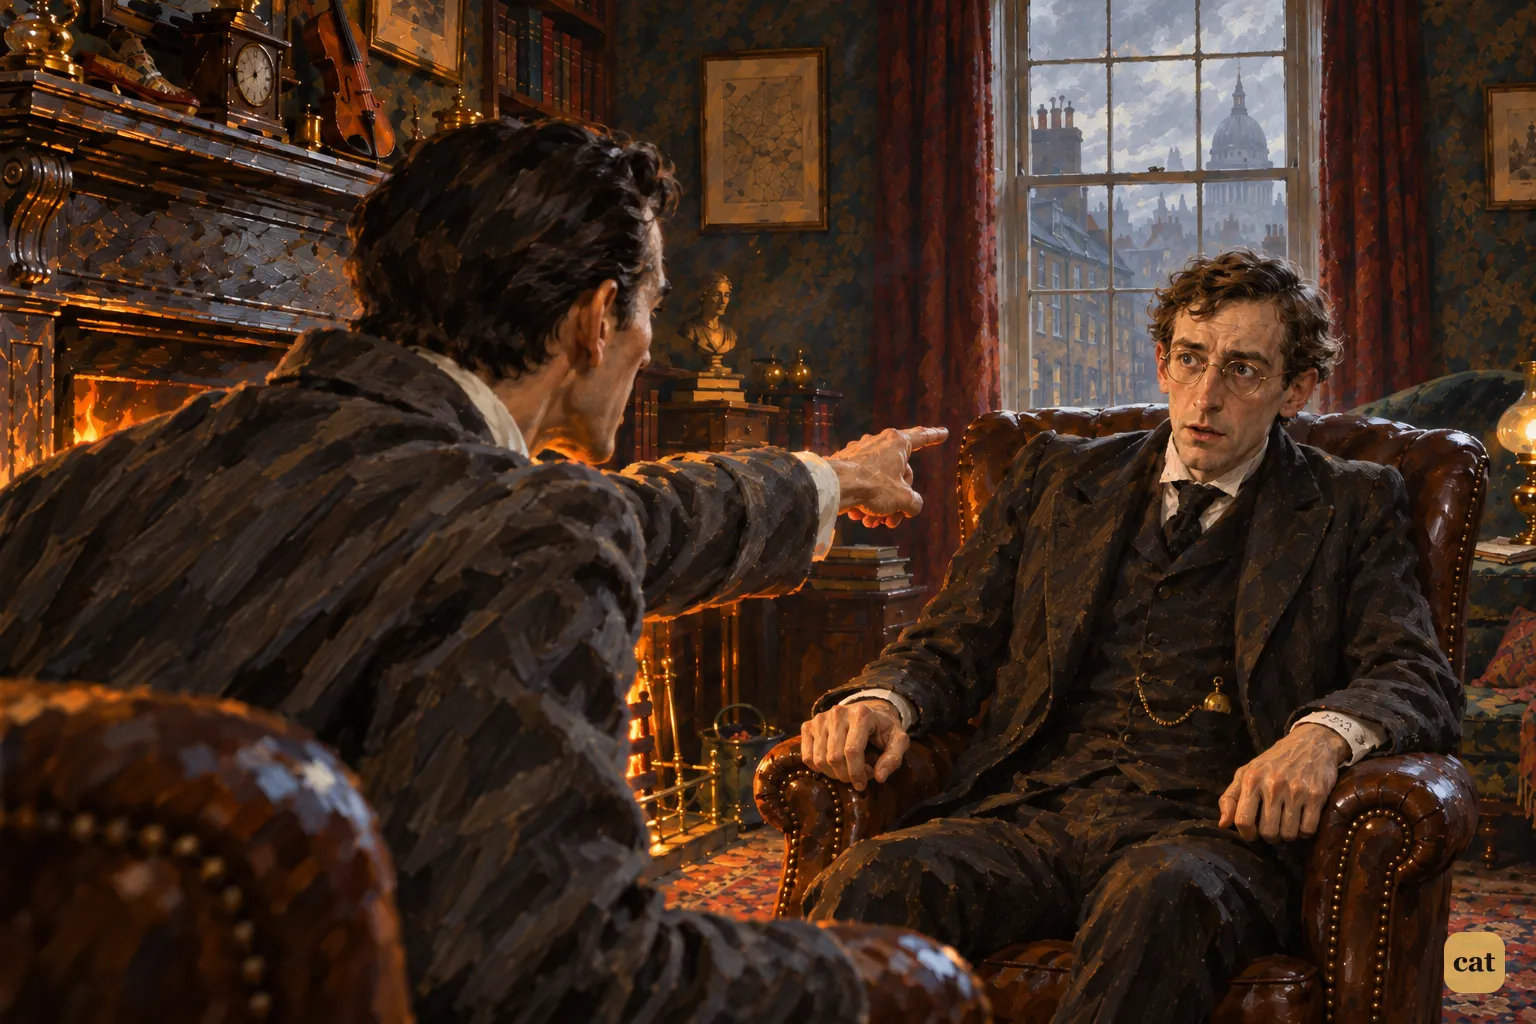
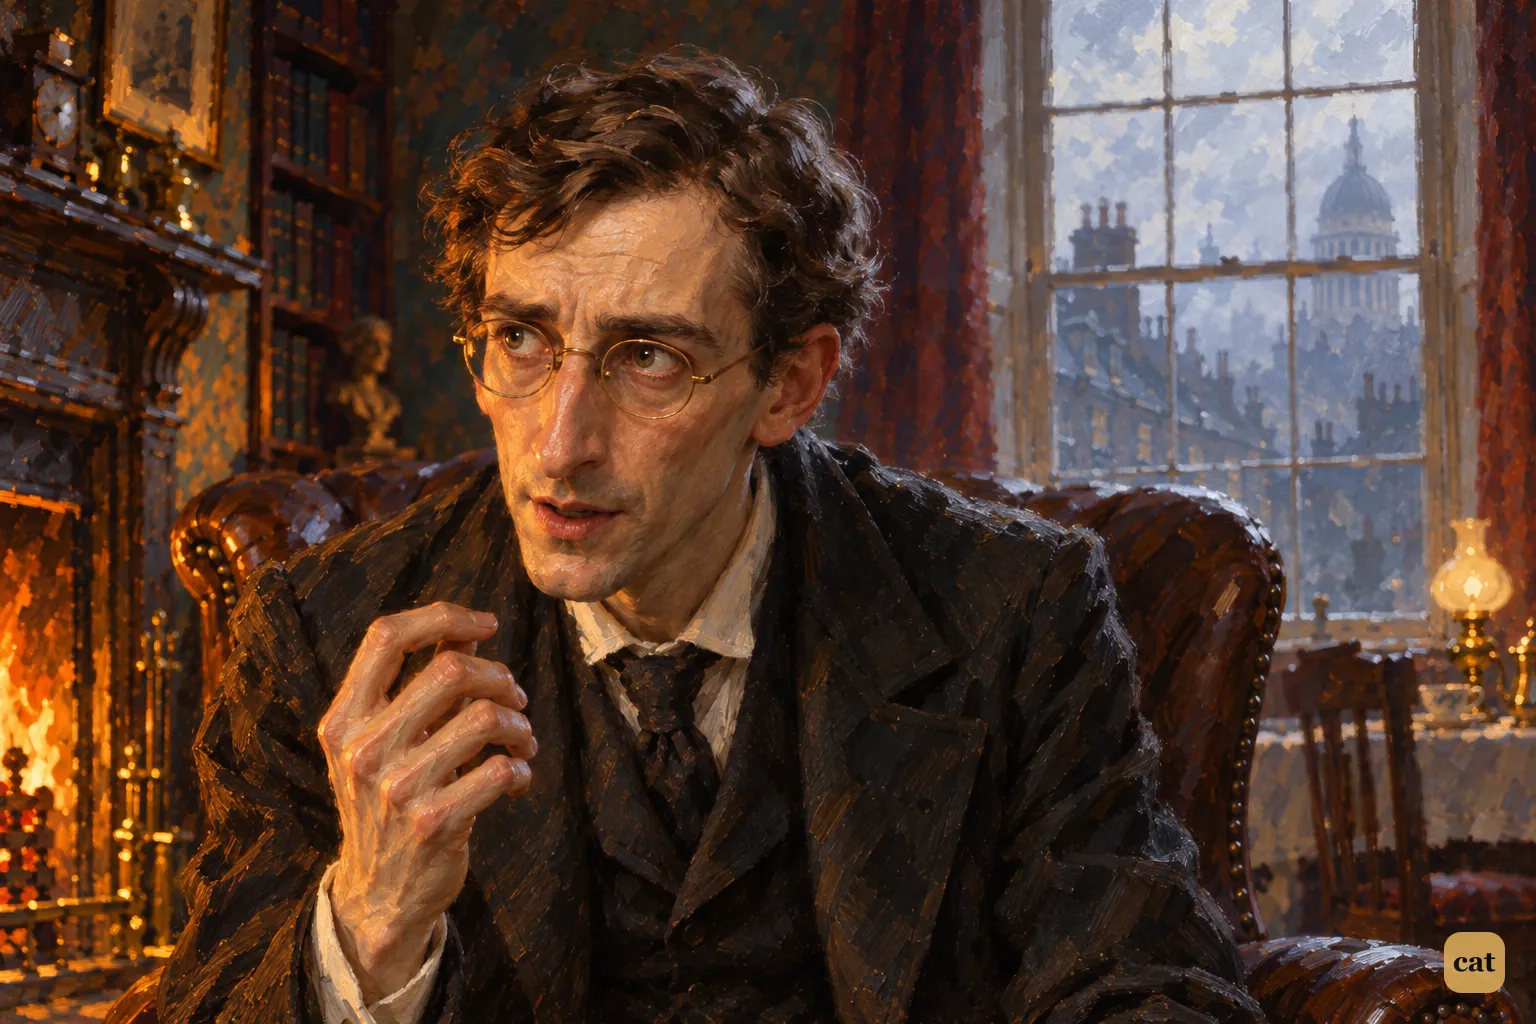
3·1 Holmes points at Dr. Mortimer from his armchair, blaming him for the lost clue
In the text → -
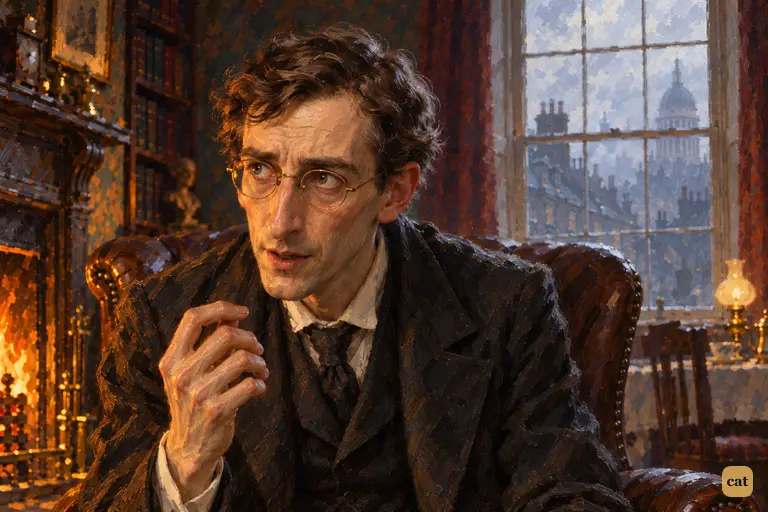
3·2 Dr. Mortimer quietly admits there is a realm where even the best detective is helpless
In the text → -
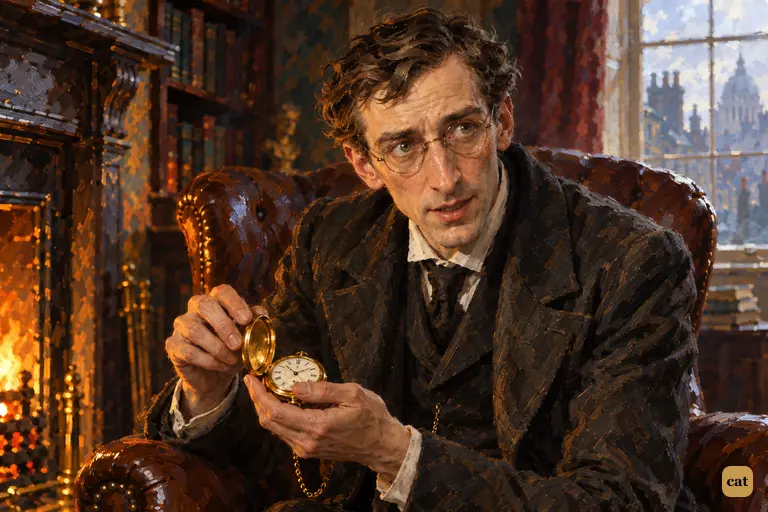
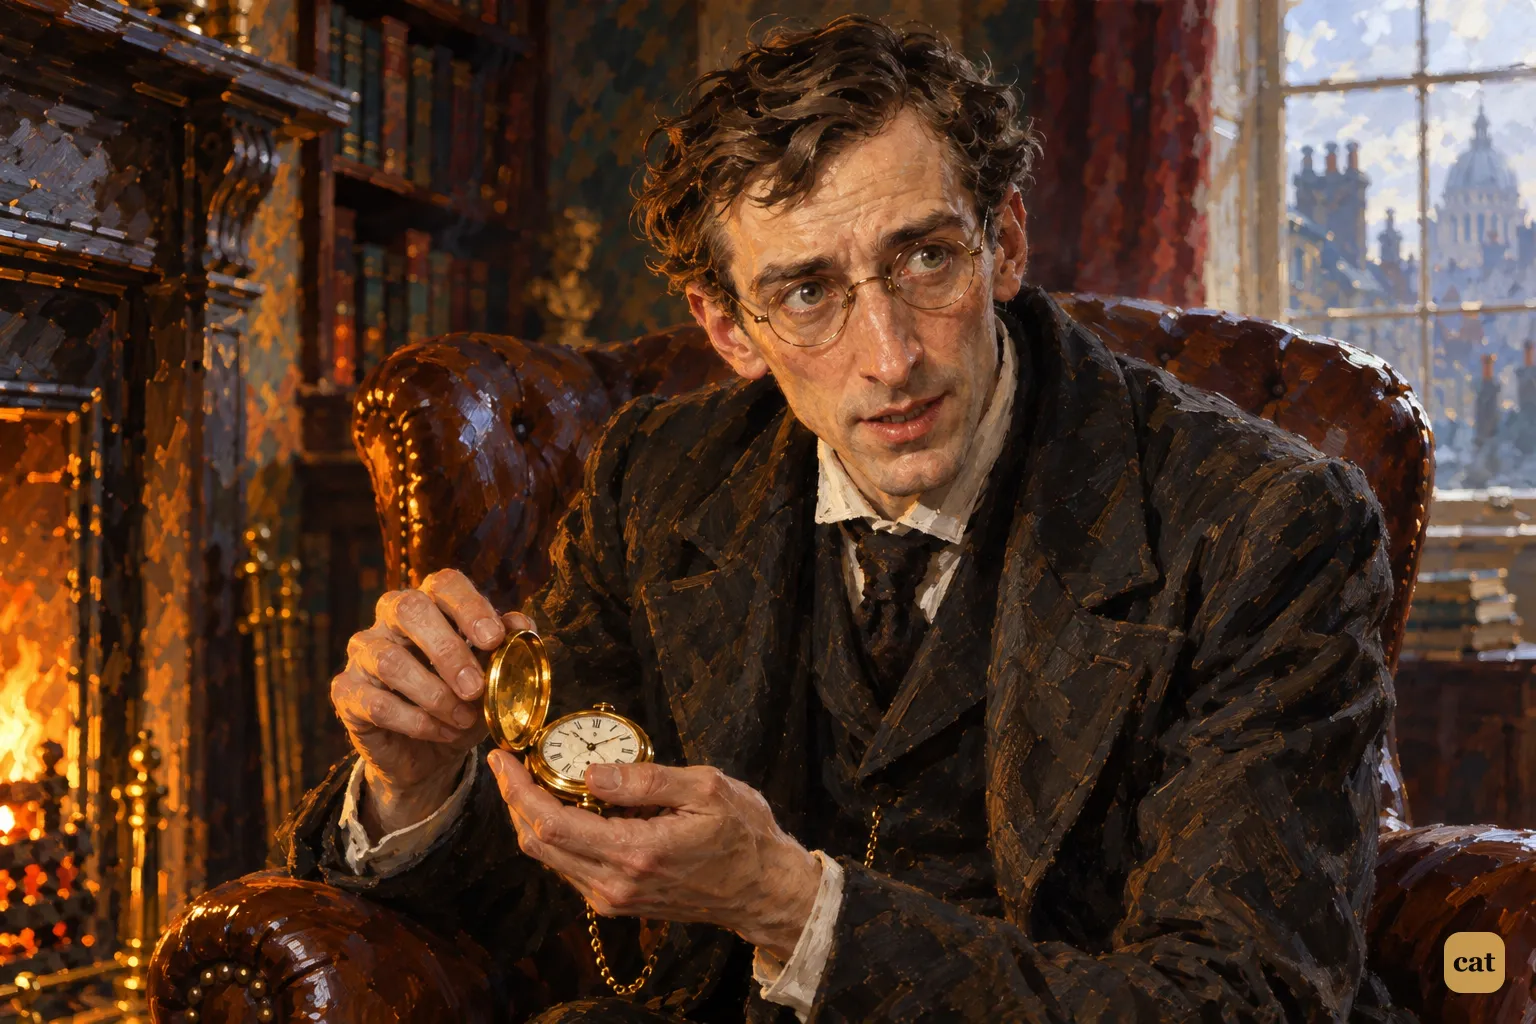
3·3 Dr. Mortimer holds his gold watch: Sir Henry reaches Waterloo in an hour and a quarter
In the text → -
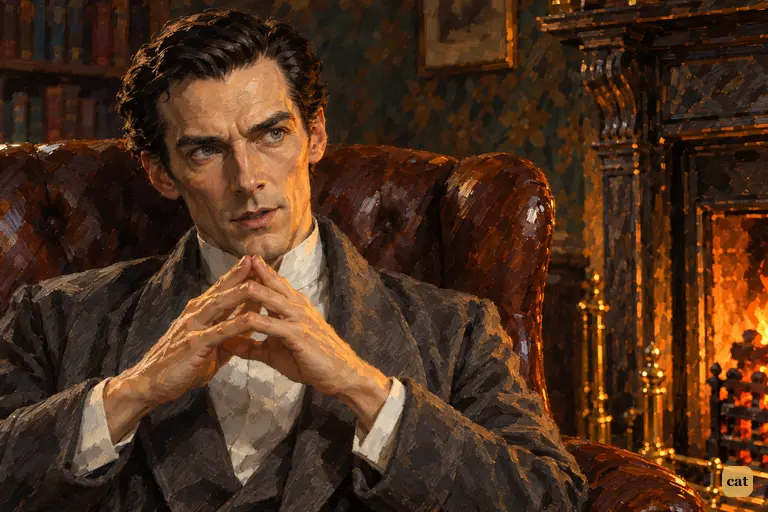
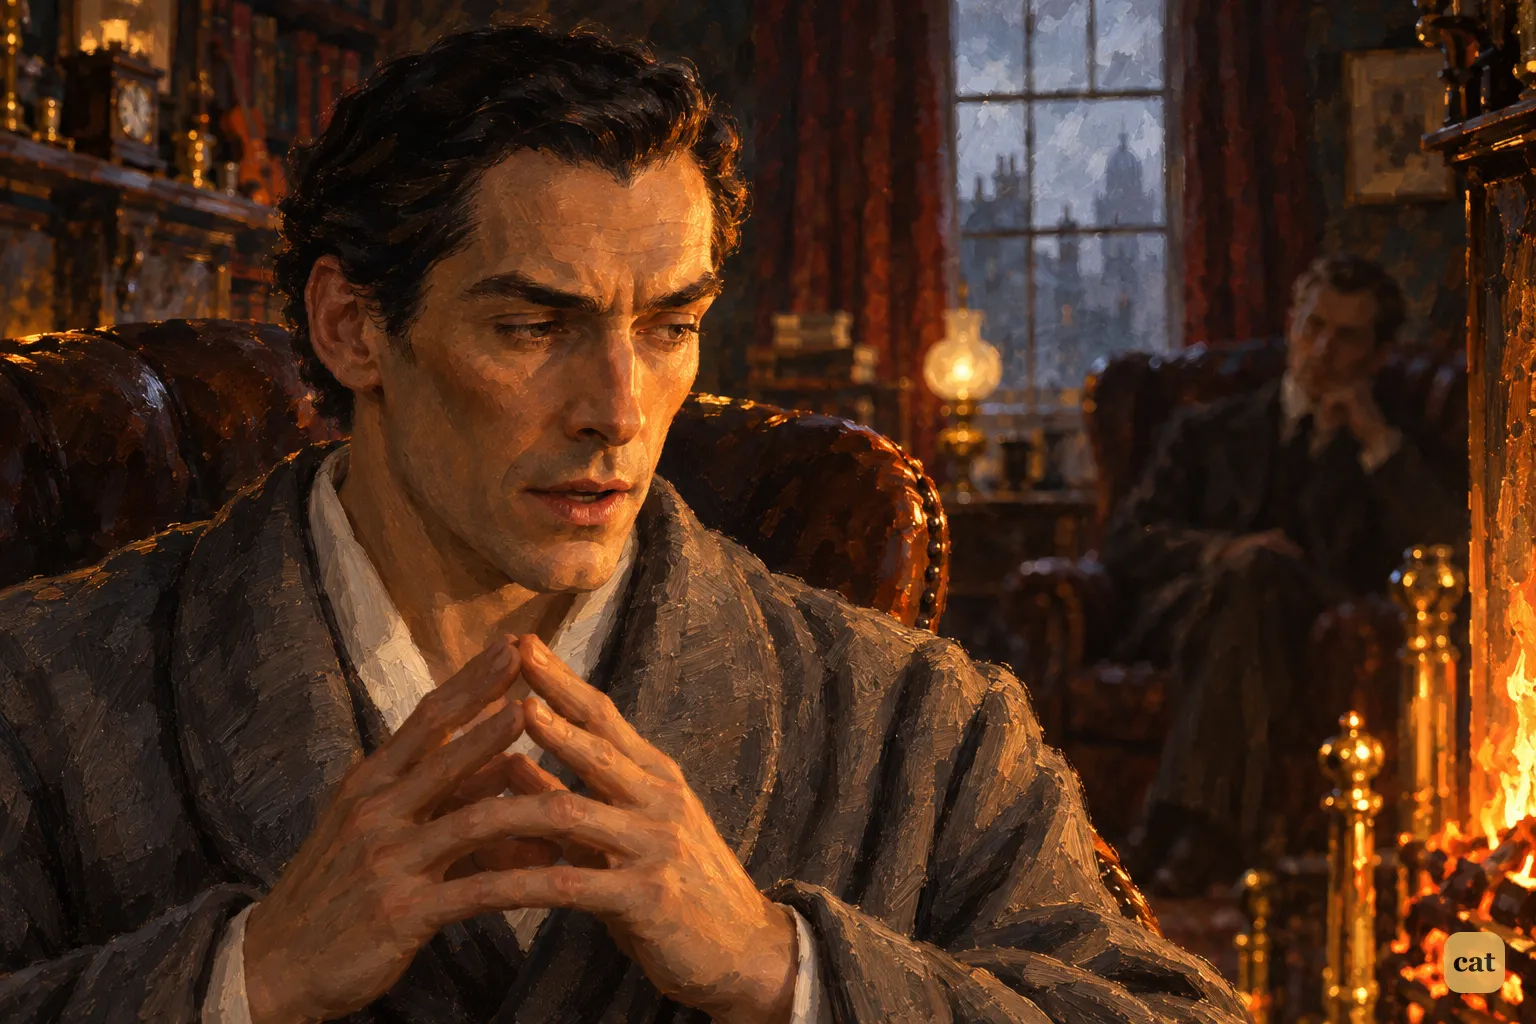
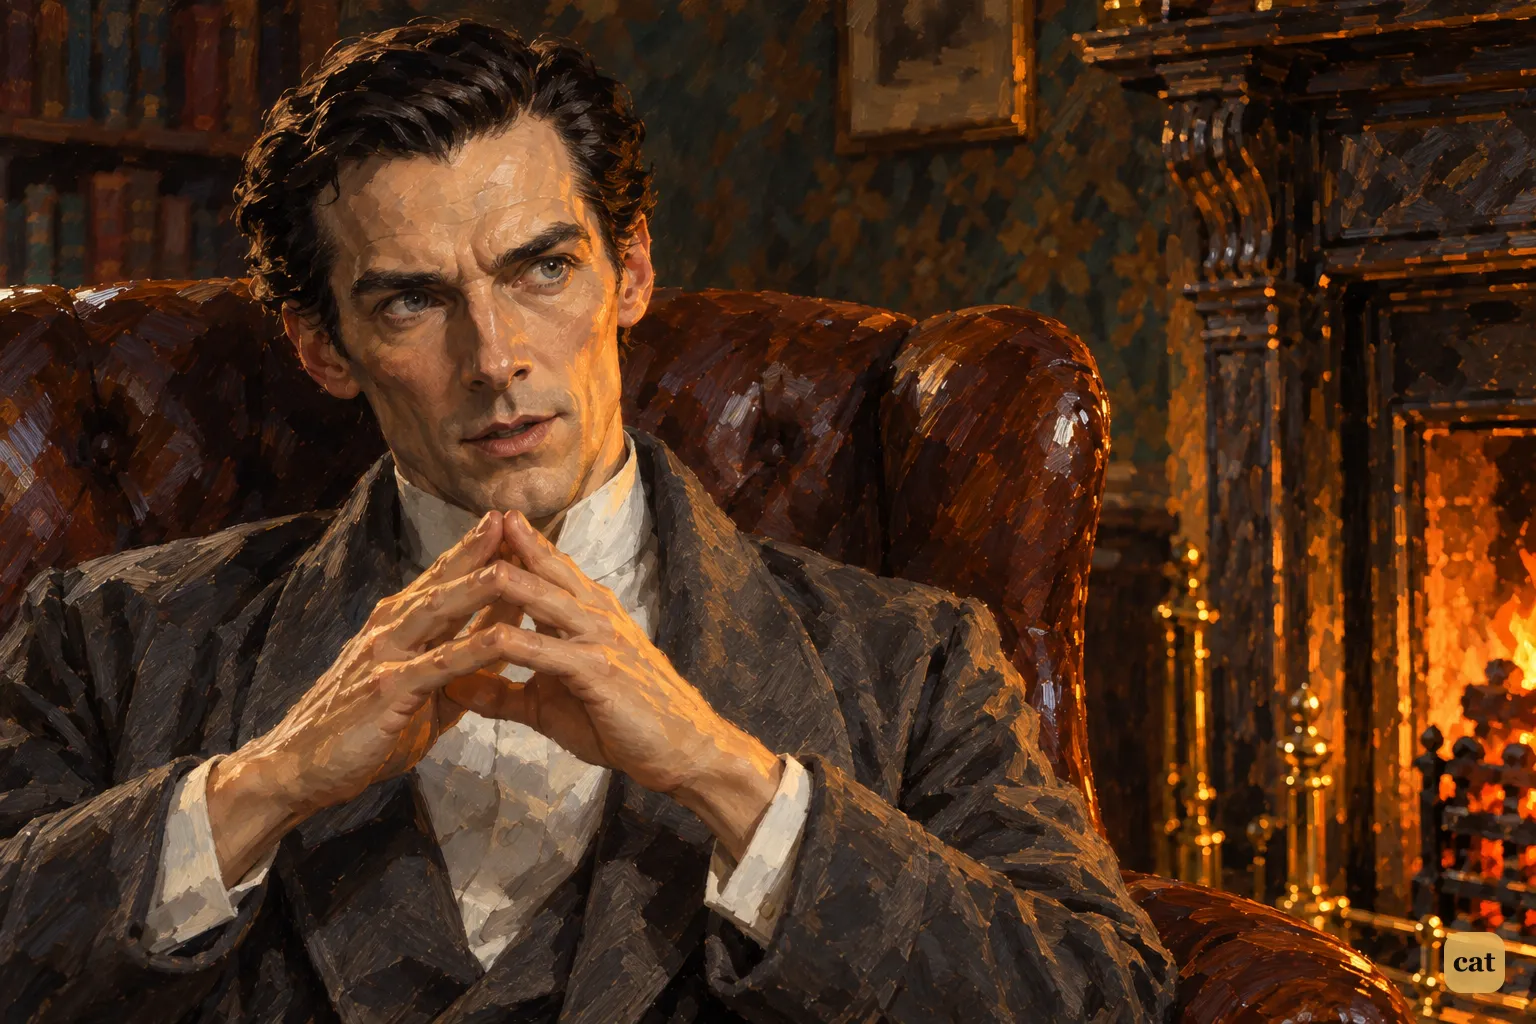
3·4 Fingertips together, Holmes gives Dr. Mortimer his answer: twenty-four hours
In the text → -
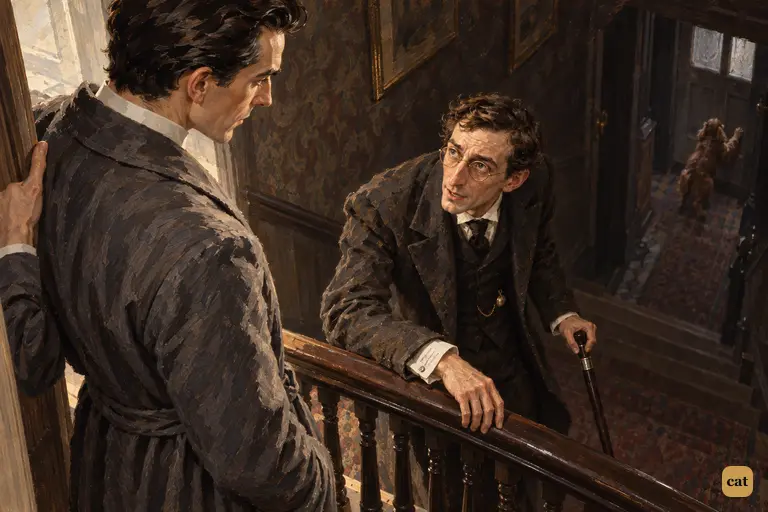
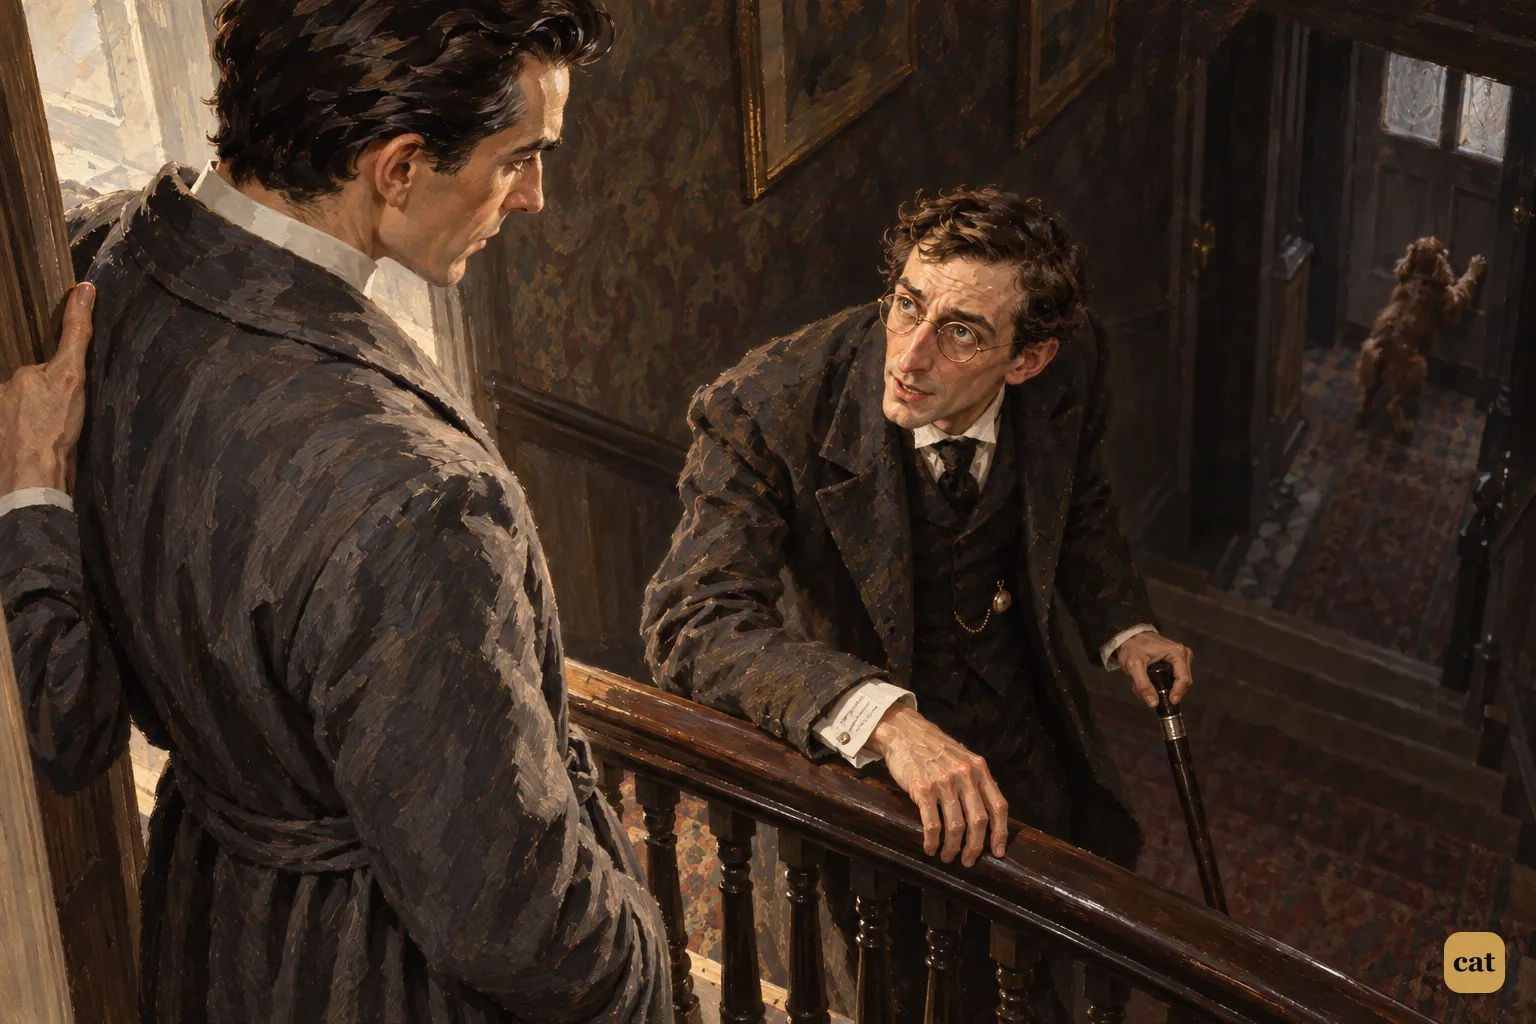
3·5 On the stair, Dr. Mortimer says the apparition hasn't been seen since Sir Charles died
In the text → -
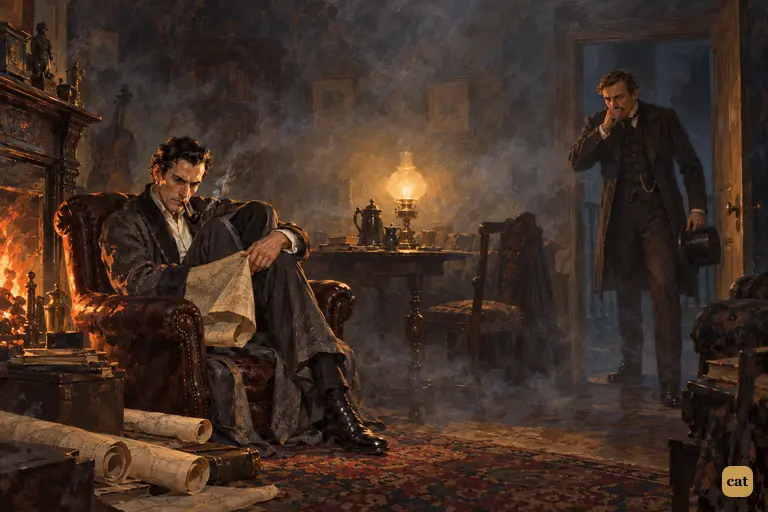
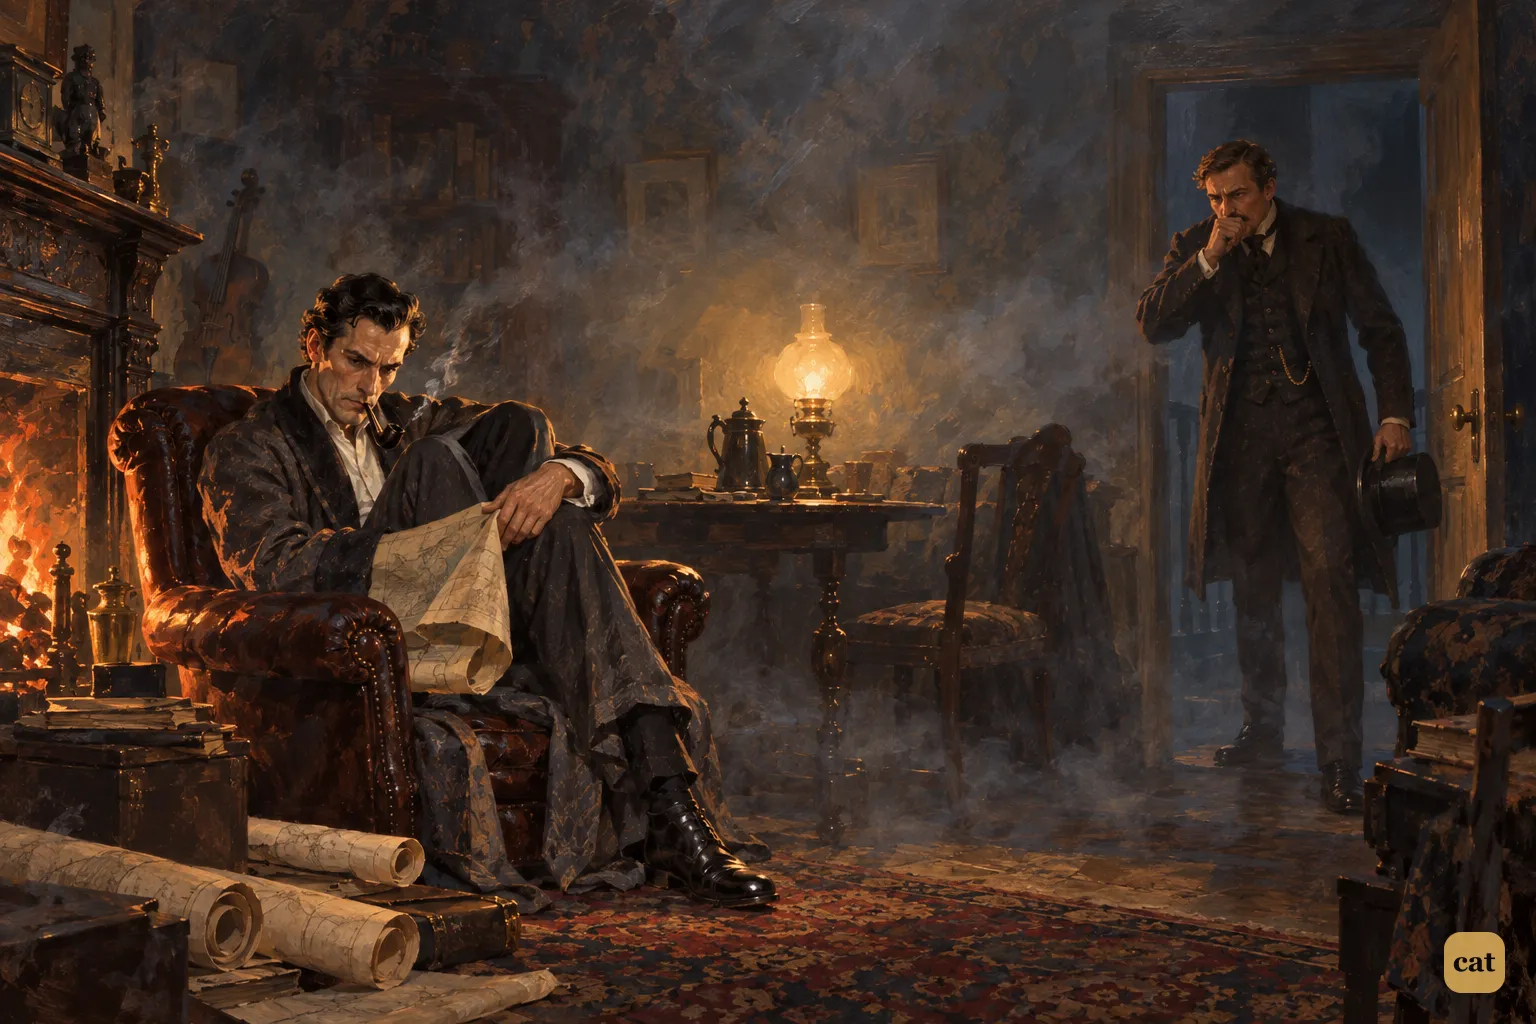
3·6 Watson opens the door on a sitting-room so thick with smoke he thinks it is on fire
In the text → -
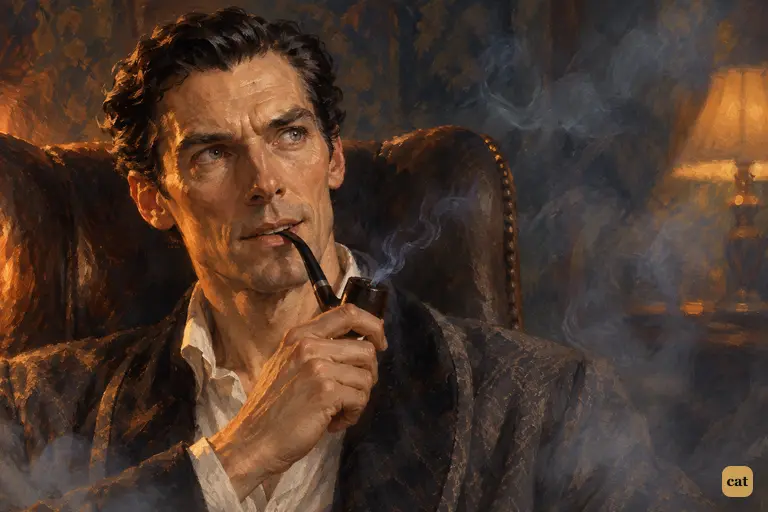
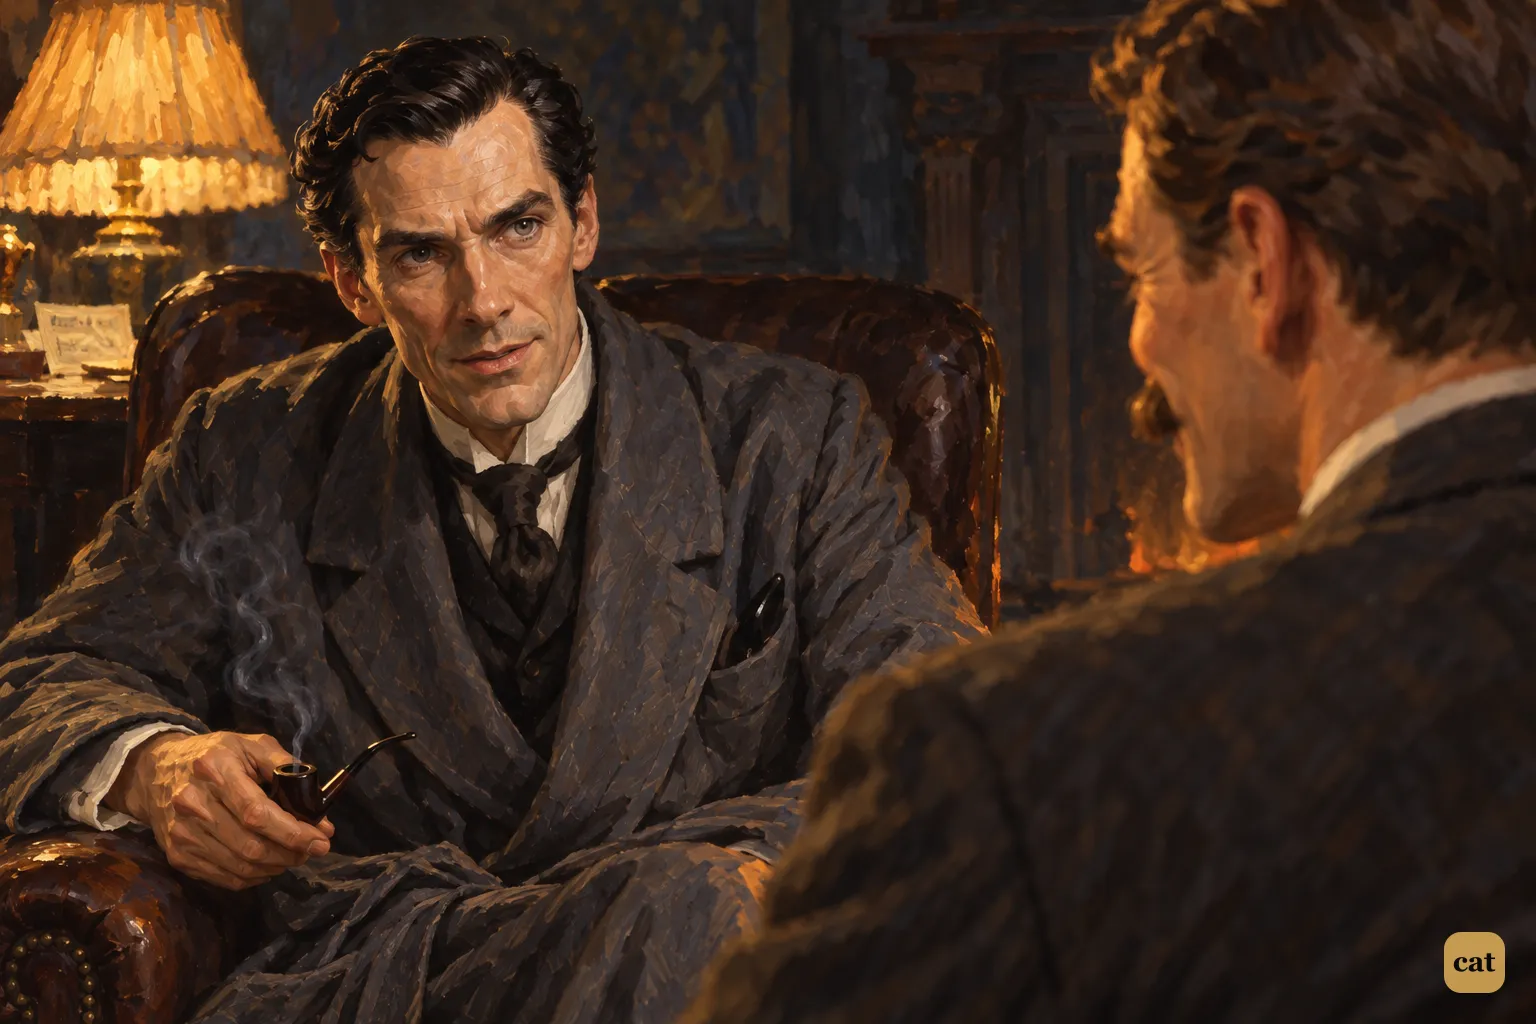
3·7 Amid tobacco smoke, Holmes tells Watson with a faint smile he has been to Devonshire
In the text → -
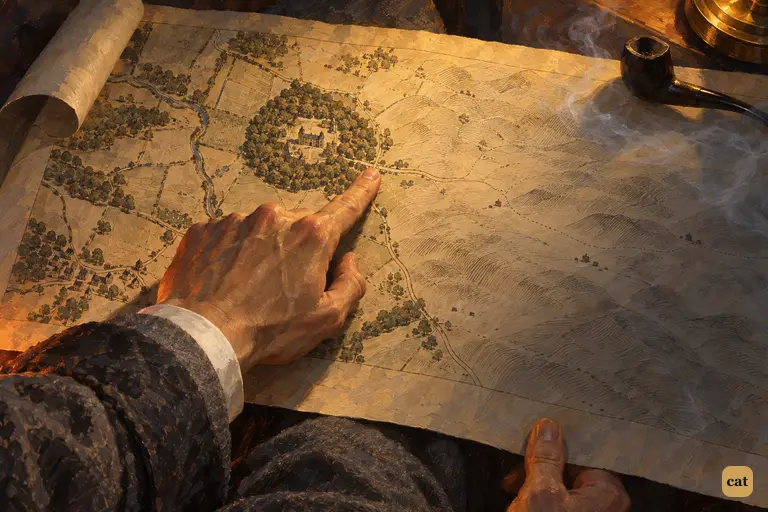
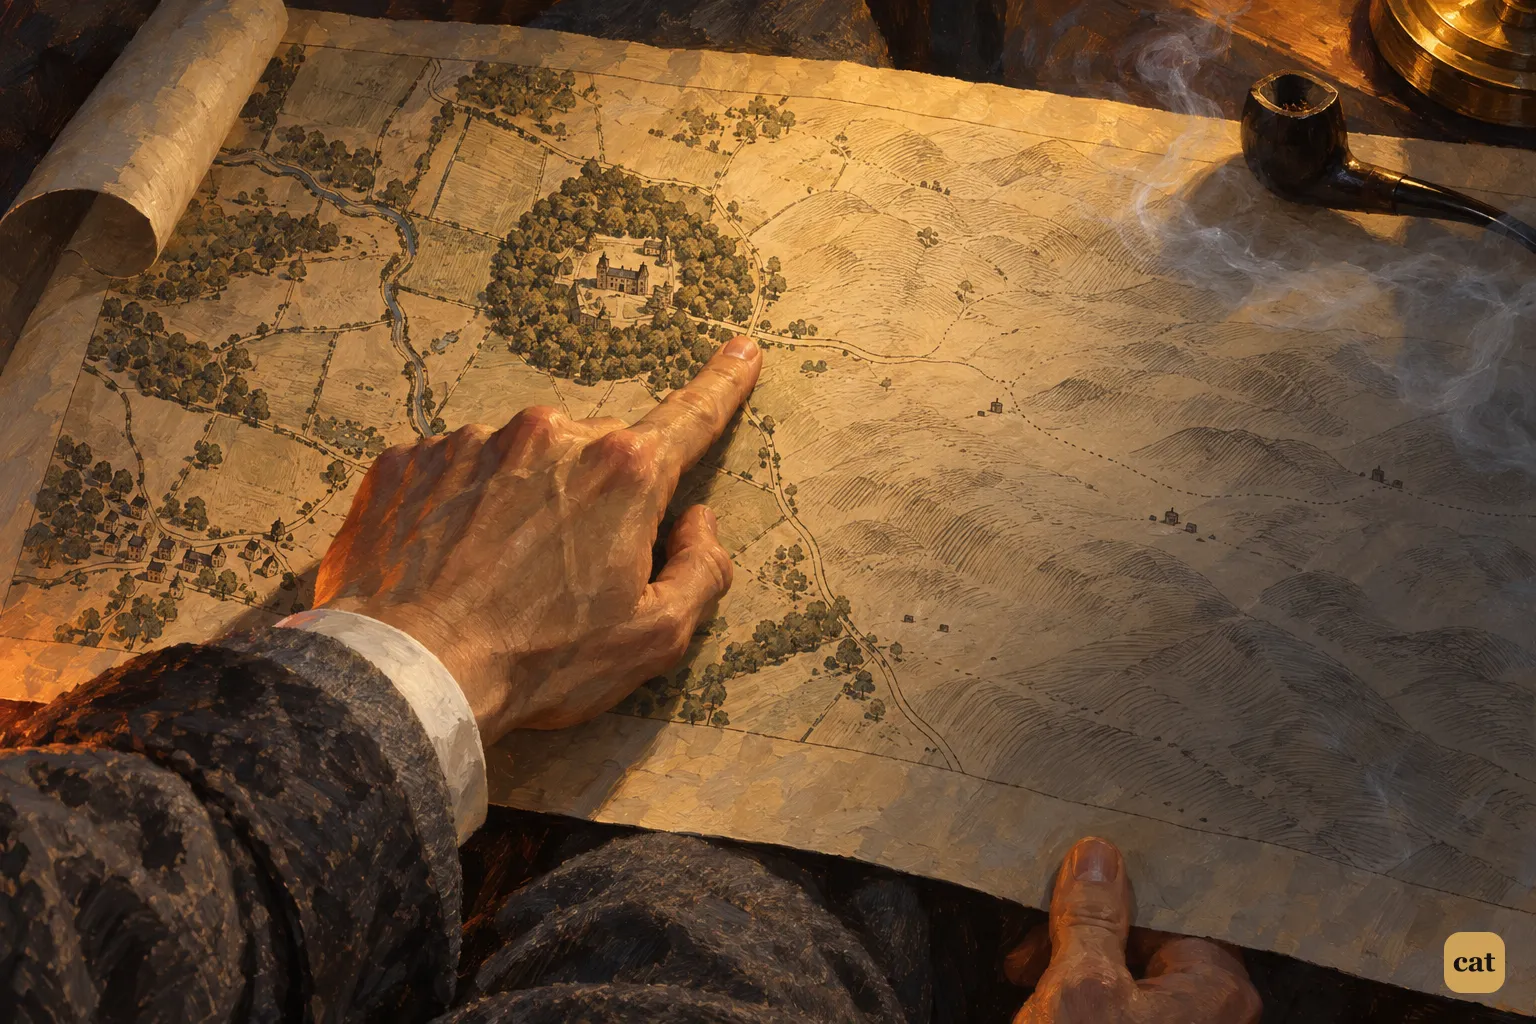
3·8 Holmes's forefinger traces the yew alley on the Ordnance map spread over his knee
In the text → -
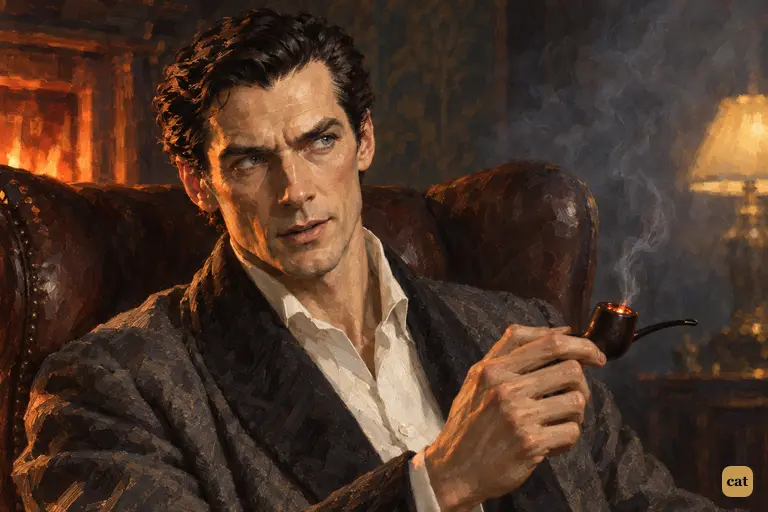
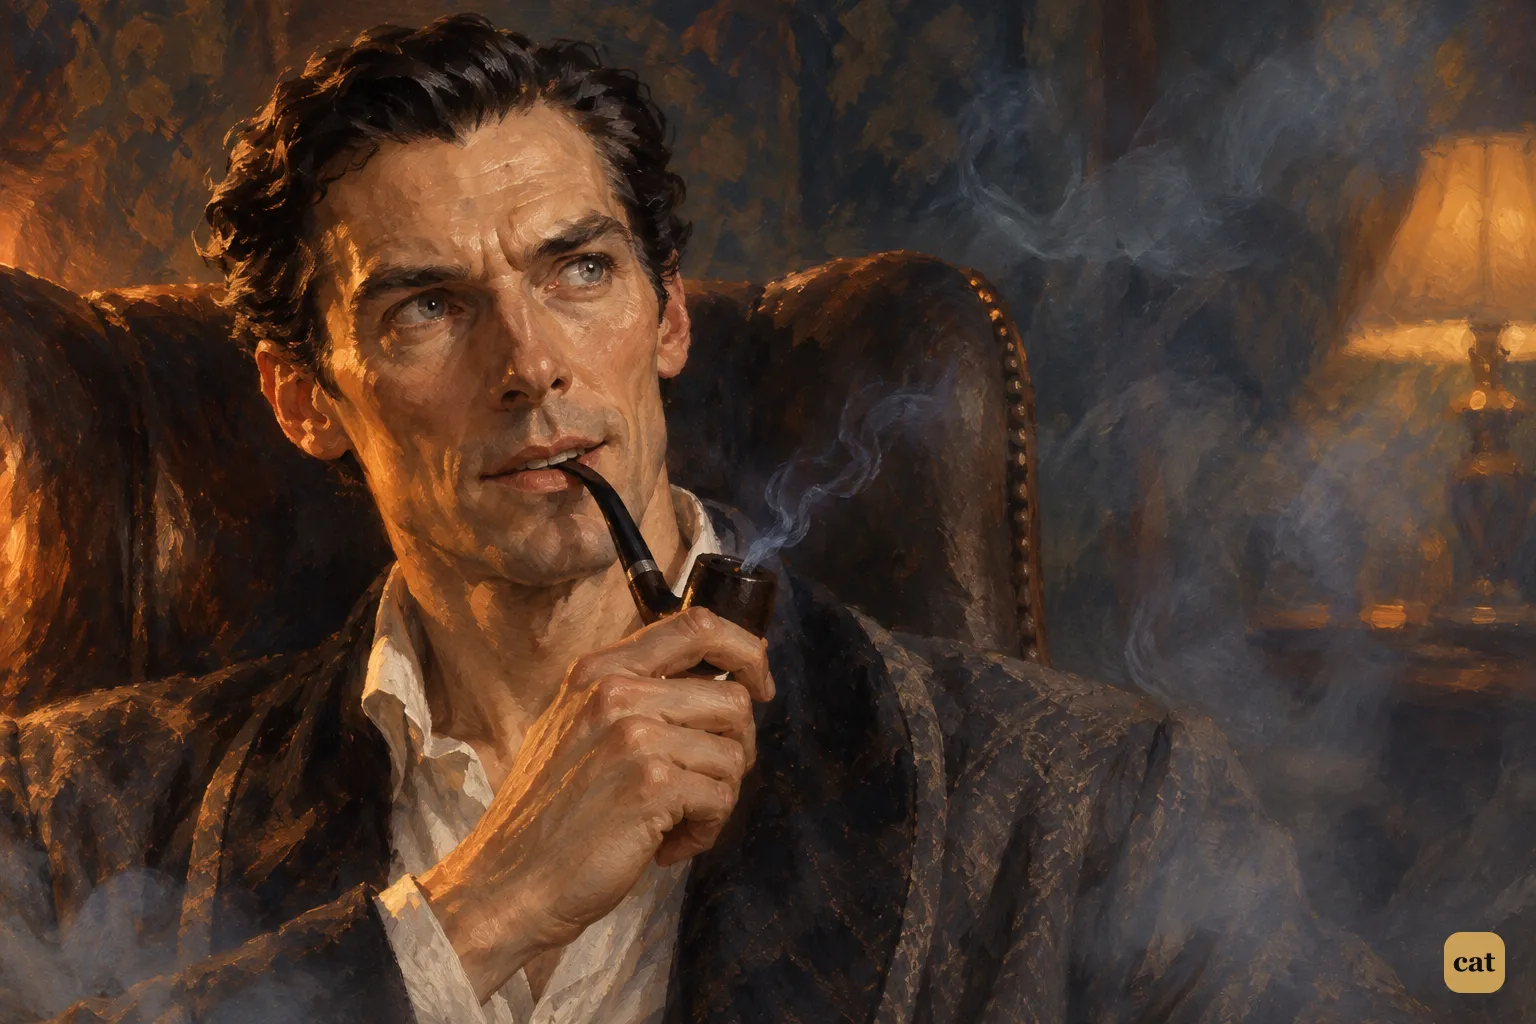
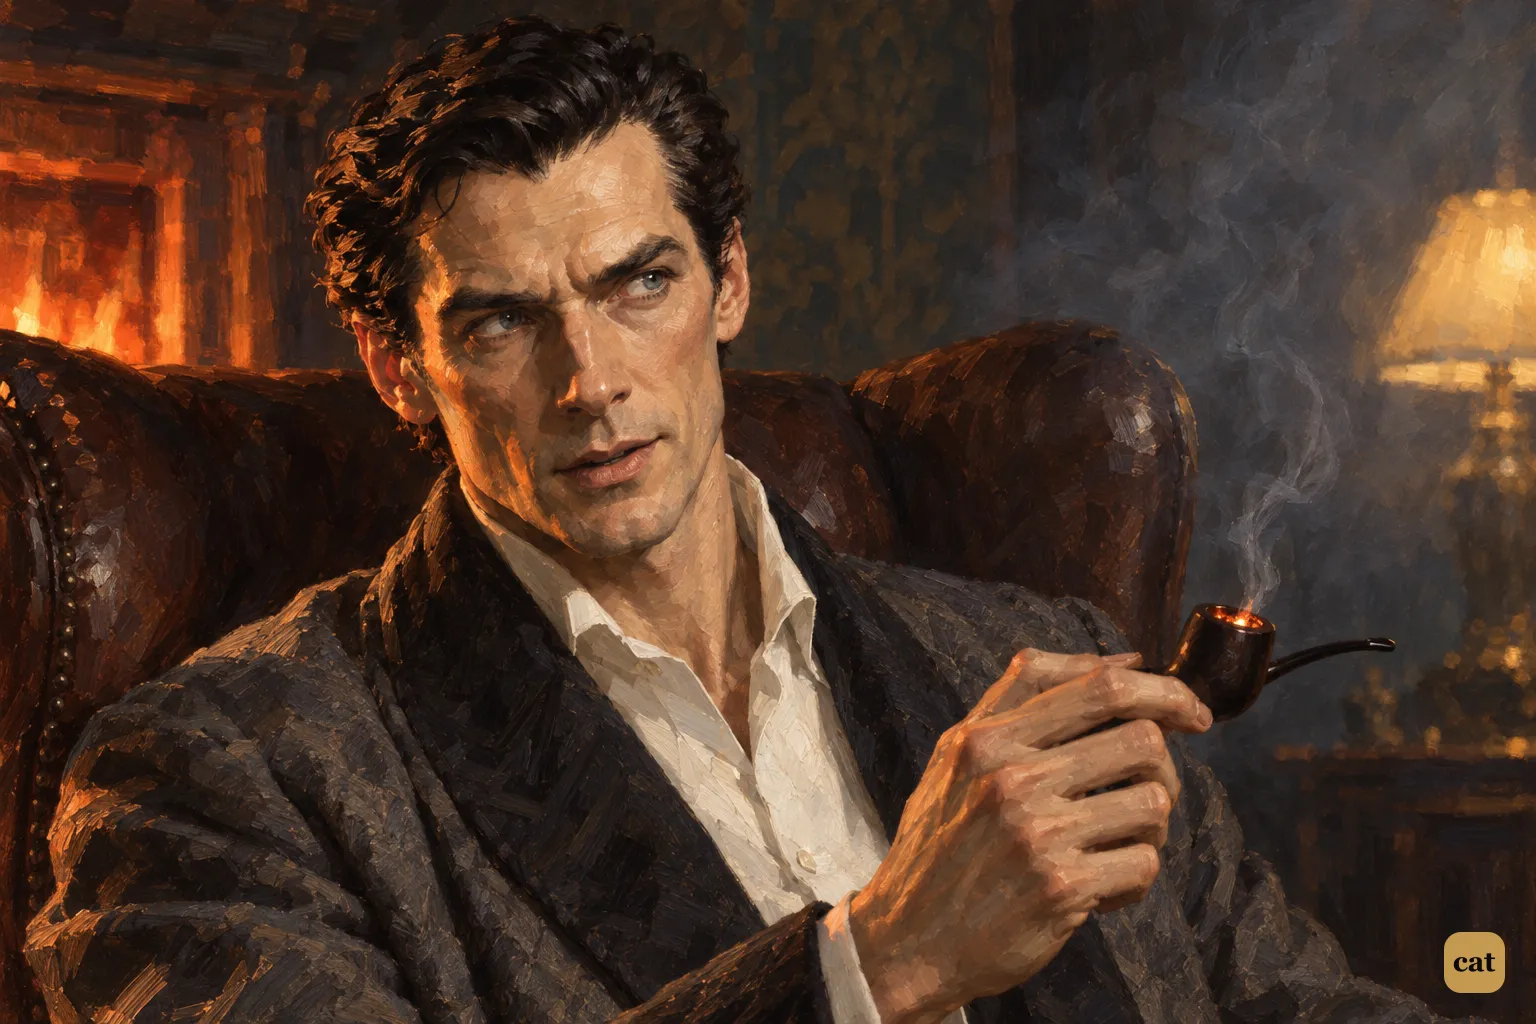
3·9 Raising his pipe, Holmes asks Watson if the devil's agents might be flesh and blood
In the text → -
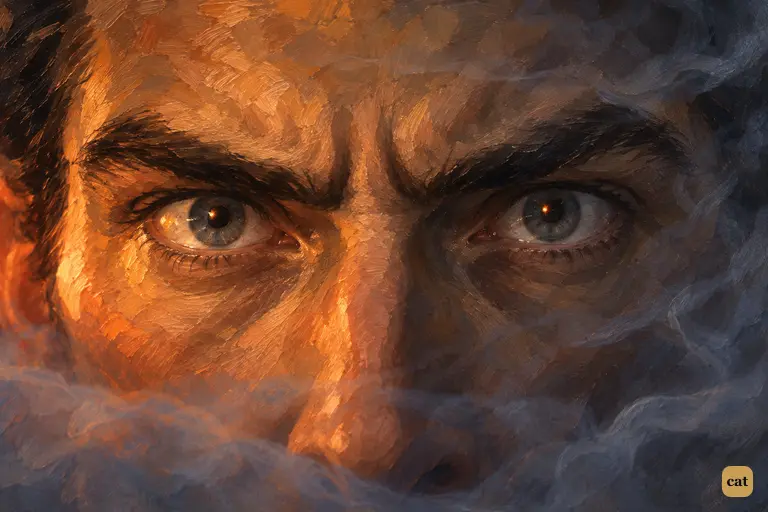
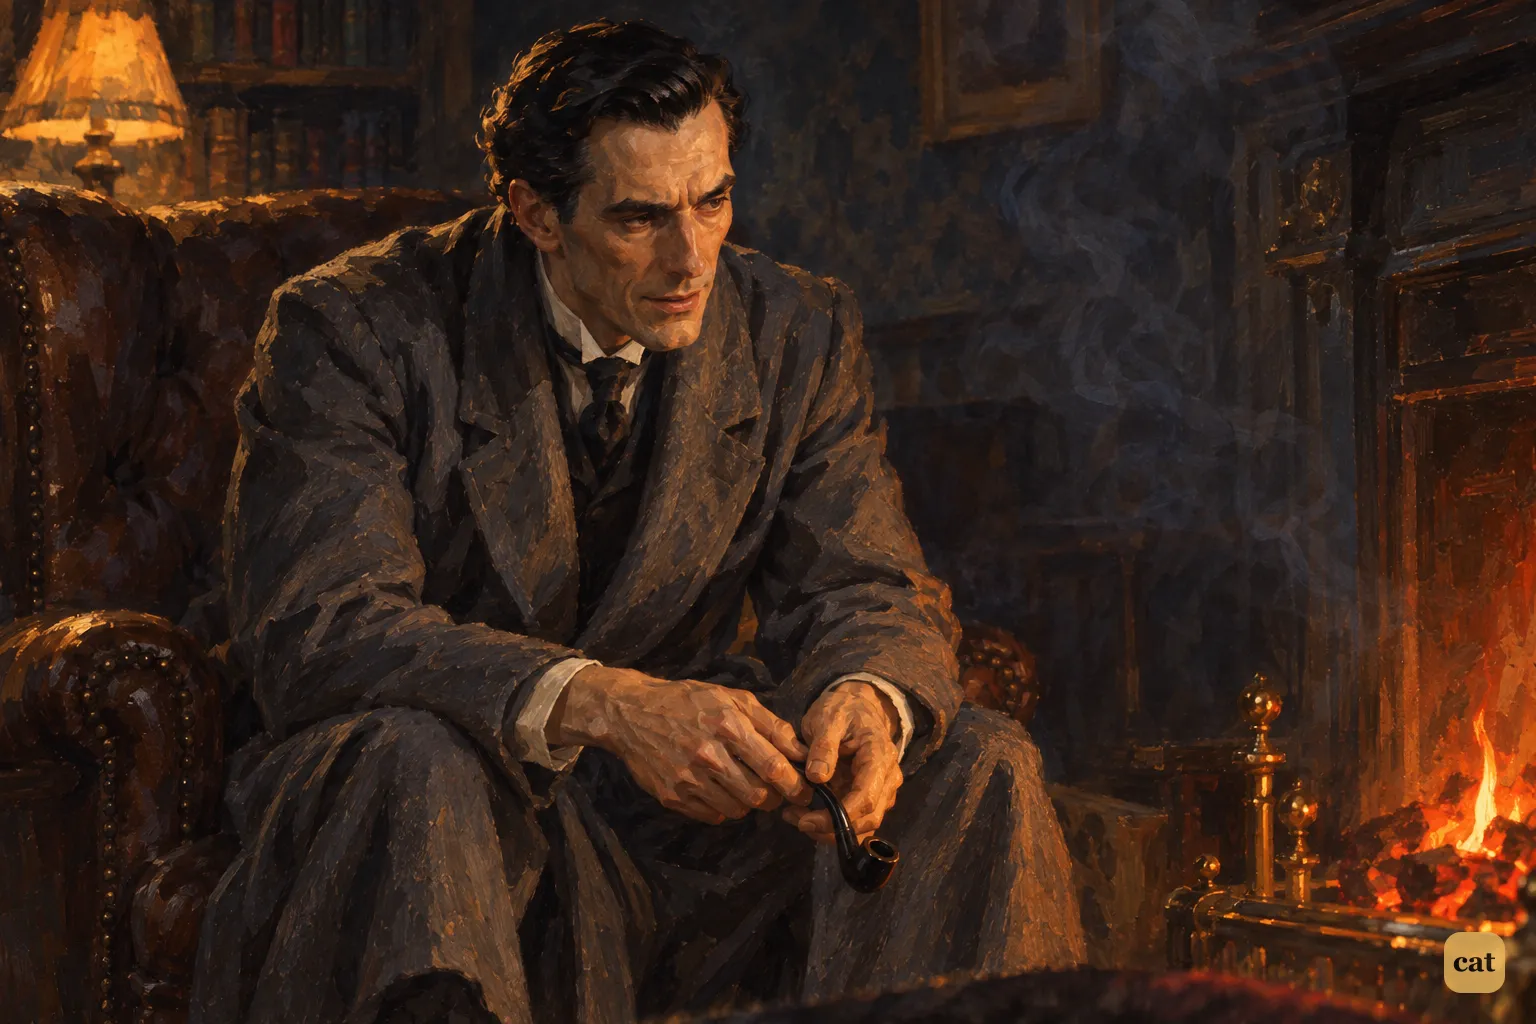
3·10 Holmes stares through the smoke, picturing a dead man's desperate run down the yew alley
In the text → -
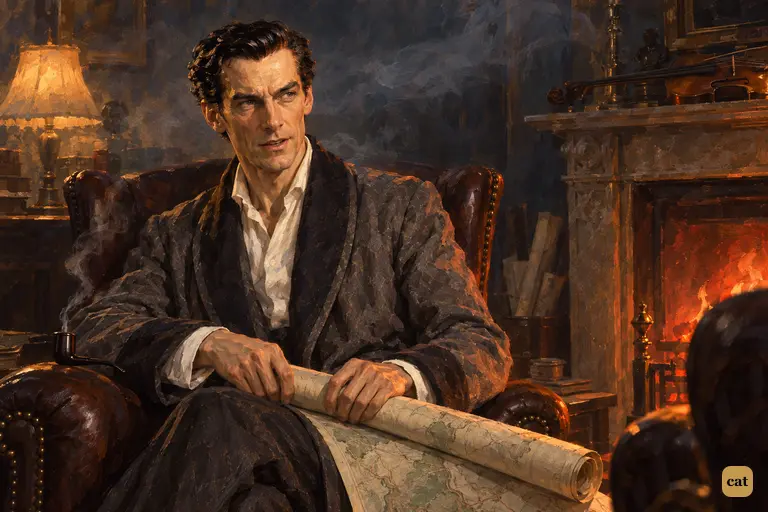
3·11 Late at night in the smoky sitting-room, Holmes rolls up the Ordnance map by firelight
In the text →
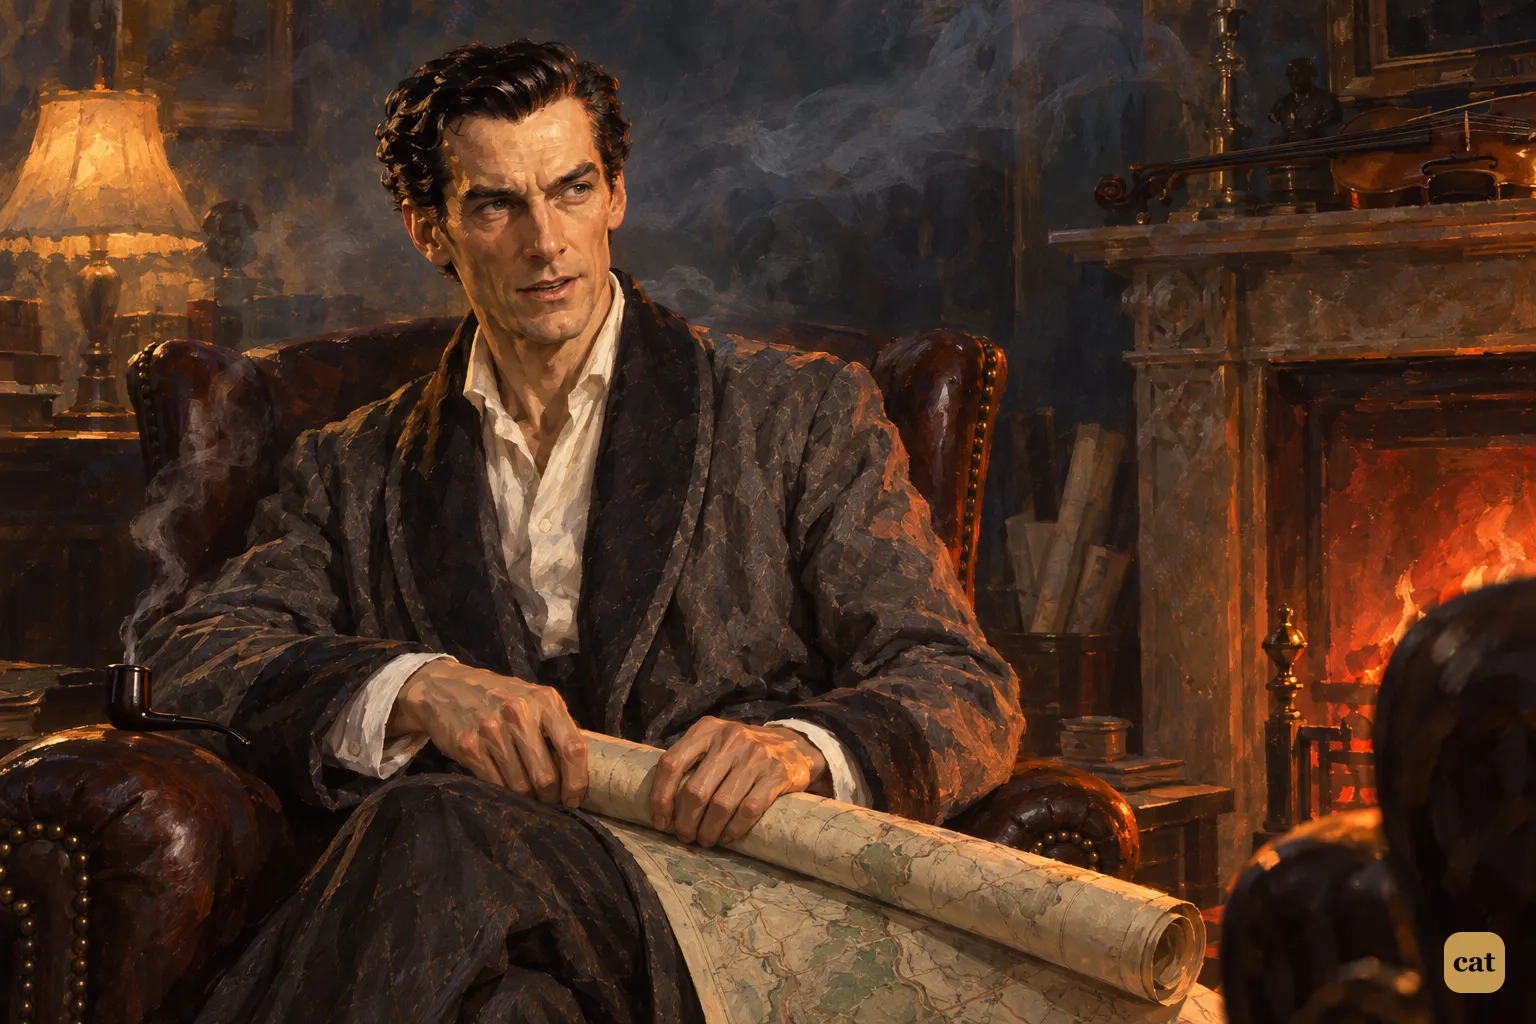
Chapter 4 · 10 illustrations The warning letter and the man in the cab
-
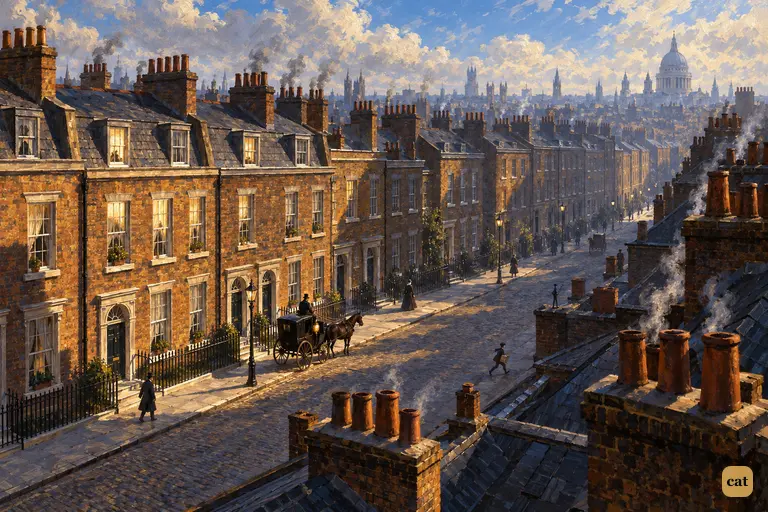
4·1 On a clear morning, Baker Street wakes as a lone black hansom waits at one door
In the text → -
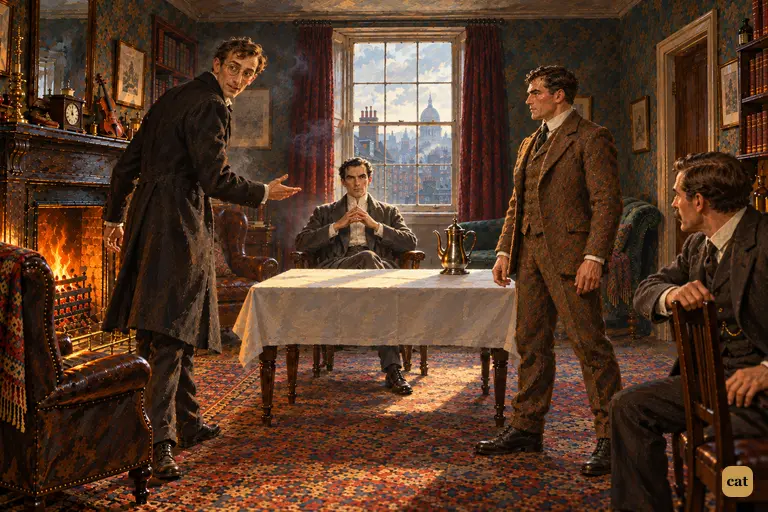
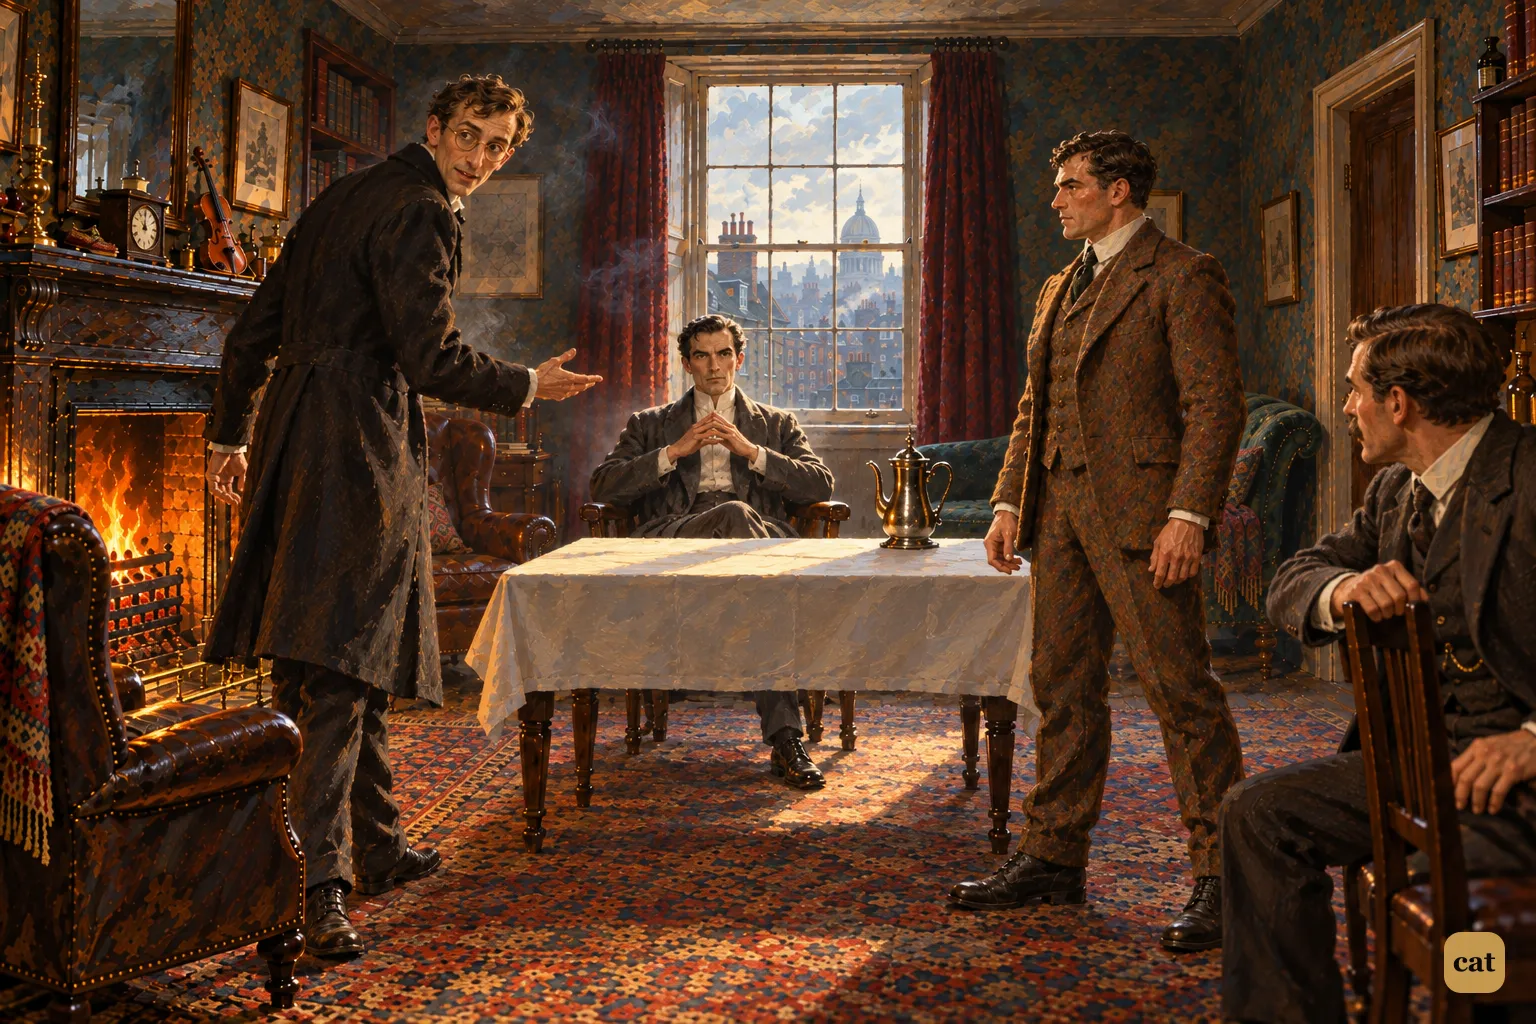
4·2 At ten o'clock, Dr. Mortimer shows the young baronet into the Baker Street sitting-room
In the text → -
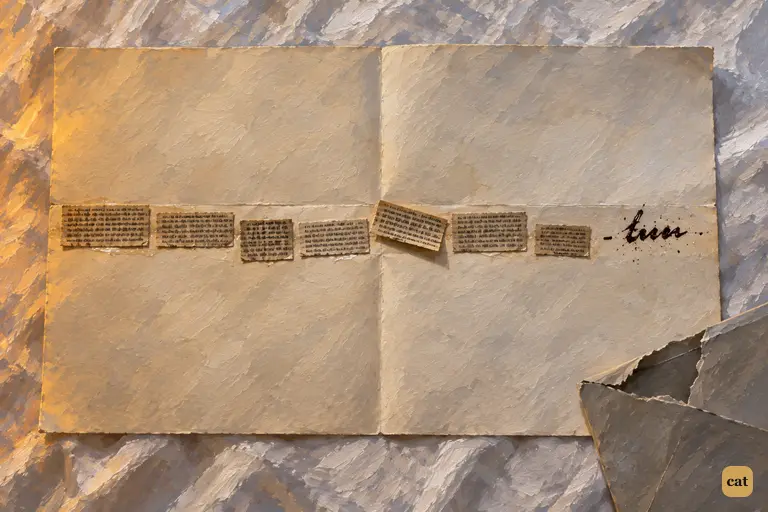
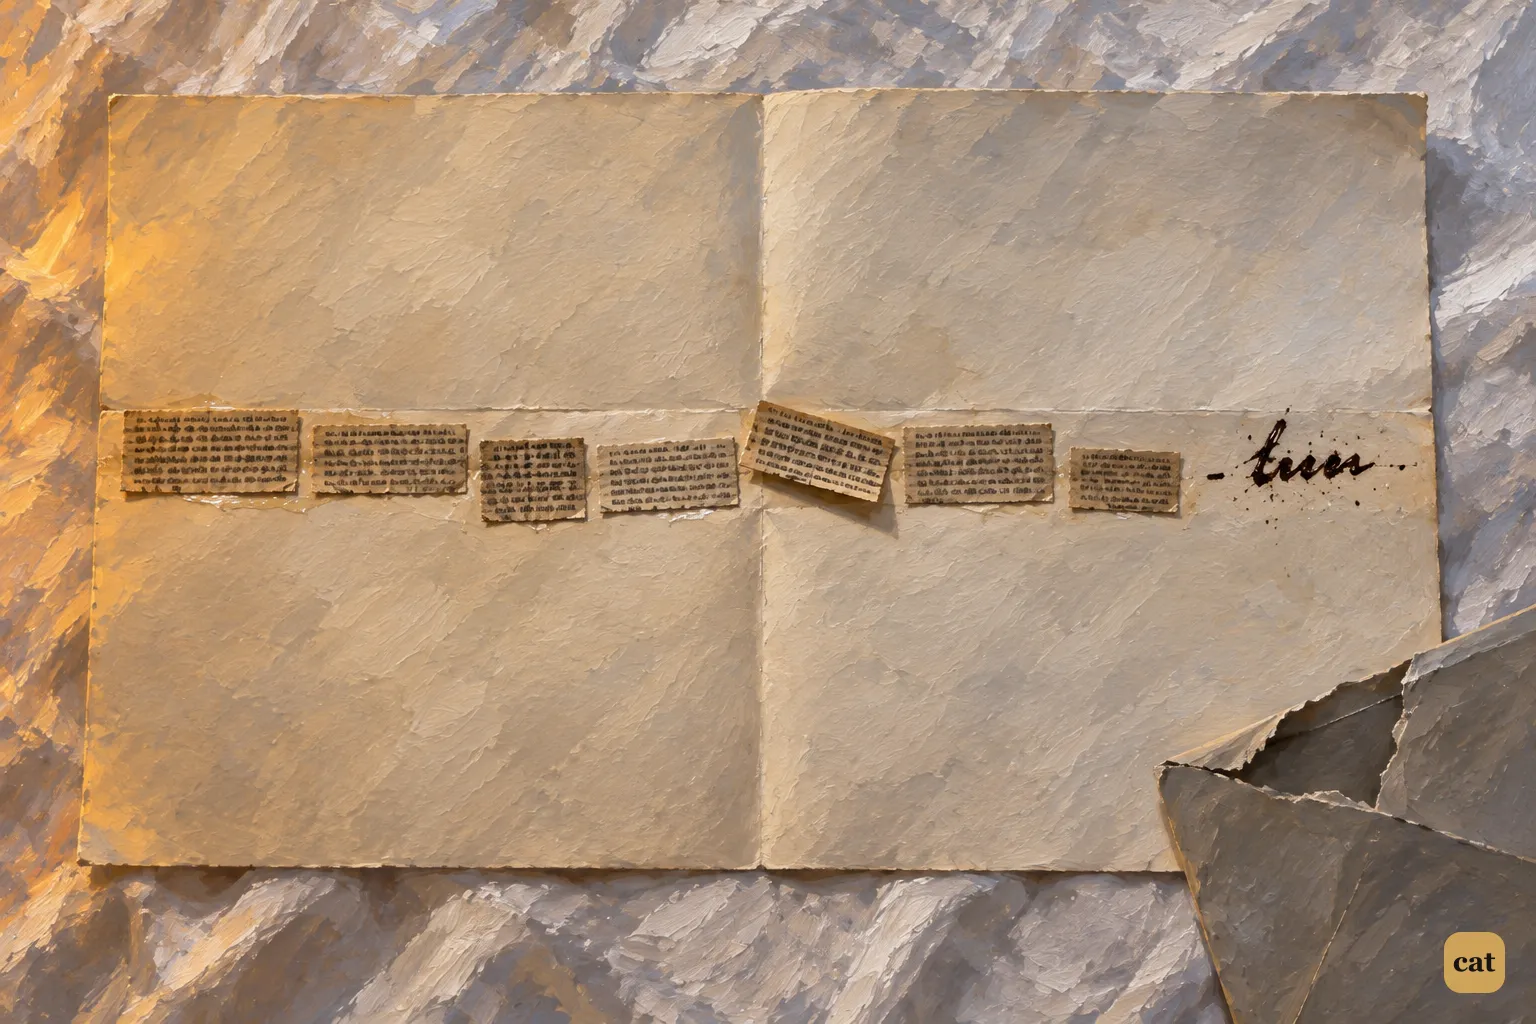
4·3 The pasted-newsprint warning lies on the breakfast cloth, ending in one handwritten word
In the text → -
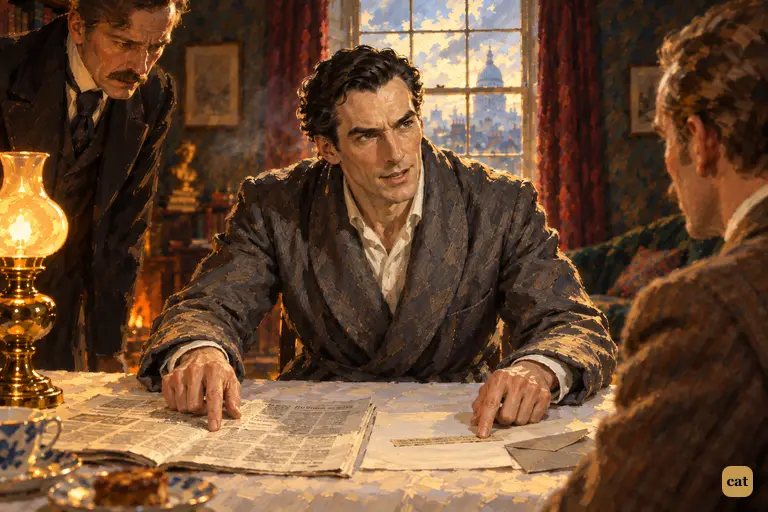
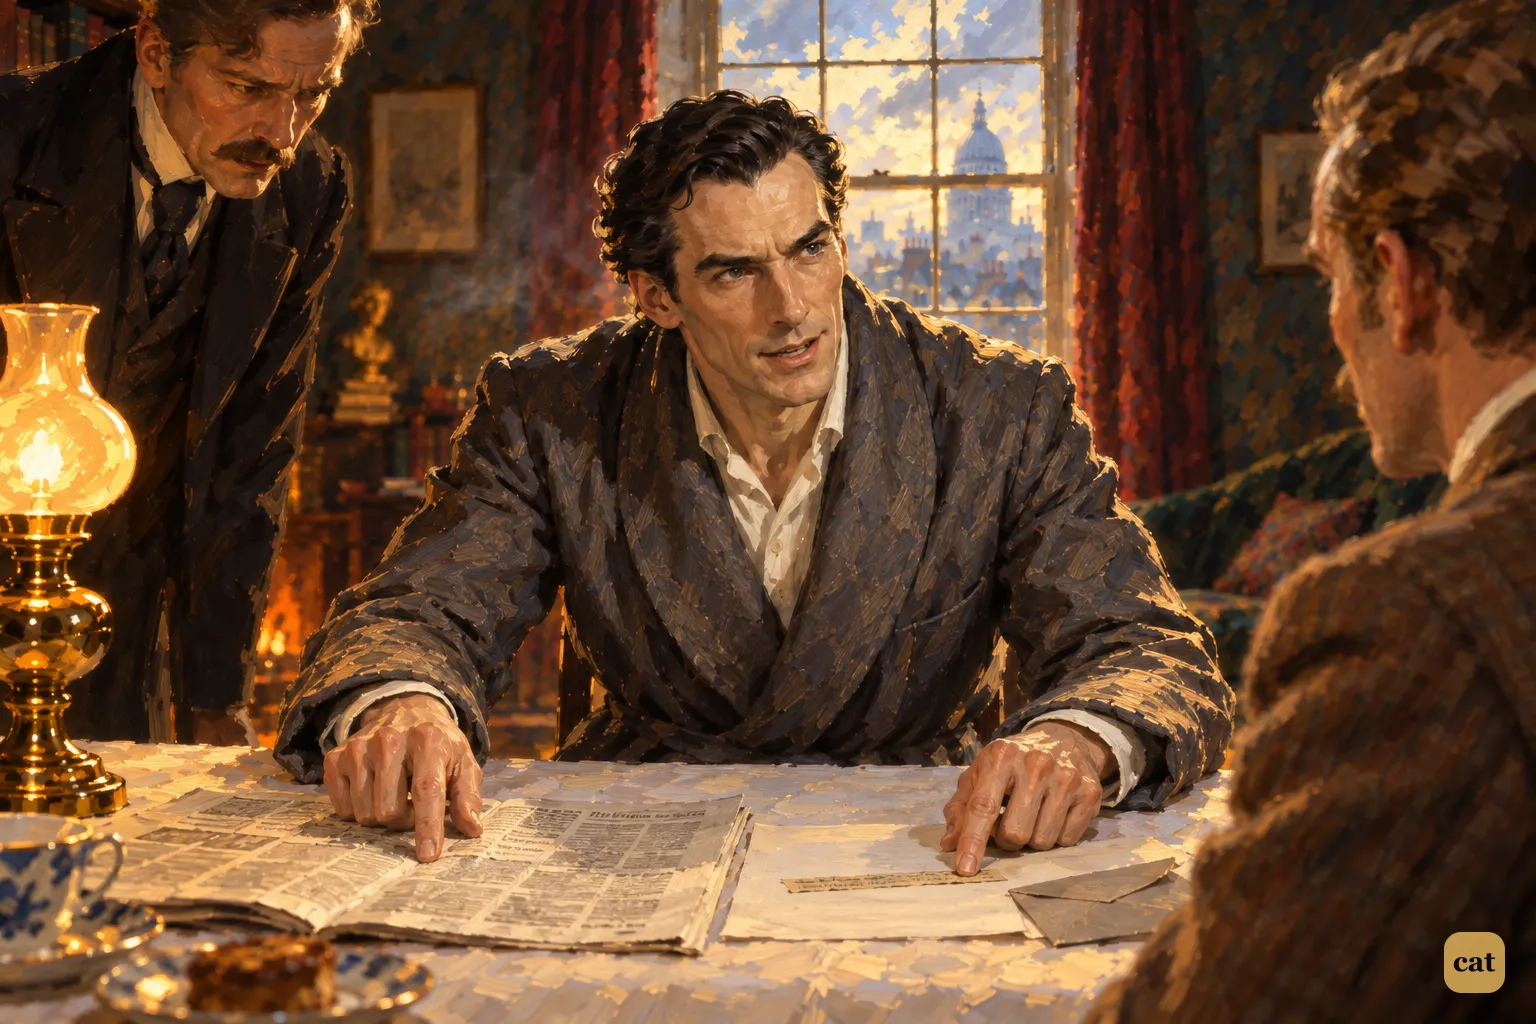
4·4 Holmes pins down the Times leader and the warning letter and looks at Watson in triumph
In the text → -
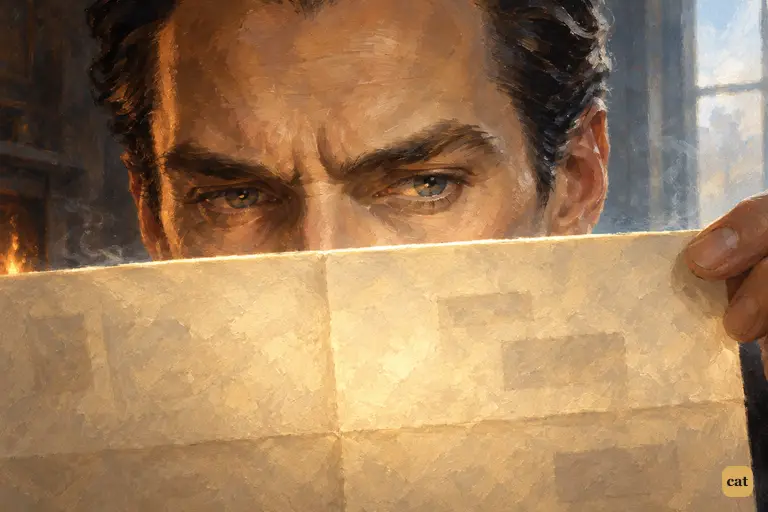
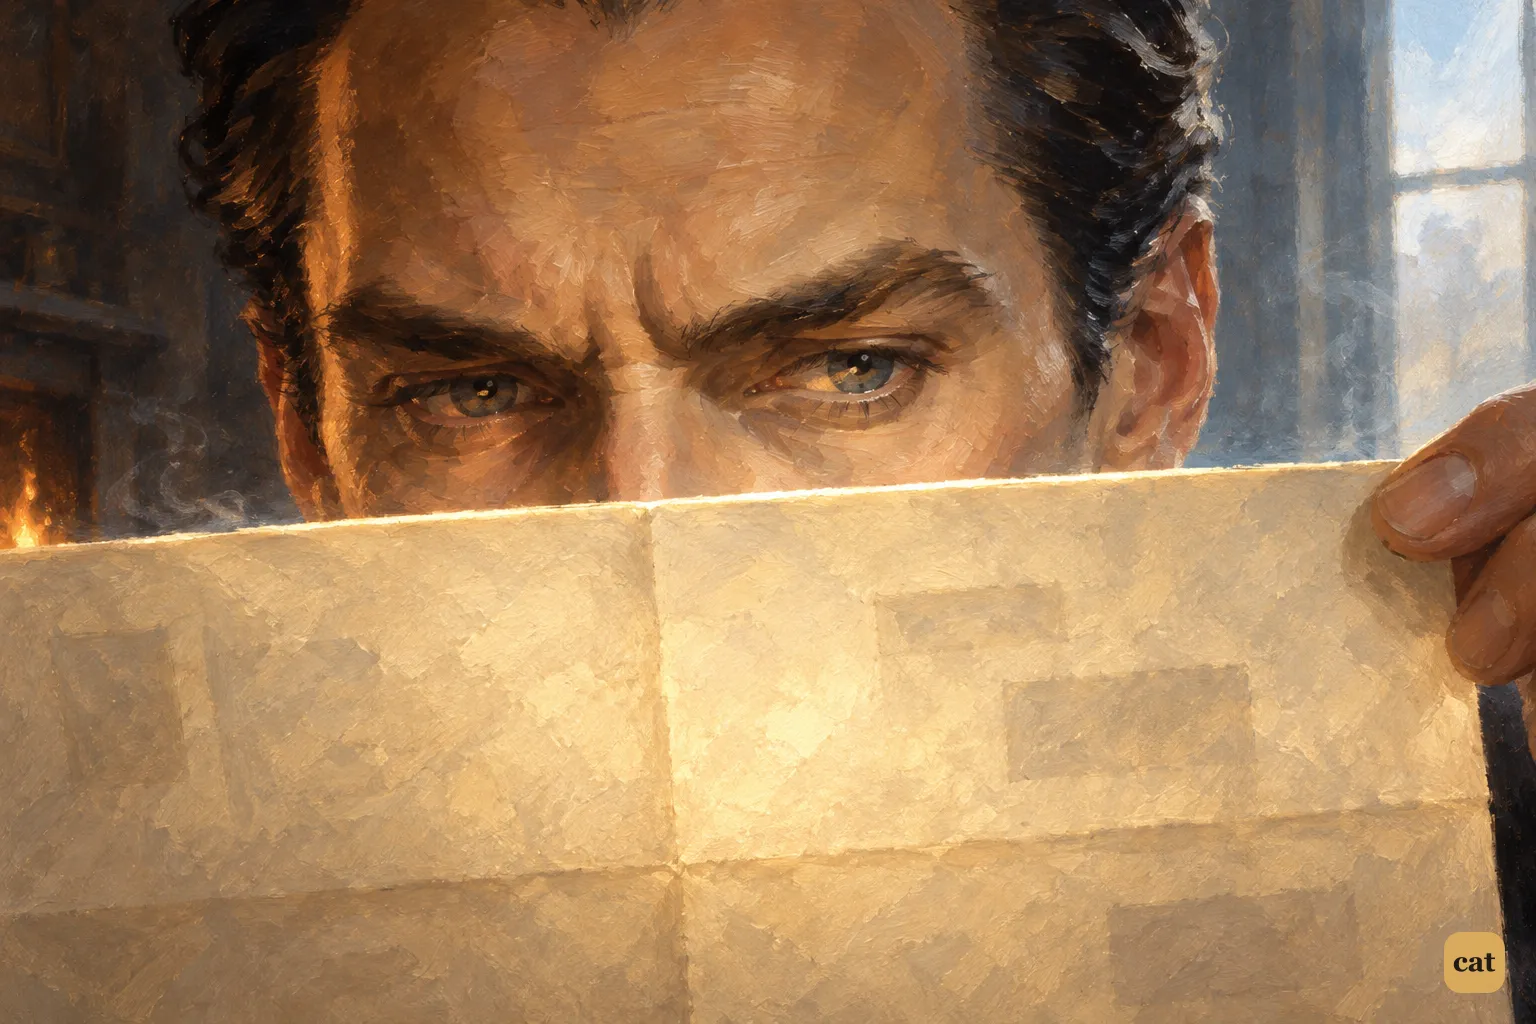
4·5 Holmes holds the pasted warning letter an inch from his eyes.
In the text → -
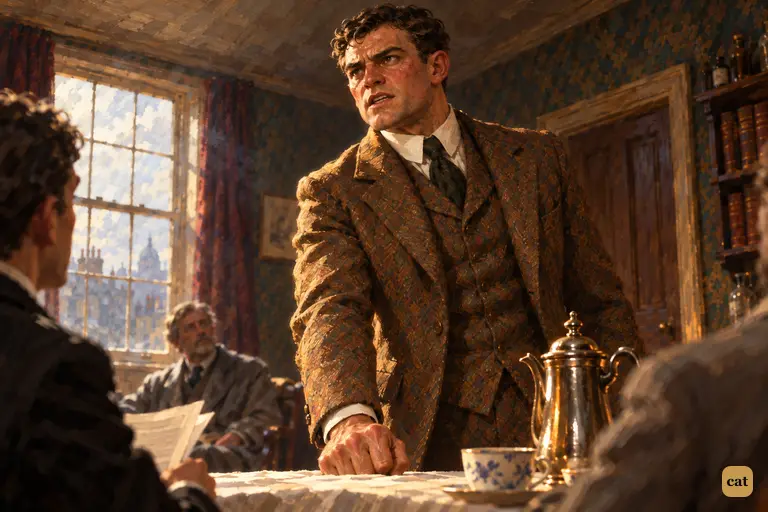
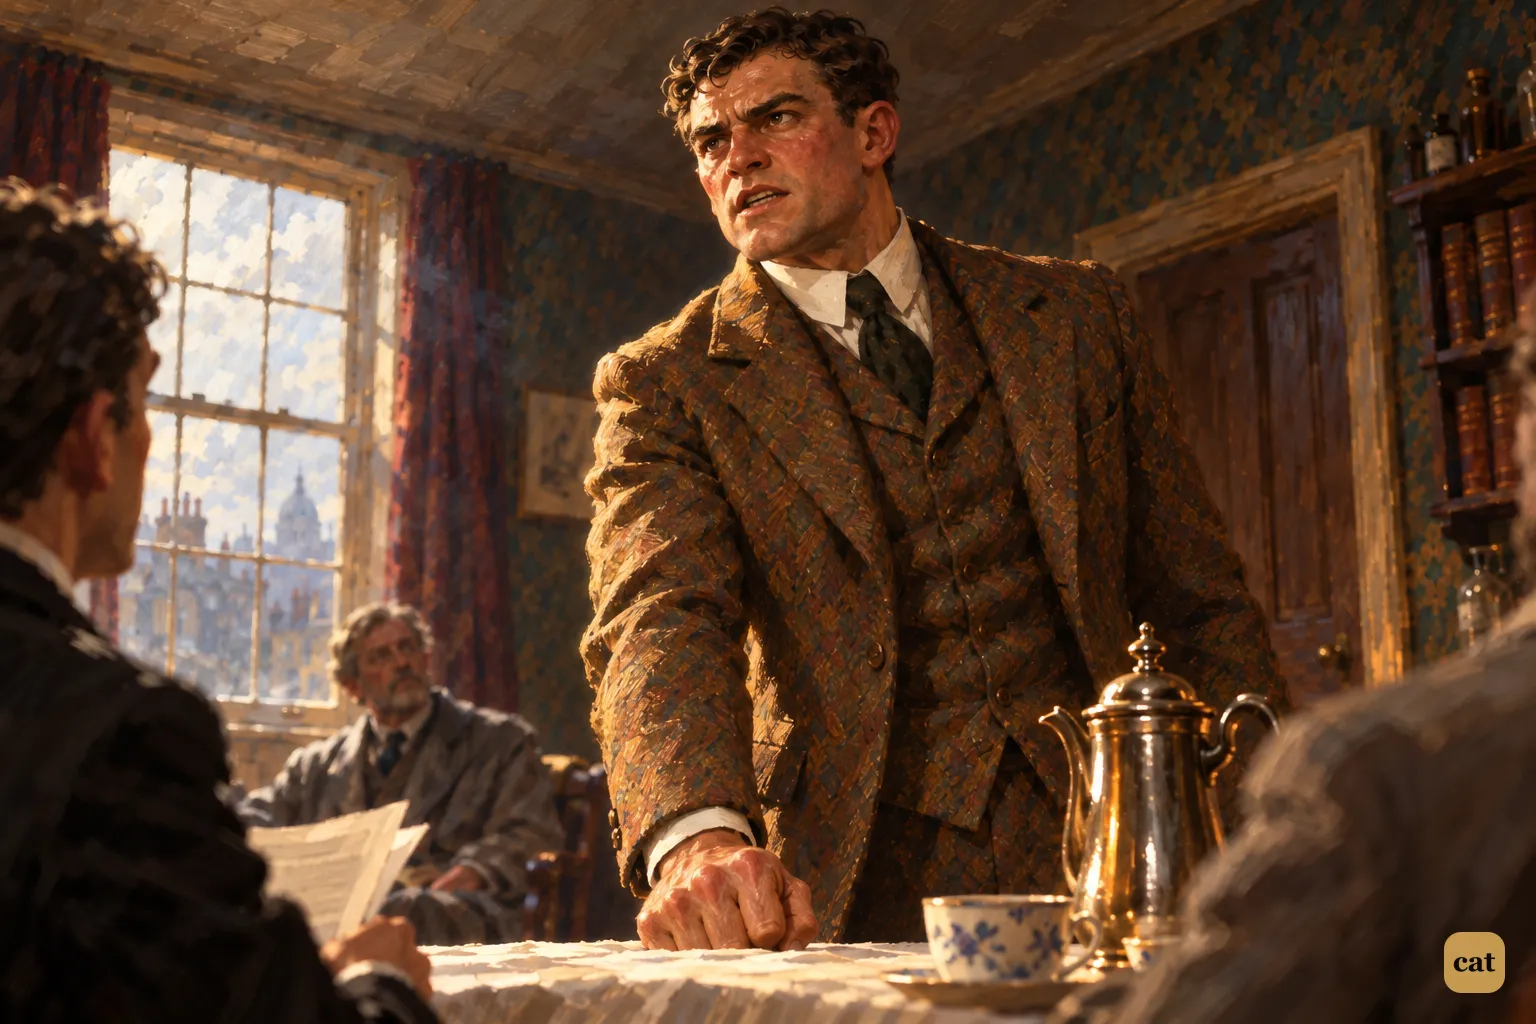
4·6 Sir Henry Baskerville stands at the breakfast table, fist on the cloth, face flushed red
In the text → -
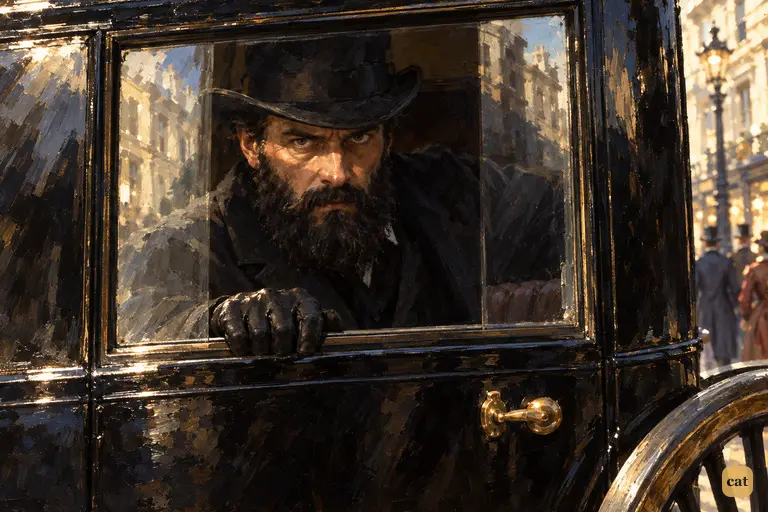
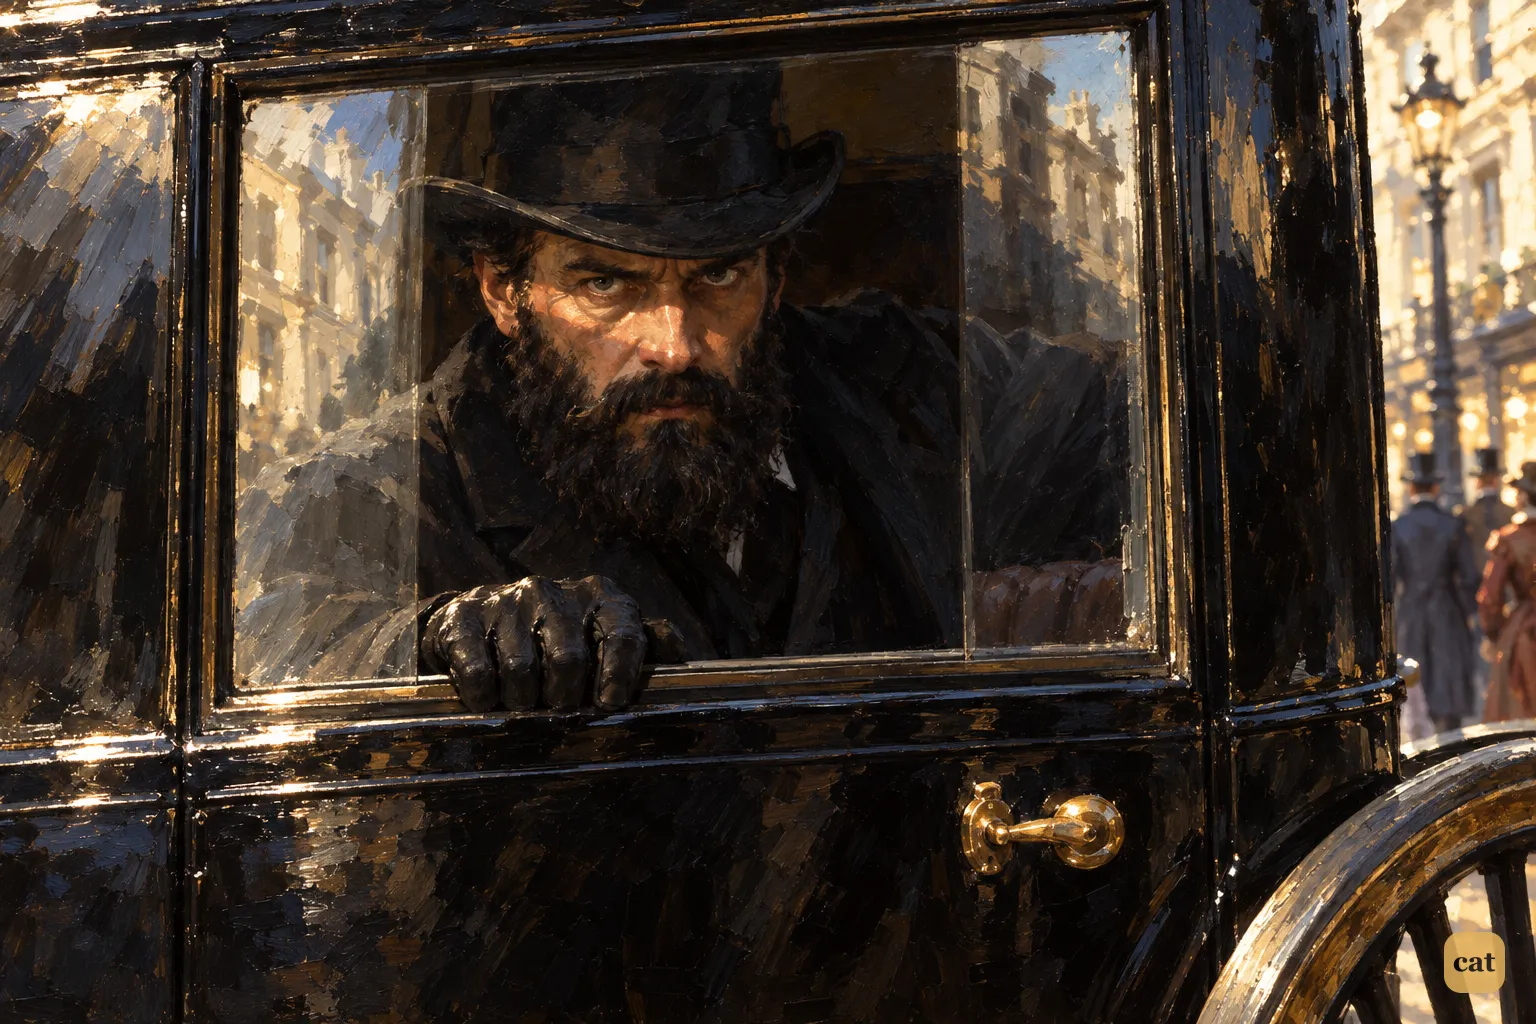
4·7 From a hansom on Regent Street, a black-bearded man stares at Holmes and Watson
In the text → -
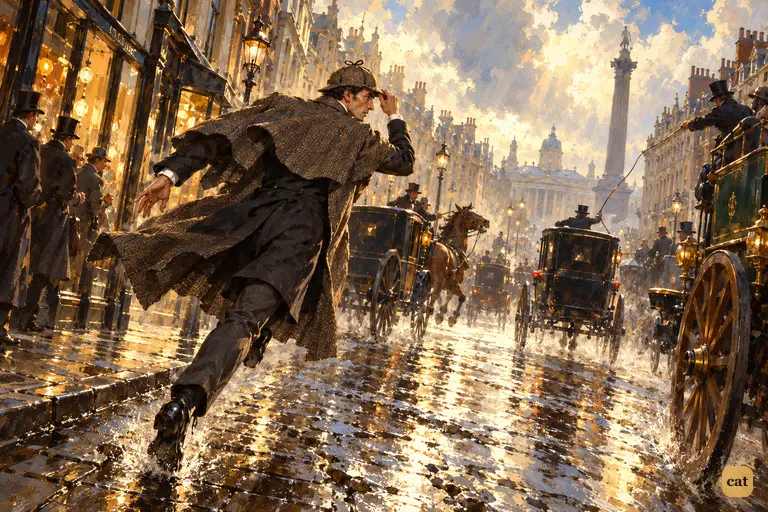
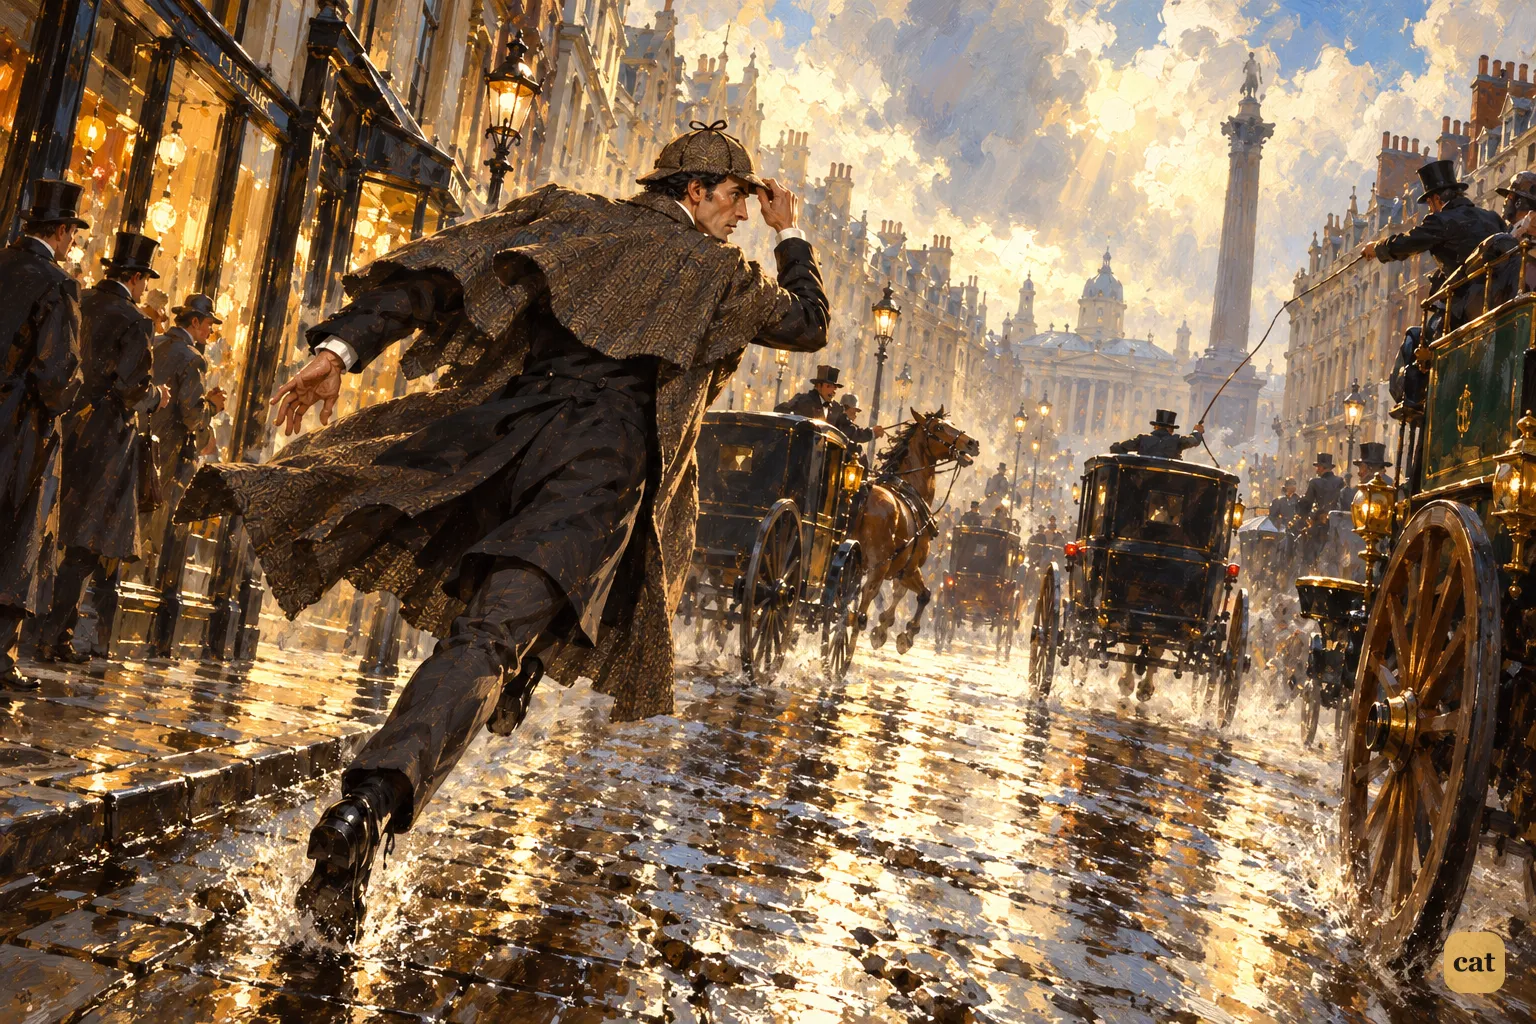
4·8 On Regent Street the black hansom breaks away through the morning traffic.
In the text → -
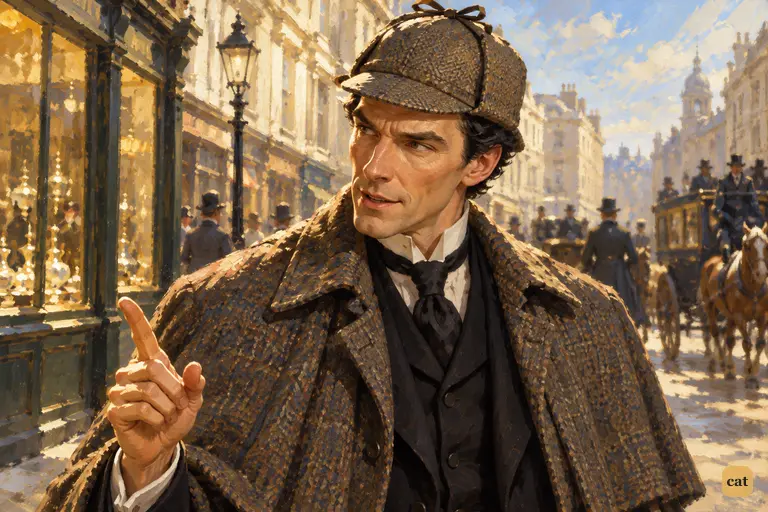
4·9 On sunlit Regent Street, Holmes recovers his spirit after the lost chase.
In the text → -
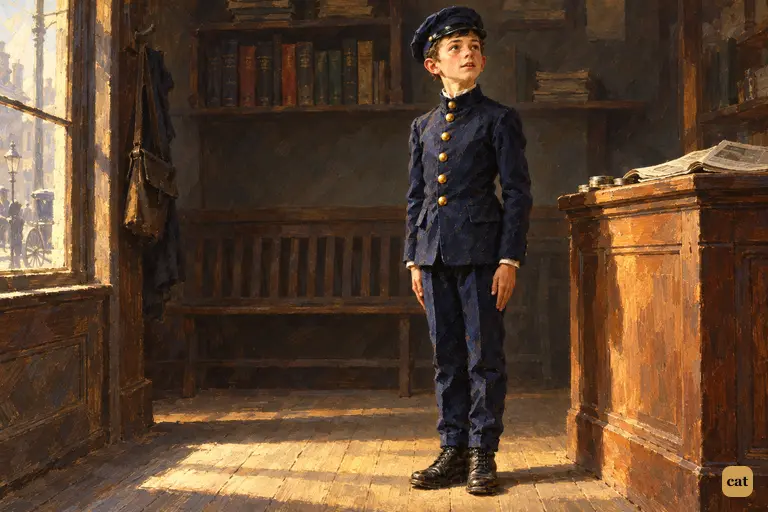
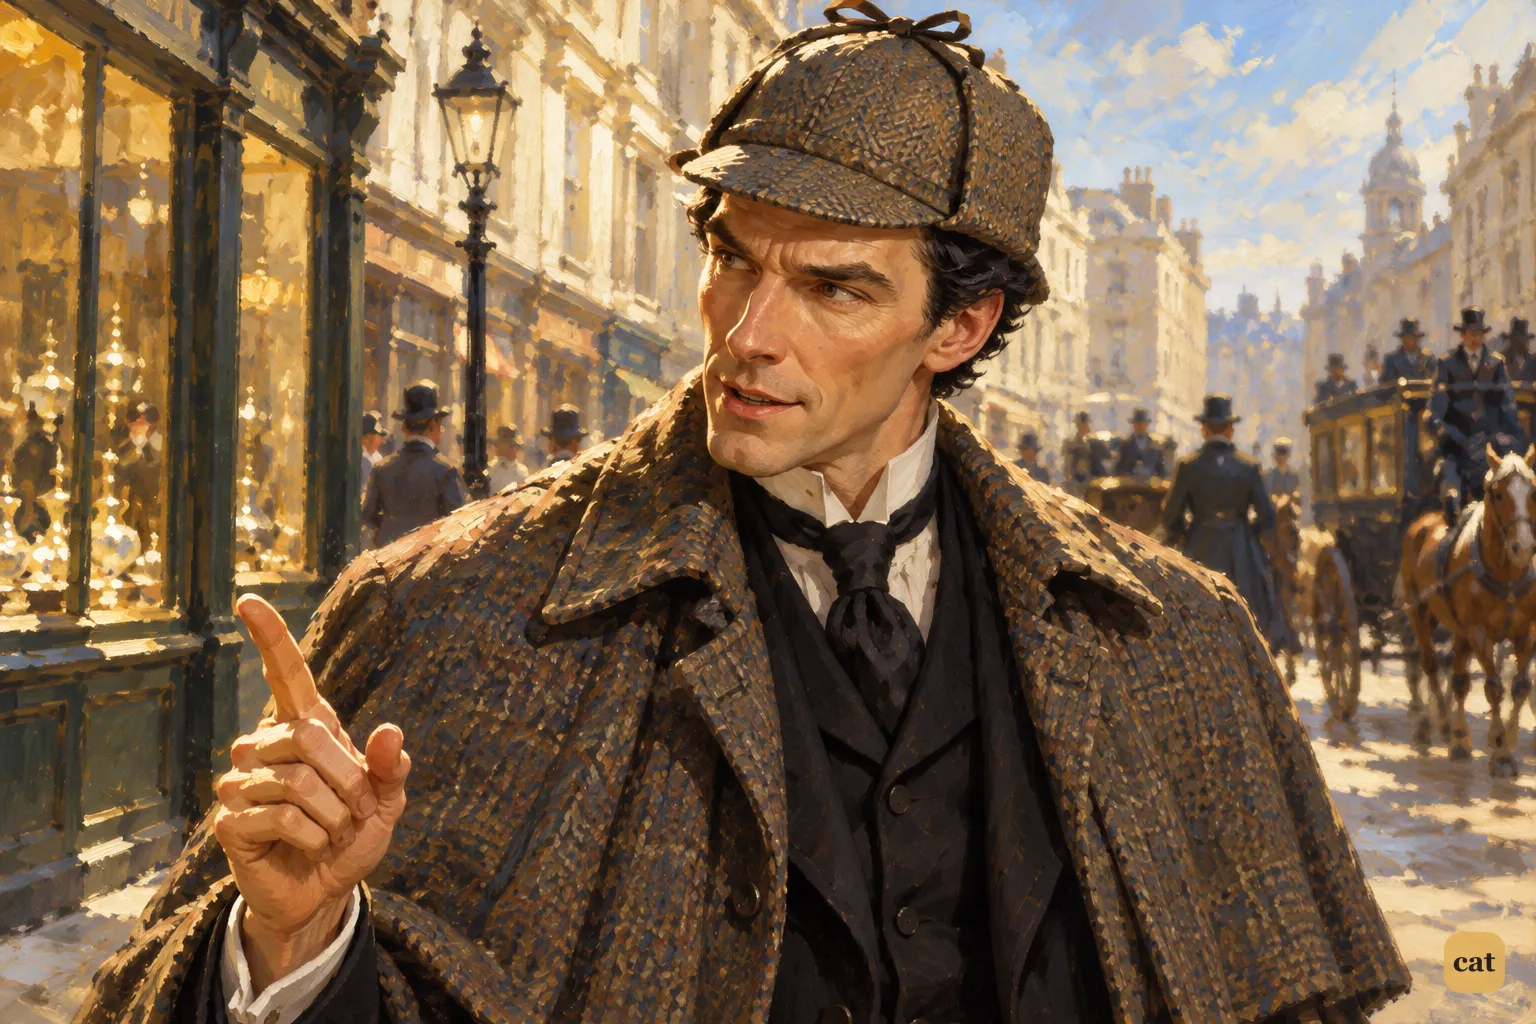
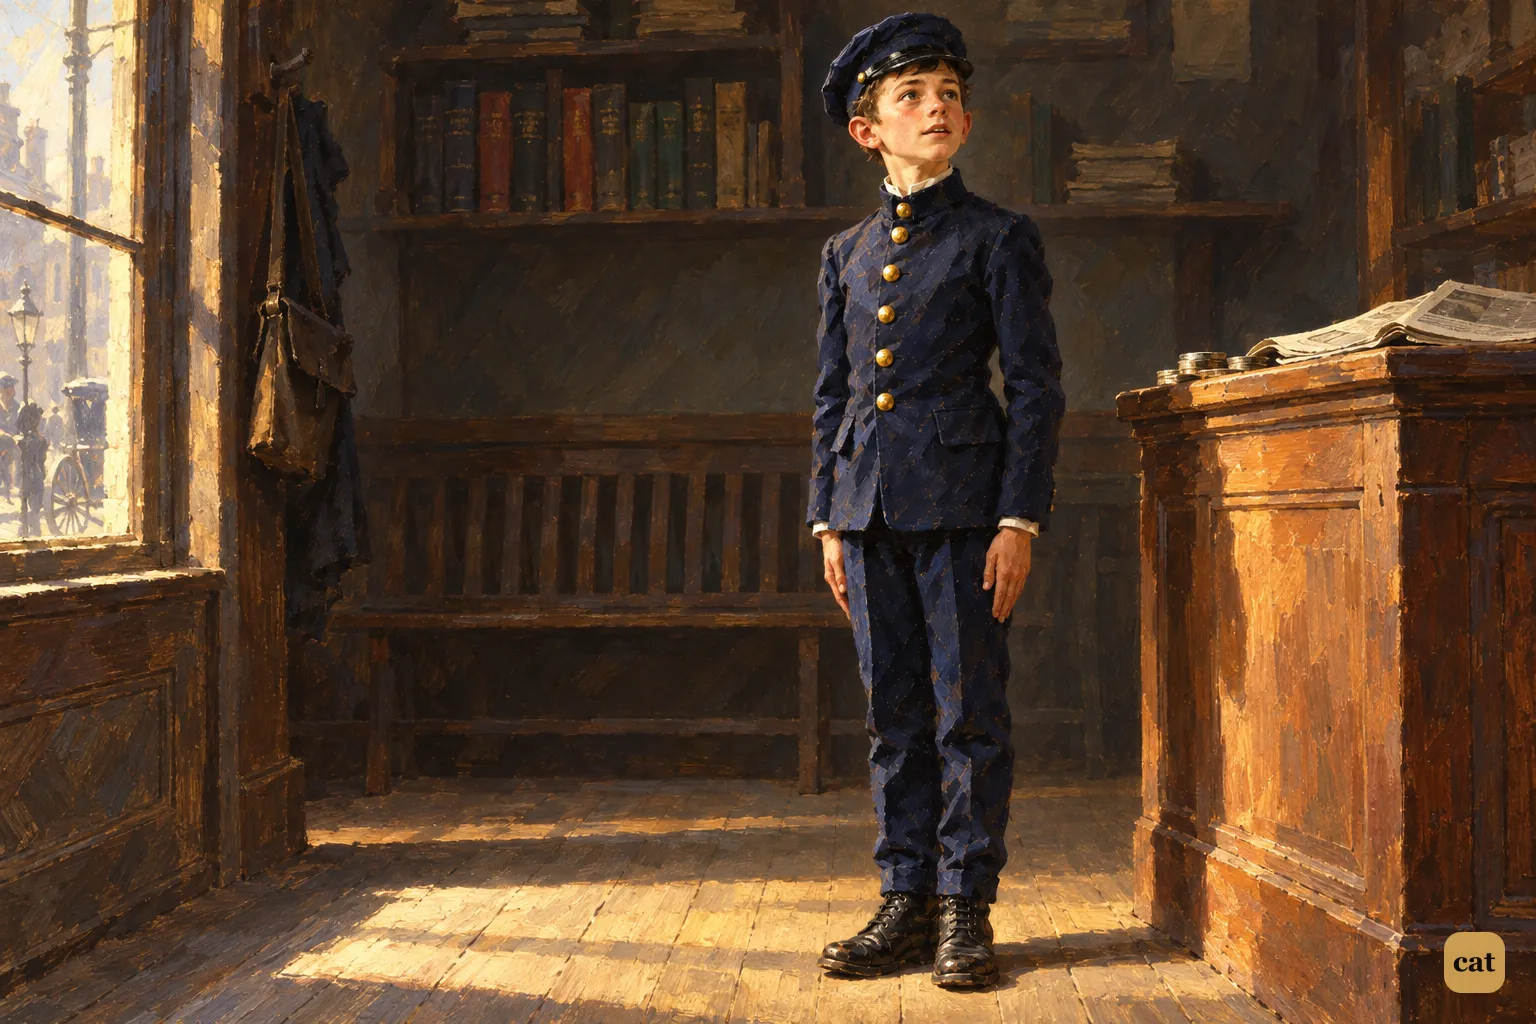
4·10 Fourteen-year-old messenger boy Cartwright stands to attention by the office counter
In the text →
Chapter 5 · 11 illustrations Three Threads Snap, Watson Sent to Devon
-
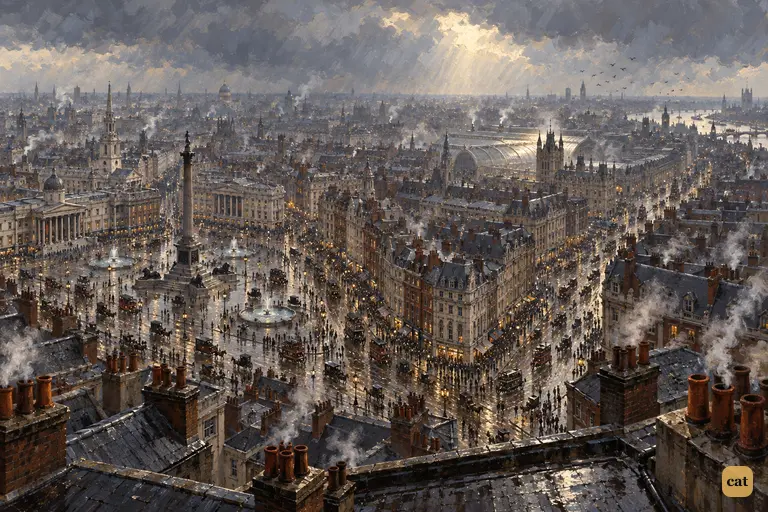
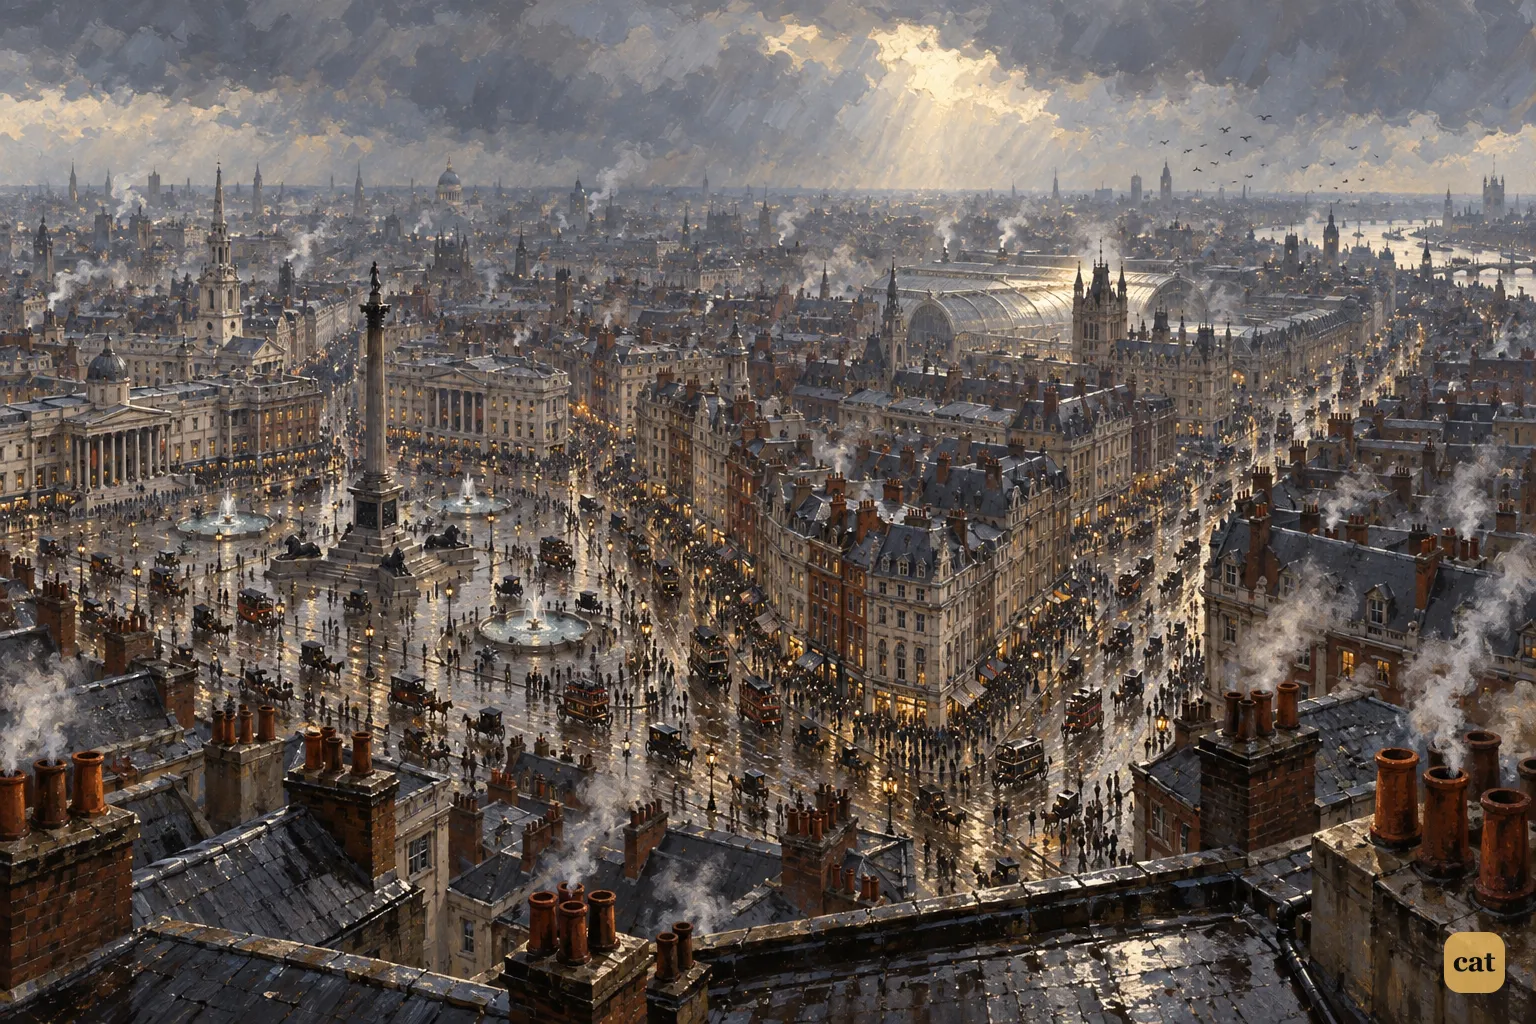
5·1 A grey London midday seen from high above Trafalgar Square, looking toward Charing Cross.
In the text → -
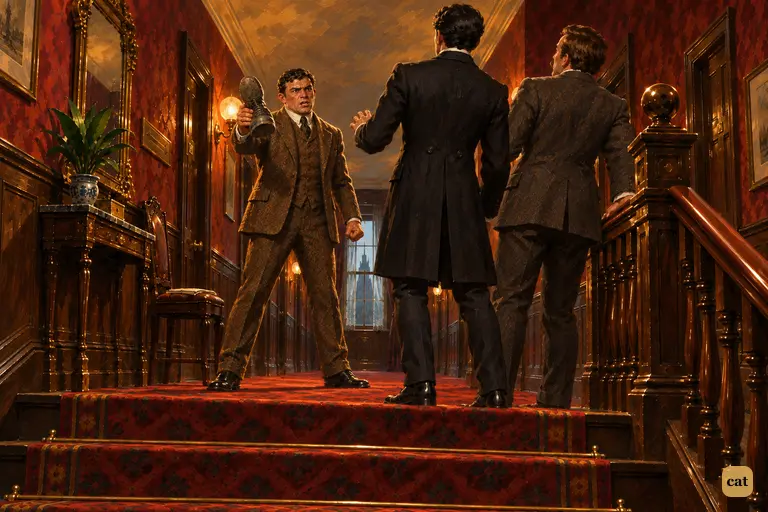
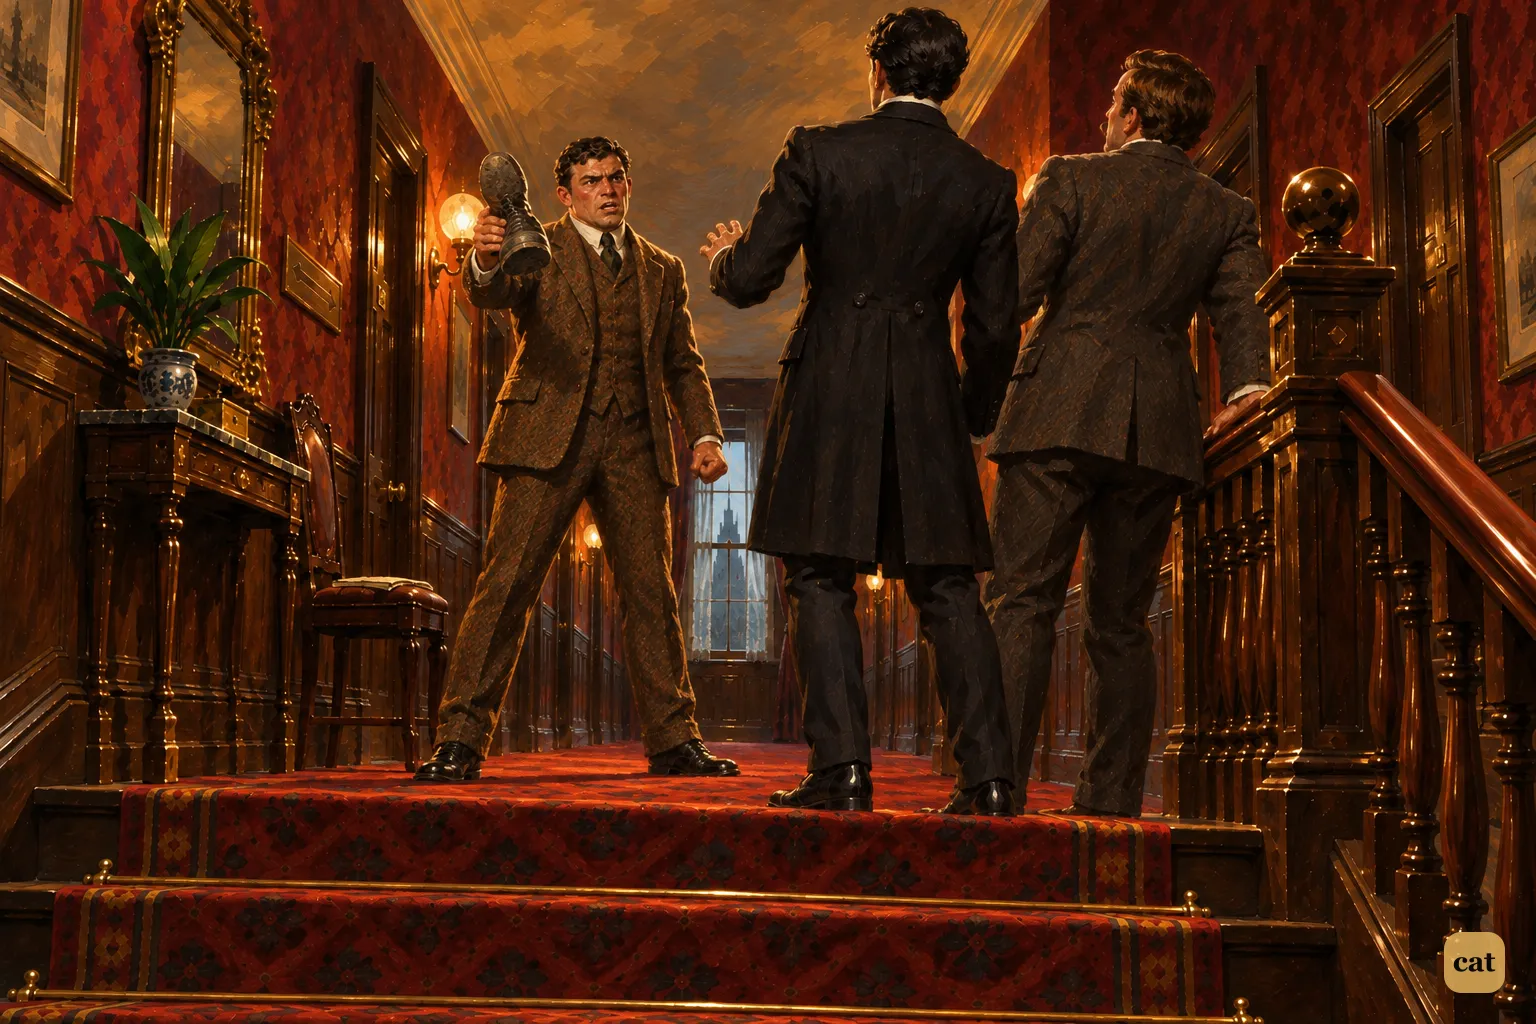
5·2 At the top of the Northumberland Hotel stairs, Holmes and Watson run into Sir Henry
In the text → -
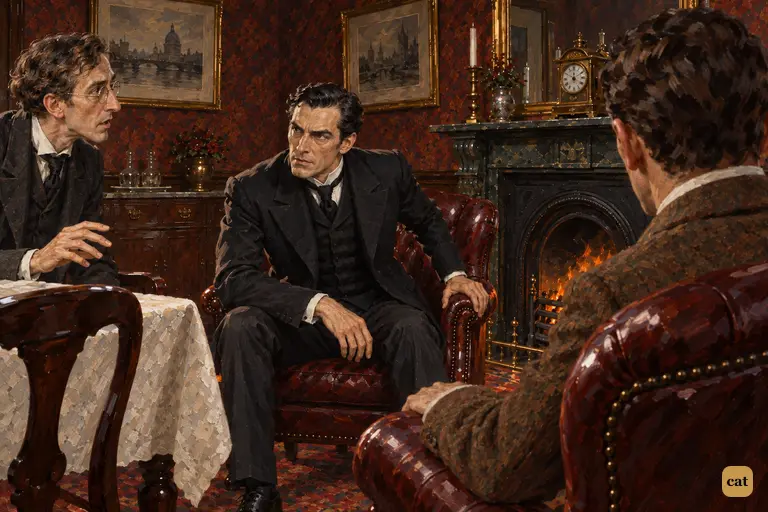
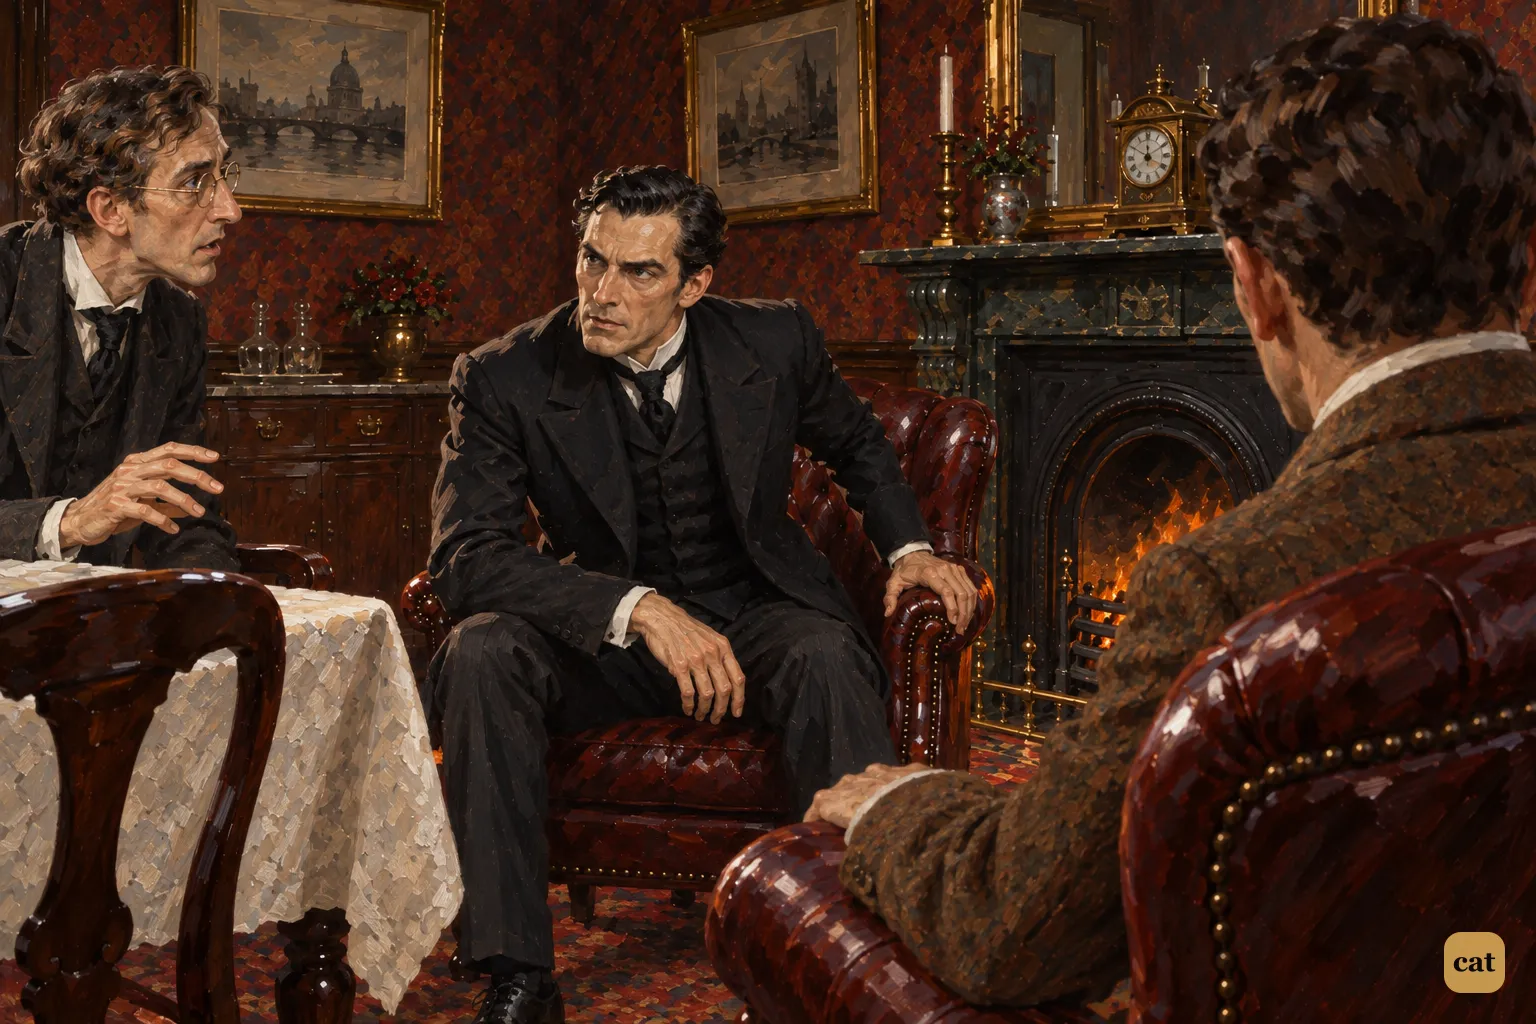
5·3 After luncheon, Dr. Mortimer names Barrymore, the butler with the full black beard
In the text → -
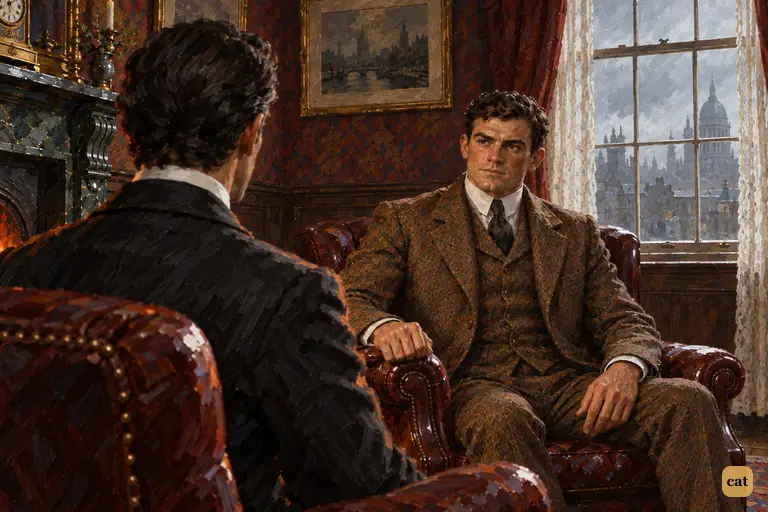
5·4 Holmes asks who would inherit the Baskerville fortune if Sir Henry died
In the text → -
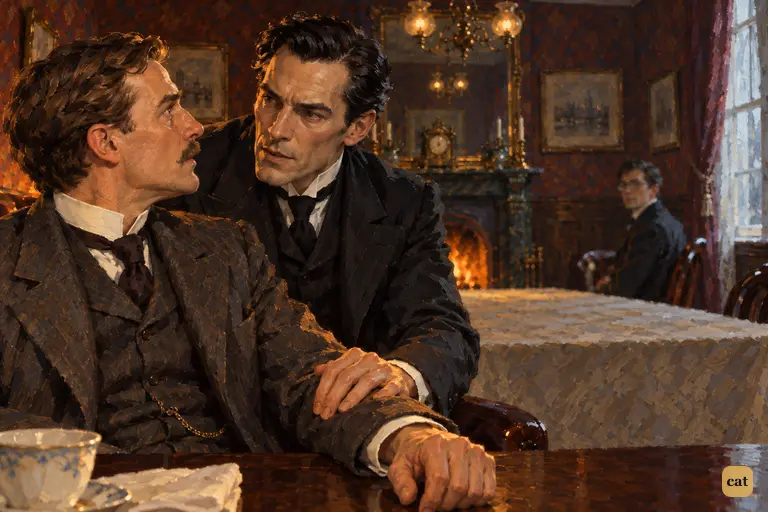
5·5 Hand on Watson's arm, Holmes puts him forward as Sir Henry's companion on Dartmoor
In the text → -
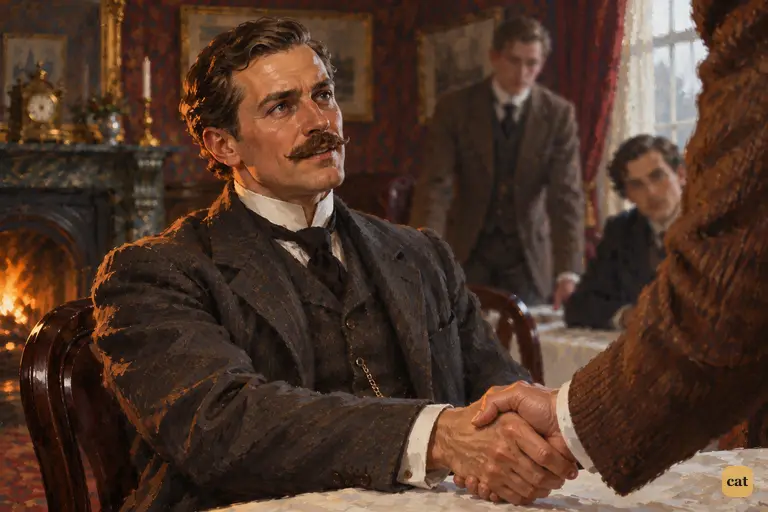
5·6 Watson calmly agrees to go to Devonshire.
In the text → -
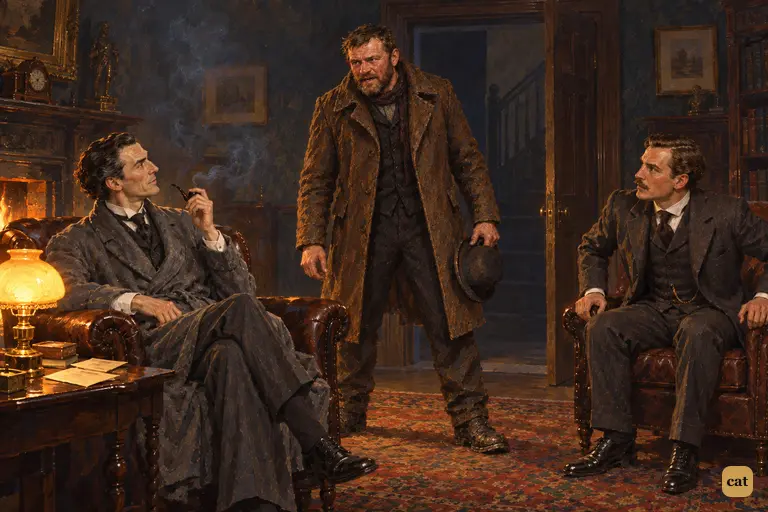
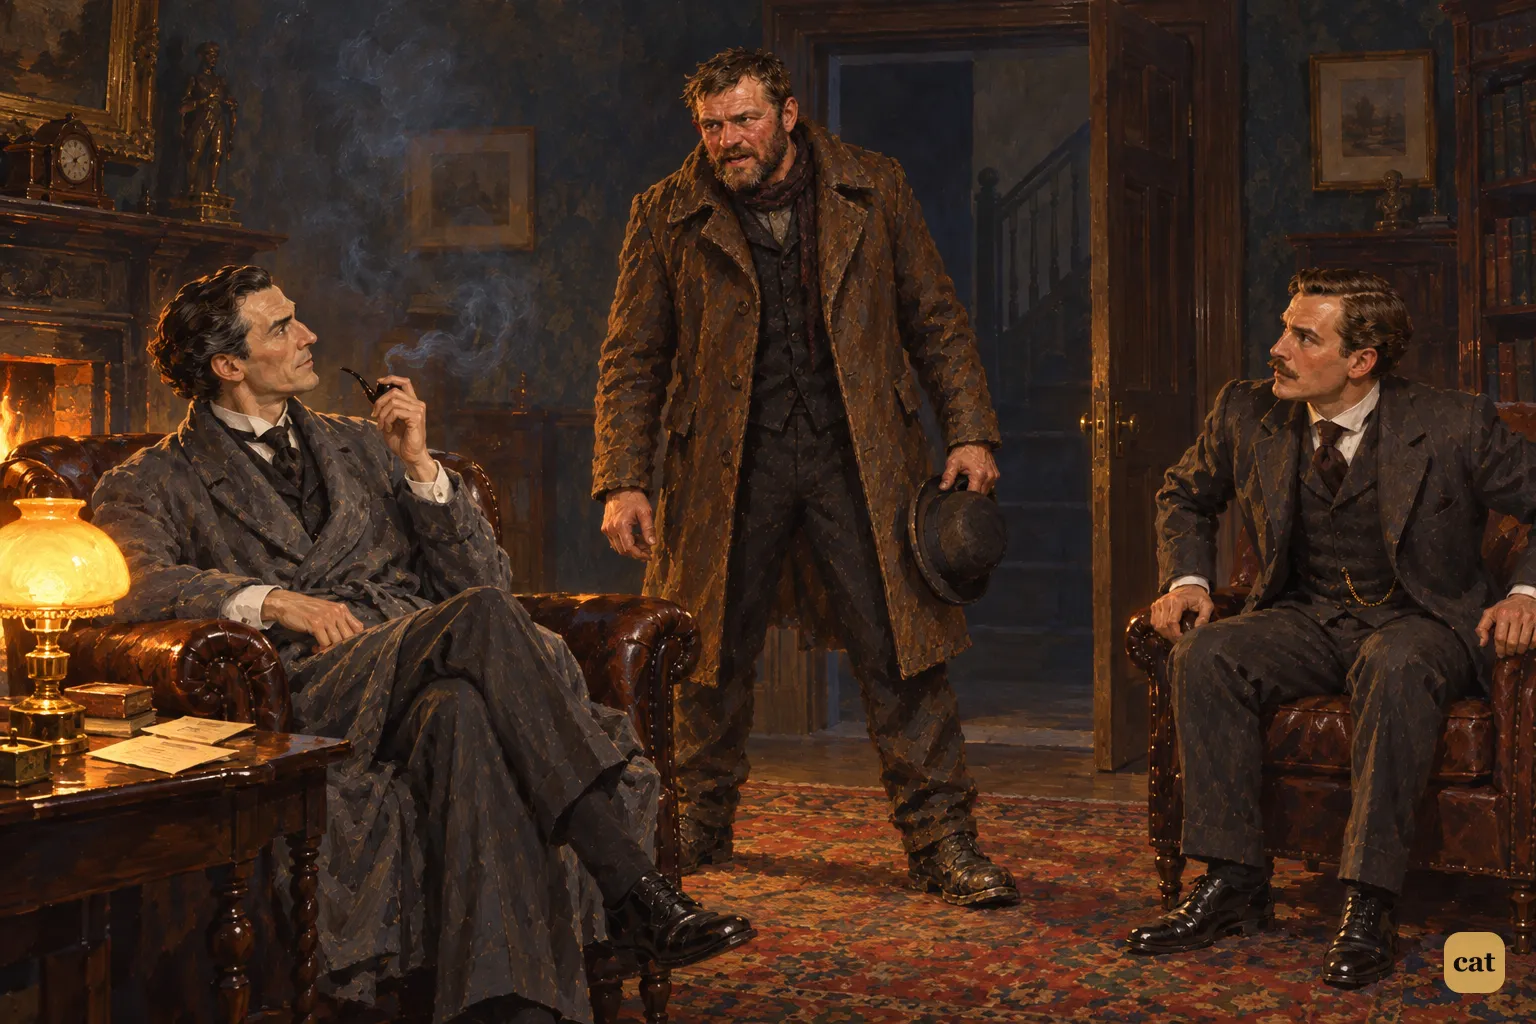
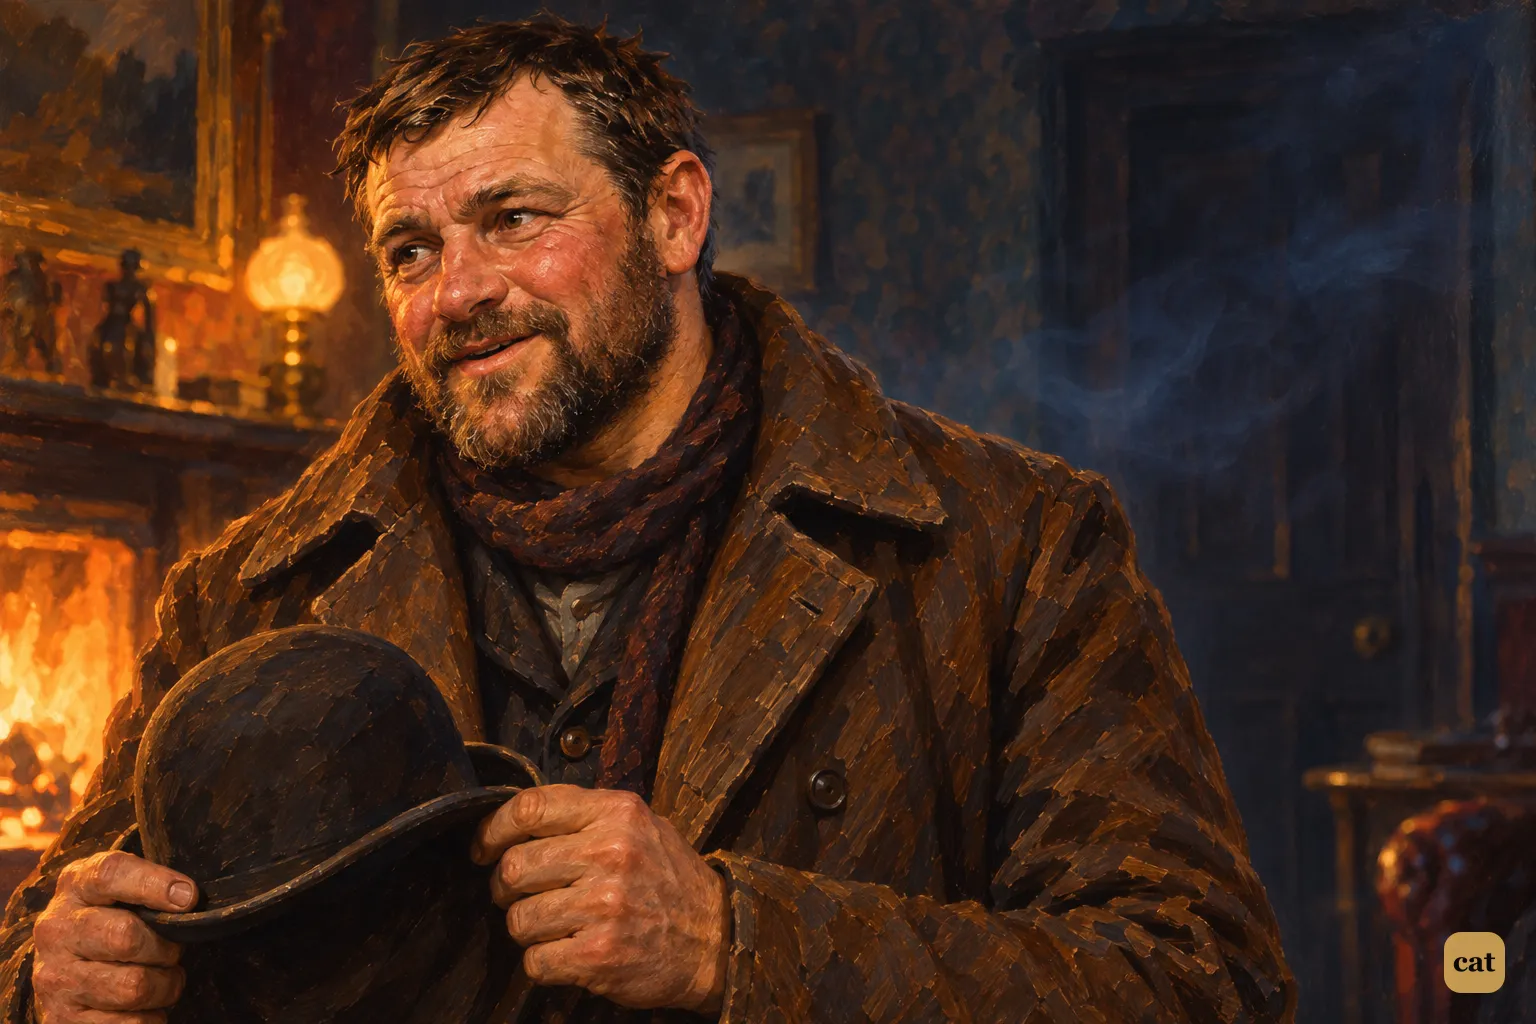
5·7 Bowler in fist, the cabman walks in and demands to know what Holmes has against him
In the text → -
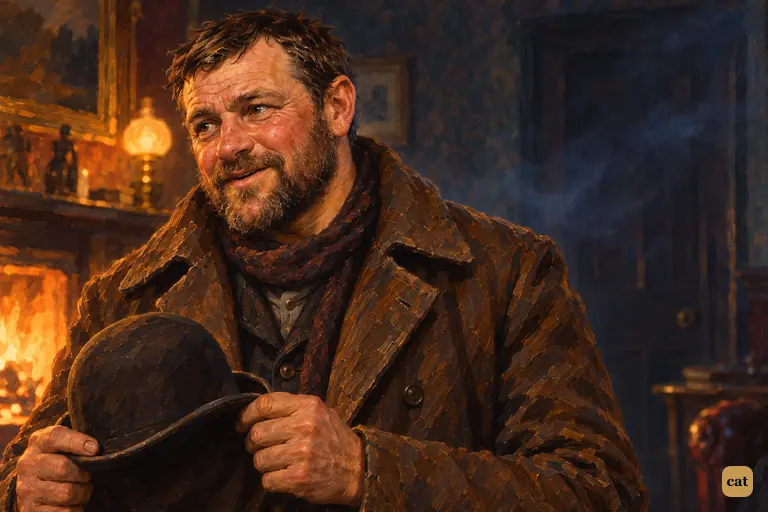
5·8 The cabman John Clayton stands on the hearth-rug with his bowler in his hands.
In the text → -
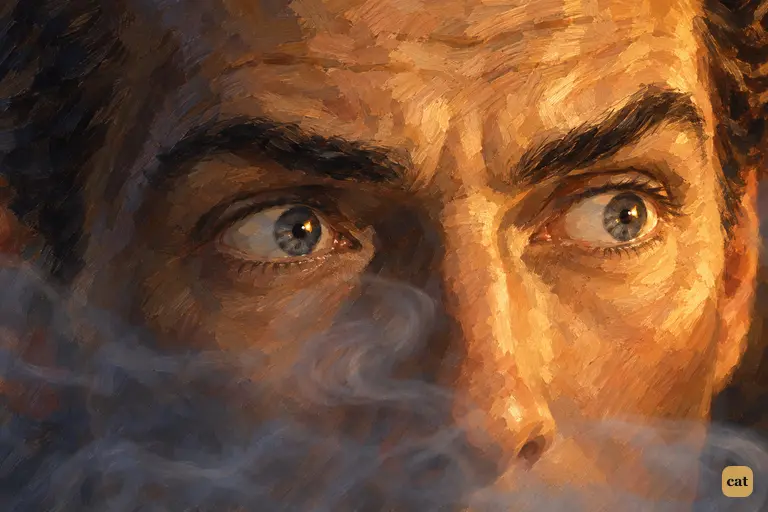
5·9 For an instant, Holmes sits in silent amazement.
In the text → -
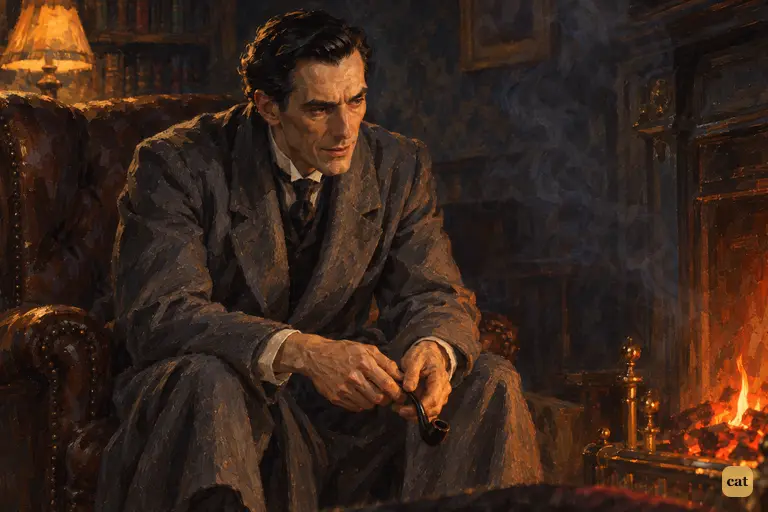
5·10 Alone by the dying fire, Holmes admits he has met an opponent as clever as himself
In the text → -
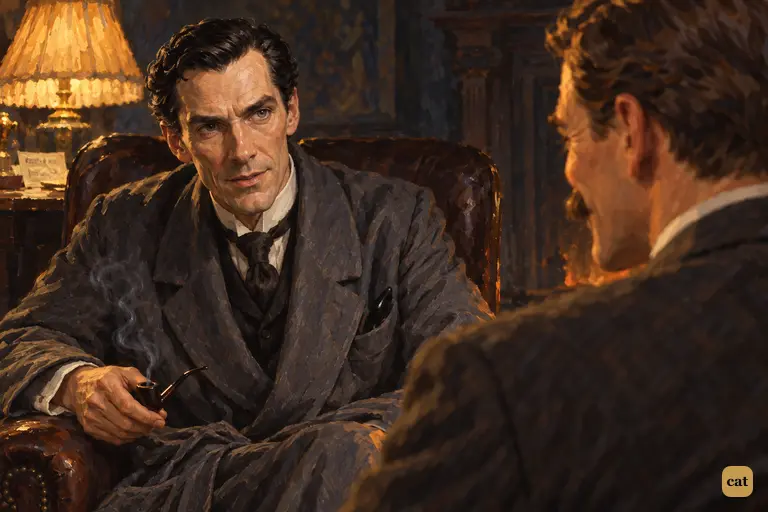
5·11 Holmes drops his irony by the lamplight and tells Watson plainly that he fears for him.
In the text →
Chapter 6 · 11 illustrations Arrival at Baskerville Hall
-
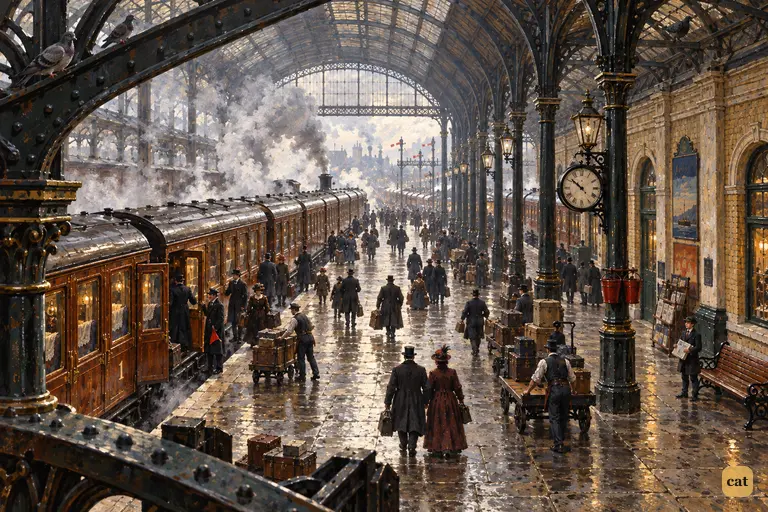
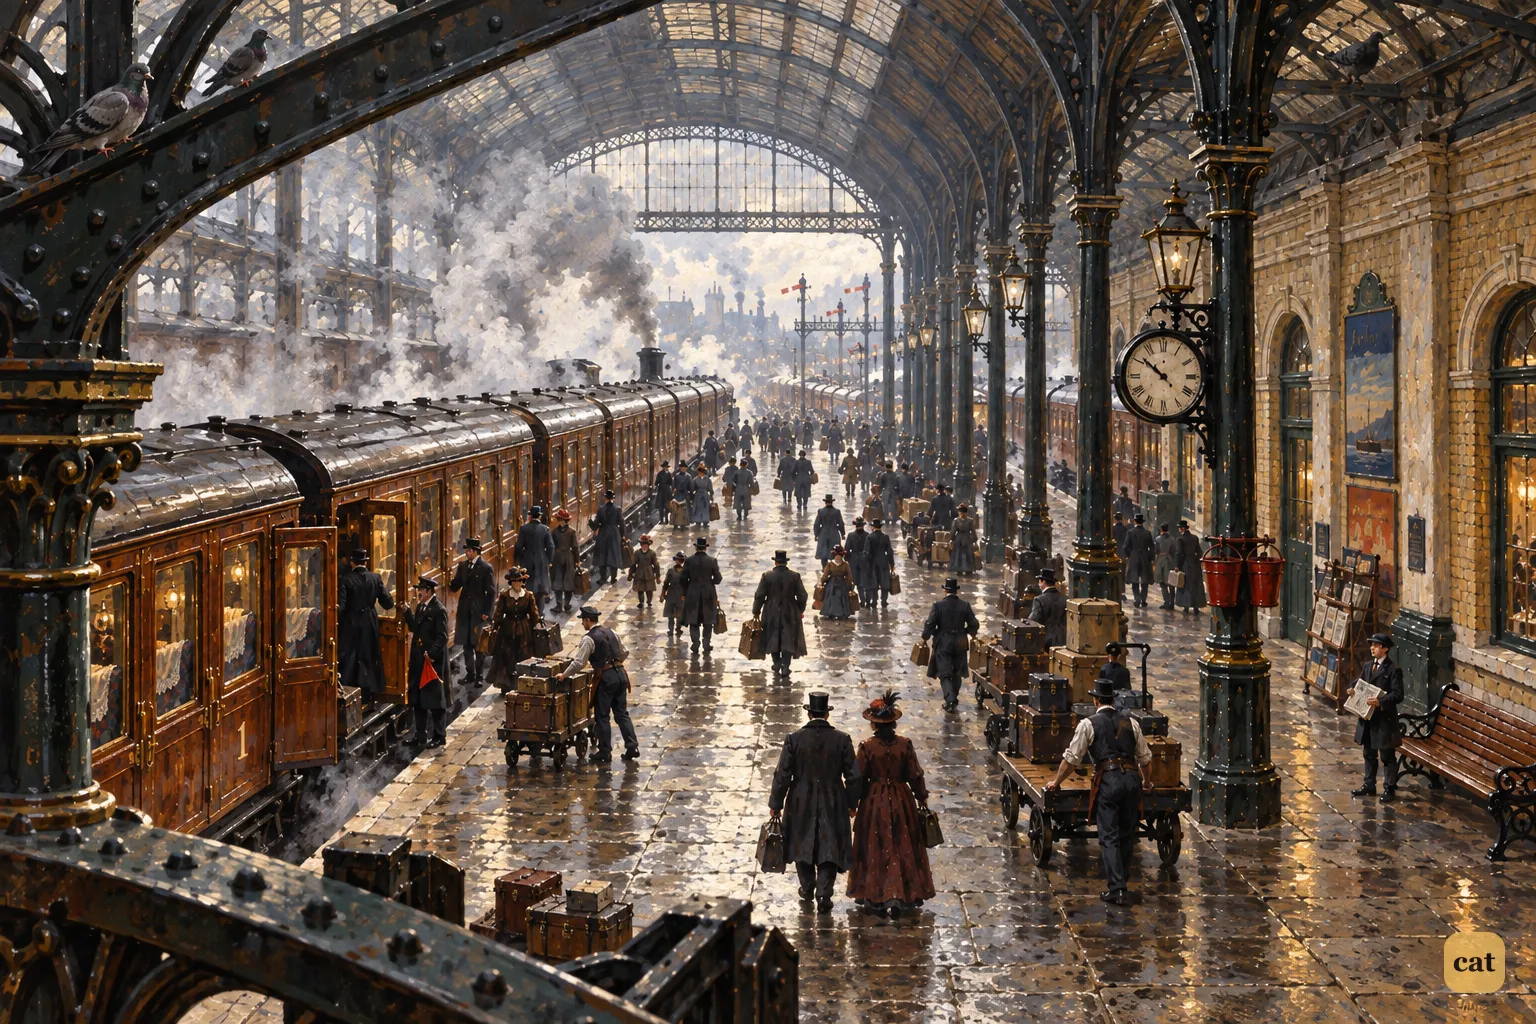
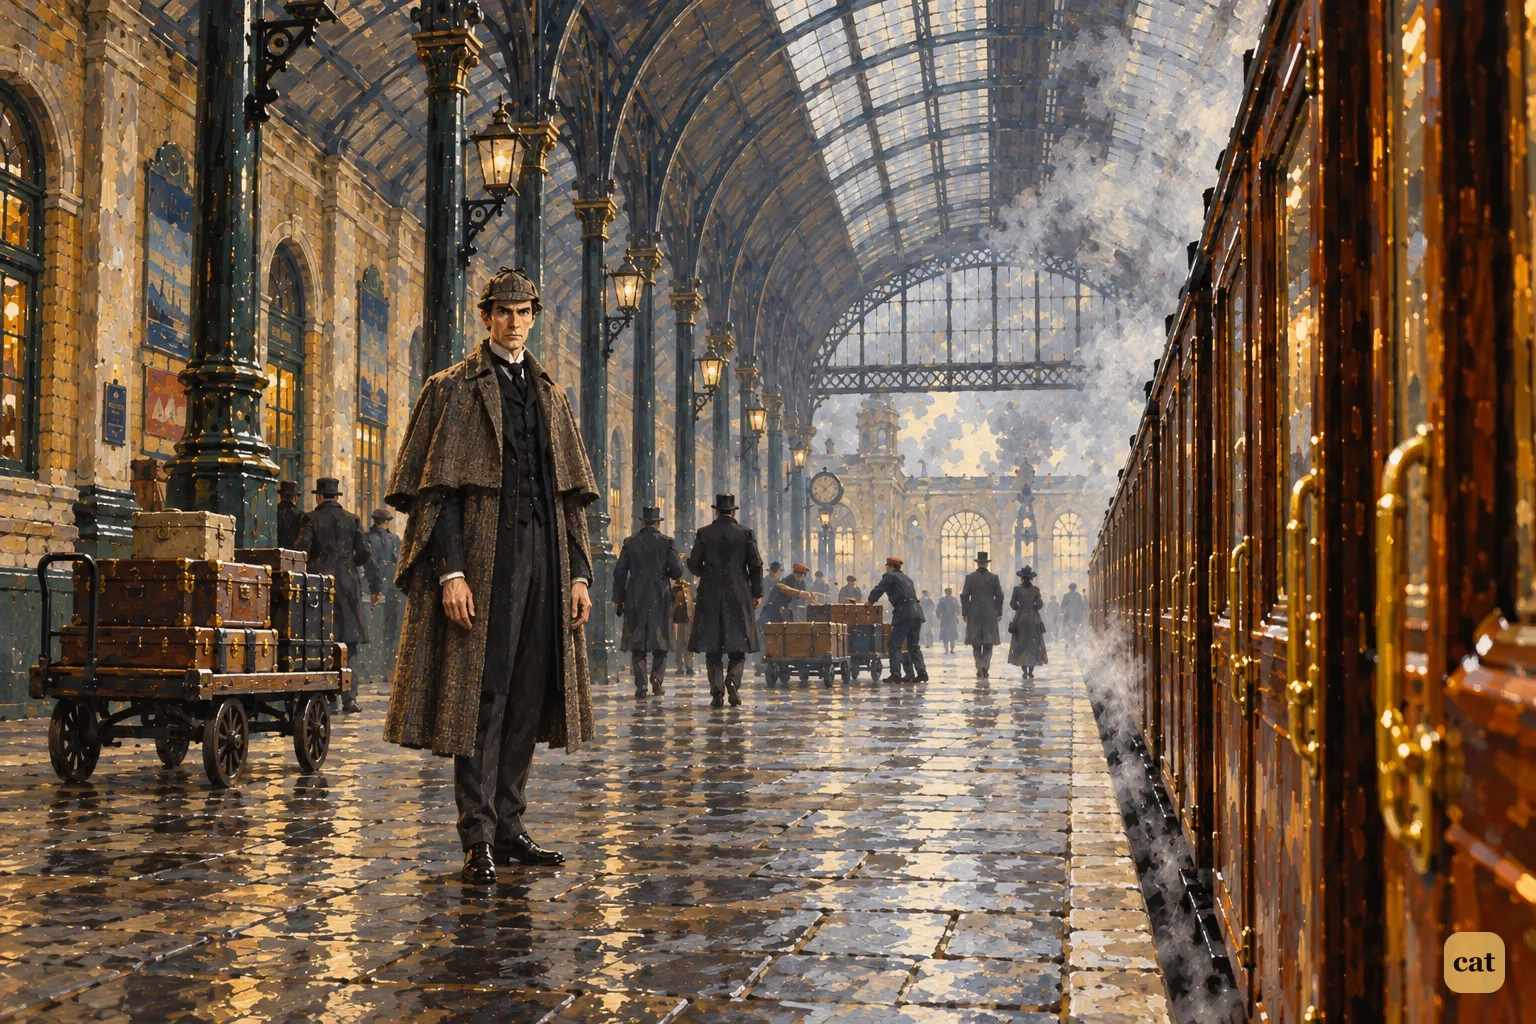
6·1 On a grey, sooty morning, Paddington Station stretches beneath its iron-and-glass roof
In the text → -
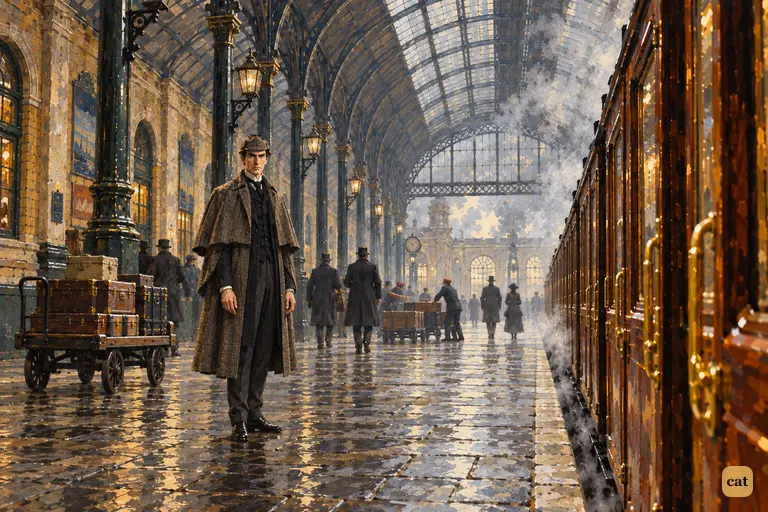
6·2 As the train pulls out of Paddington, Watson looks back and sees Holmes far down the grey platform.
In the text → -
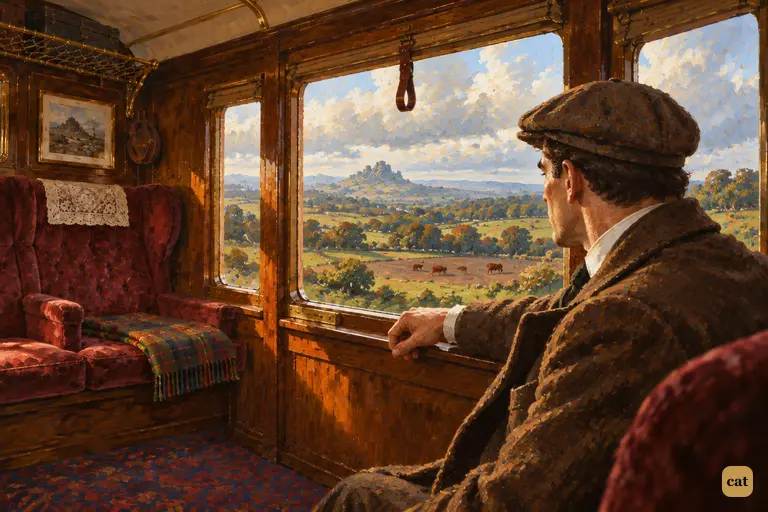
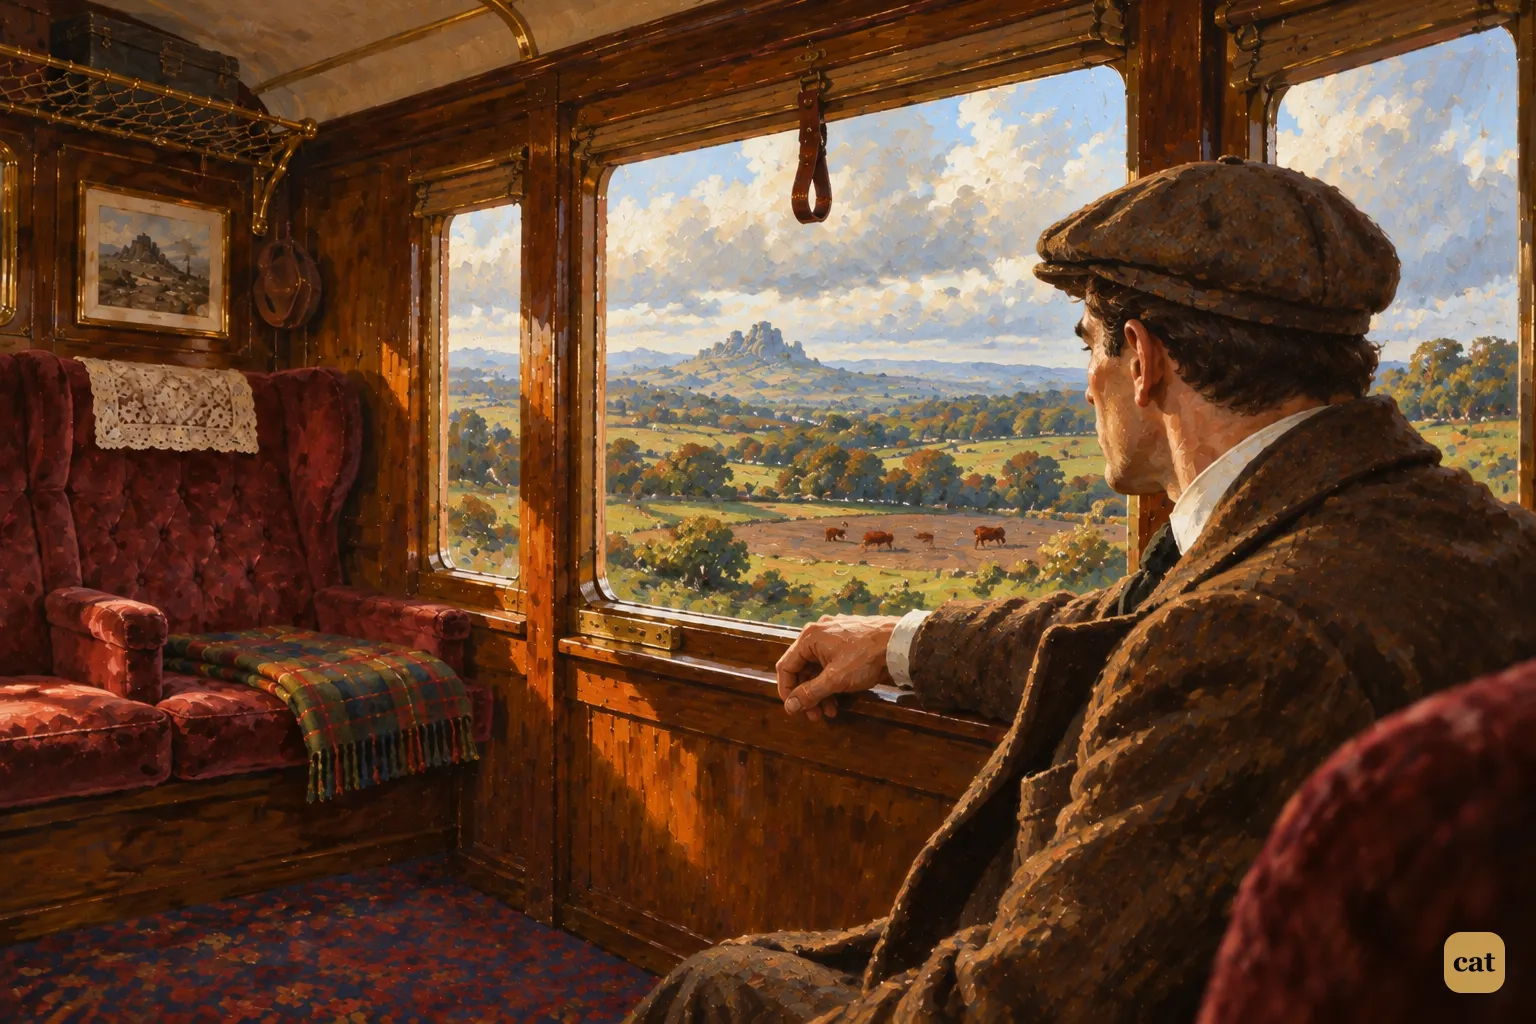
6·3 Sir Henry sits silent at the carriage window, taking his first look at the moor
In the text → -
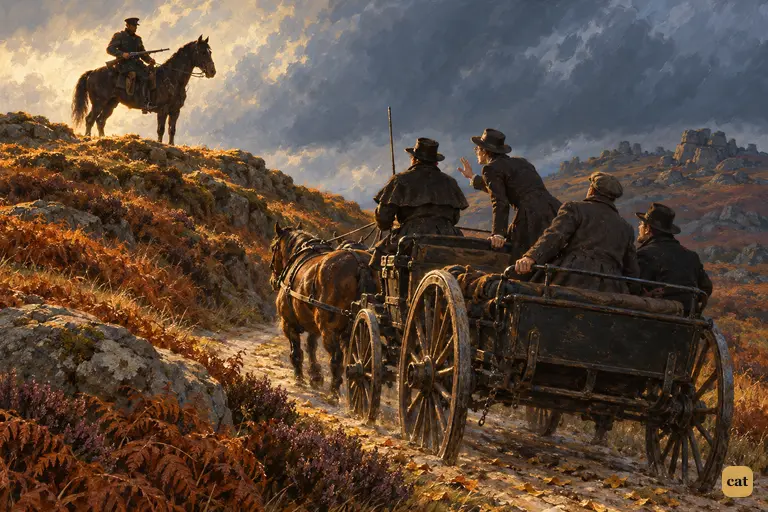
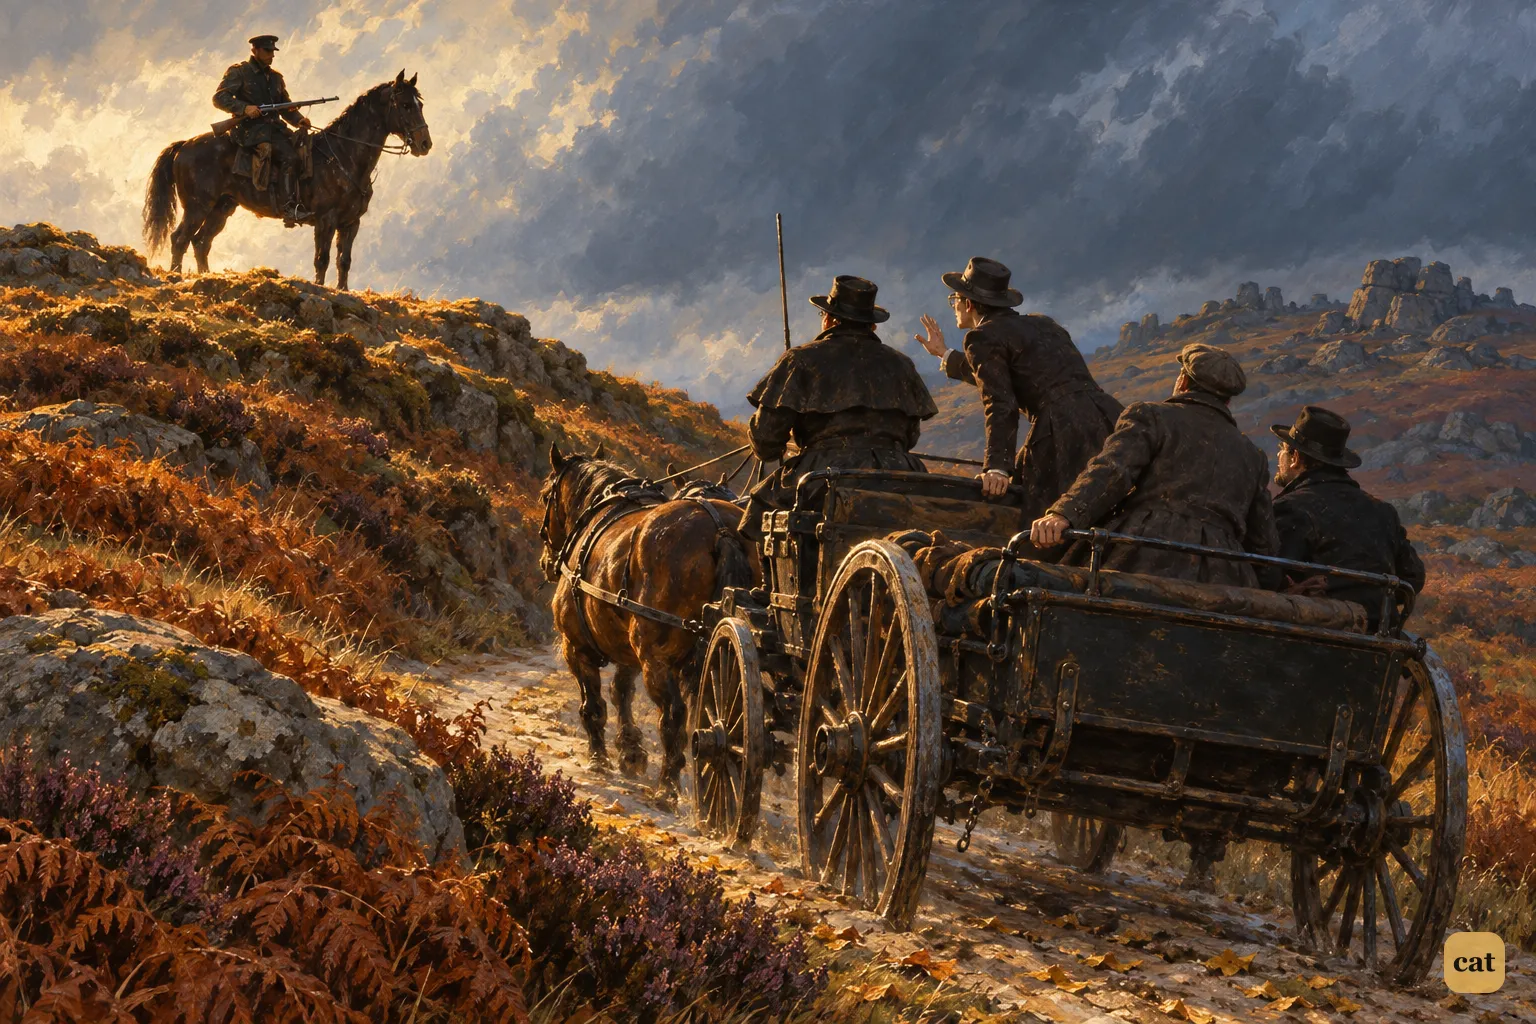
6·4 A mounted soldier on a heath-clad spur watches the wagonette carrying the returning heir
In the text → -
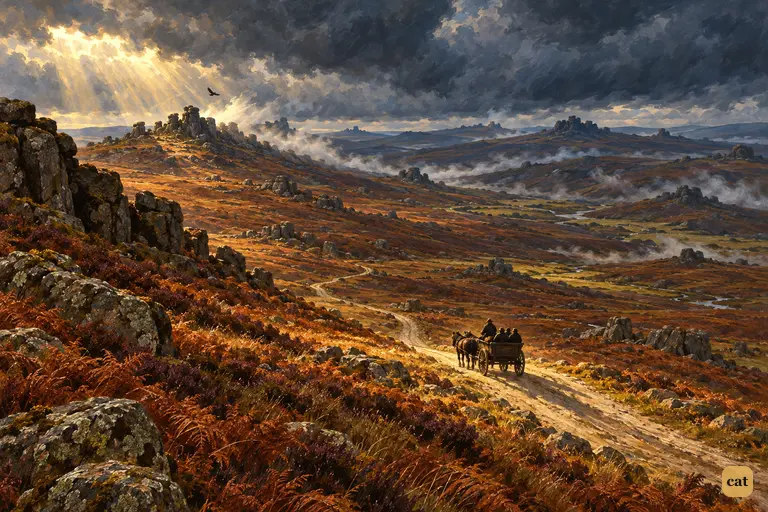
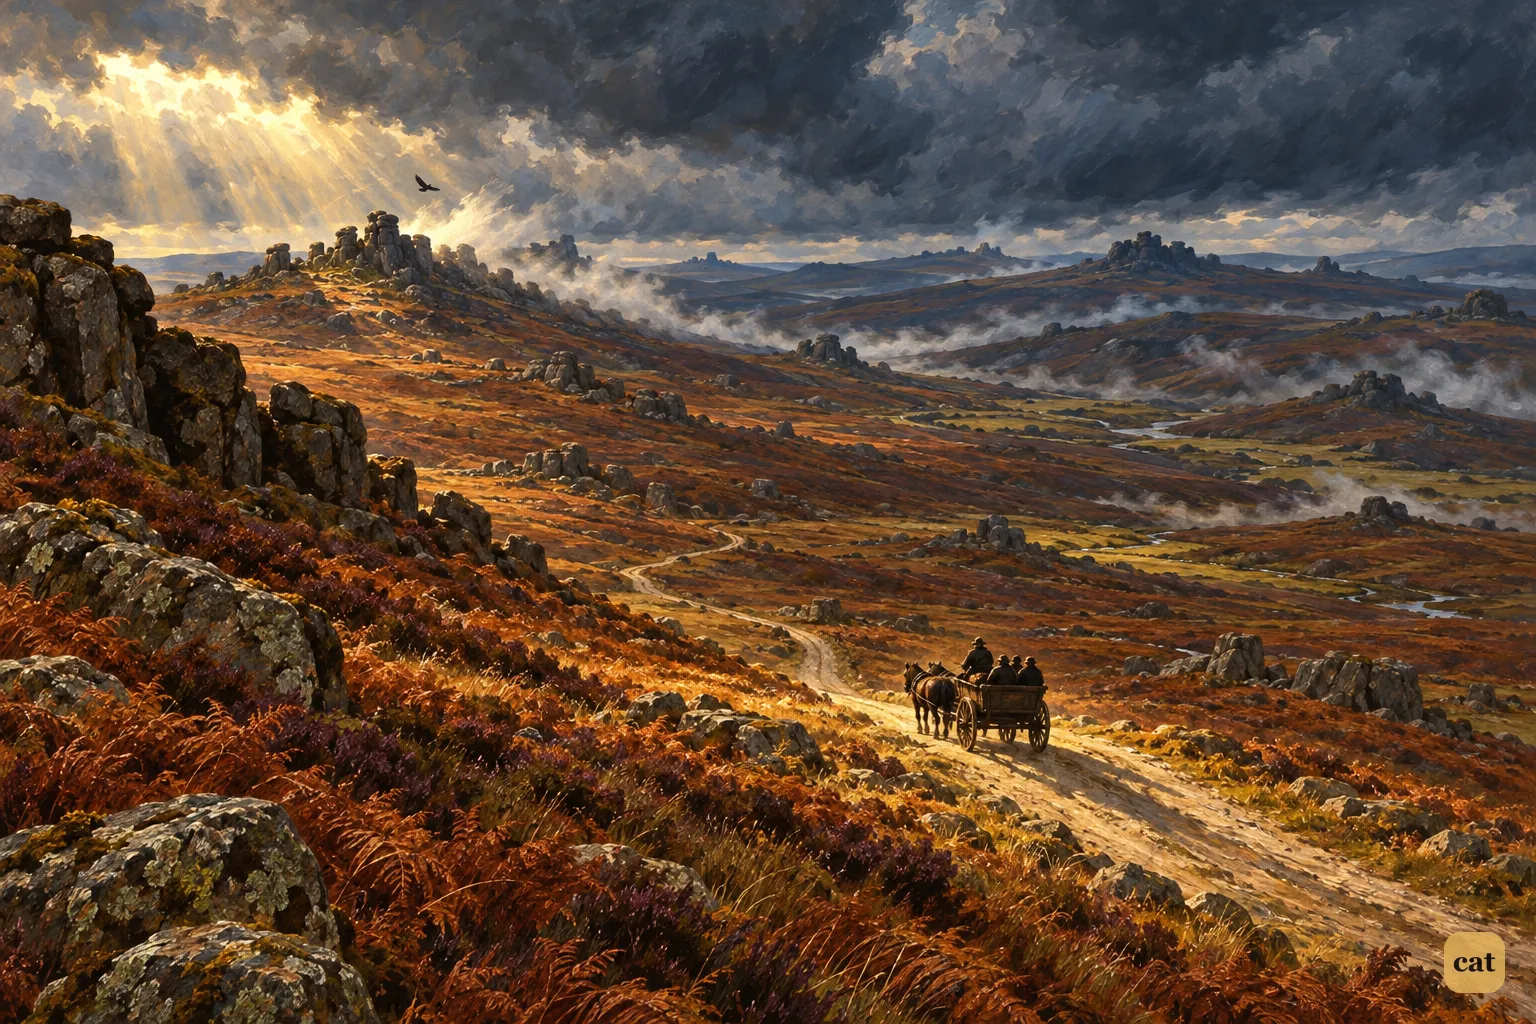
6·5 The wagonette tops the rise and the grey moor opens before the travellers
In the text → -
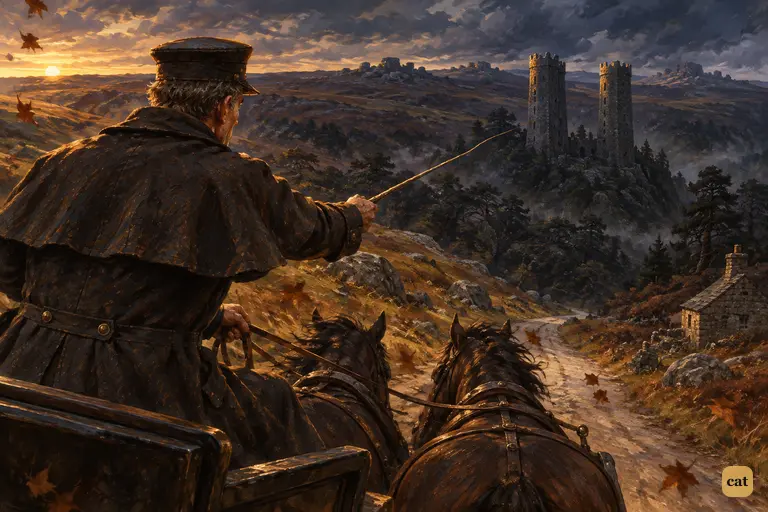
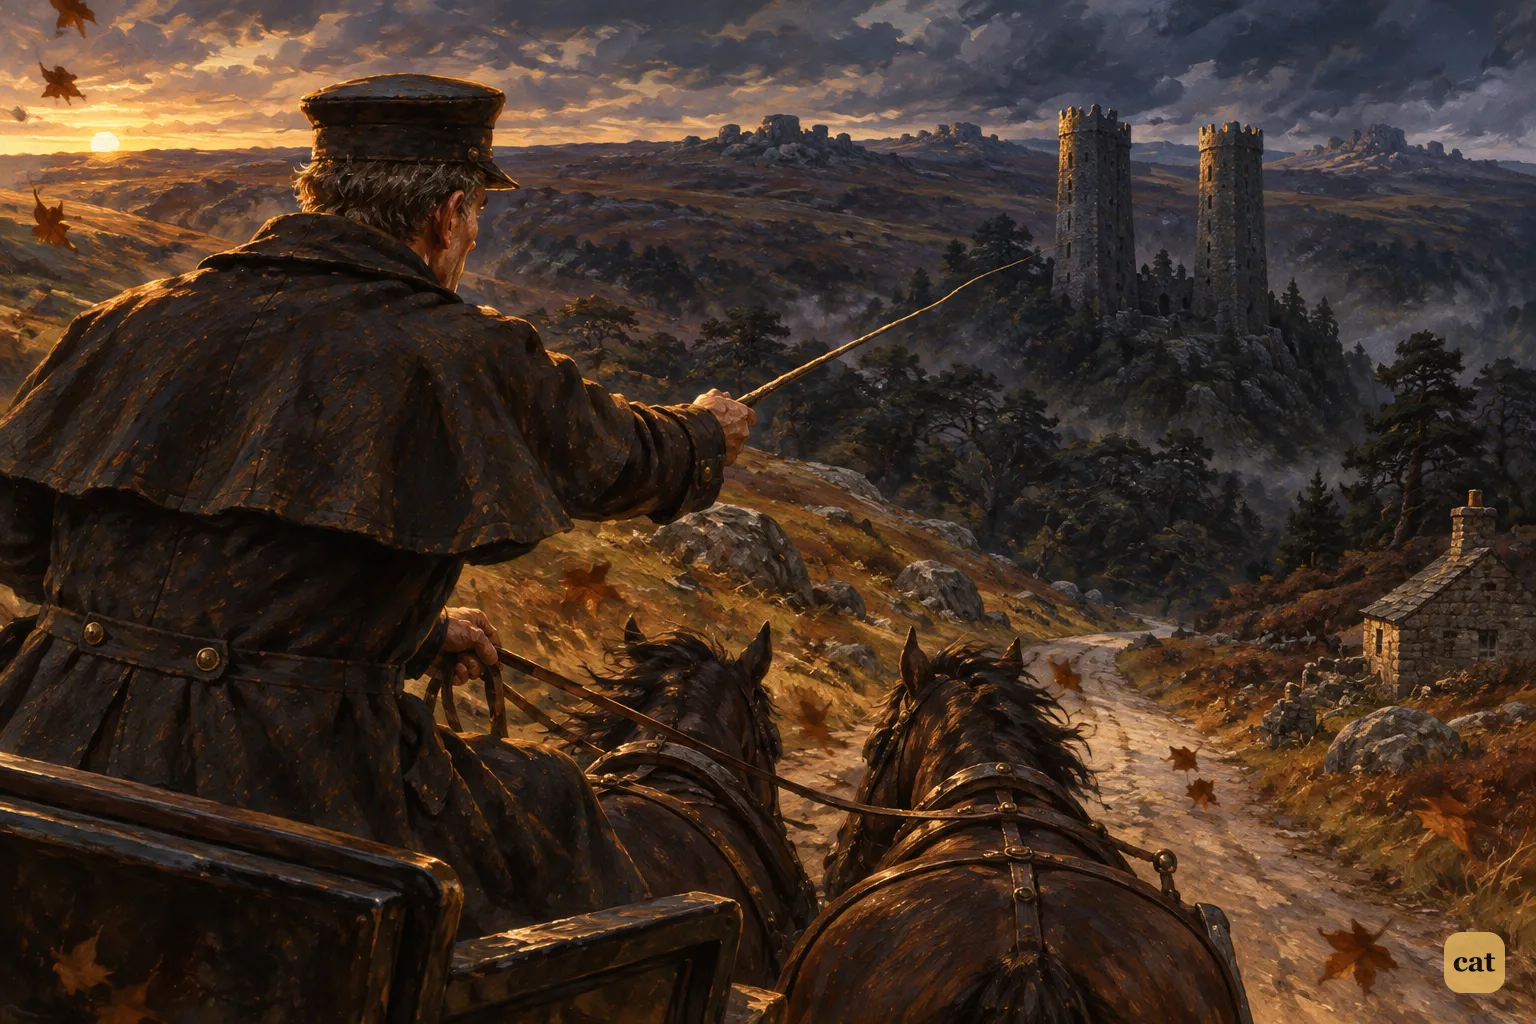
6·6 Perkins half-rises on the box and points his whip down into a storm-bent hollow
In the text → -
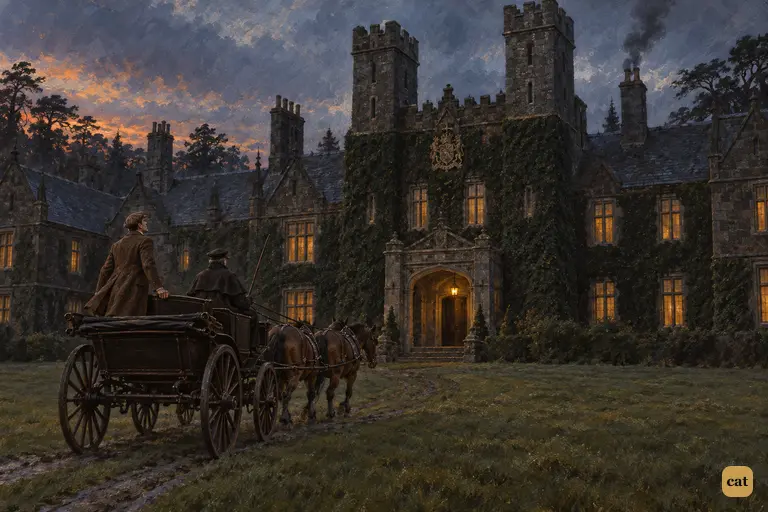
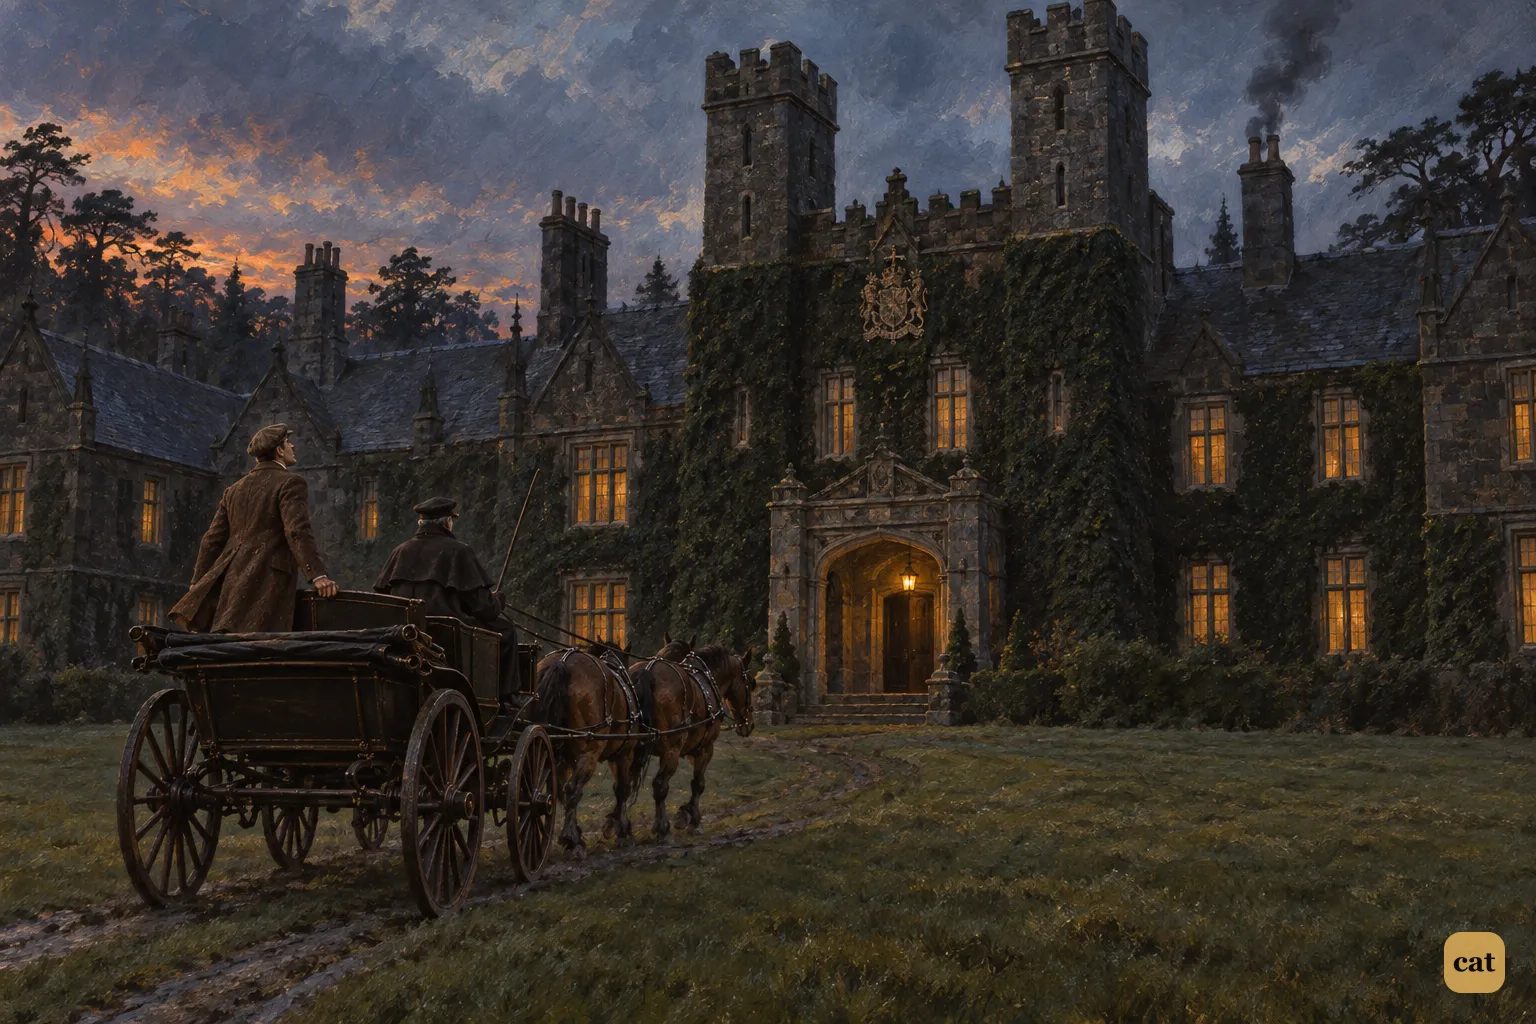
6·7 At dusk the wagonette rolls across the lawn toward Baskerville Hall.
In the text → -
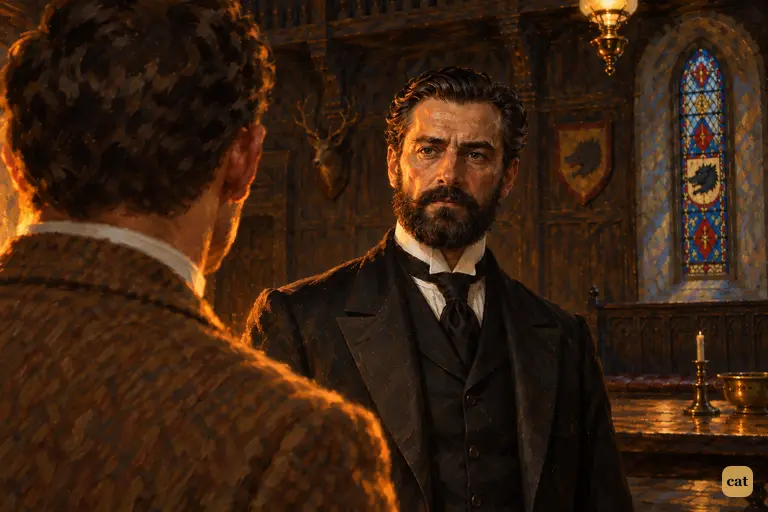
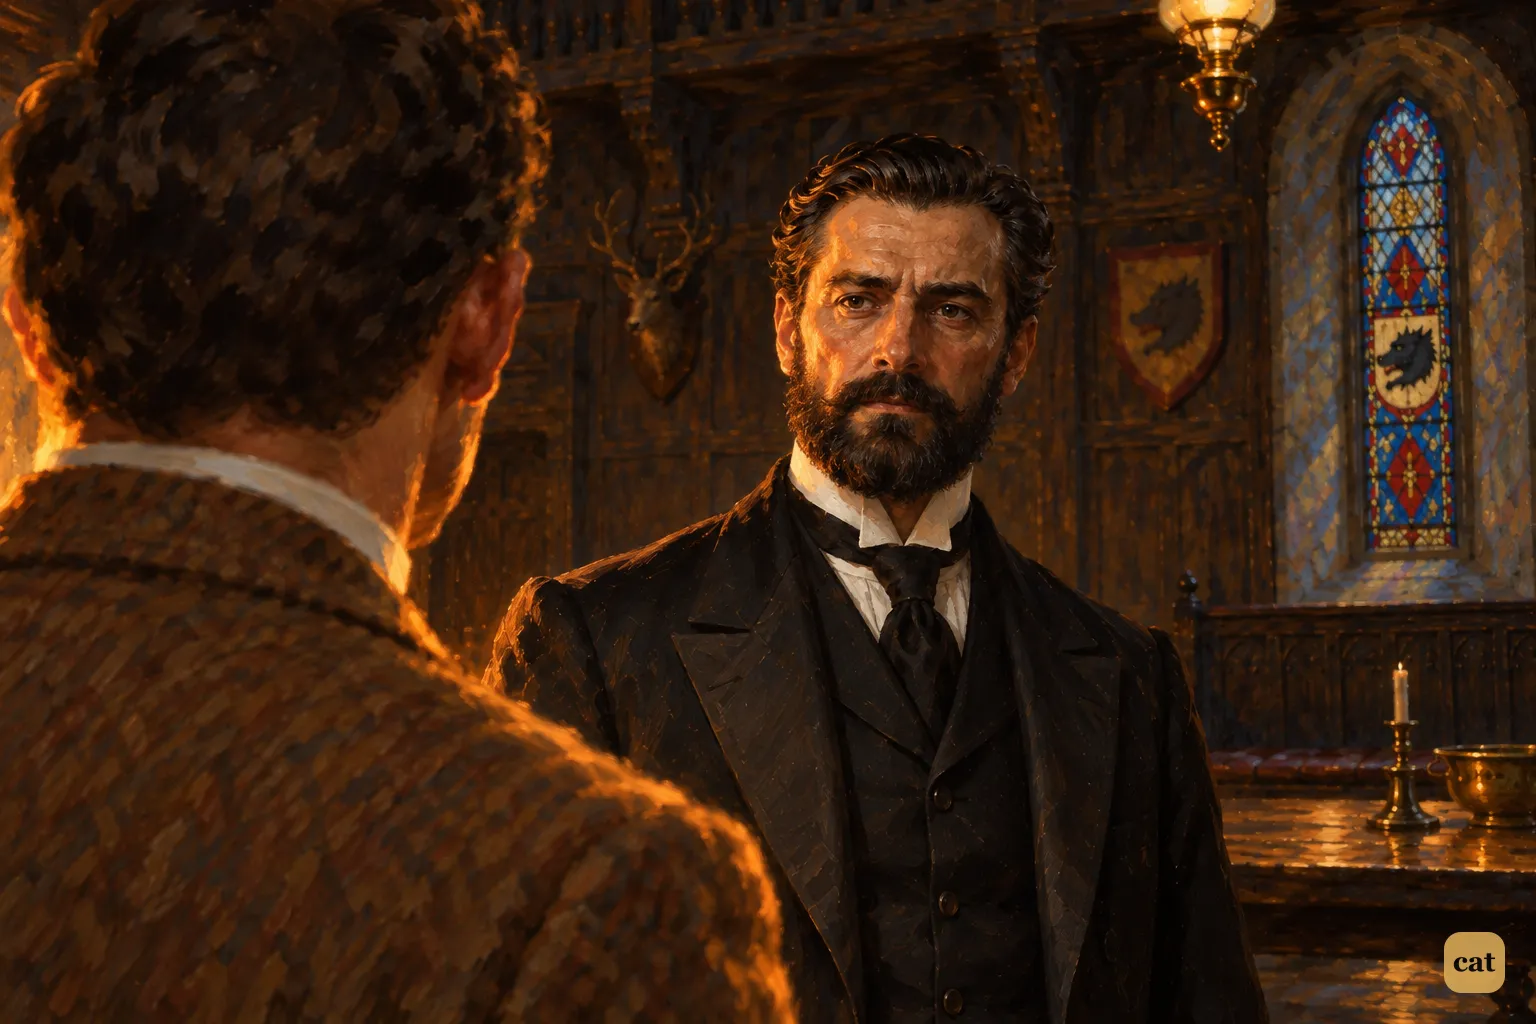
6·8 Our first look at Barrymore, the butler.
In the text → -
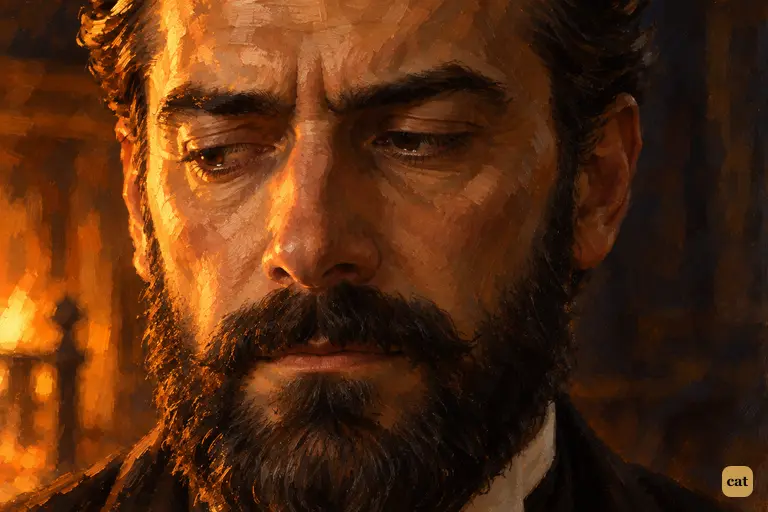
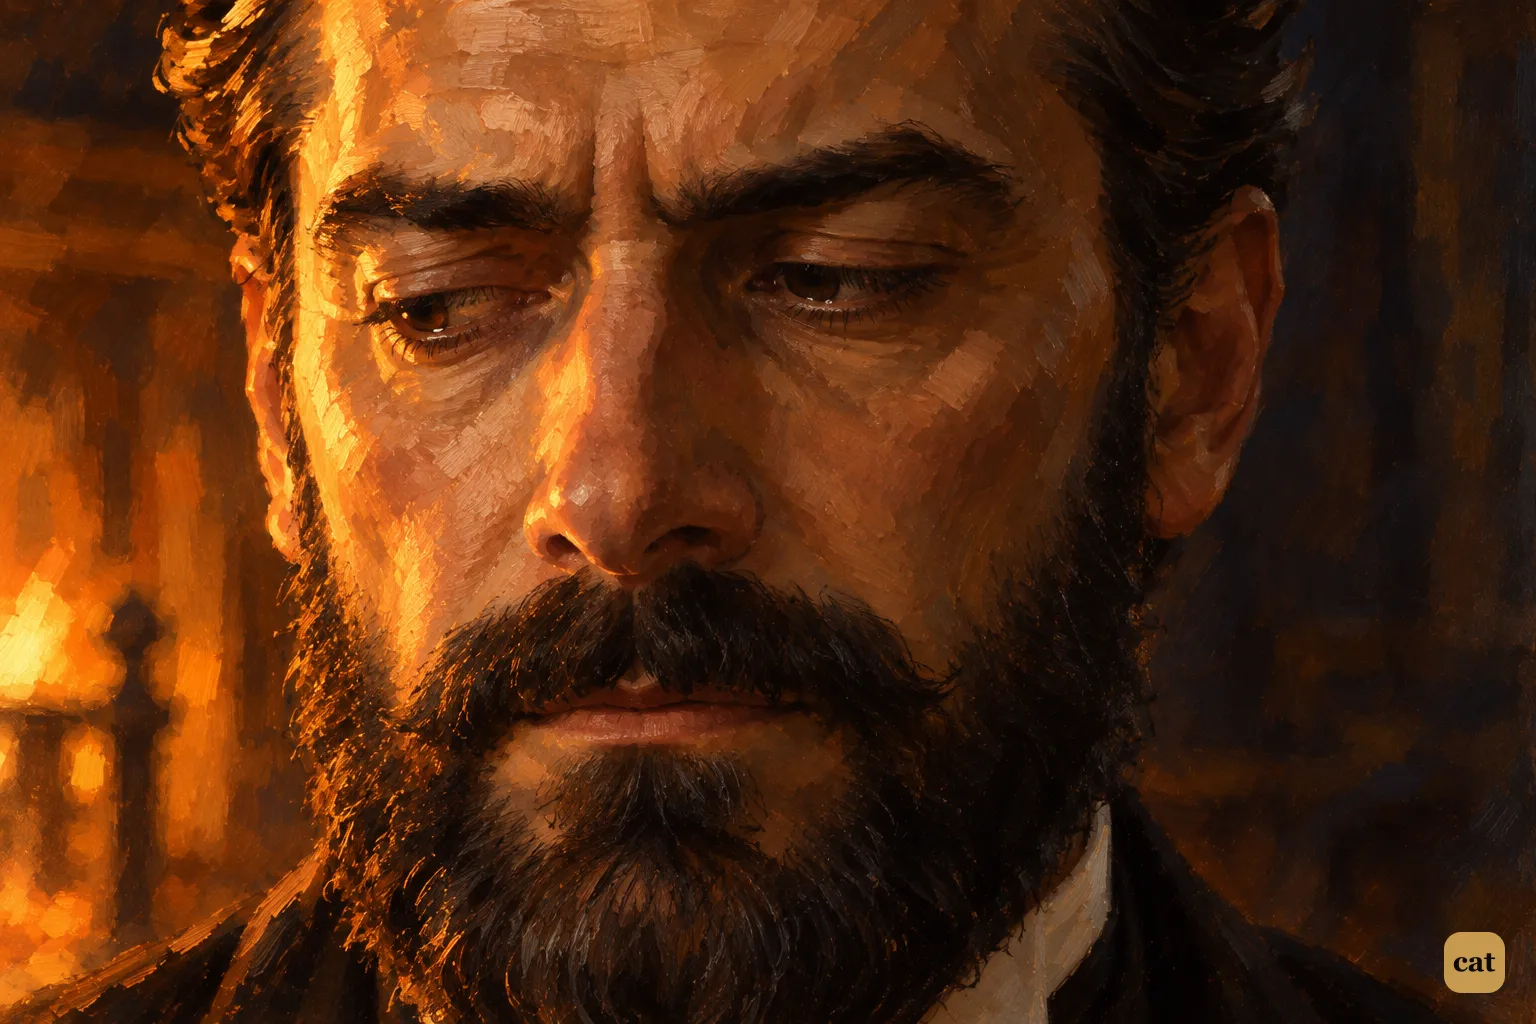
6·9 For a moment, the butler's pale, correct mask slips in the firelight at Baskerville Hall.
In the text → -
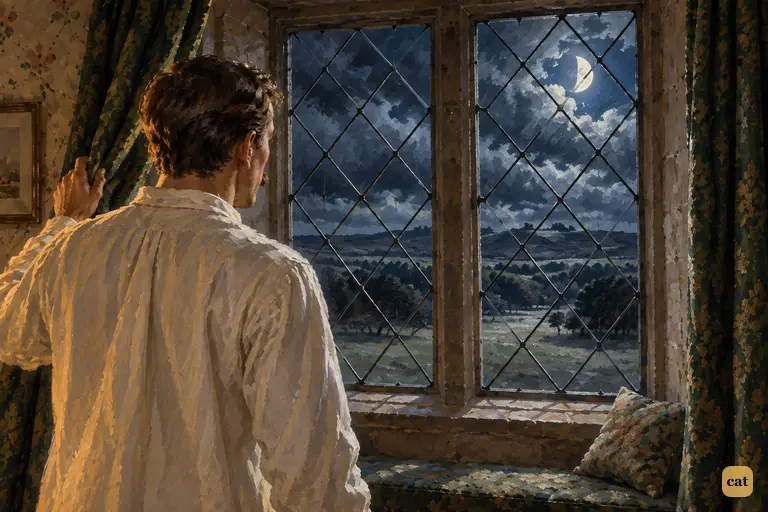
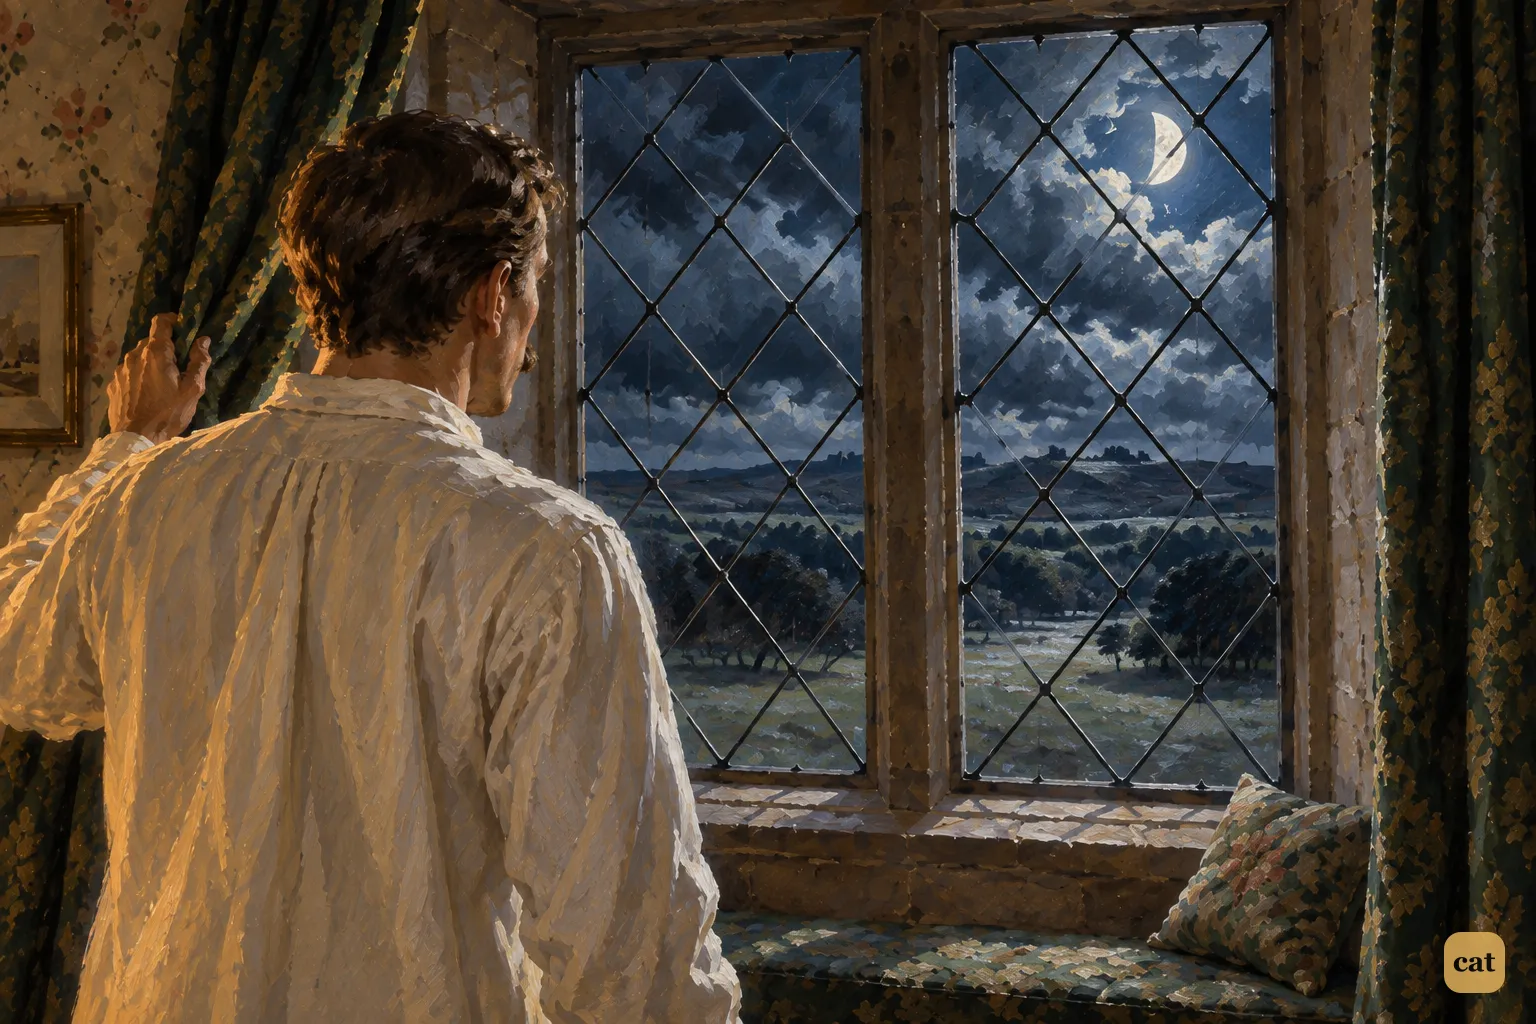
6·10 Watson holds the curtain aside and looks out at the moor under a cold half moon
In the text → -
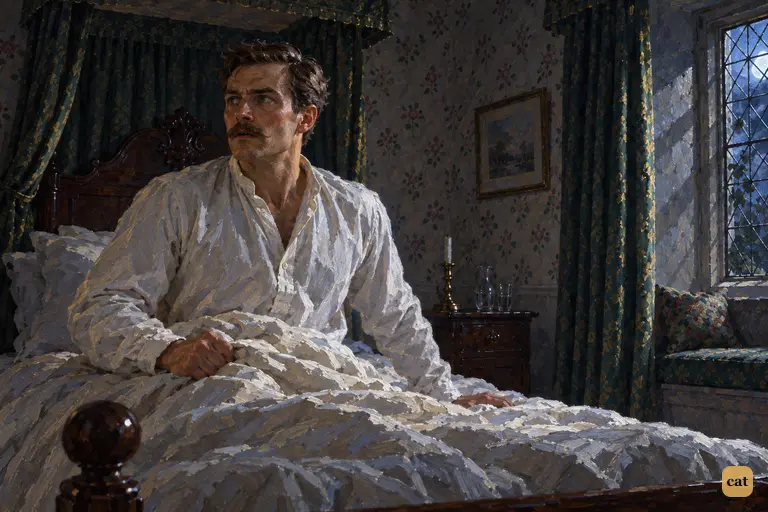
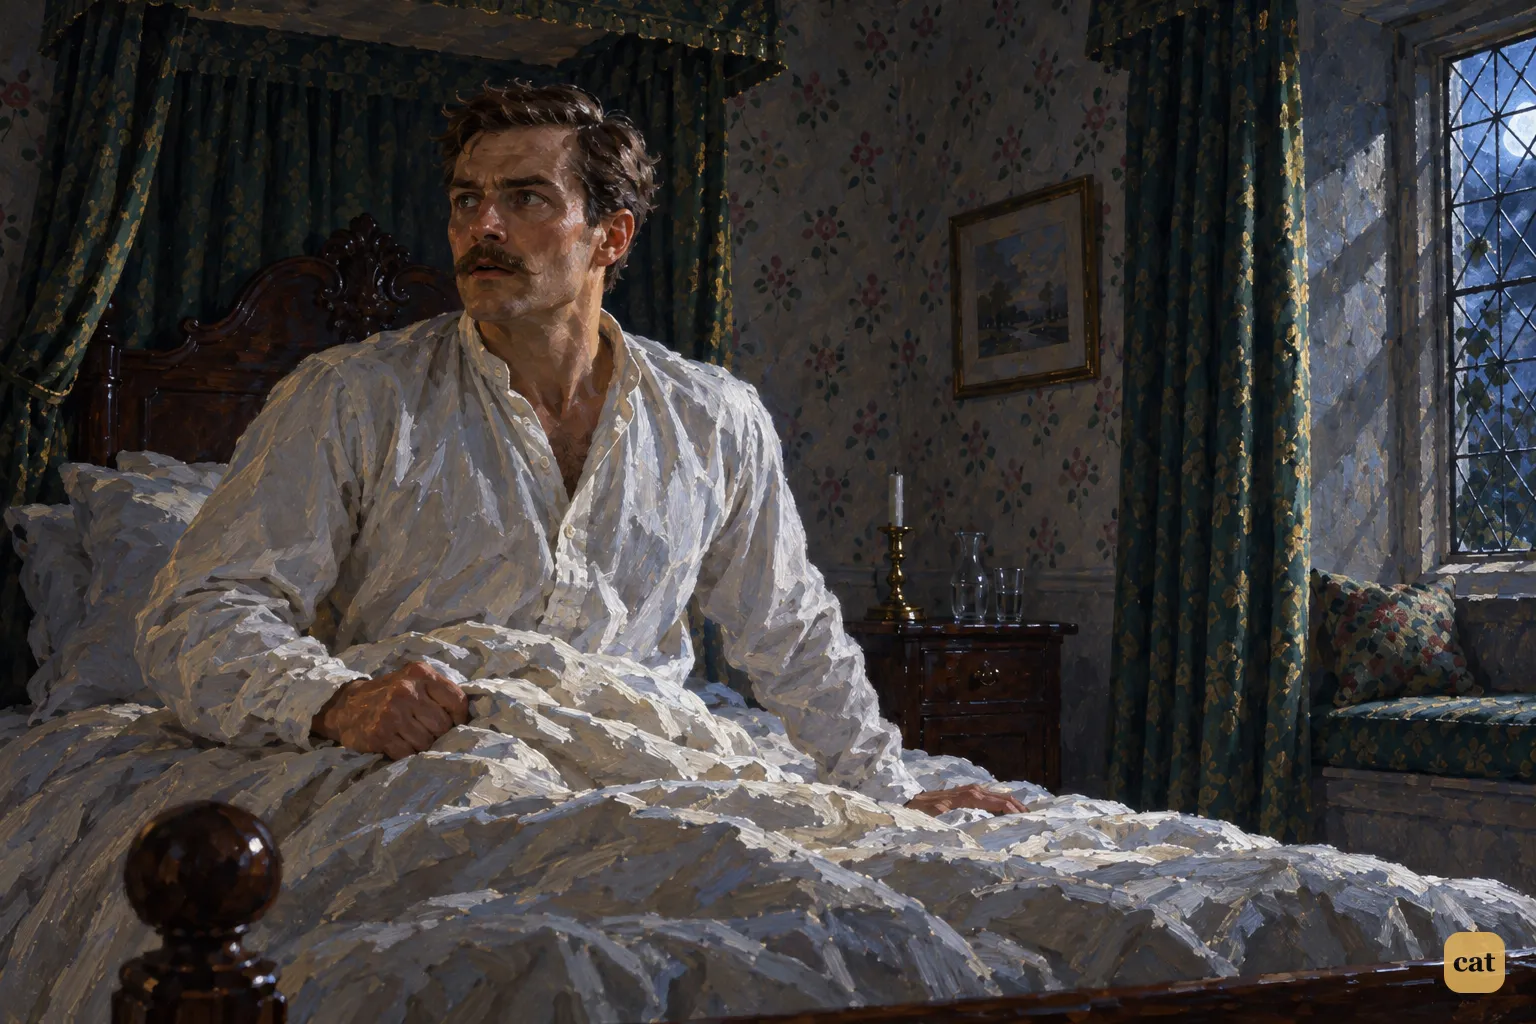
6·11 Dr. Watson sits bolt upright in bed at Baskerville Hall, holding his breath
In the text →
Chapter 7 · 10 illustrations Watson meets the Stapletons and a warning
-
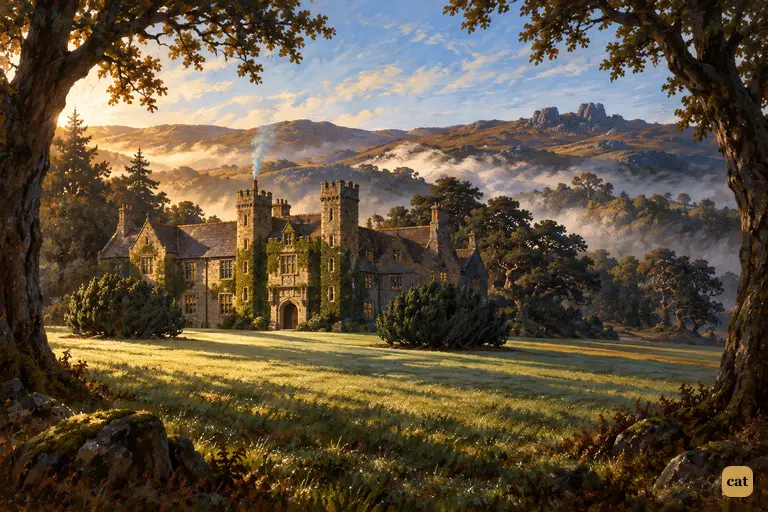
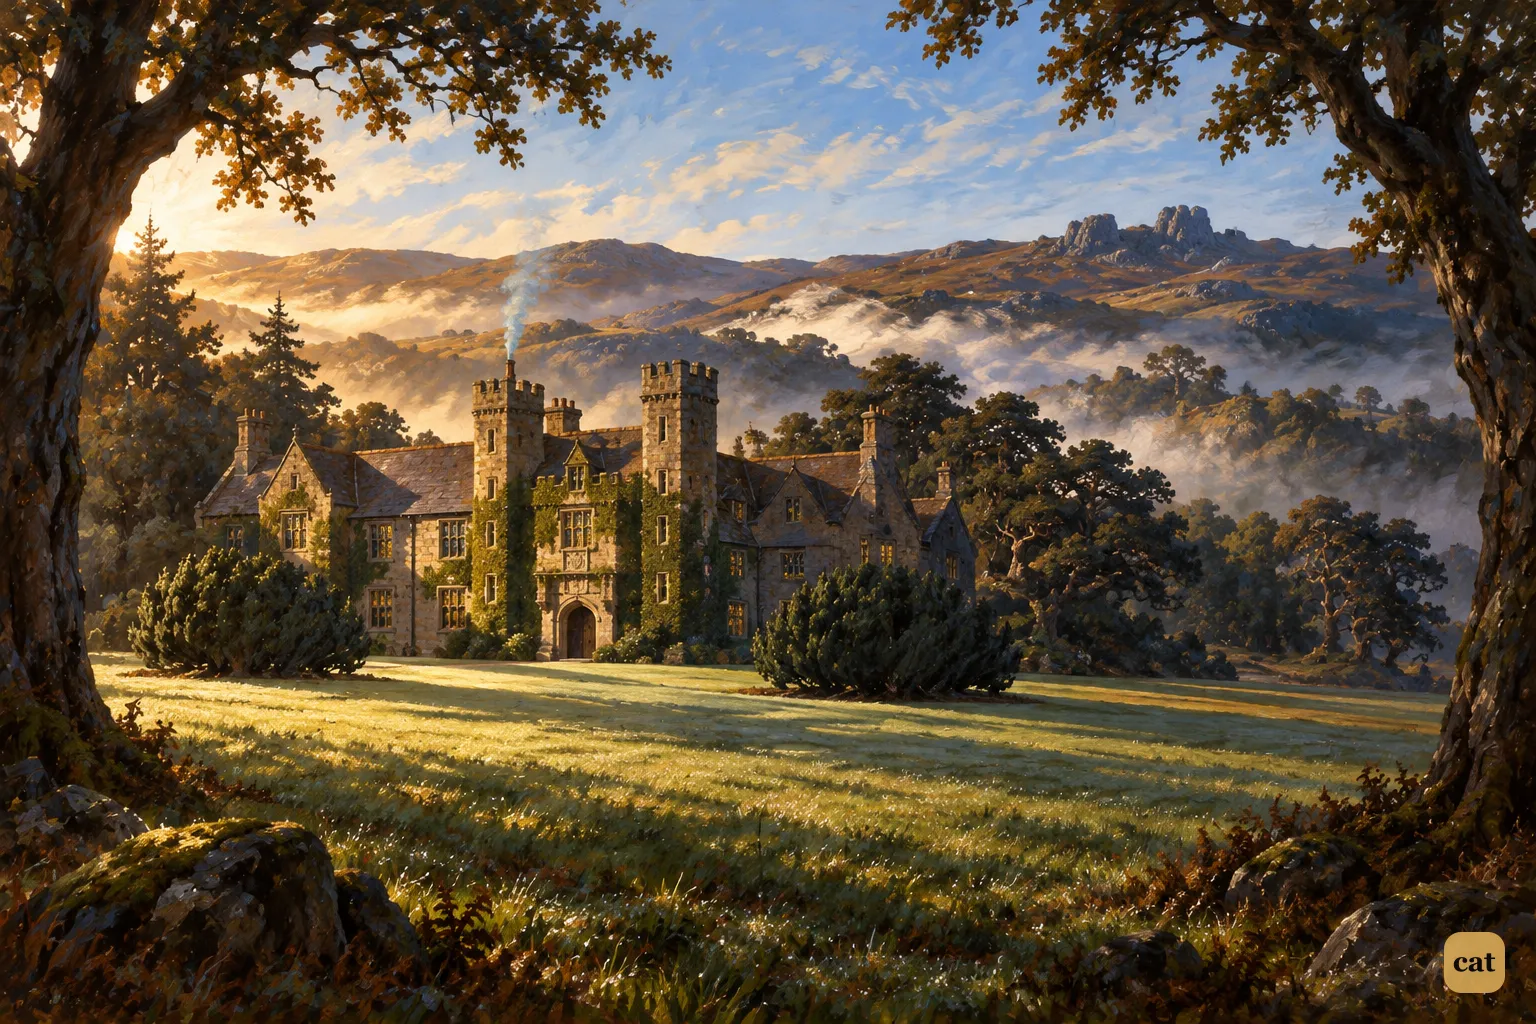
7·1 Baskerville Hall stands in golden morning sunlight as the mist lifts off the moor
In the text → -
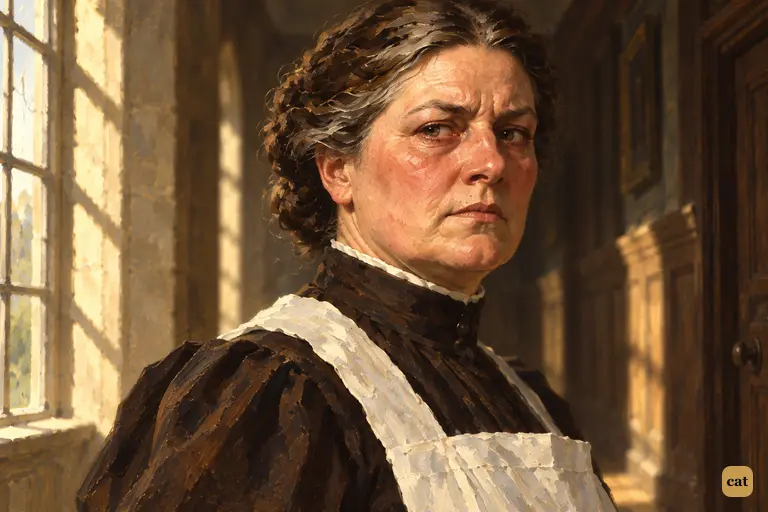
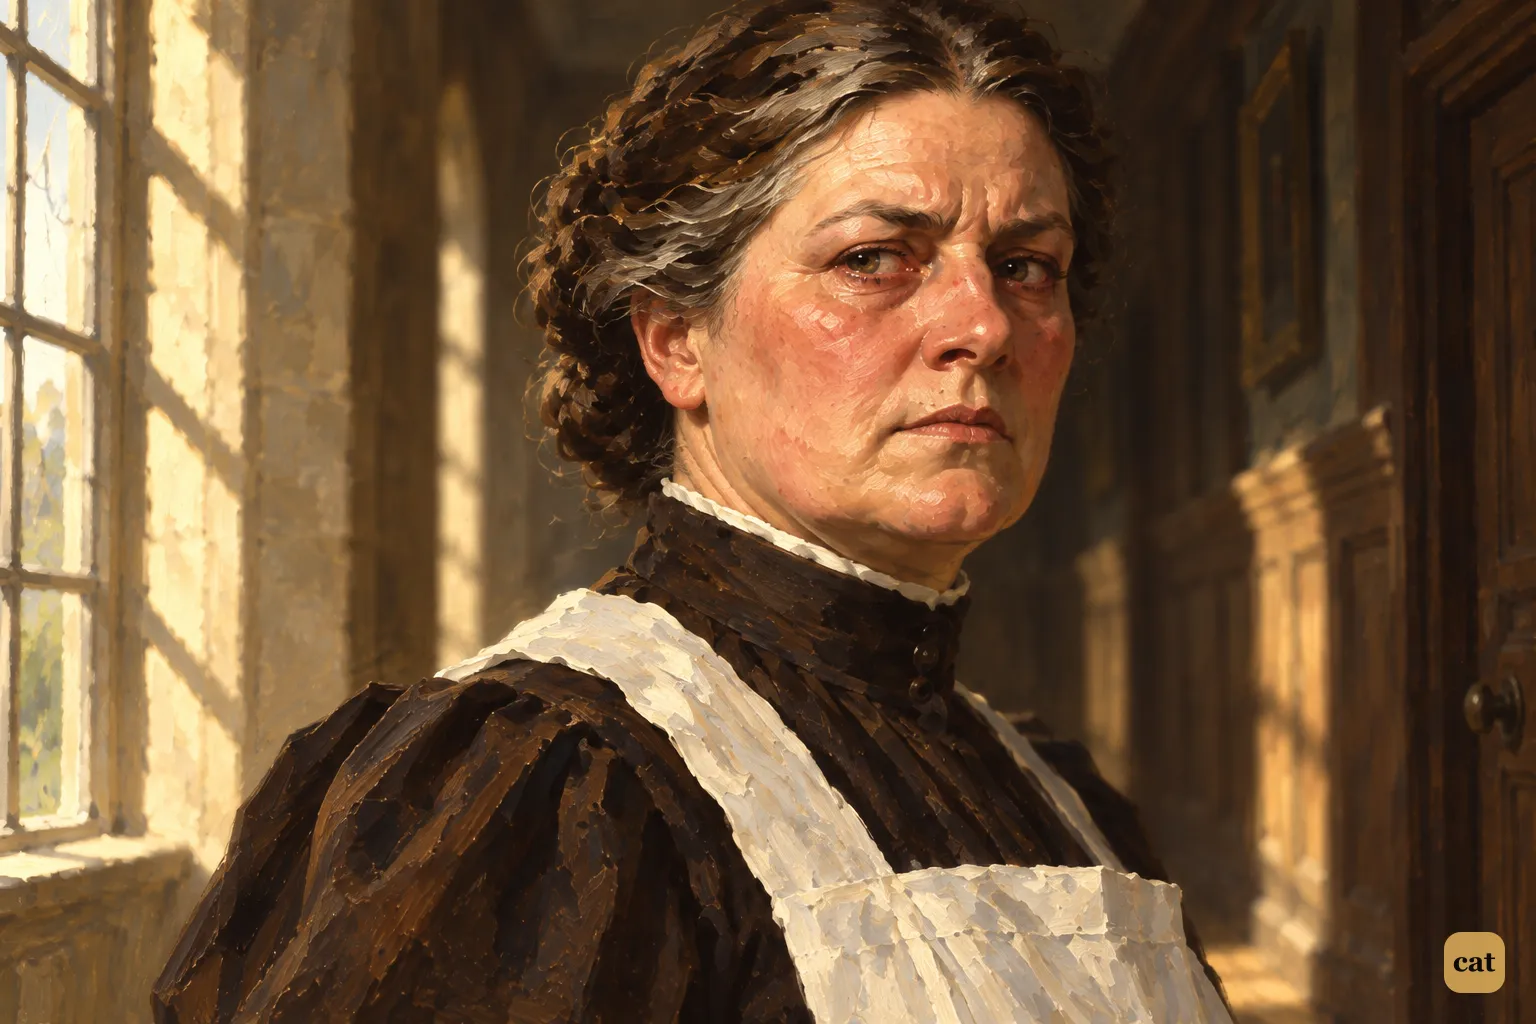
7·2 Morning sun falls on Mrs. Barrymore's stern, set face in the long corridor
In the text → -
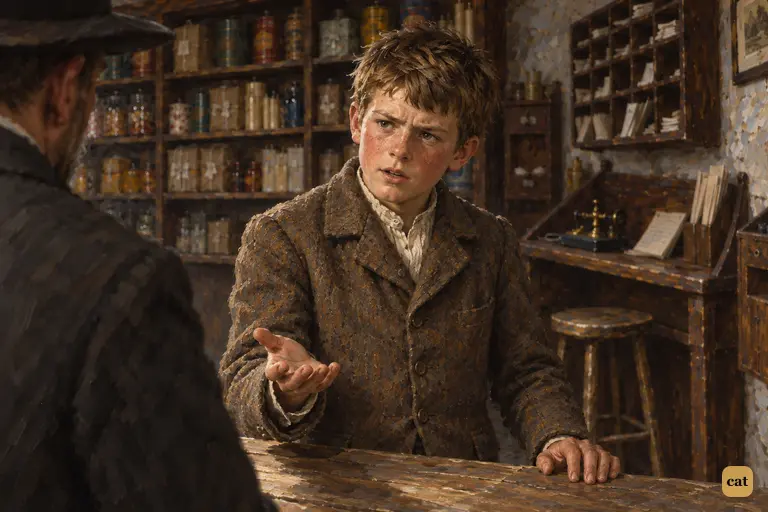
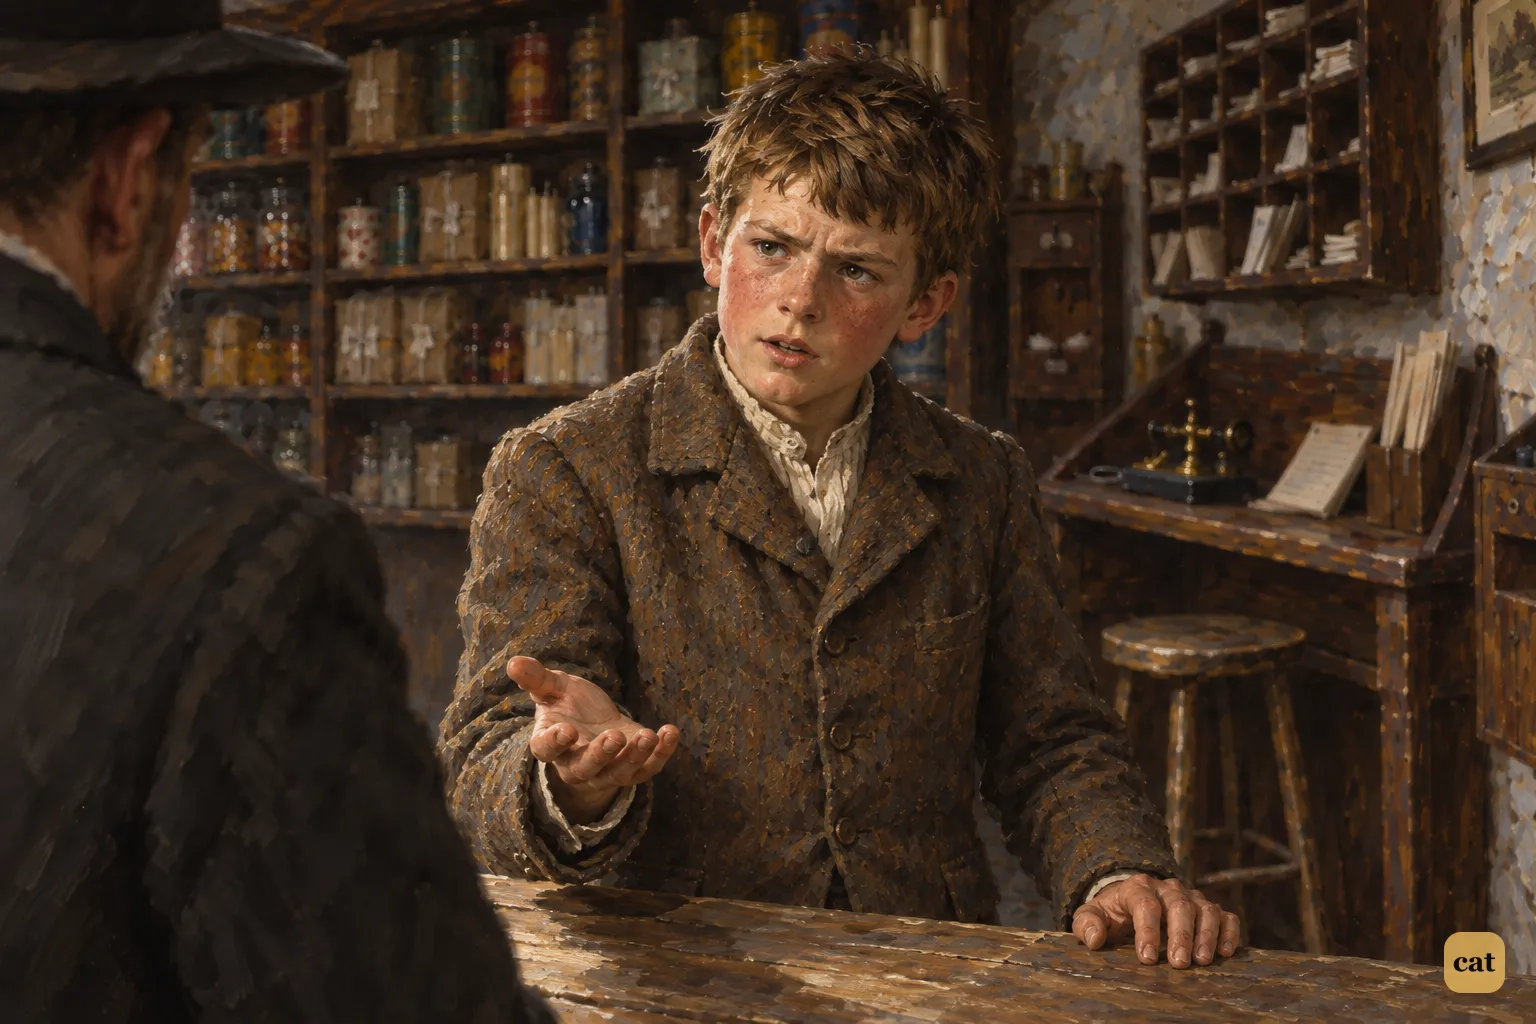
7·3 The Grimpen postmaster's boy admits he gave the telegram to Mrs. Barrymore
In the text → -
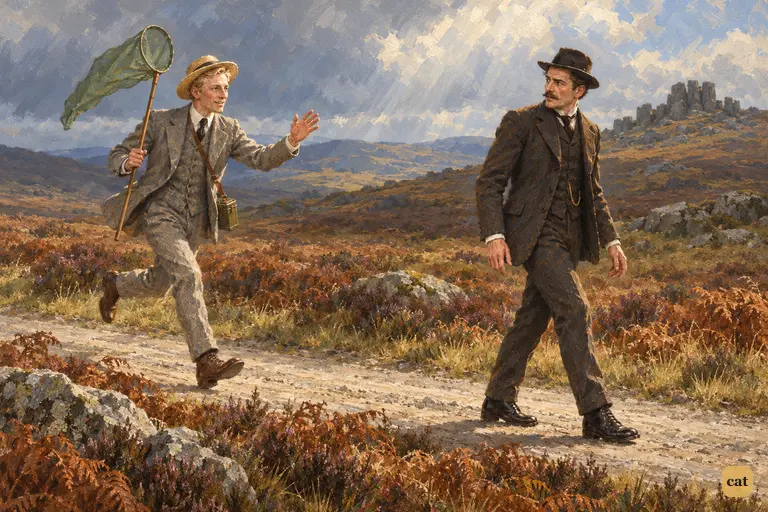
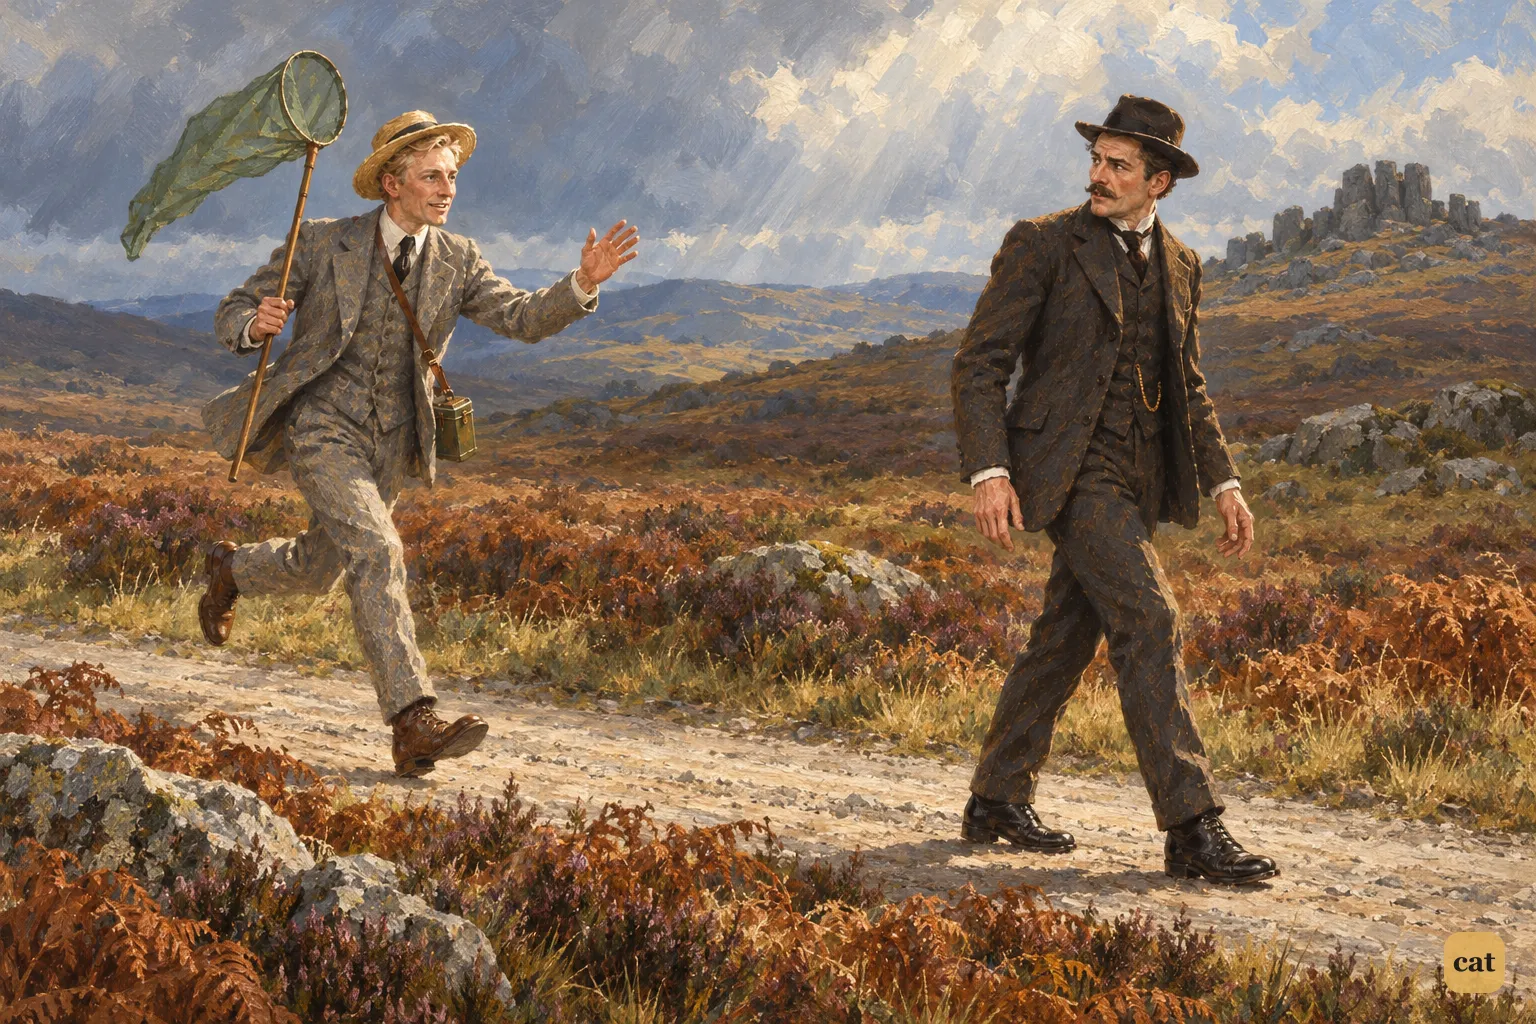
7·4 On the lonely moor road, Watson turns at the sound of running feet and his own name.
In the text → -

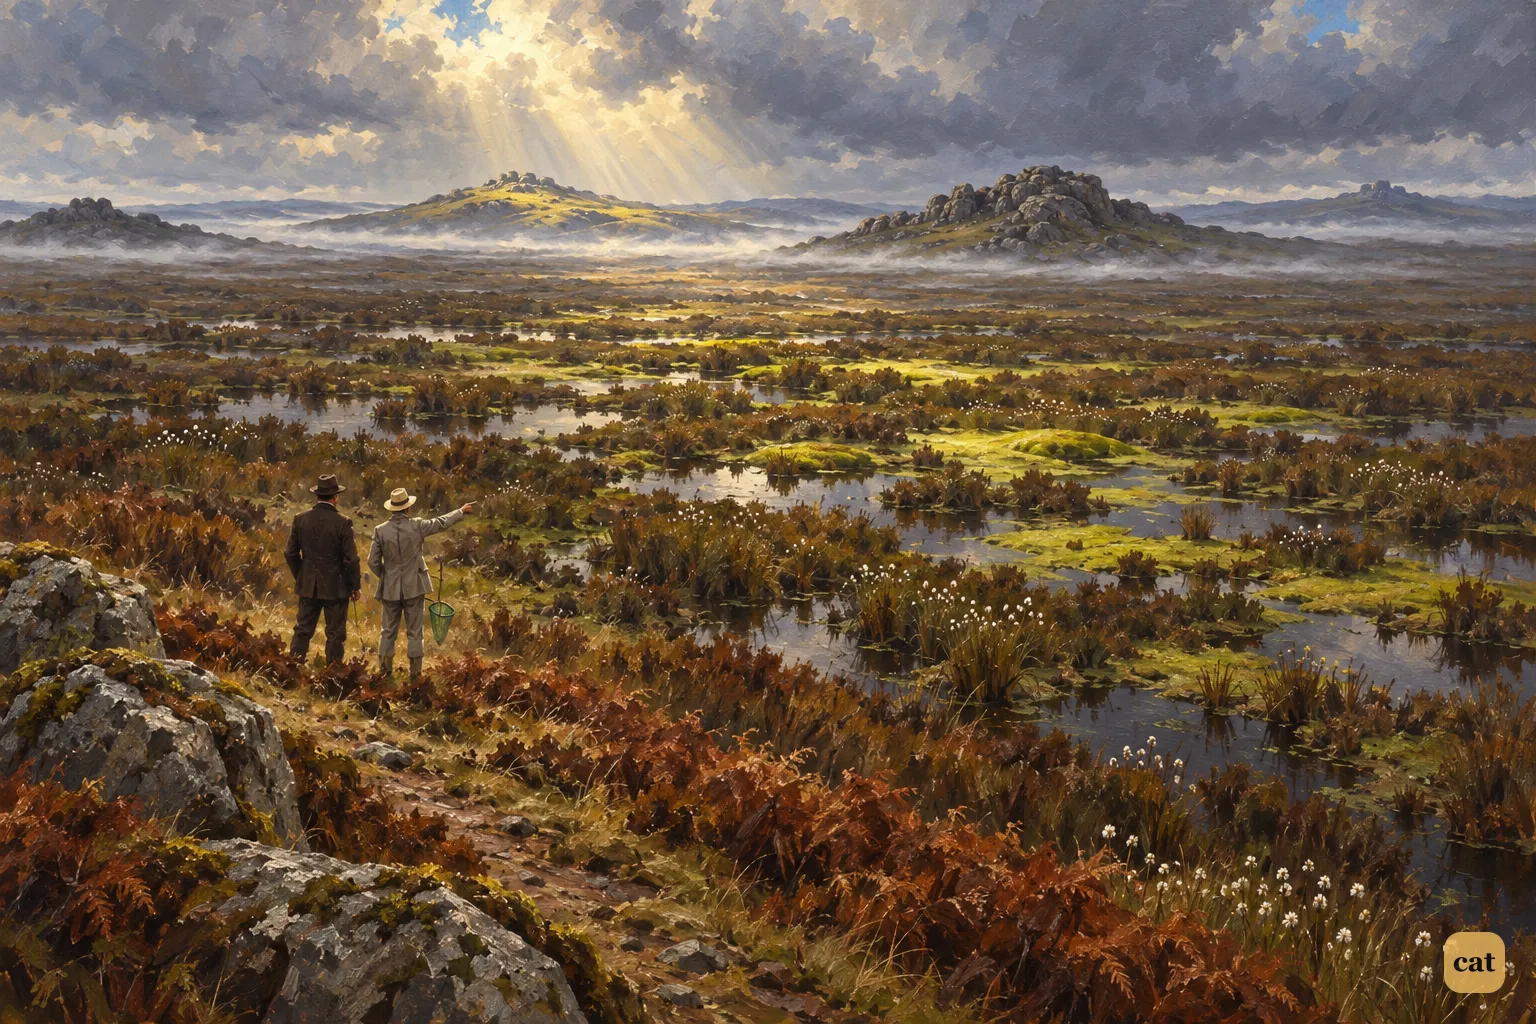
7·5 From the moor path, Stapleton points Watson toward the smooth green plain of the Grimpen Mire.
In the text → -

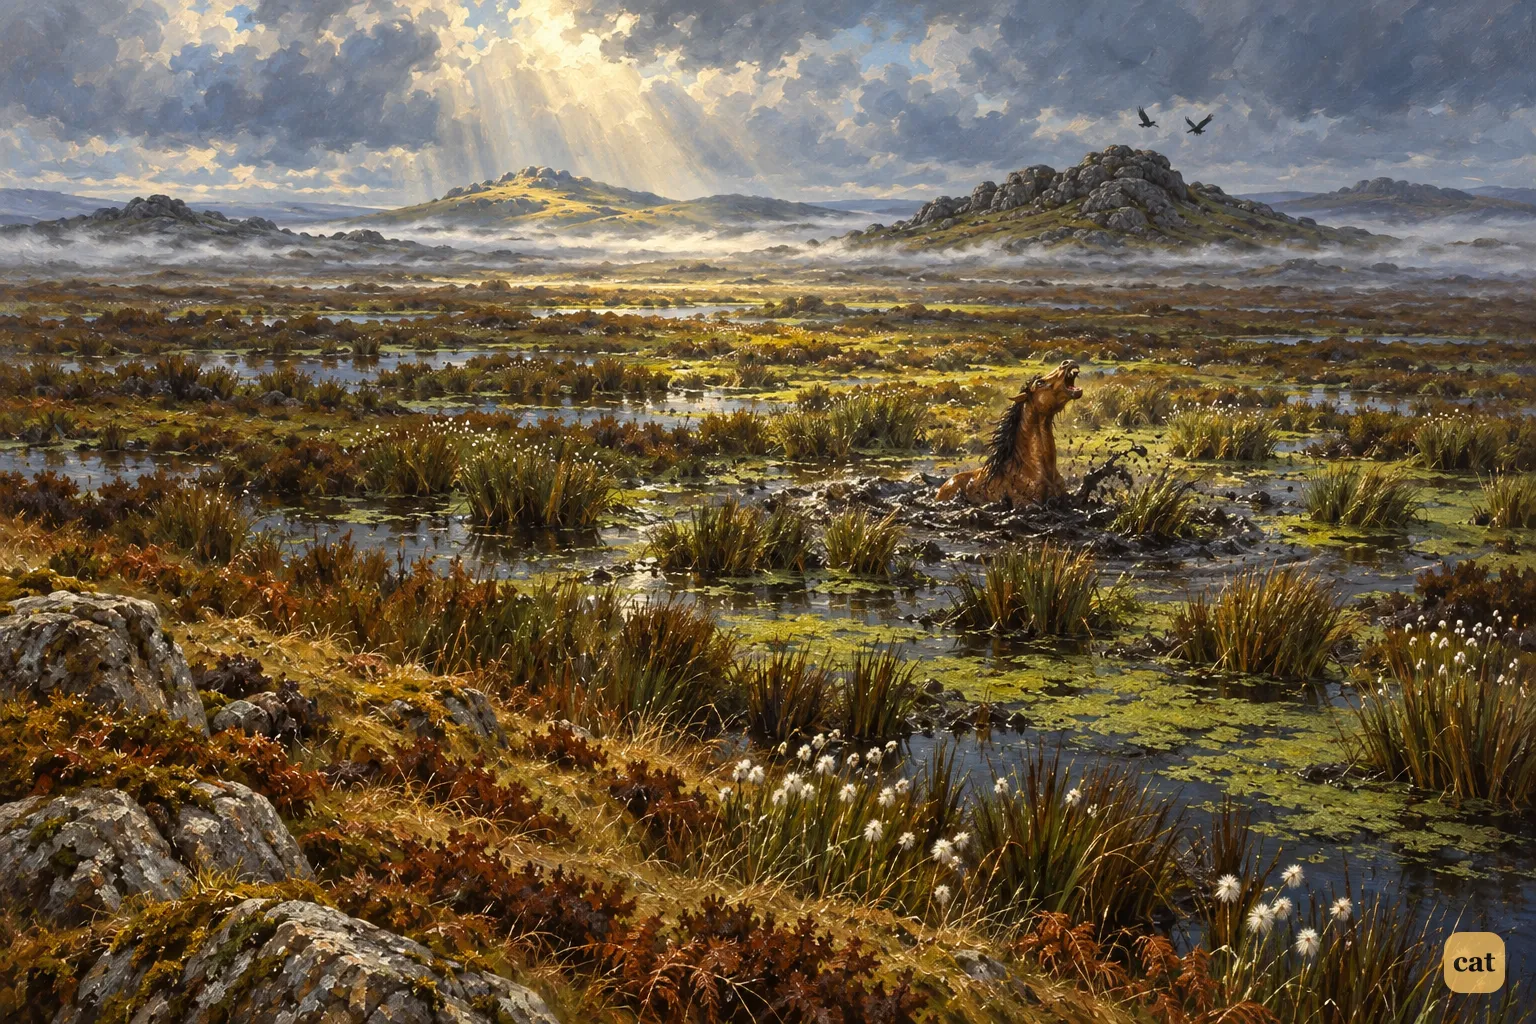
7·6 A moor pony sinks into the false green ground of the Grimpen Mire.
In the text → -
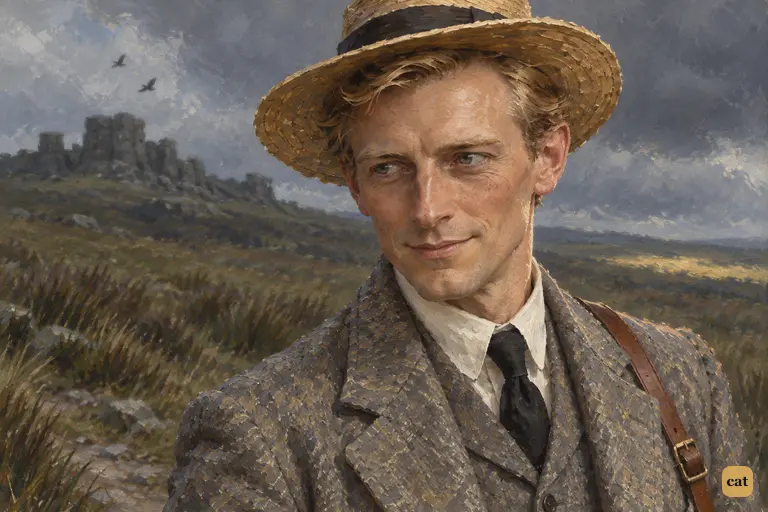
7·7 A long moan sweeps over the moor, but Stapleton does not turn toward it.
In the text → -
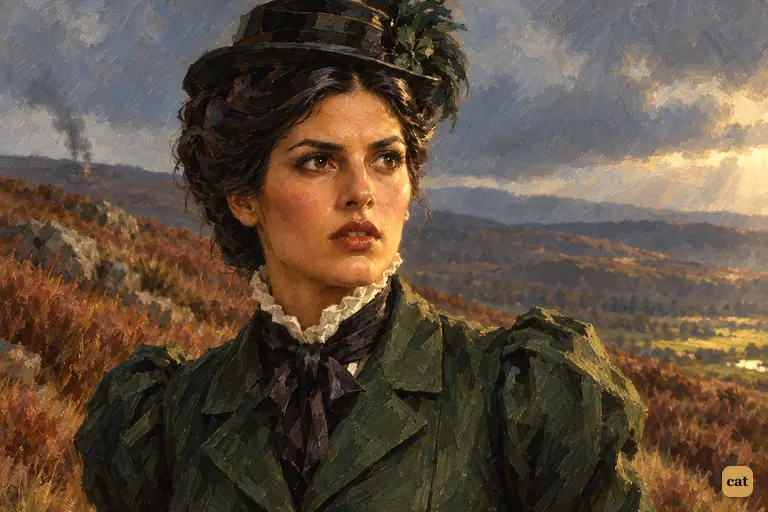
7·8 On the lonely moor path, Miss Stapleton stops close in front of Watson.
In the text → -
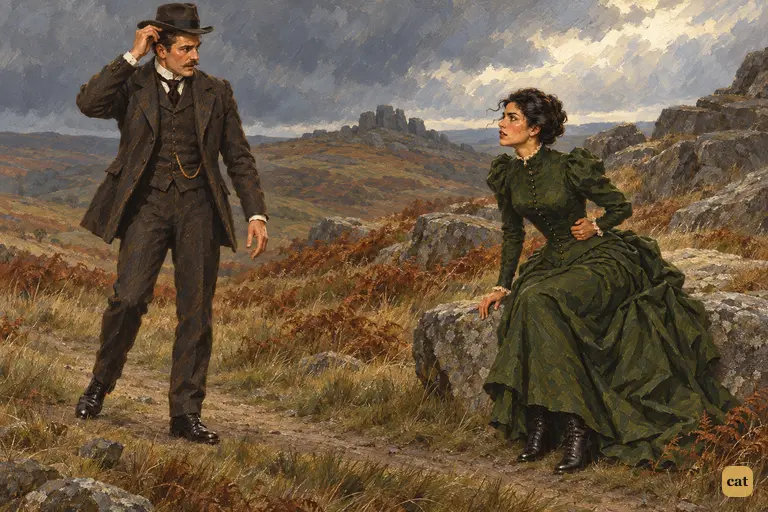
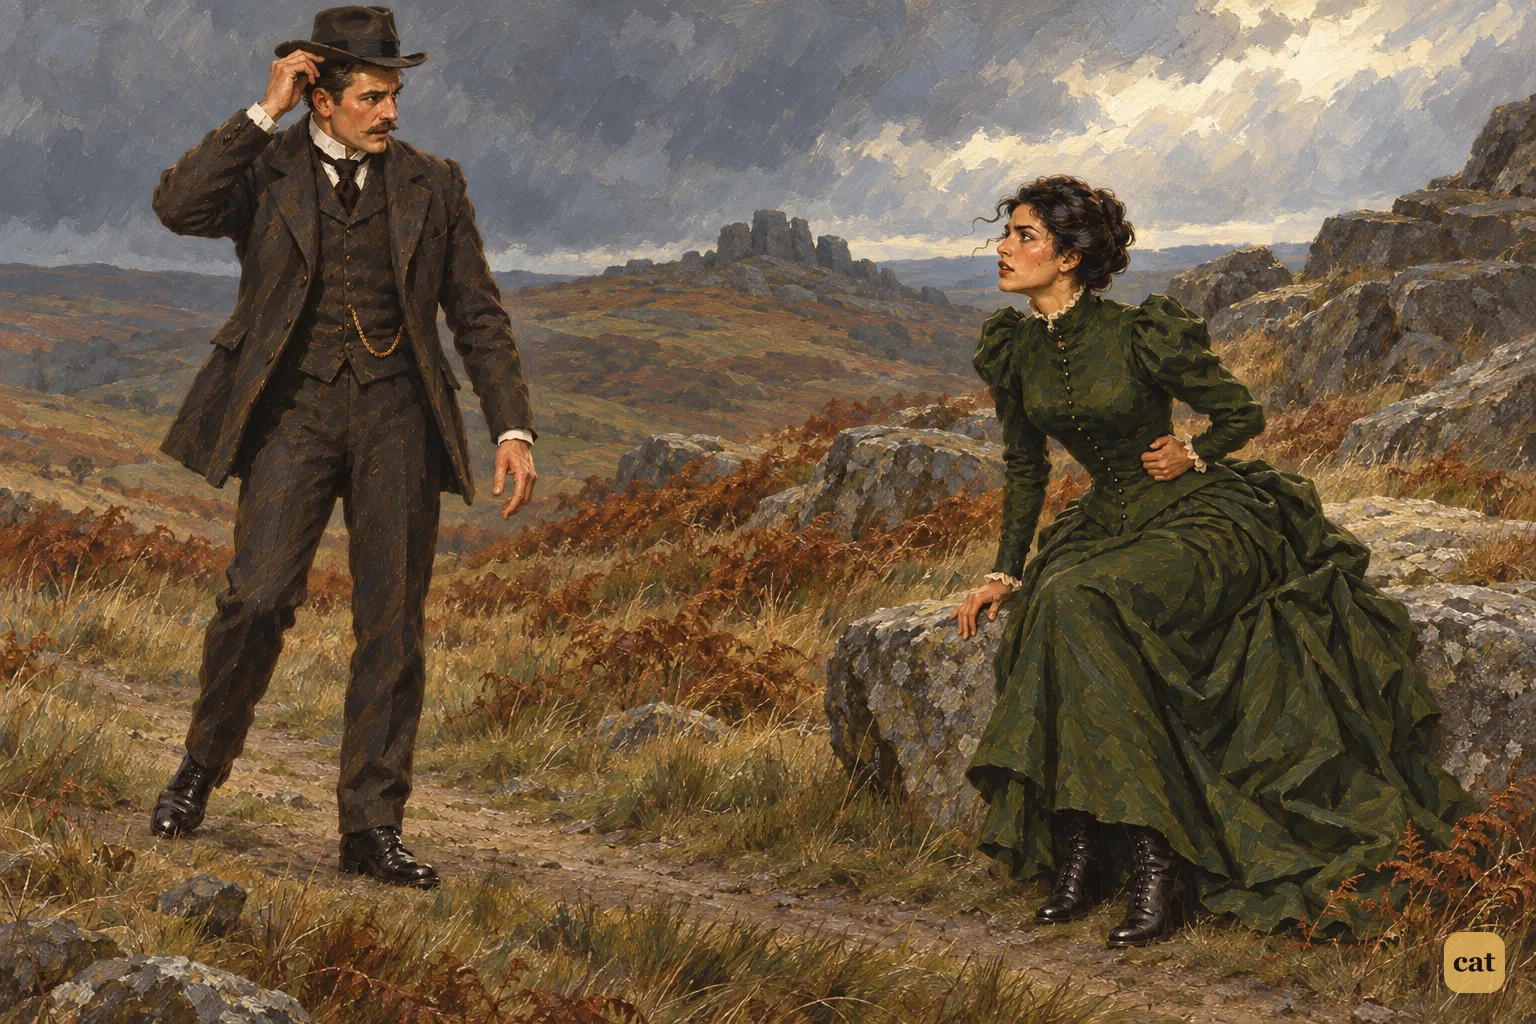
7·10 Watson stops short on the moor track: Miss Stapleton has got there first
In the text → -
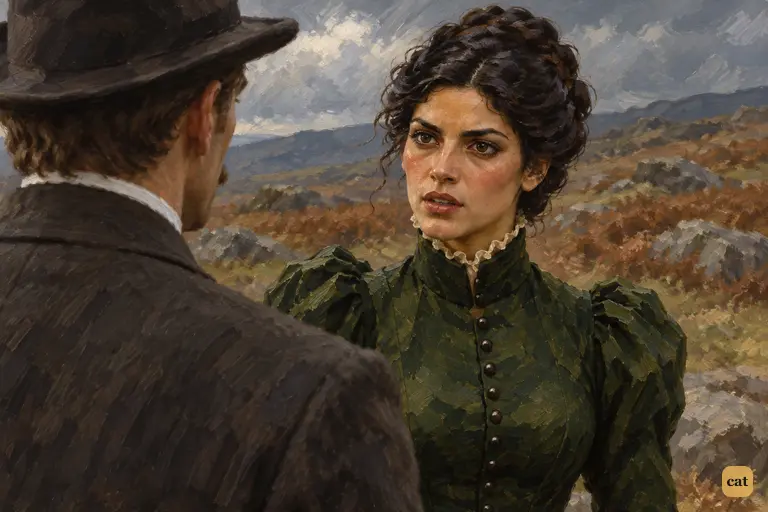
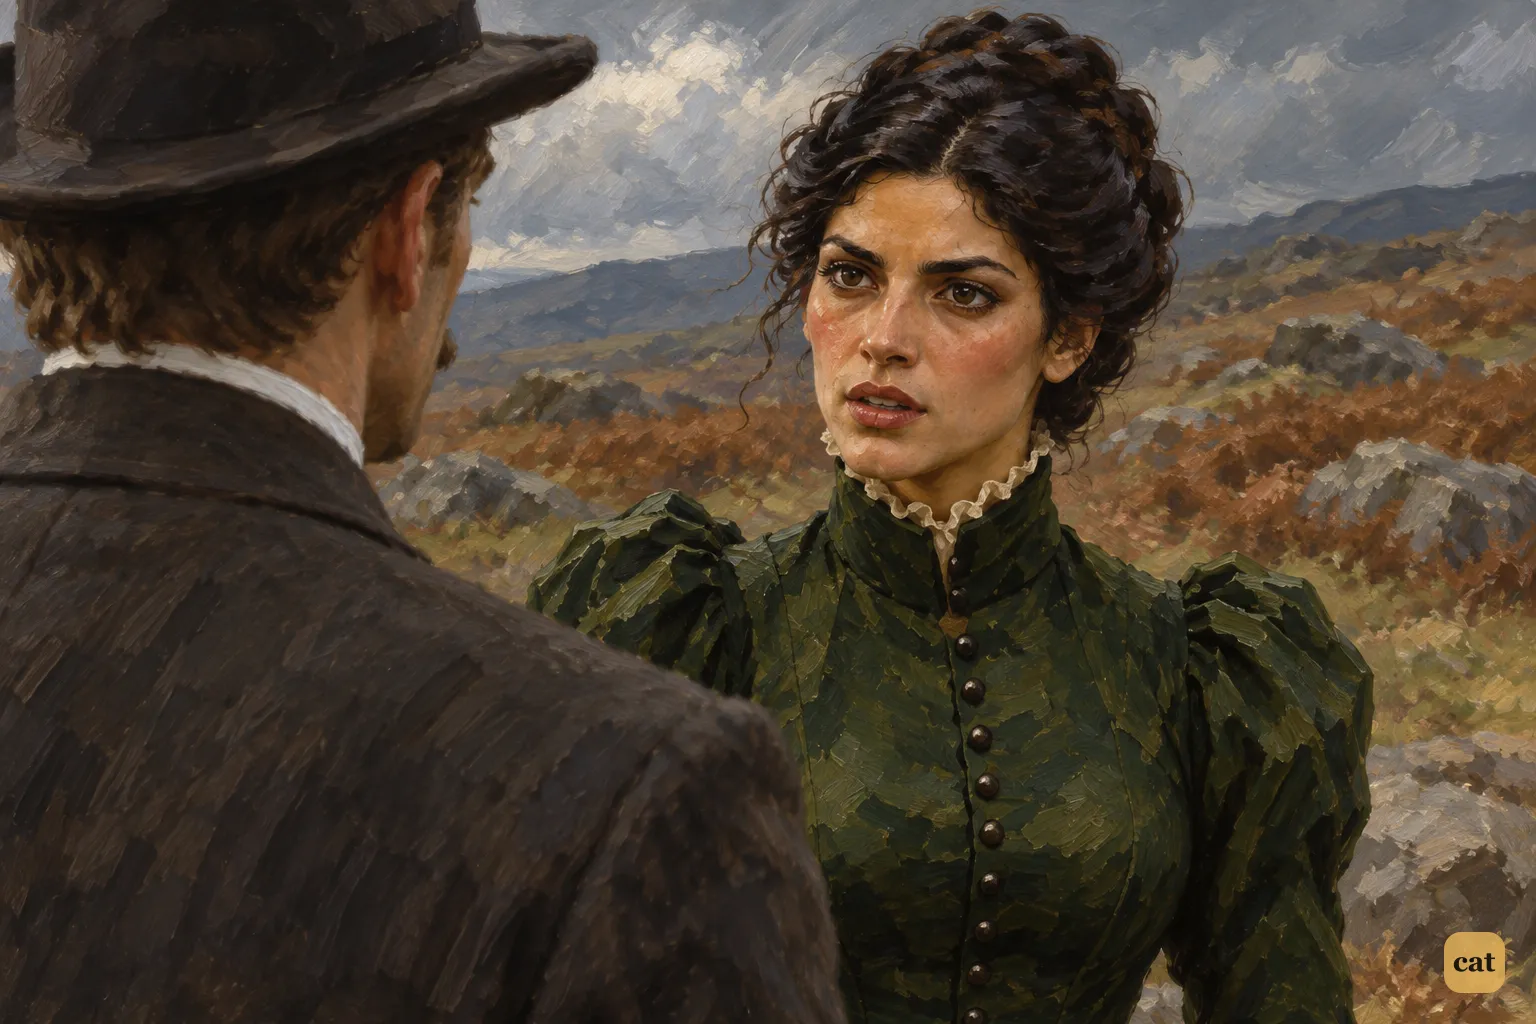
7·11 Beryl Stapleton looks straight at Watson after he calls the hound legend nonsense
In the text →
Chapter 8 · 7 illustrations Watson's Letter and Barrymore's Night Vigil
-
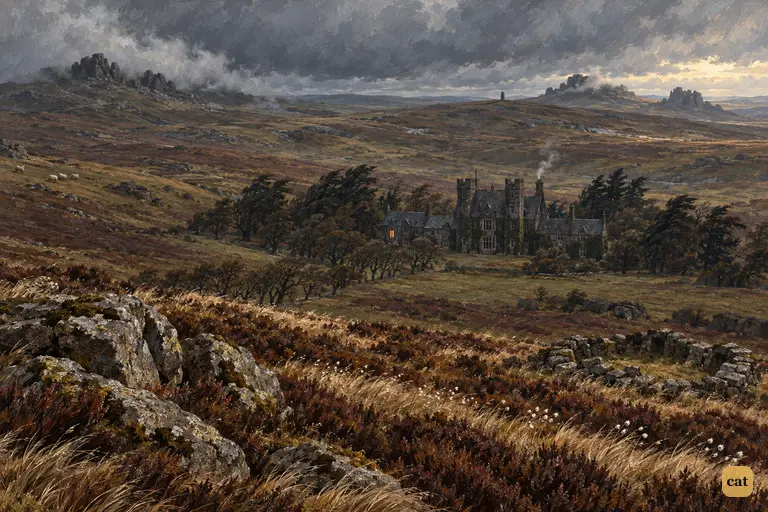
8·1 Baskerville Hall sits small and alone in its hollow as the grey moor rolls around it
In the text → -
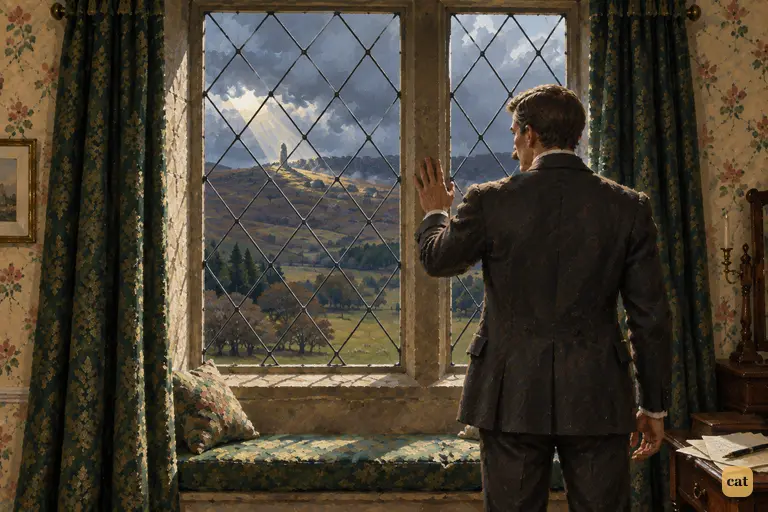
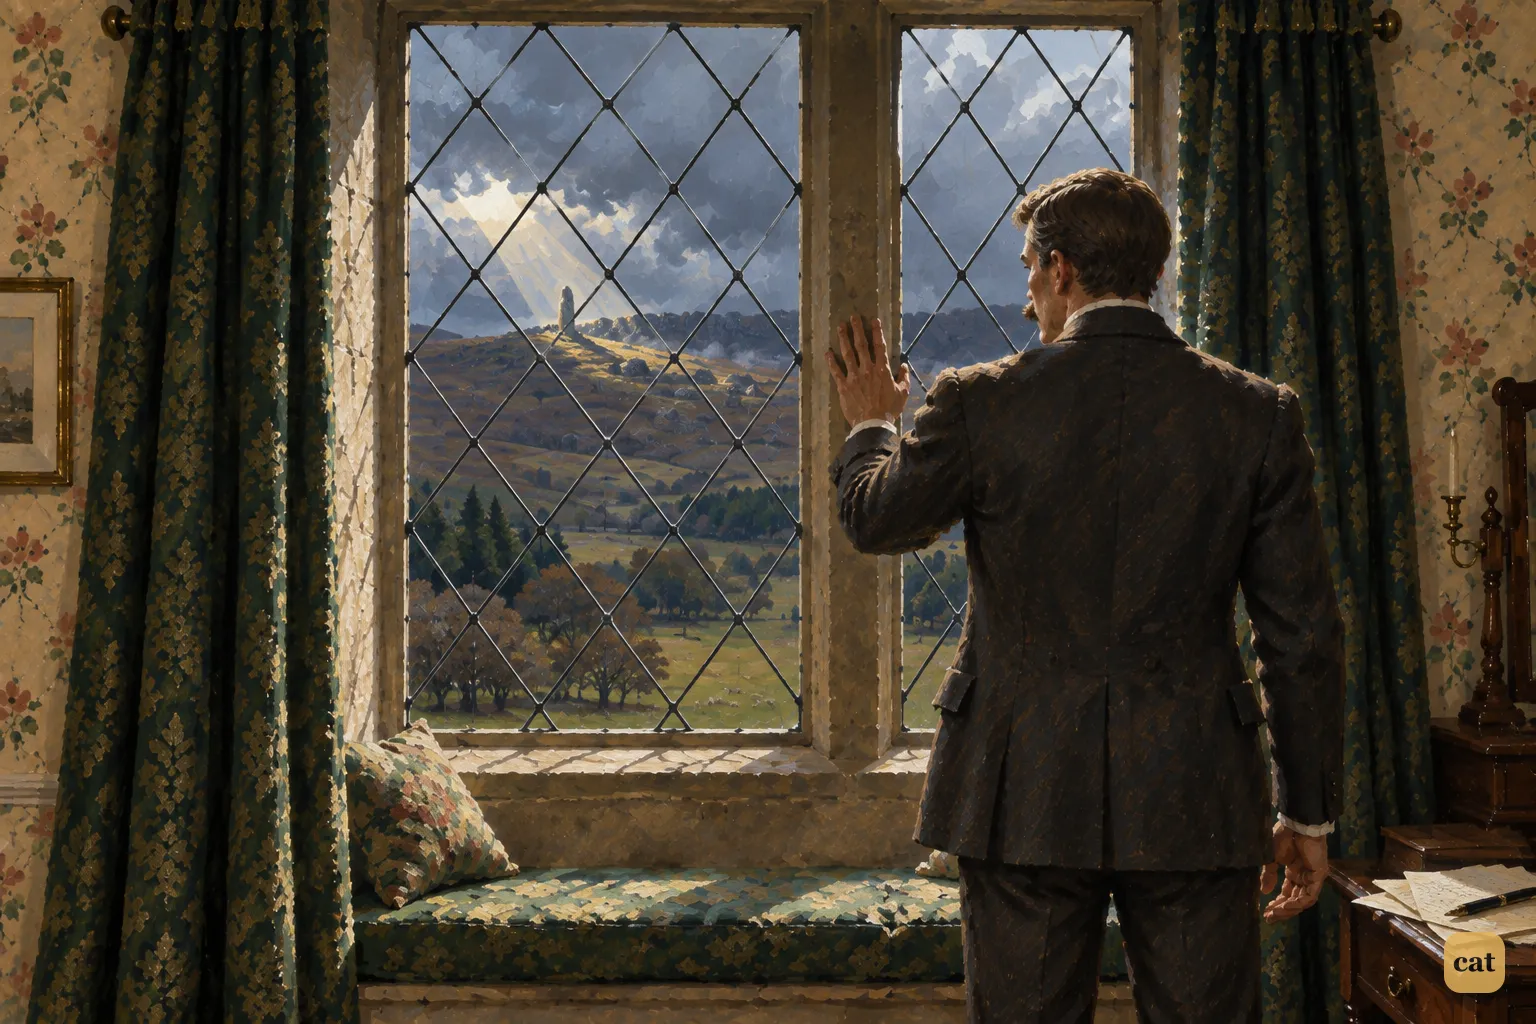
8·2 Watson leaves his letter to Holmes and stands at his bedroom window at Baskerville Hall
In the text → -
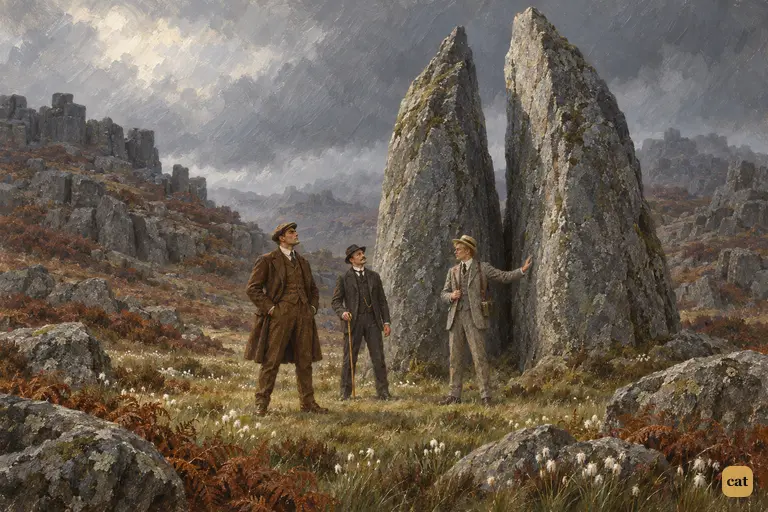
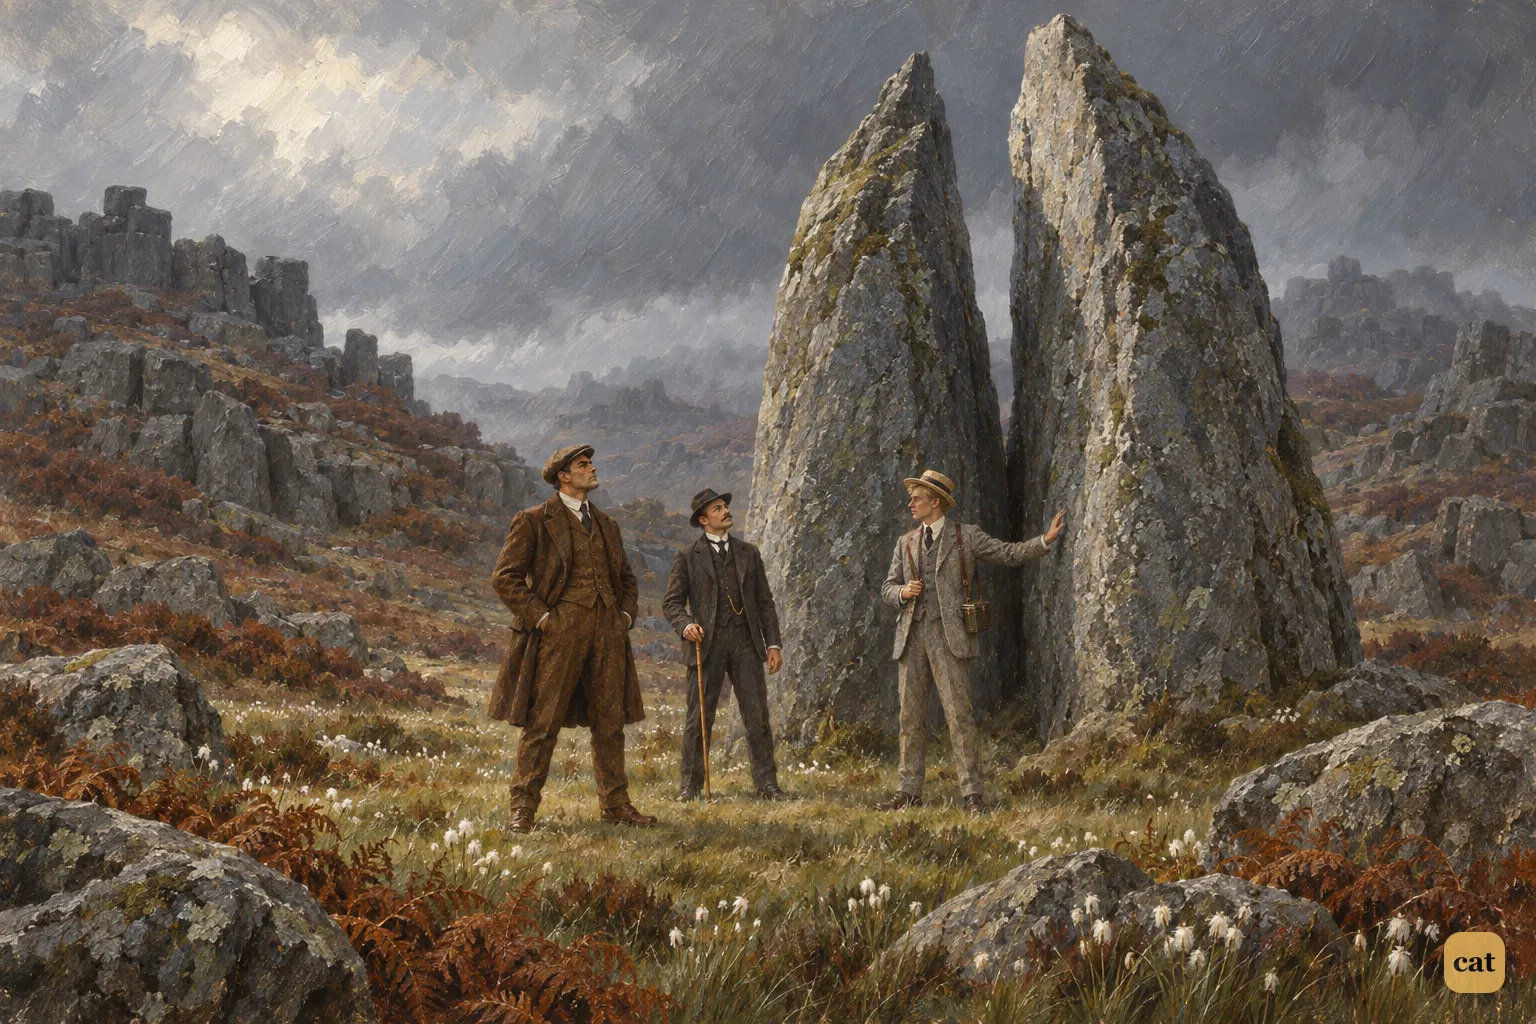
8·3 Stapleton leads Sir Henry and Watson to the grim valley of the Hugo Baskerville legend
In the text → -
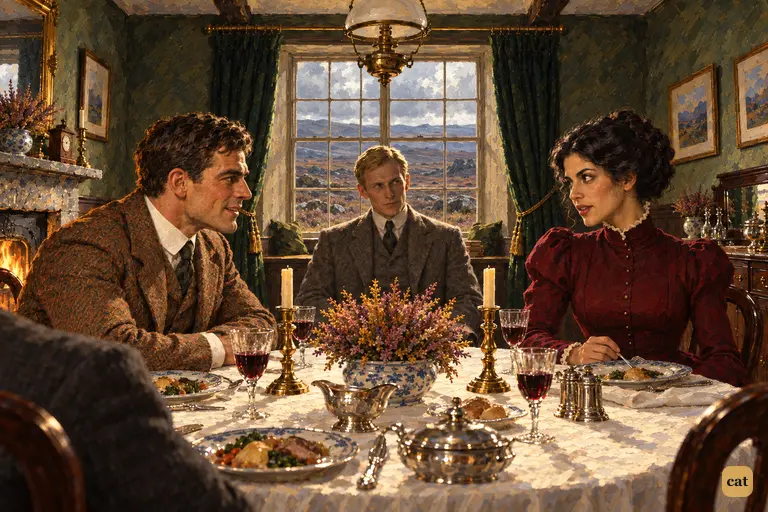
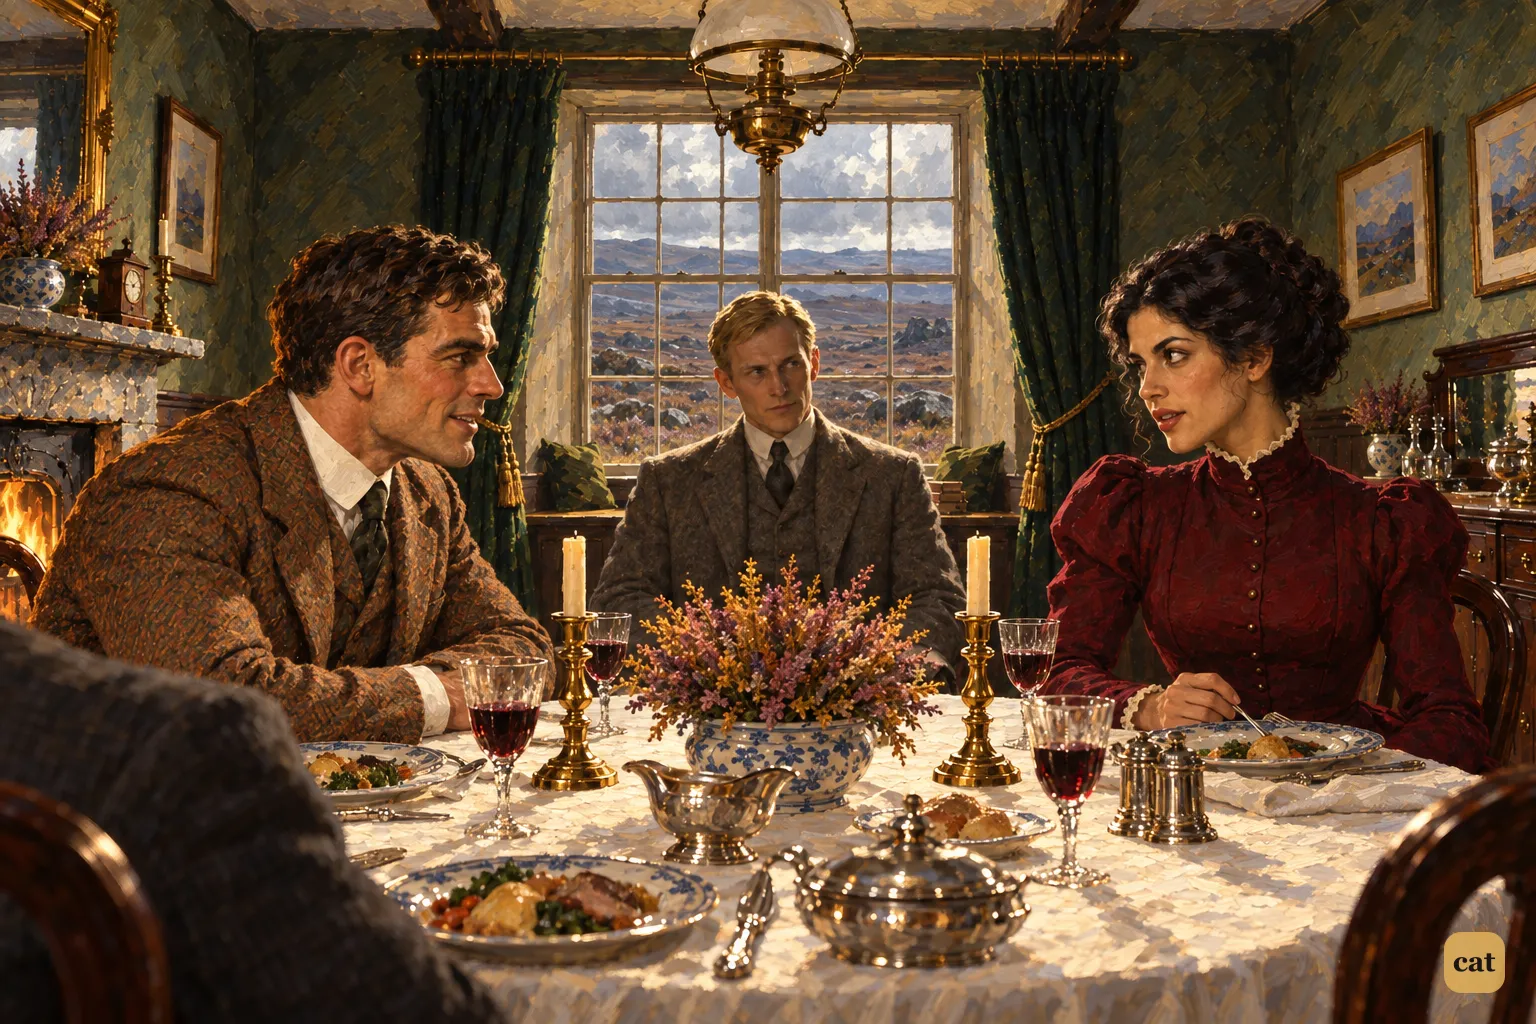
8·4 Sir Henry and Miss Stapleton meet across the lunch table at Merripit House
In the text → -
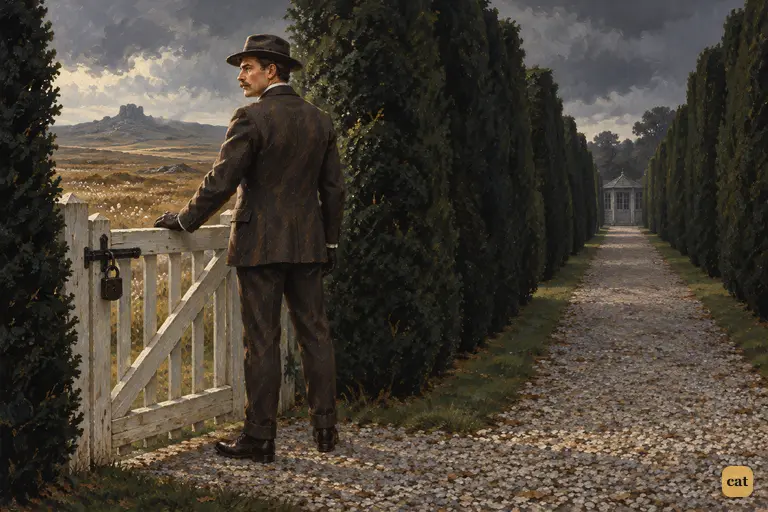
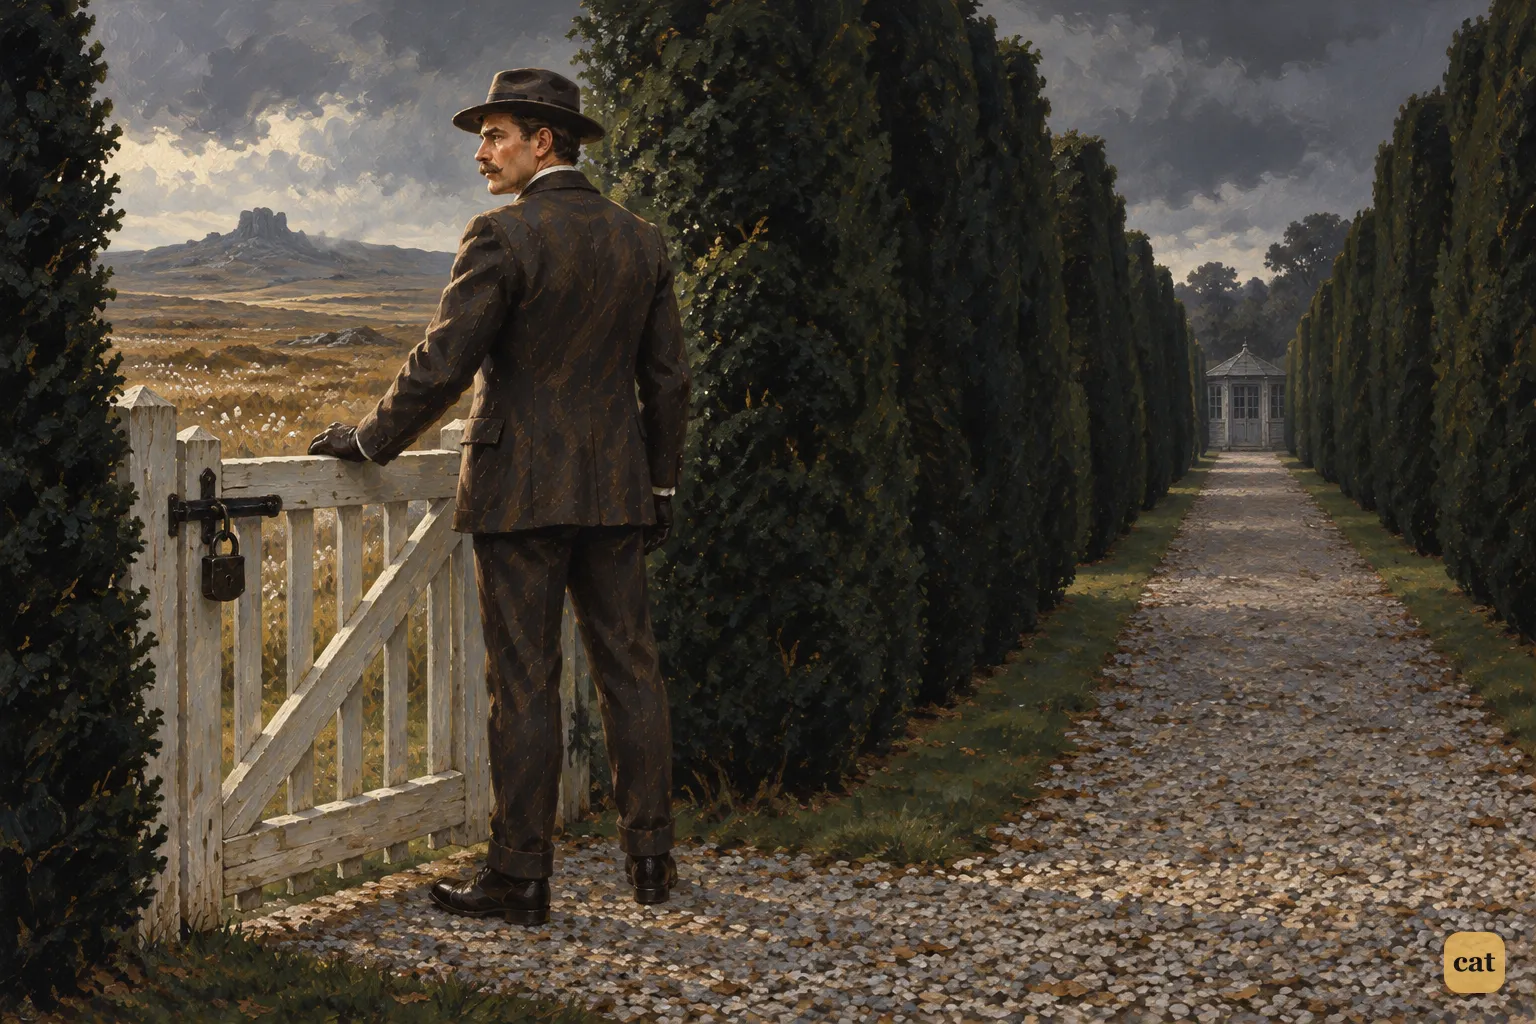
8·5 Watson stands alone at the white moor-gate in the yew alley, where Sir Charles once waited.
In the text → -
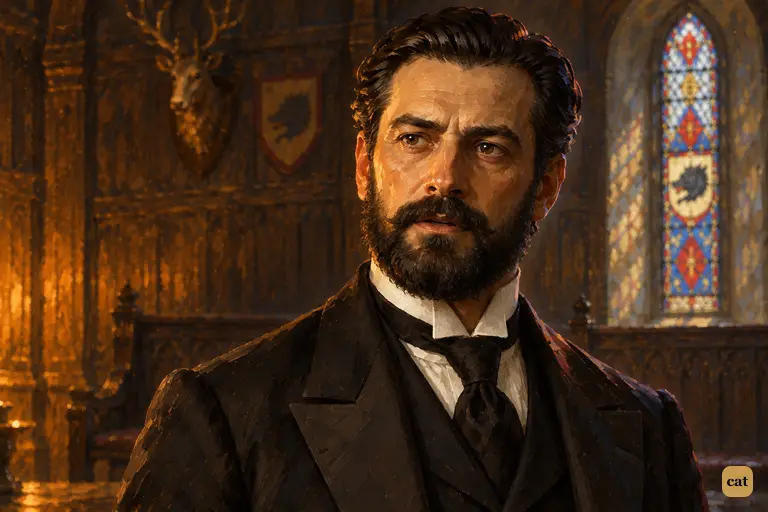
8·6 Barrymore gives his calm answer about the test telegram in front of the stained-glass lancet.
In the text → -
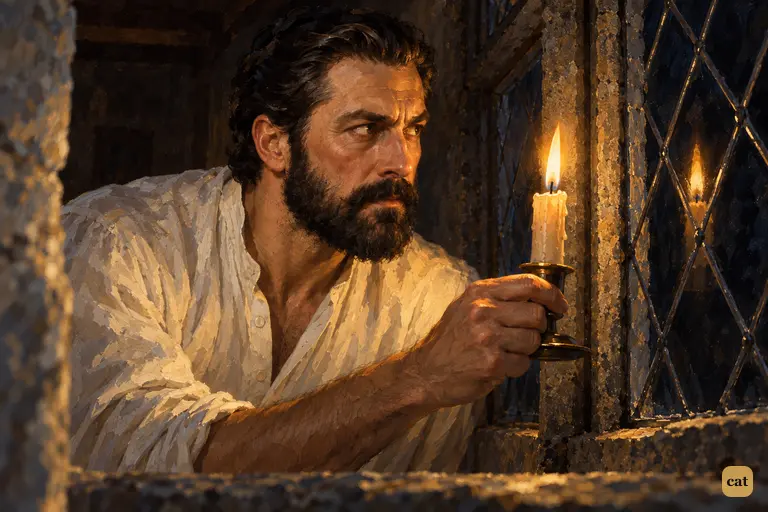
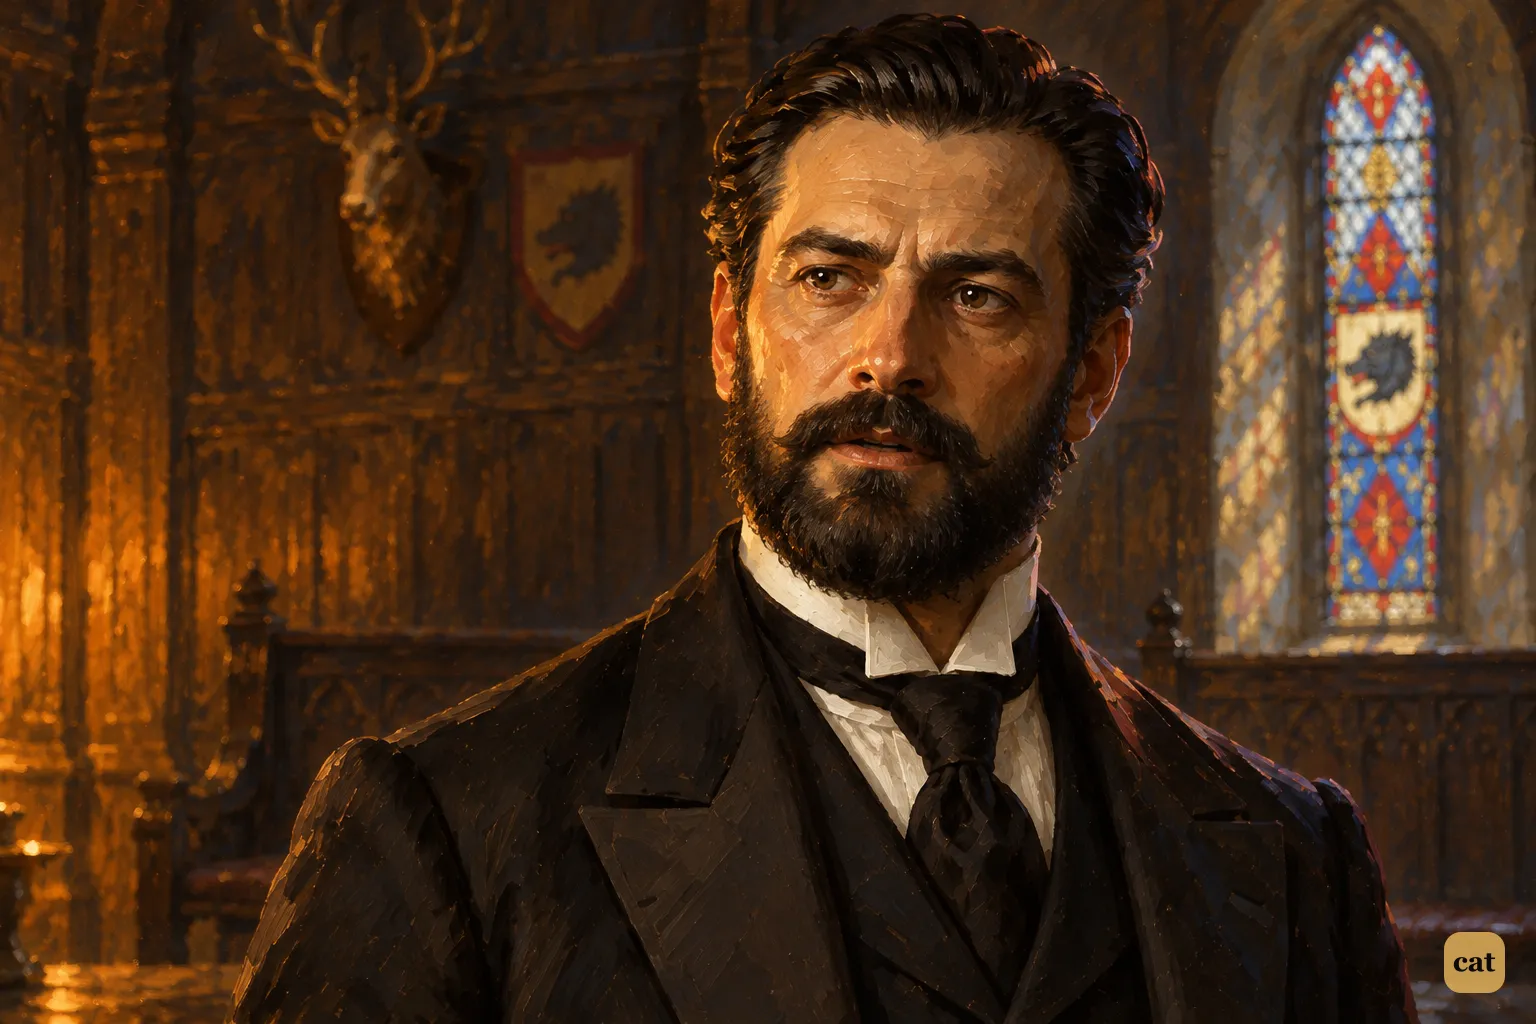
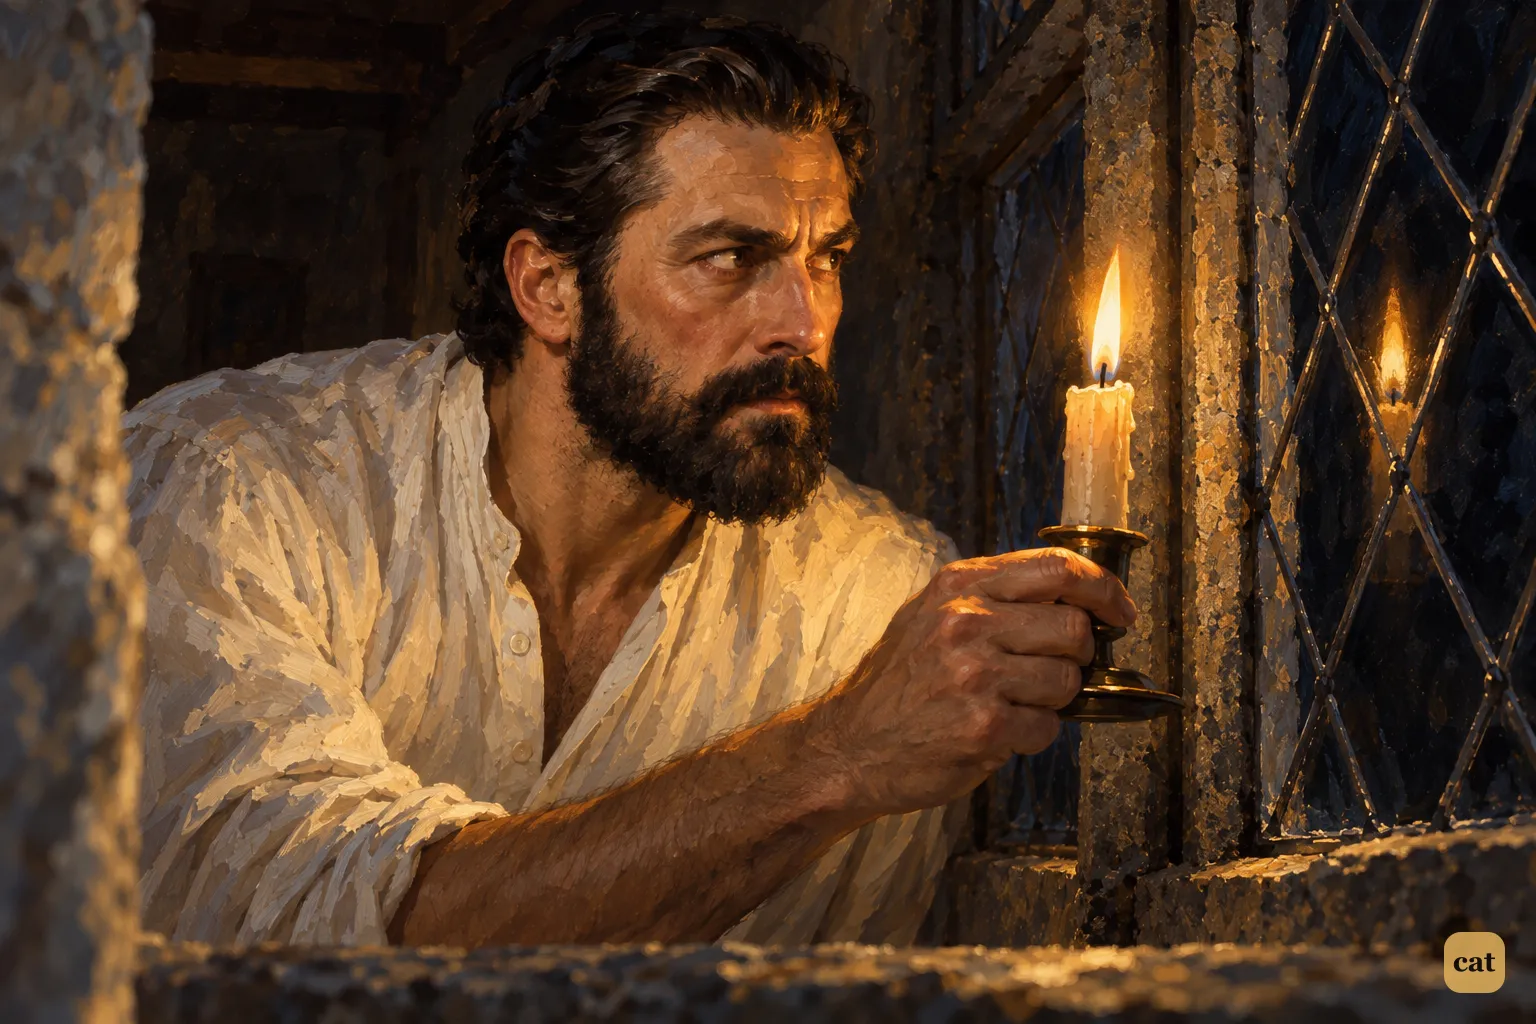
8·10 Barrymore crouches in the deep stone embrasure with a candle held to the leaded glass.
In the text →
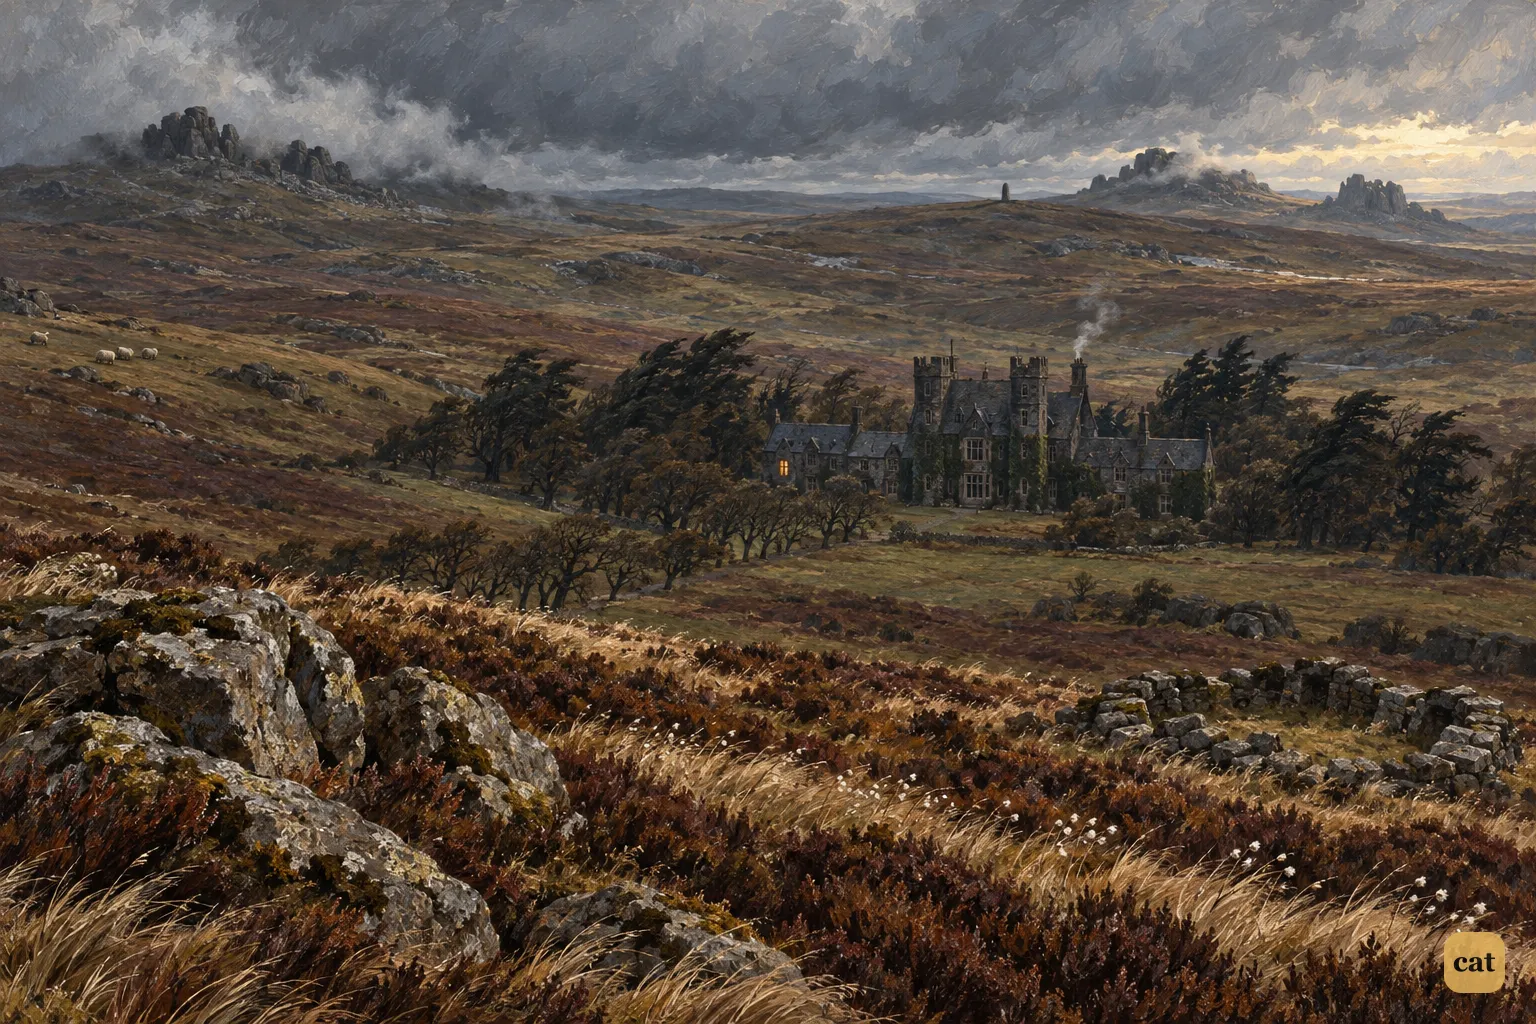
Chapter 9 · 8 illustrations Barrymore's Window and Sir Henry Goes Alone
-
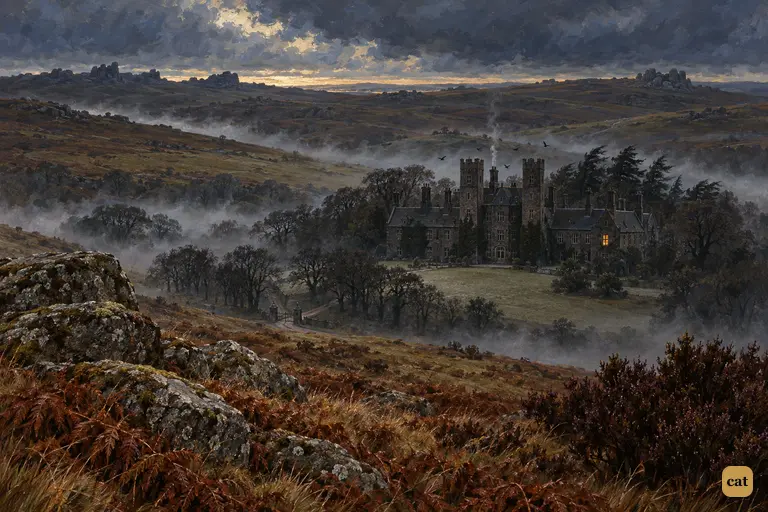
9·1 Baskerville Hall sits small and dark in its hollow as a cold October dawn comes up
In the text → -
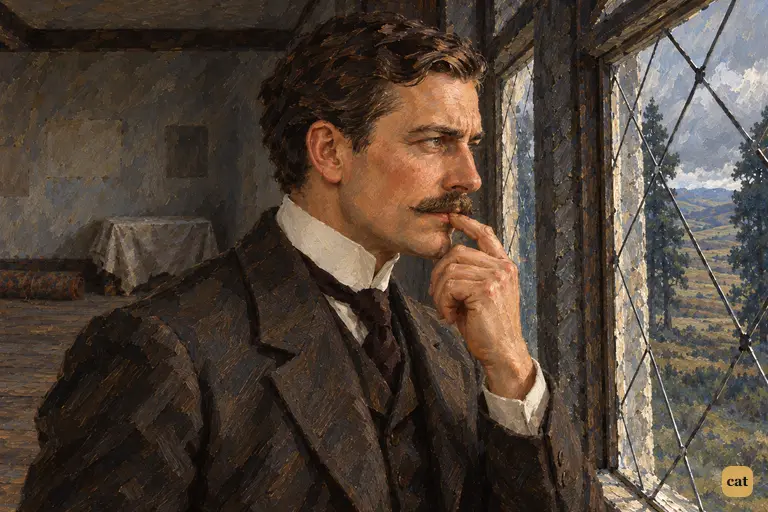
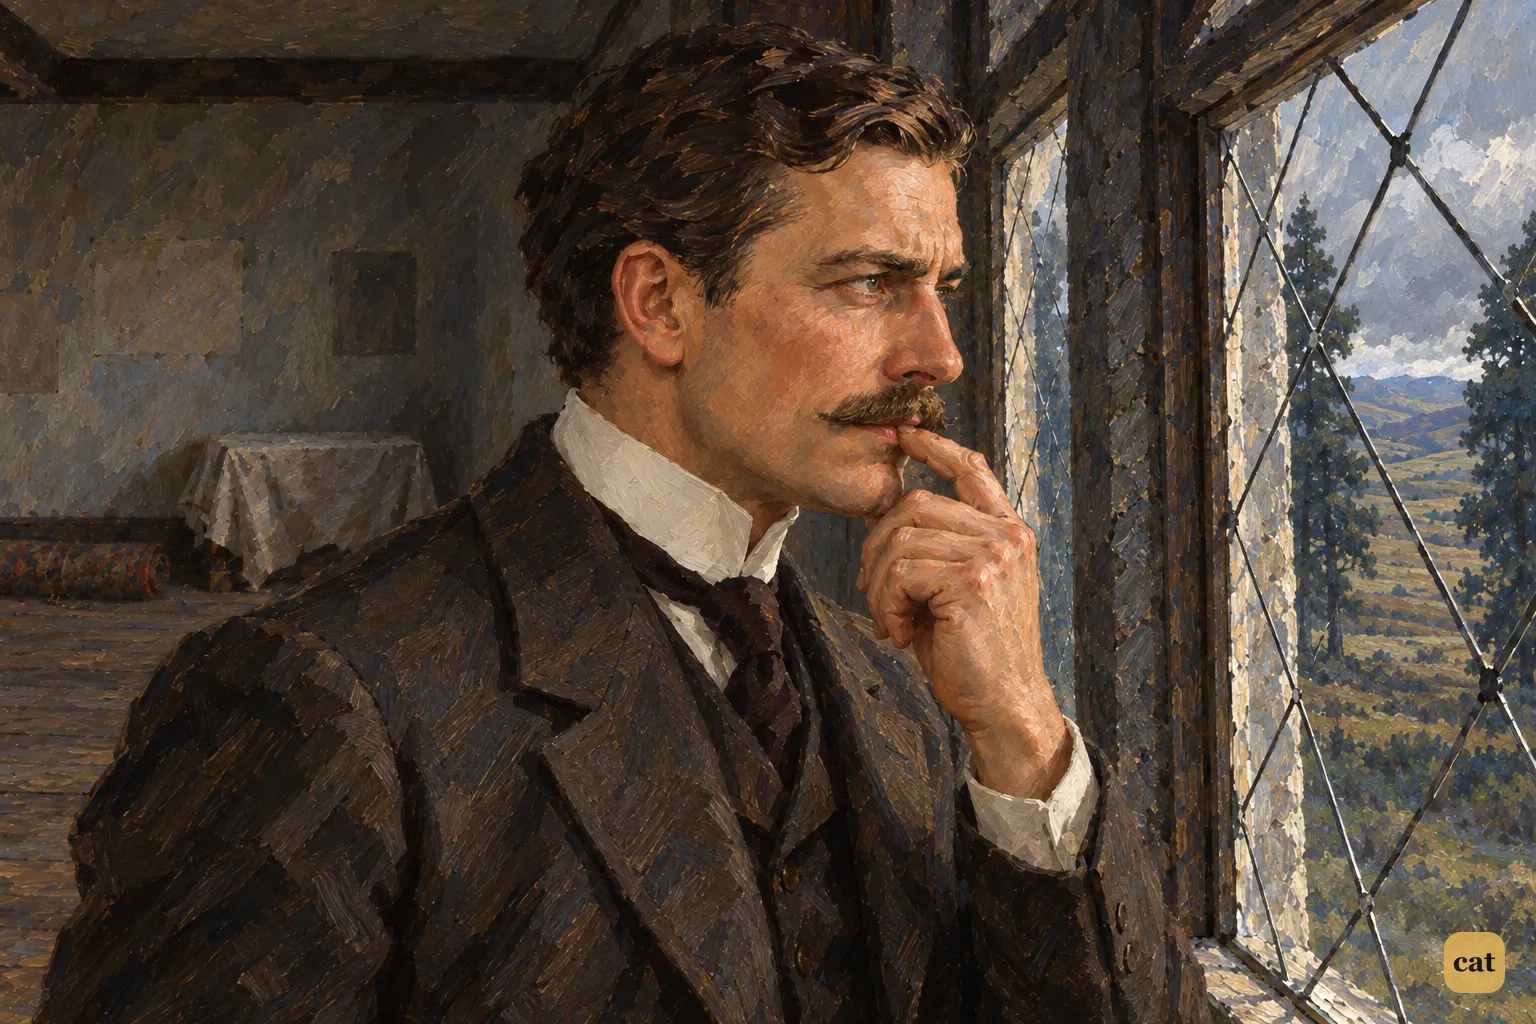
9·2 Watson strokes his moustache at the west window, pleased with his love-affair theory
In the text → -
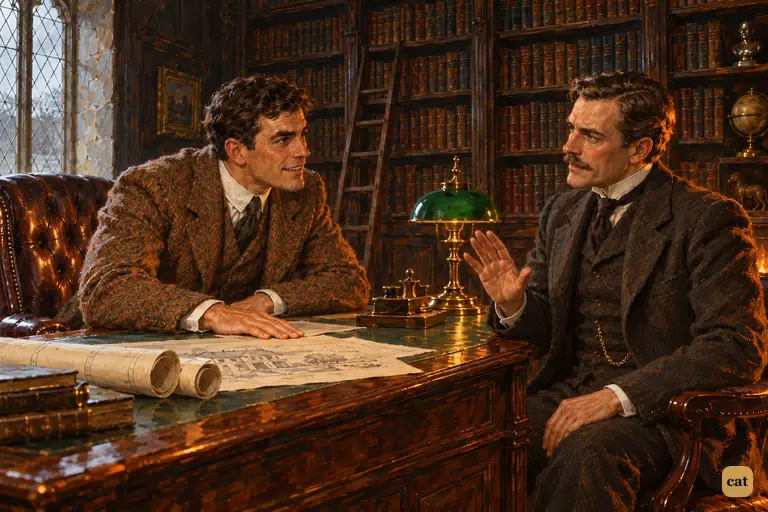
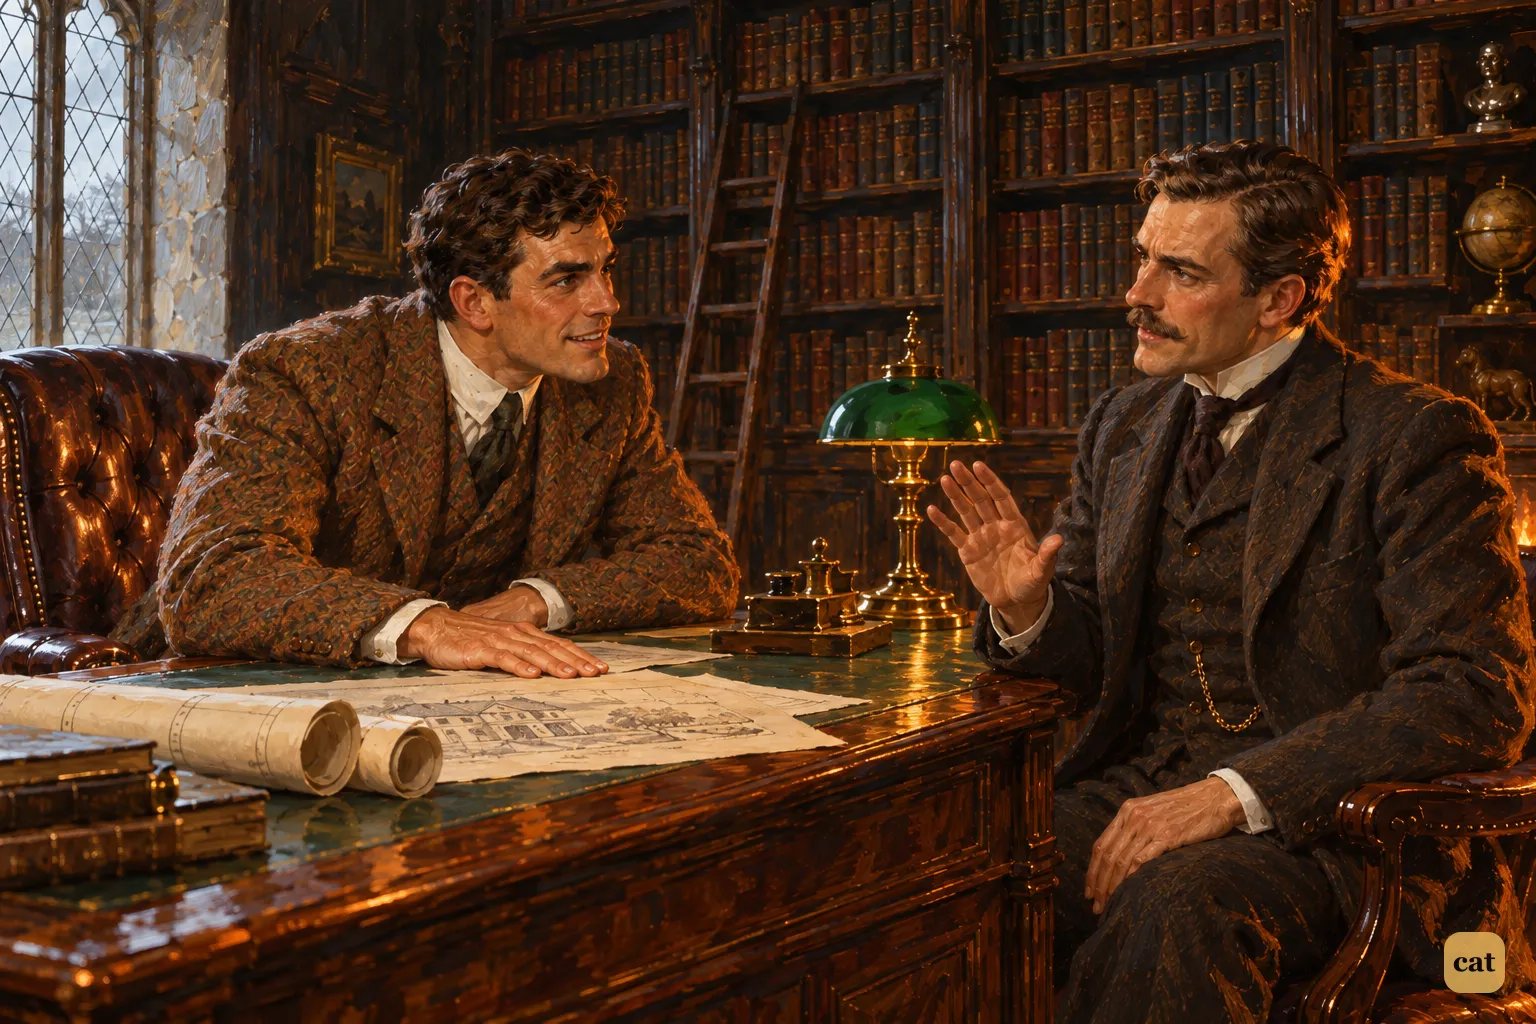
9·3 In his study, Sir Henry leans across the desk to propose following Barrymore tonight
In the text → -
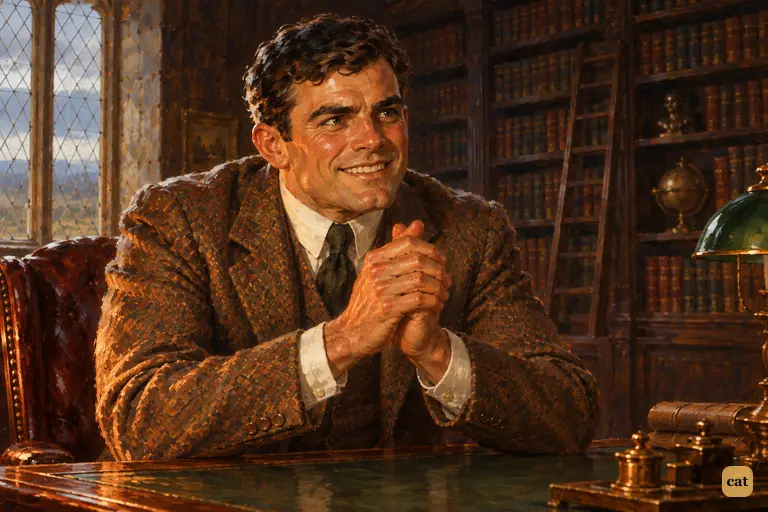
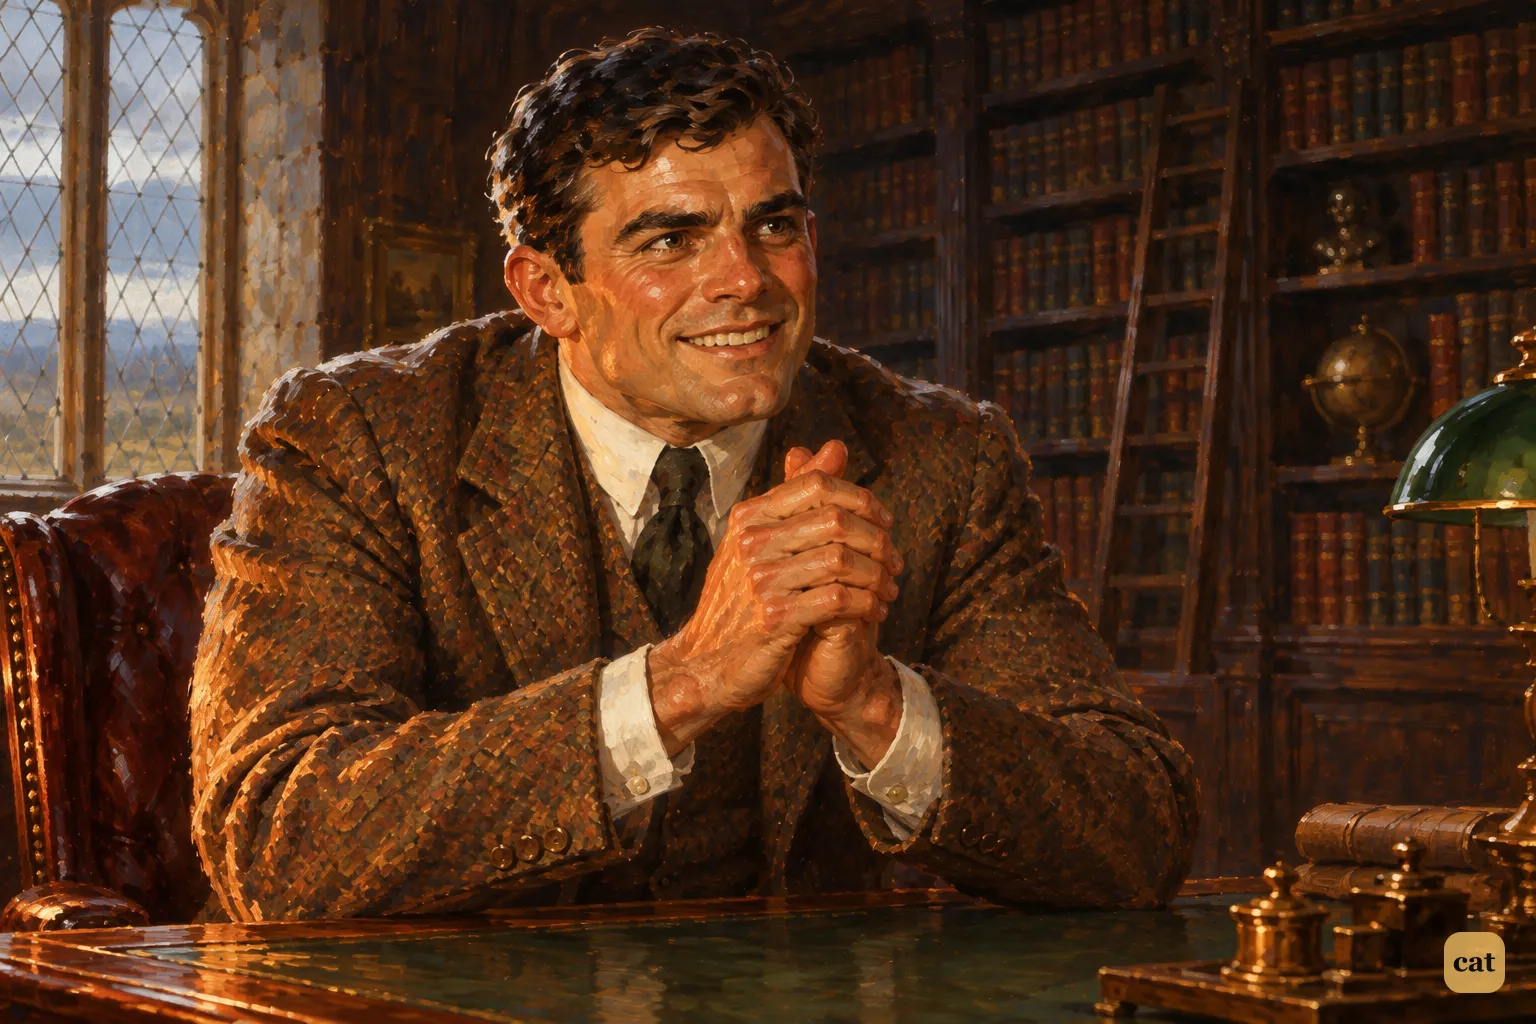
9·4 Sir Henry leans over his desk and rubs his hands with boyish glee
In the text → -
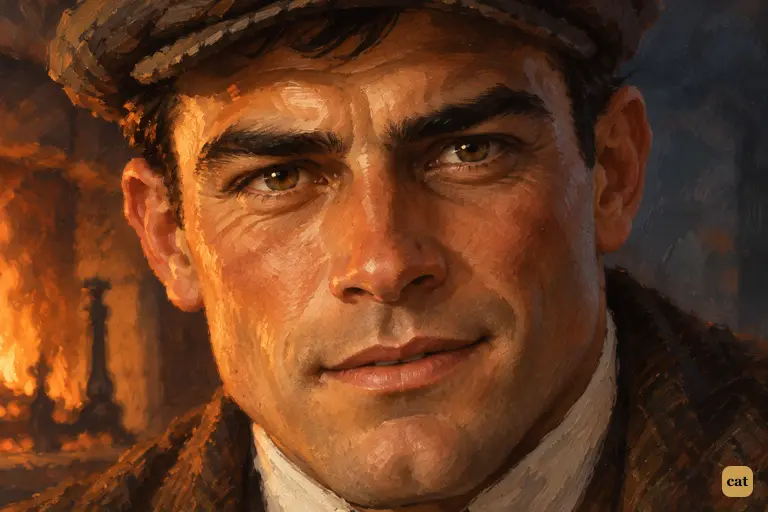
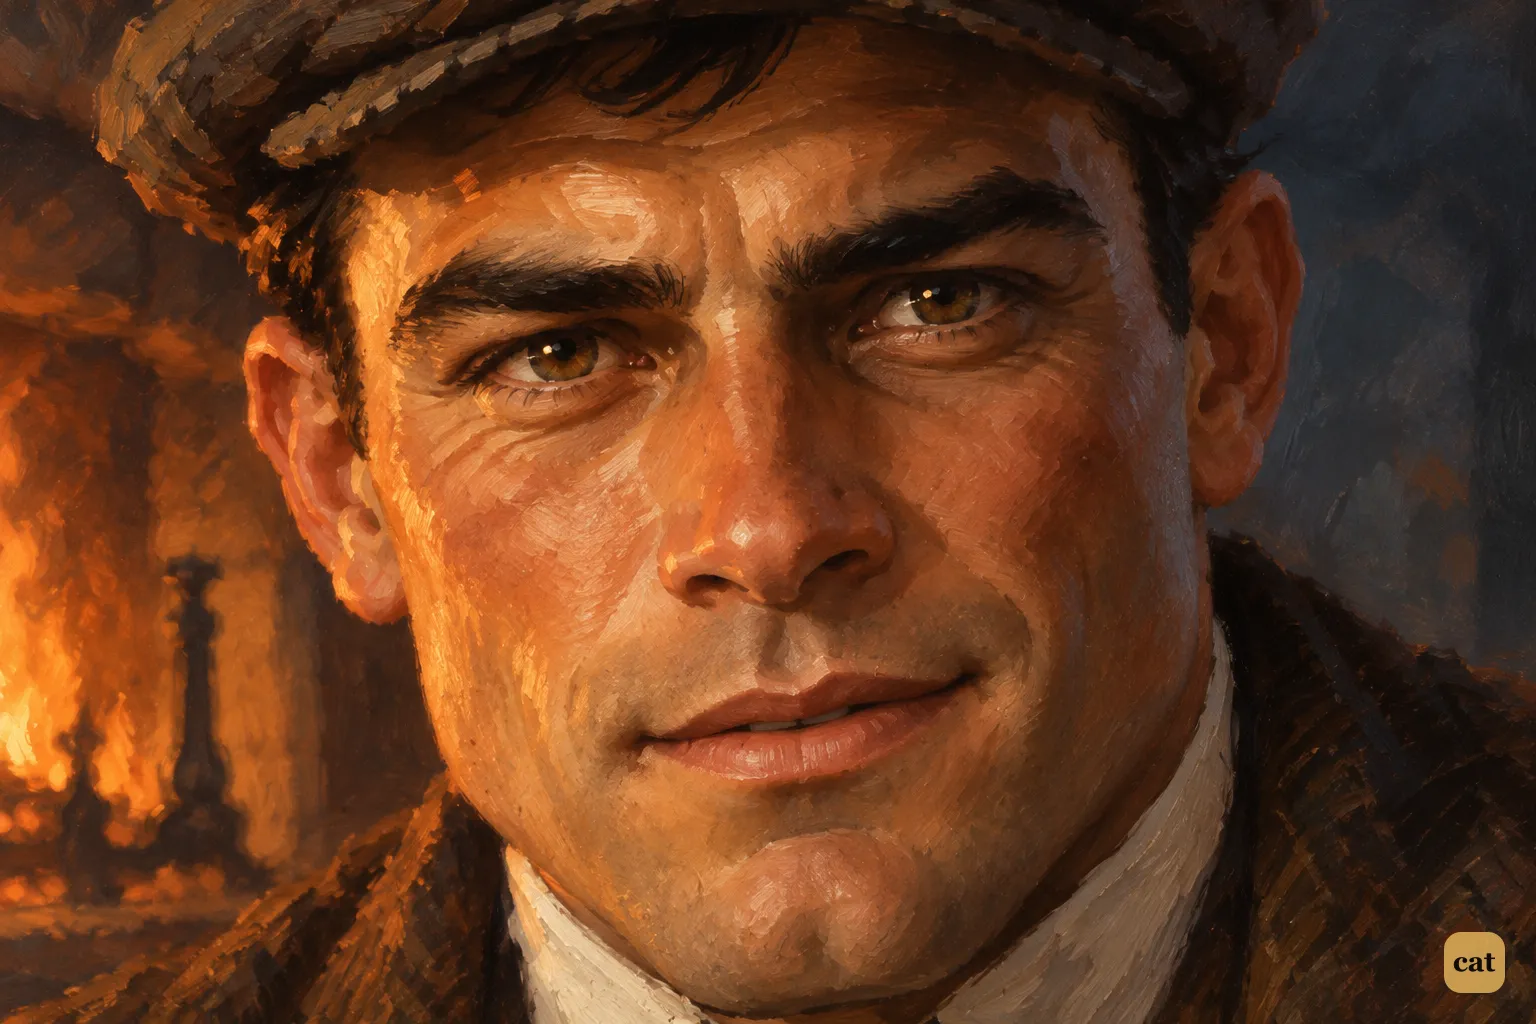
9·5 Sir Henry smiles warmly at Watson, but his eyes have already made the decision.
In the text → -
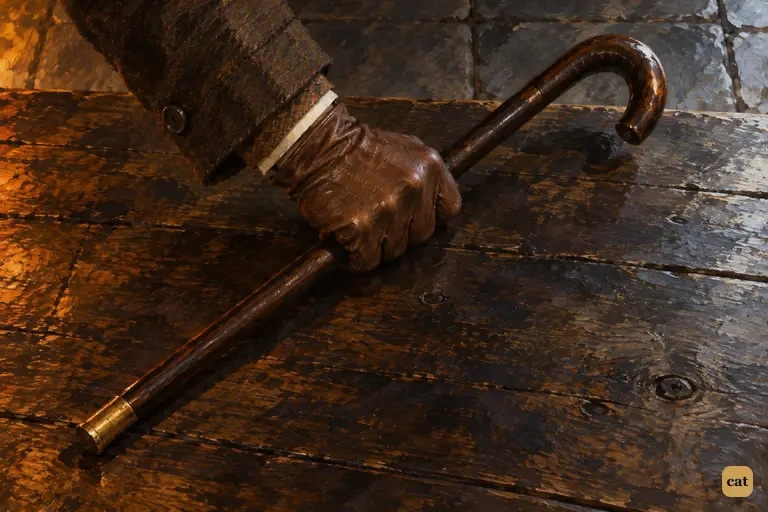
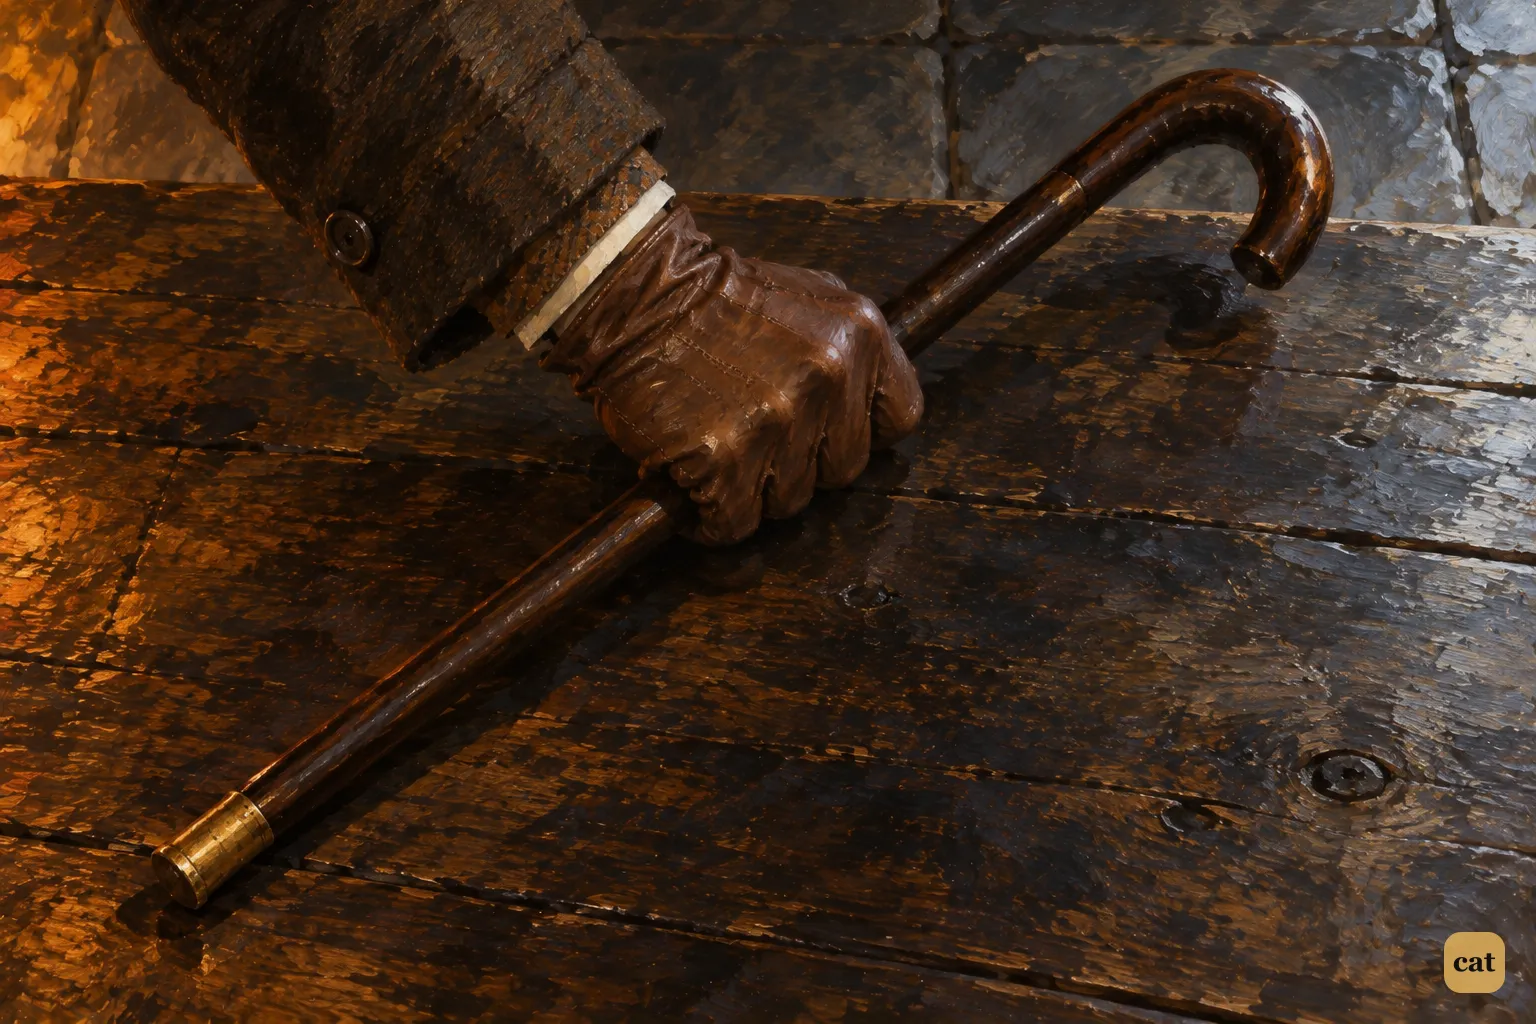
9·6 Sir Henry's gloved hand grabs his cane from the oak table by the door.
In the text → -
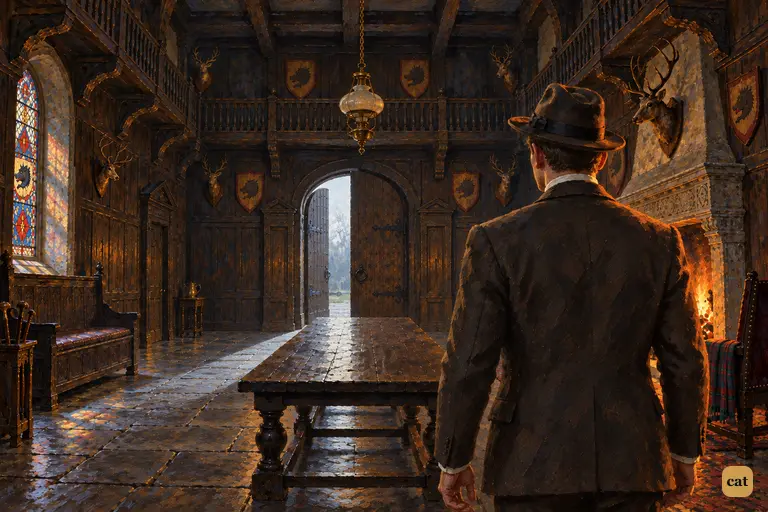
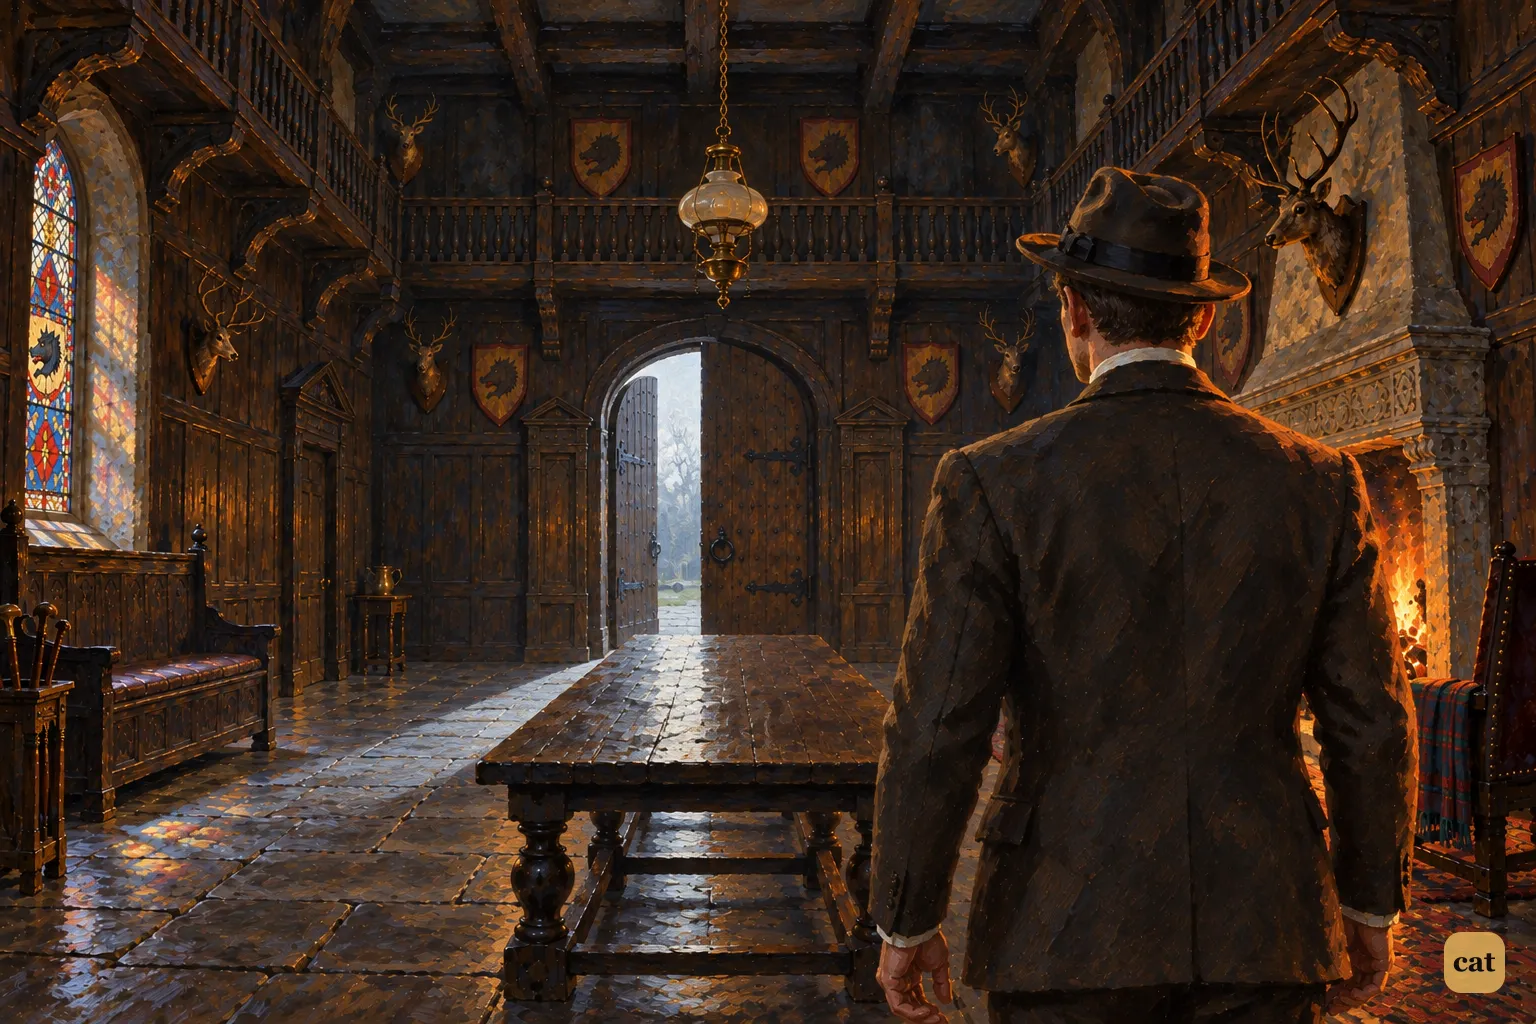
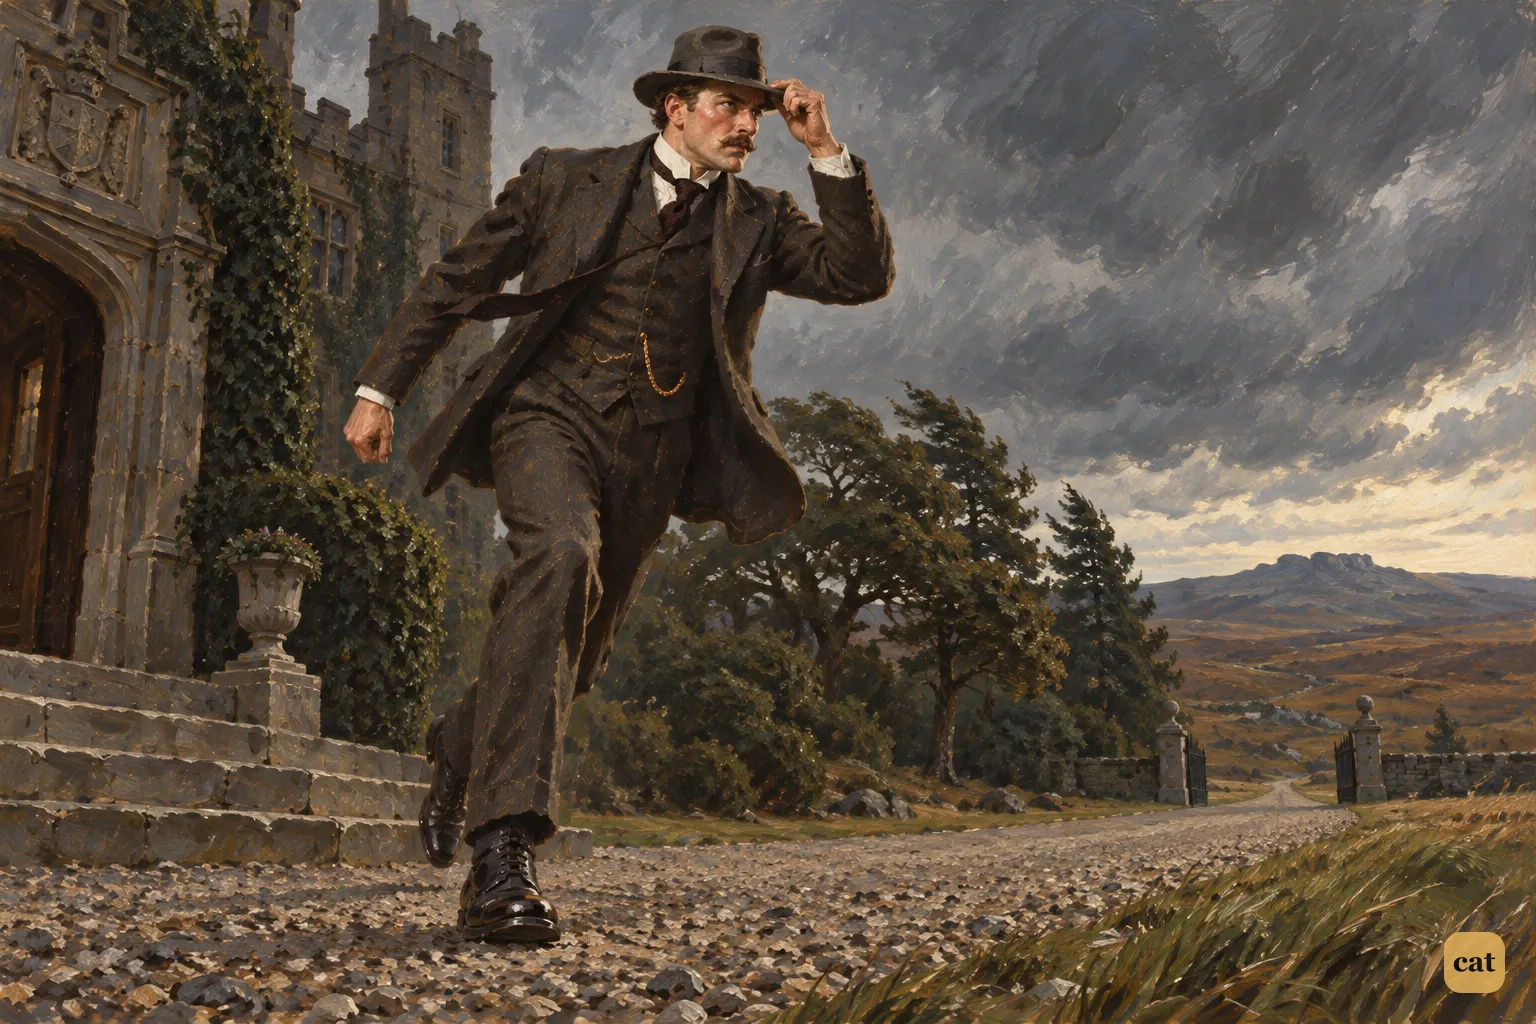
9·7 Sir Henry has gone out alone, and Watson stands by himself in the great hall of Baskerville Hall.
In the text → -
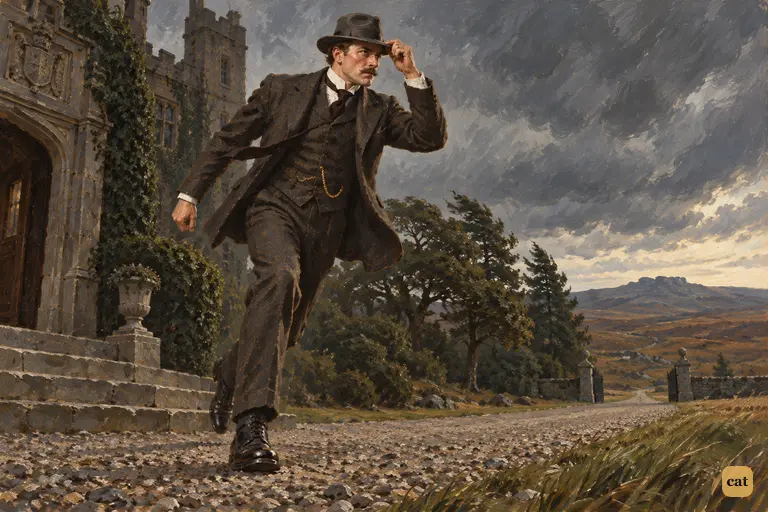
9·8 Watson is ashamed that he let Sir Henry go out alone.
In the text →
Chapter 10 · 9 illustrations The Interrupted Wooing on the Moor
-
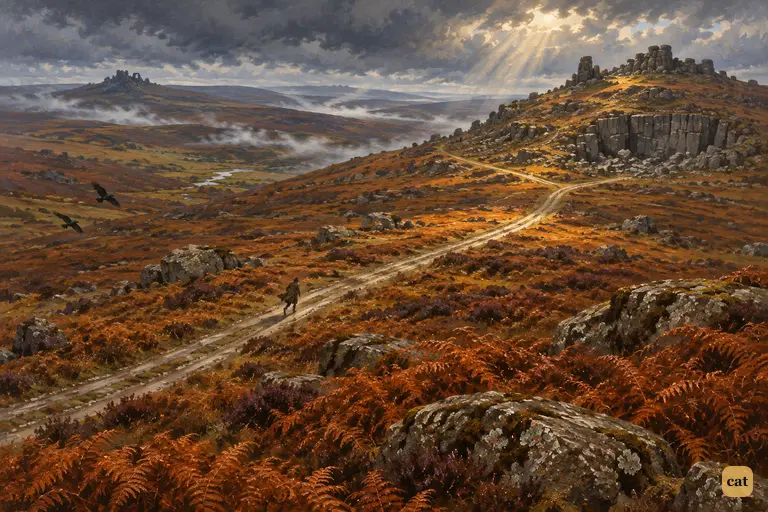
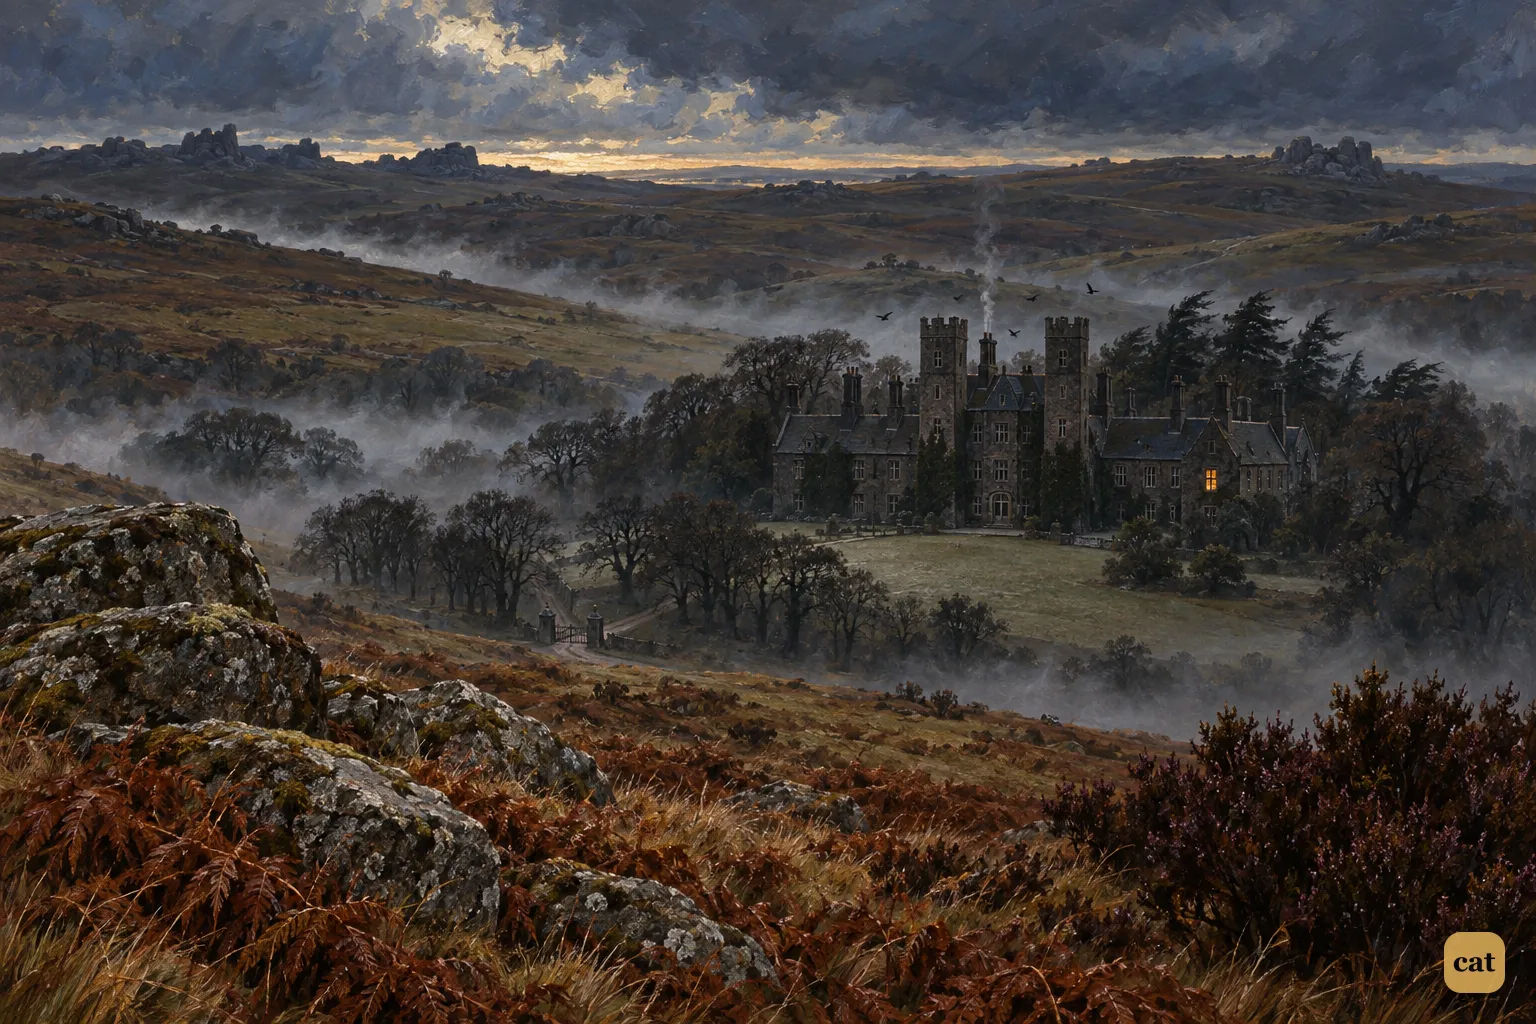
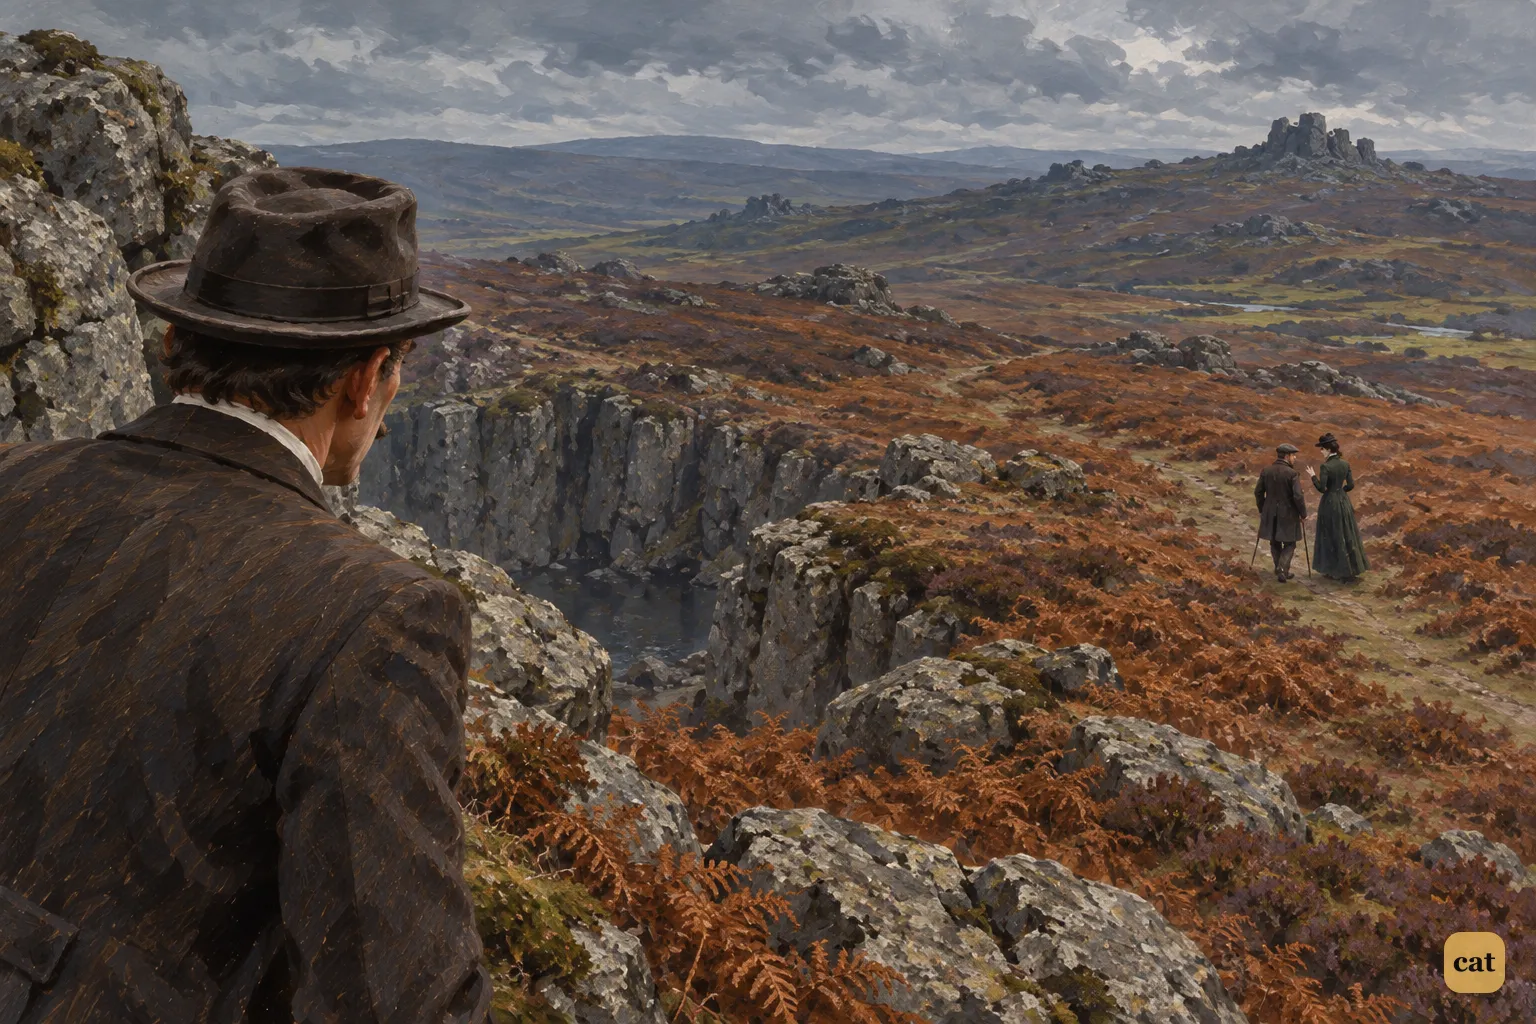
10·1 A tiny figure hurries along the empty moor road toward the quarry hill
In the text → -
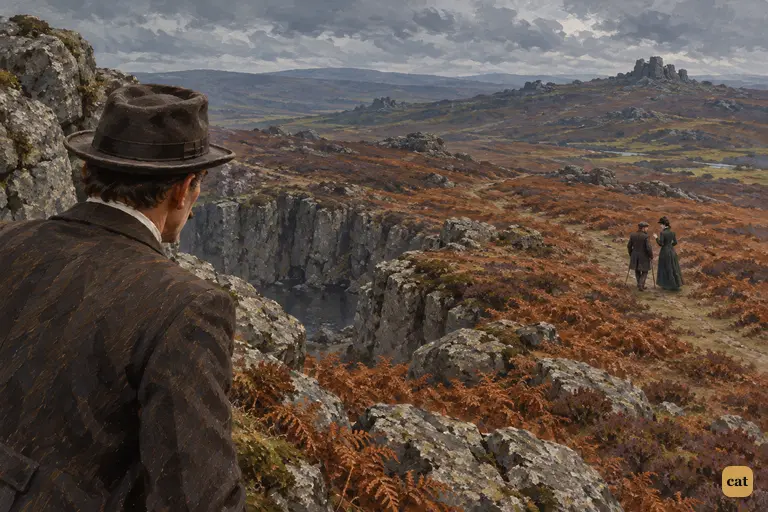
10·2 From the rocky crest, Watson sees Sir Henry far off walking beside Miss Stapleton
In the text → -
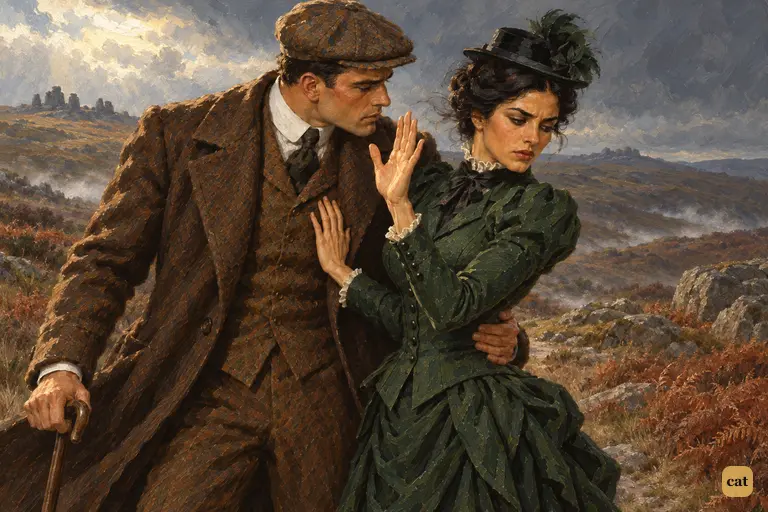
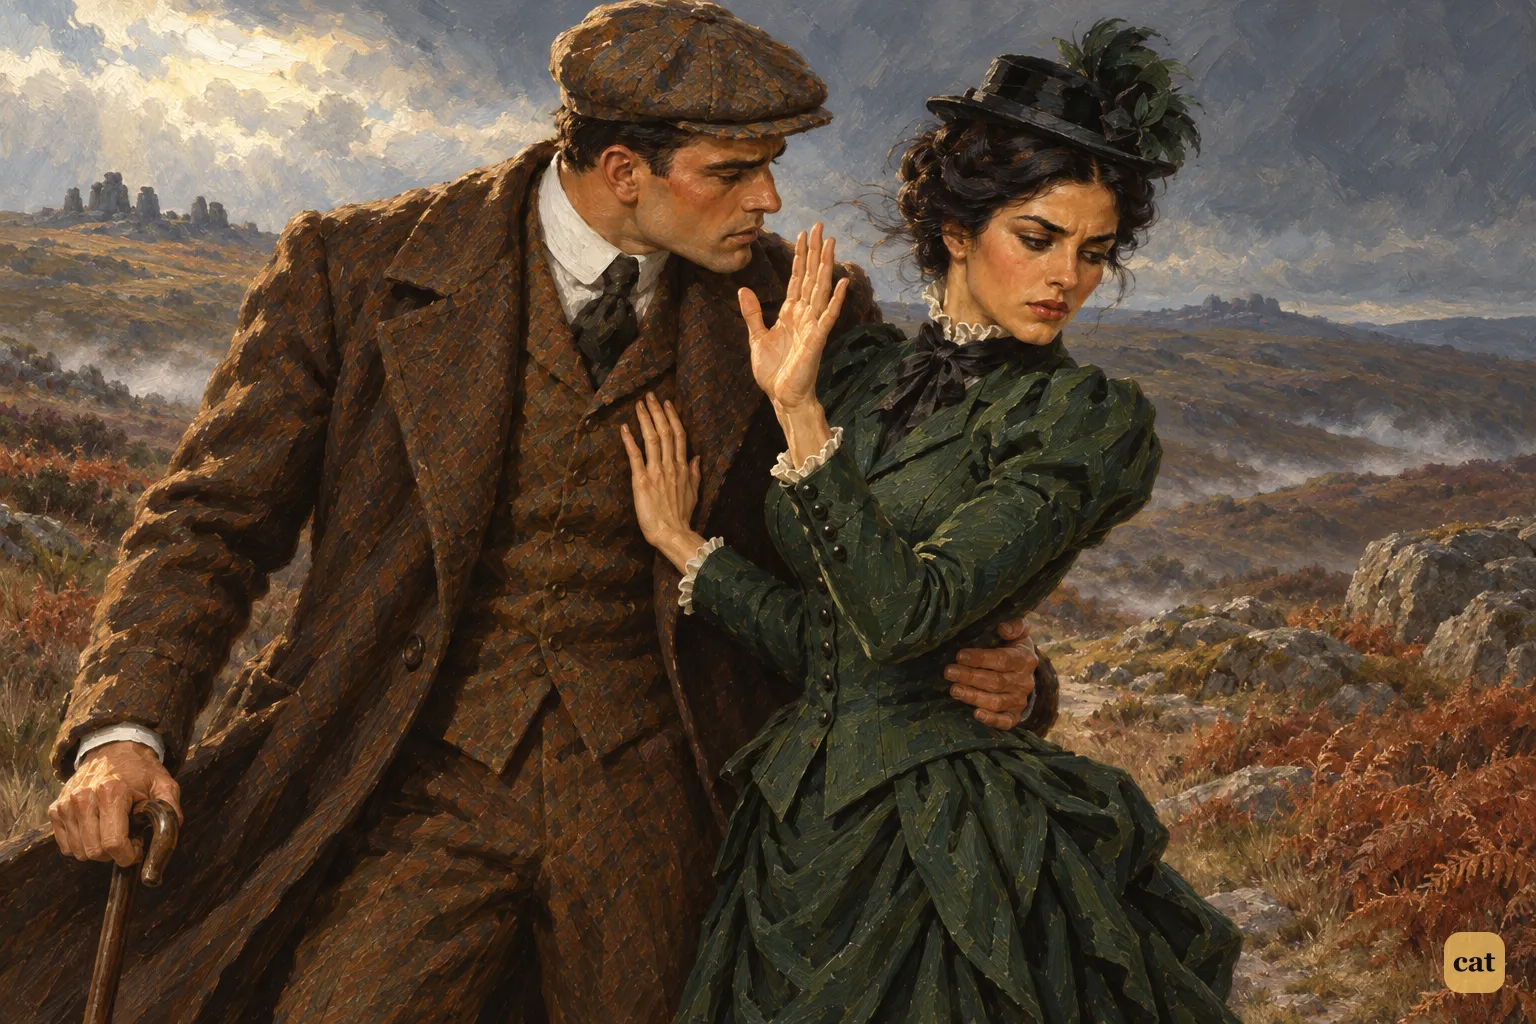
10·3 On the moor path, Sir Henry draws Miss Stapleton to his side and stoops his head to hers.
In the text → -
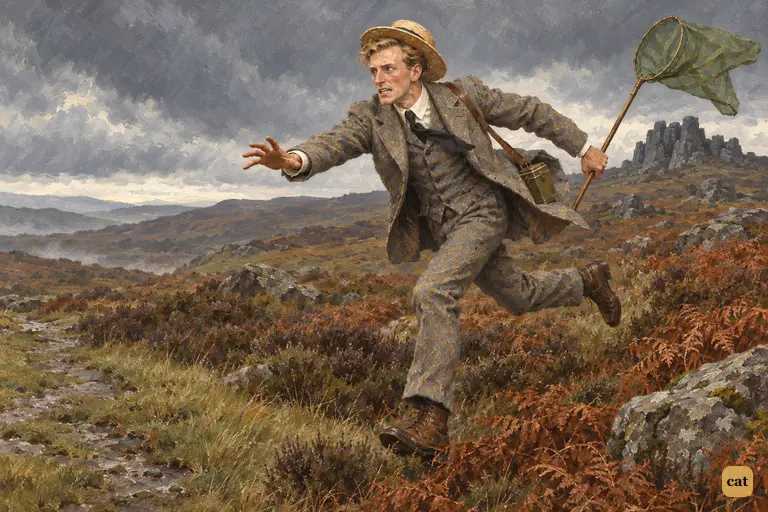
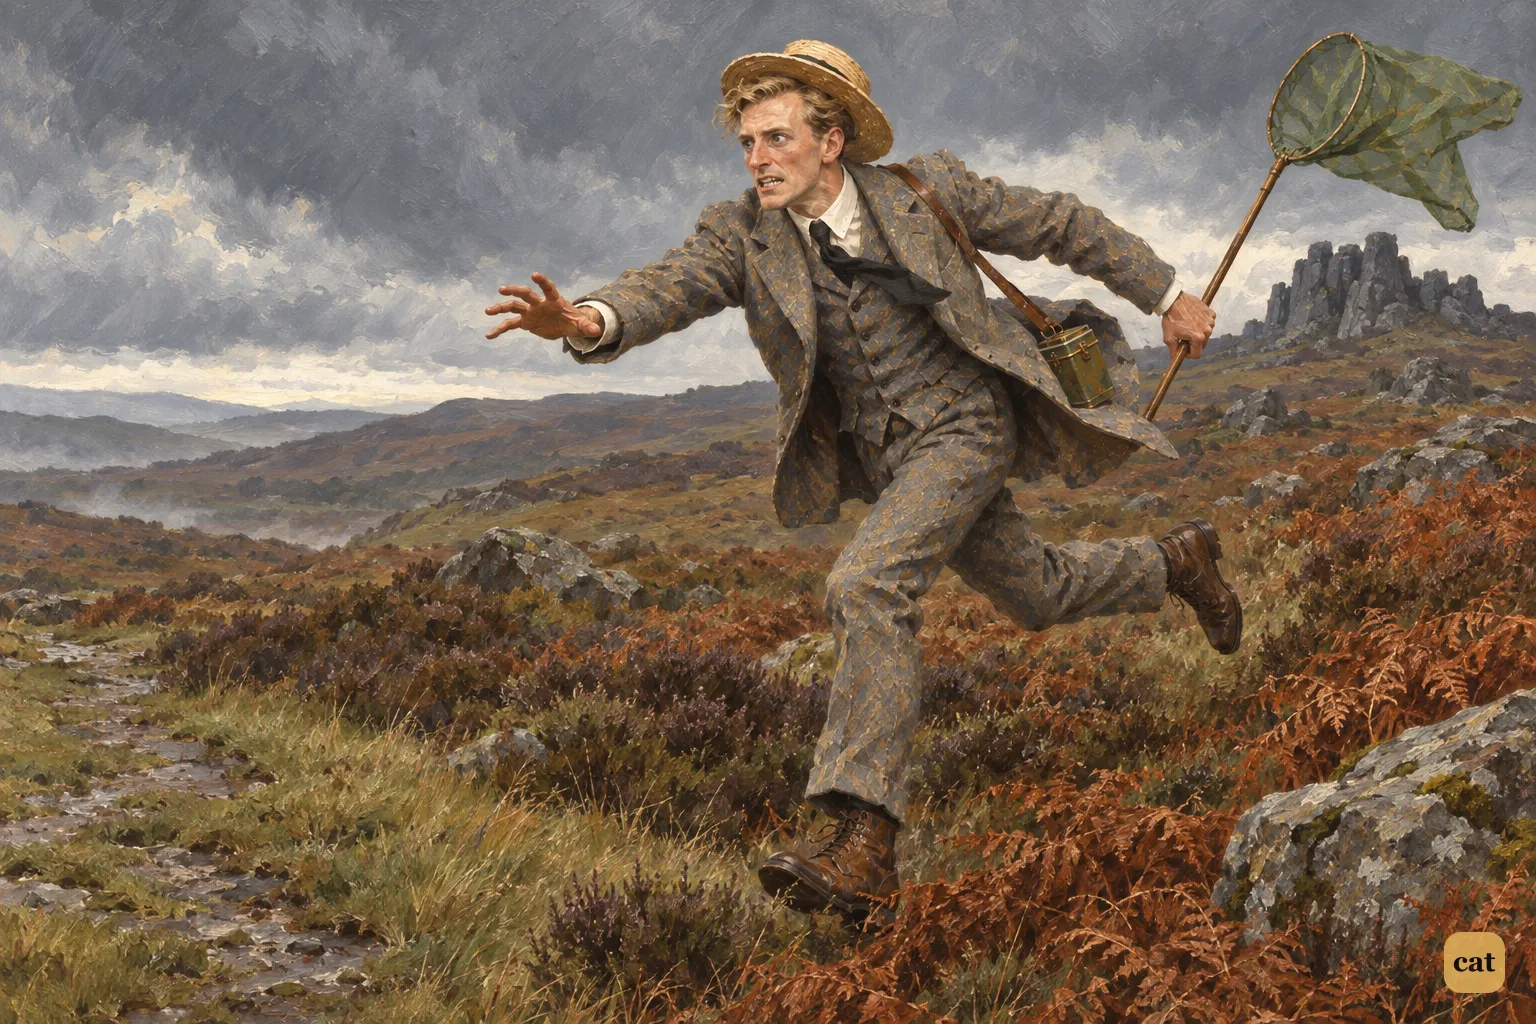
10·4 Stapleton runs flat out toward the couple on the moor path, his butterfly-net flapping
In the text → -
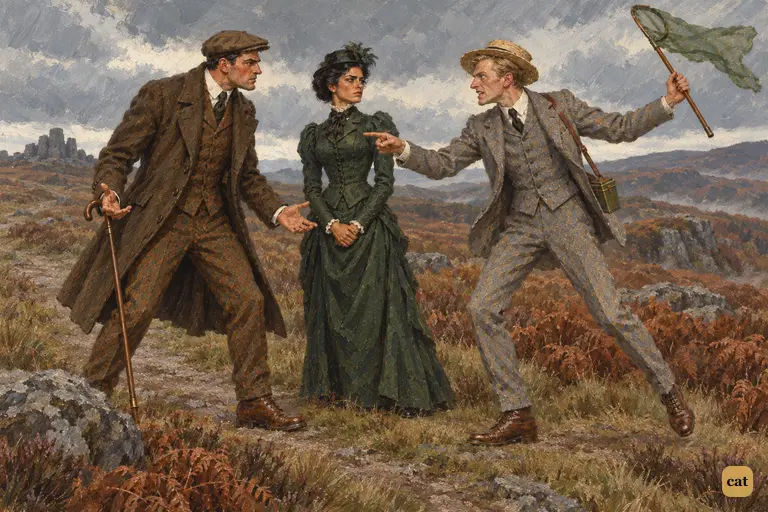
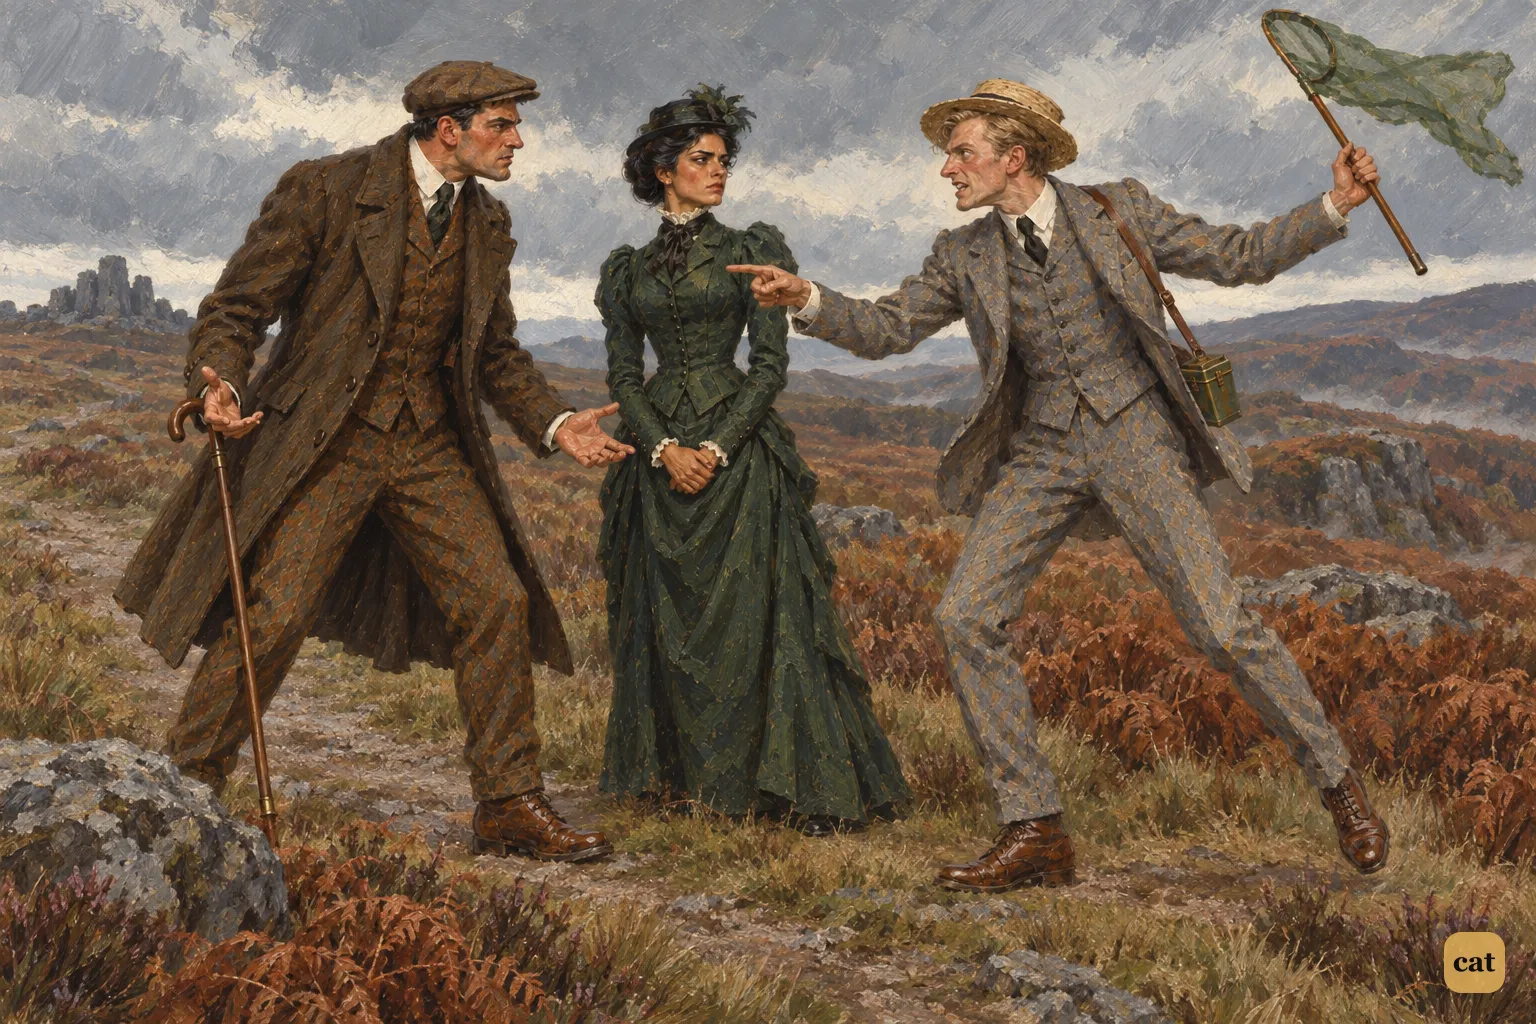
10·5 Stapleton jabs a finger at Sir Henry, who spreads his hands in angry protest
In the text → -
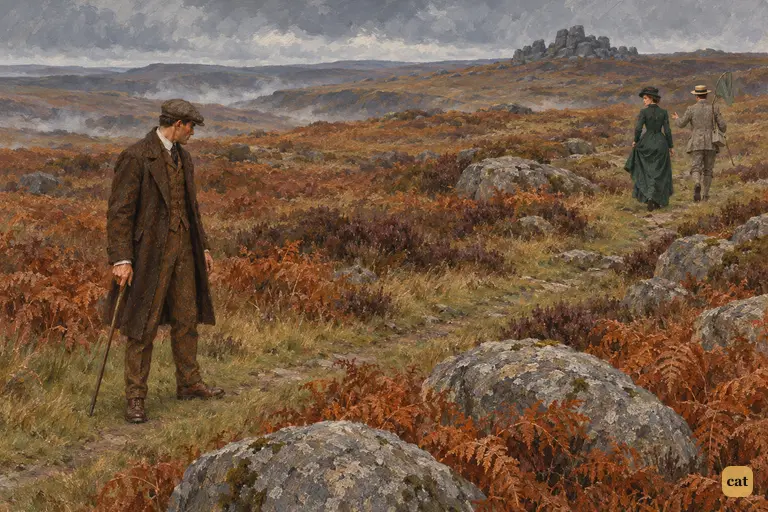
10·6 The wooing has been cut short.
In the text → -
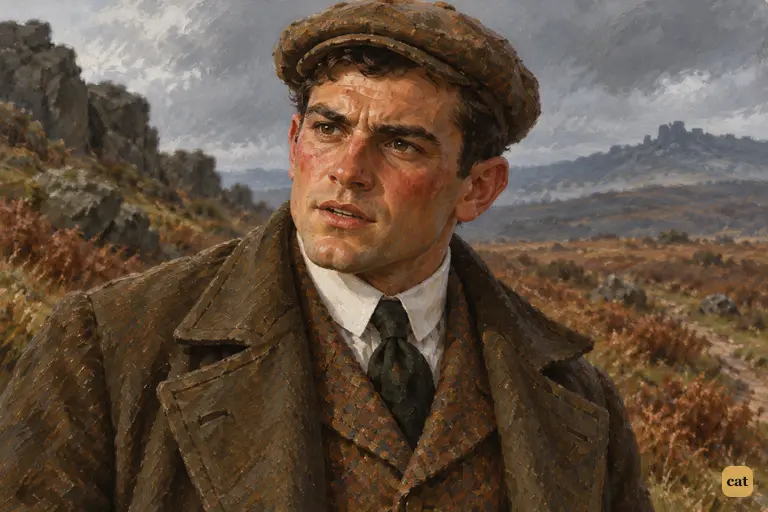
10·7 At the foot of the quarry hill, Sir Henry is still flushed after the quarrel on the moor path.
In the text → -
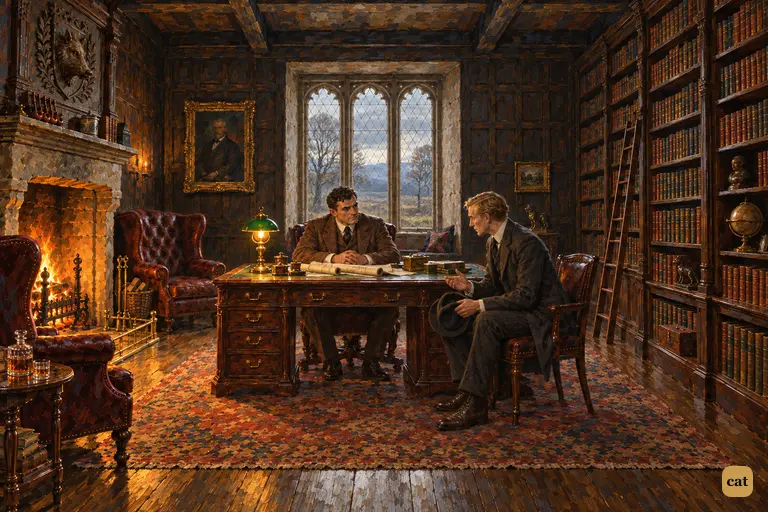
10·8 Stapleton sits in the visitor's chair and apologises for the morning's quarrel
In the text → -
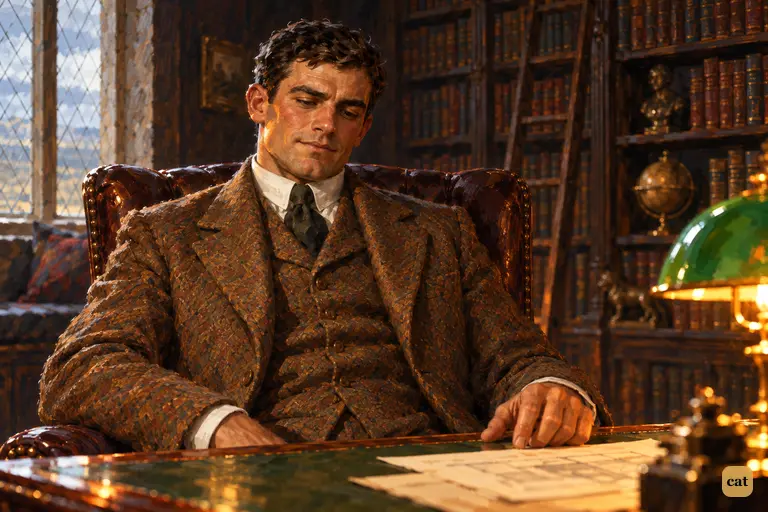
10·9 Sir Henry leans back in his chair in the firelit study with a rueful half-smile
In the text →
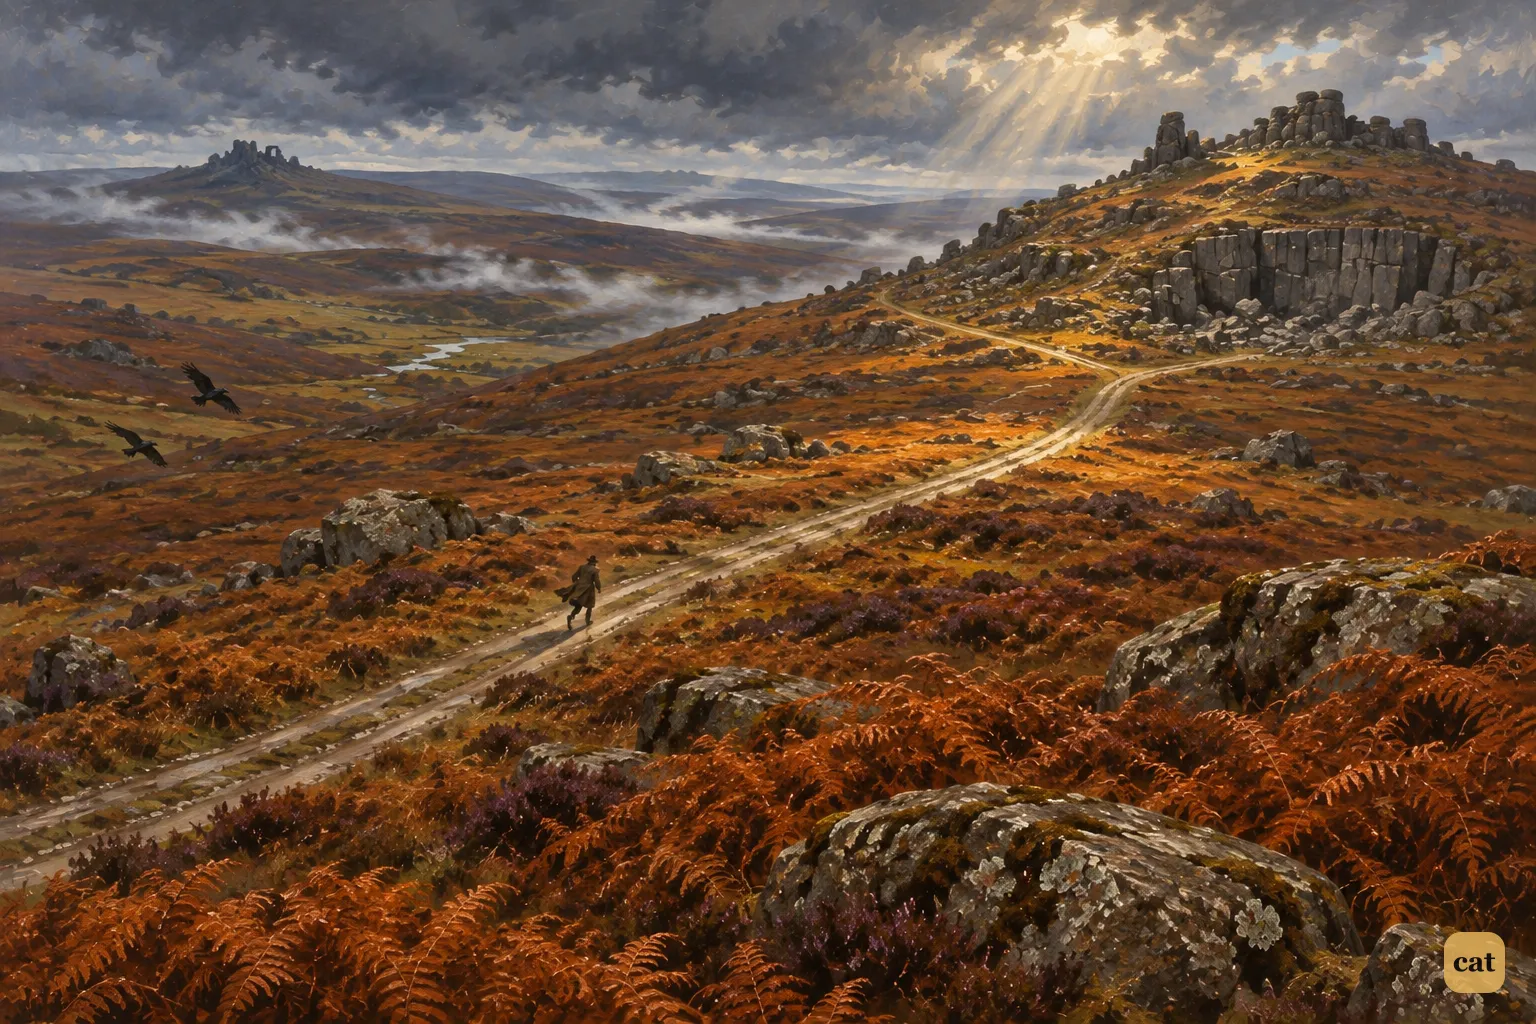
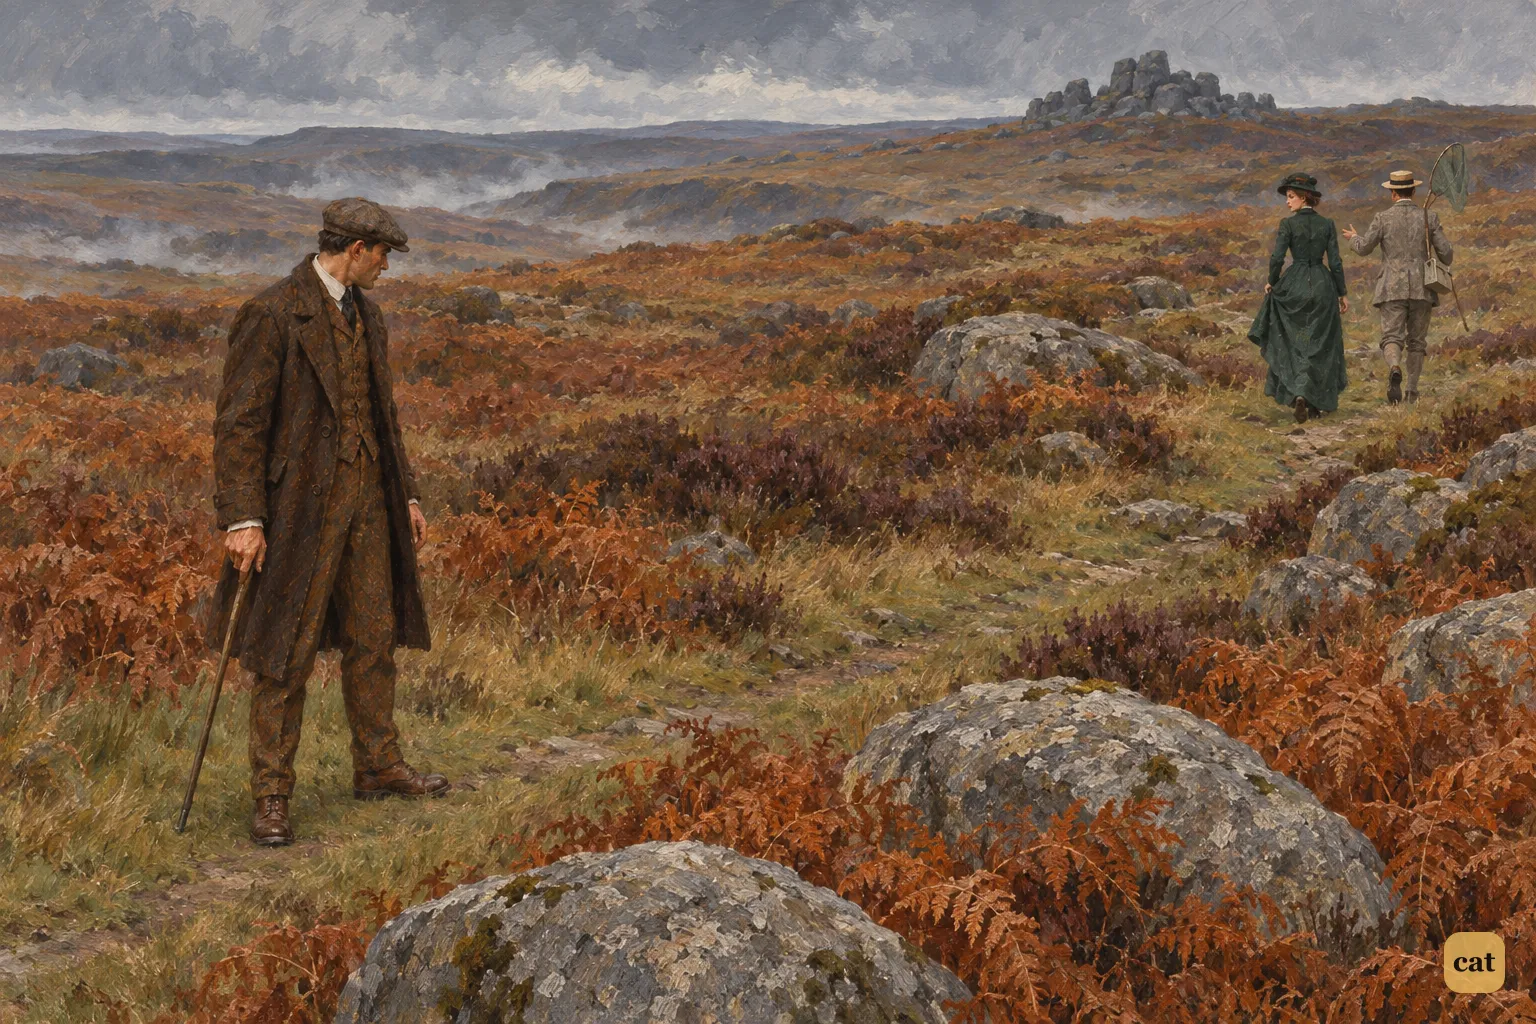
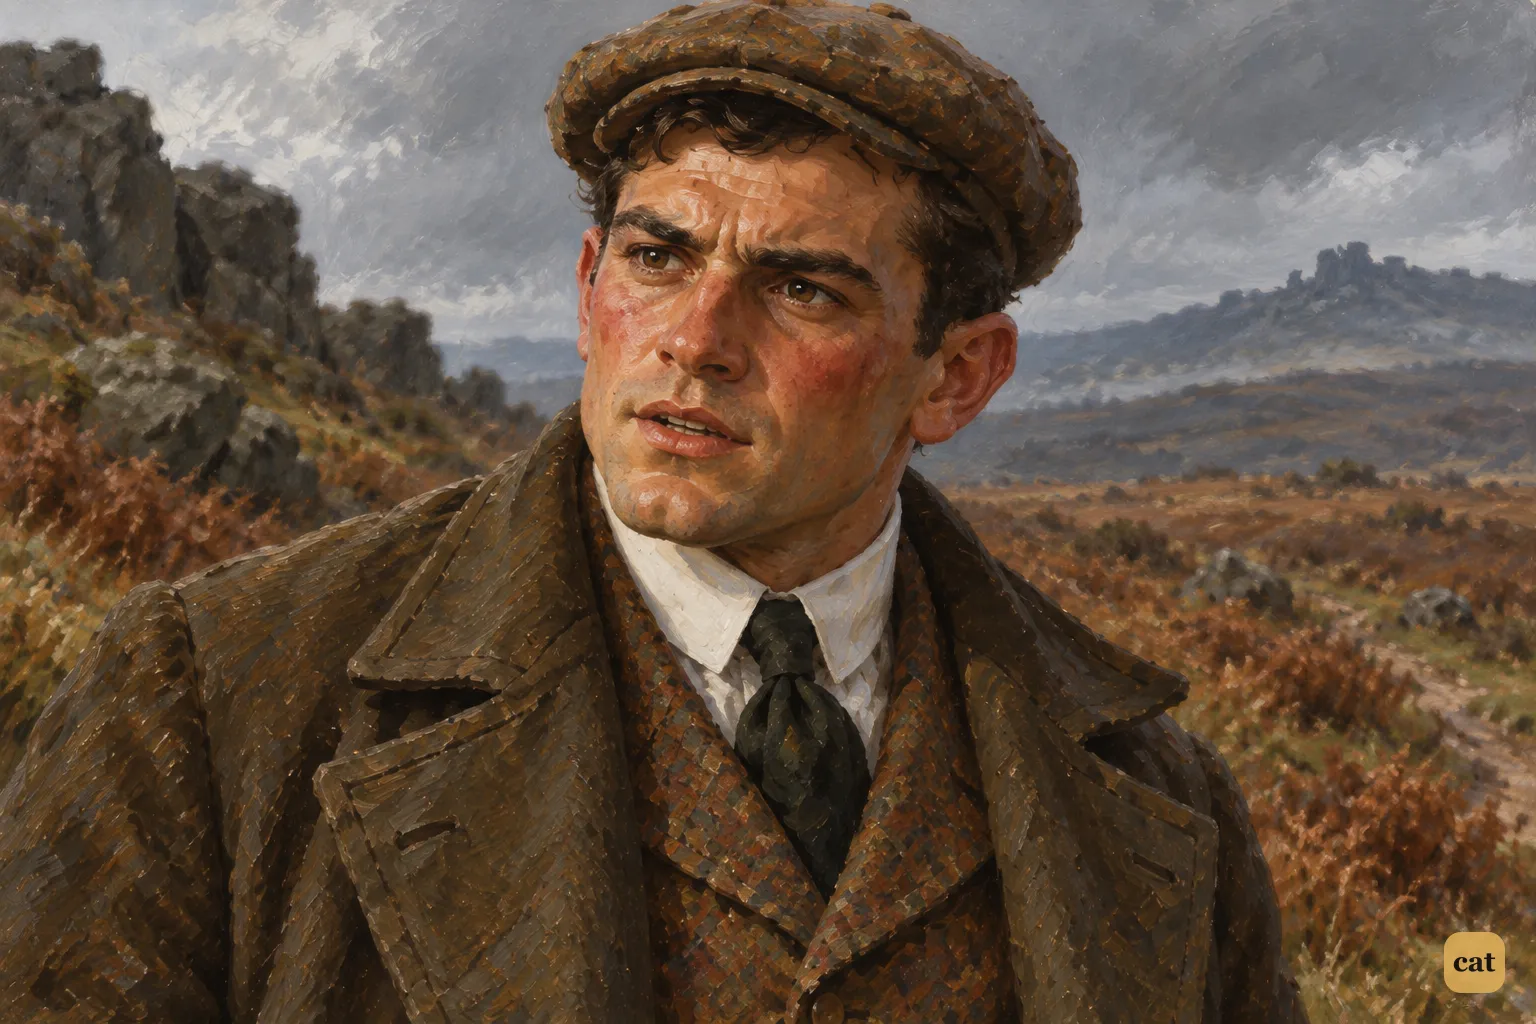
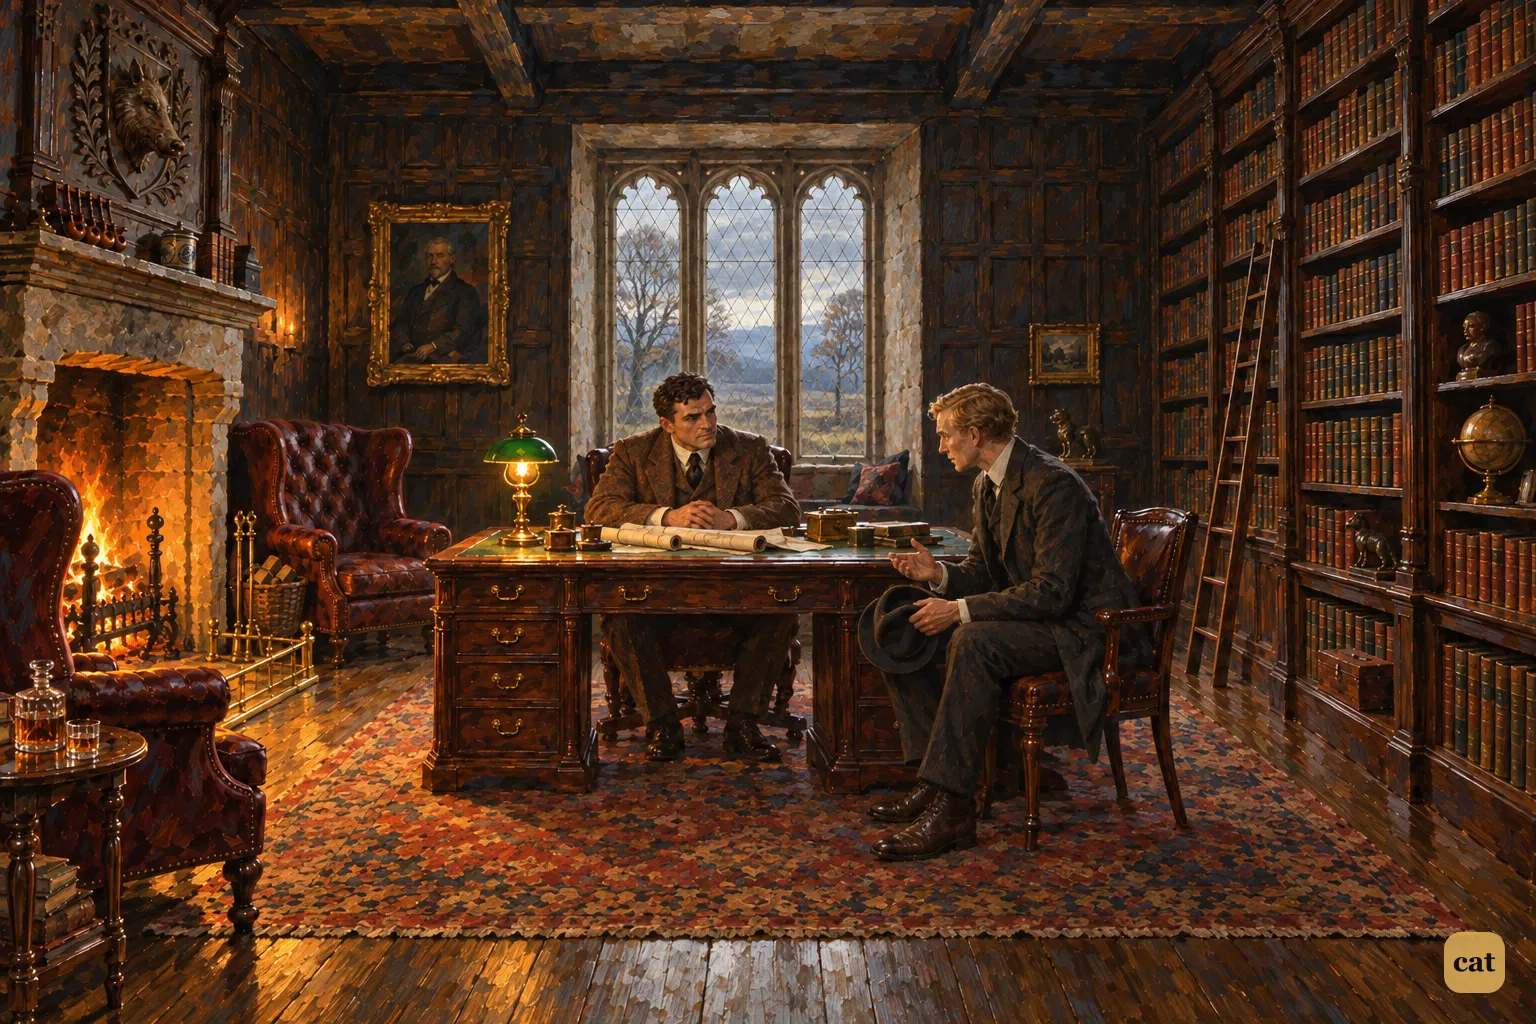
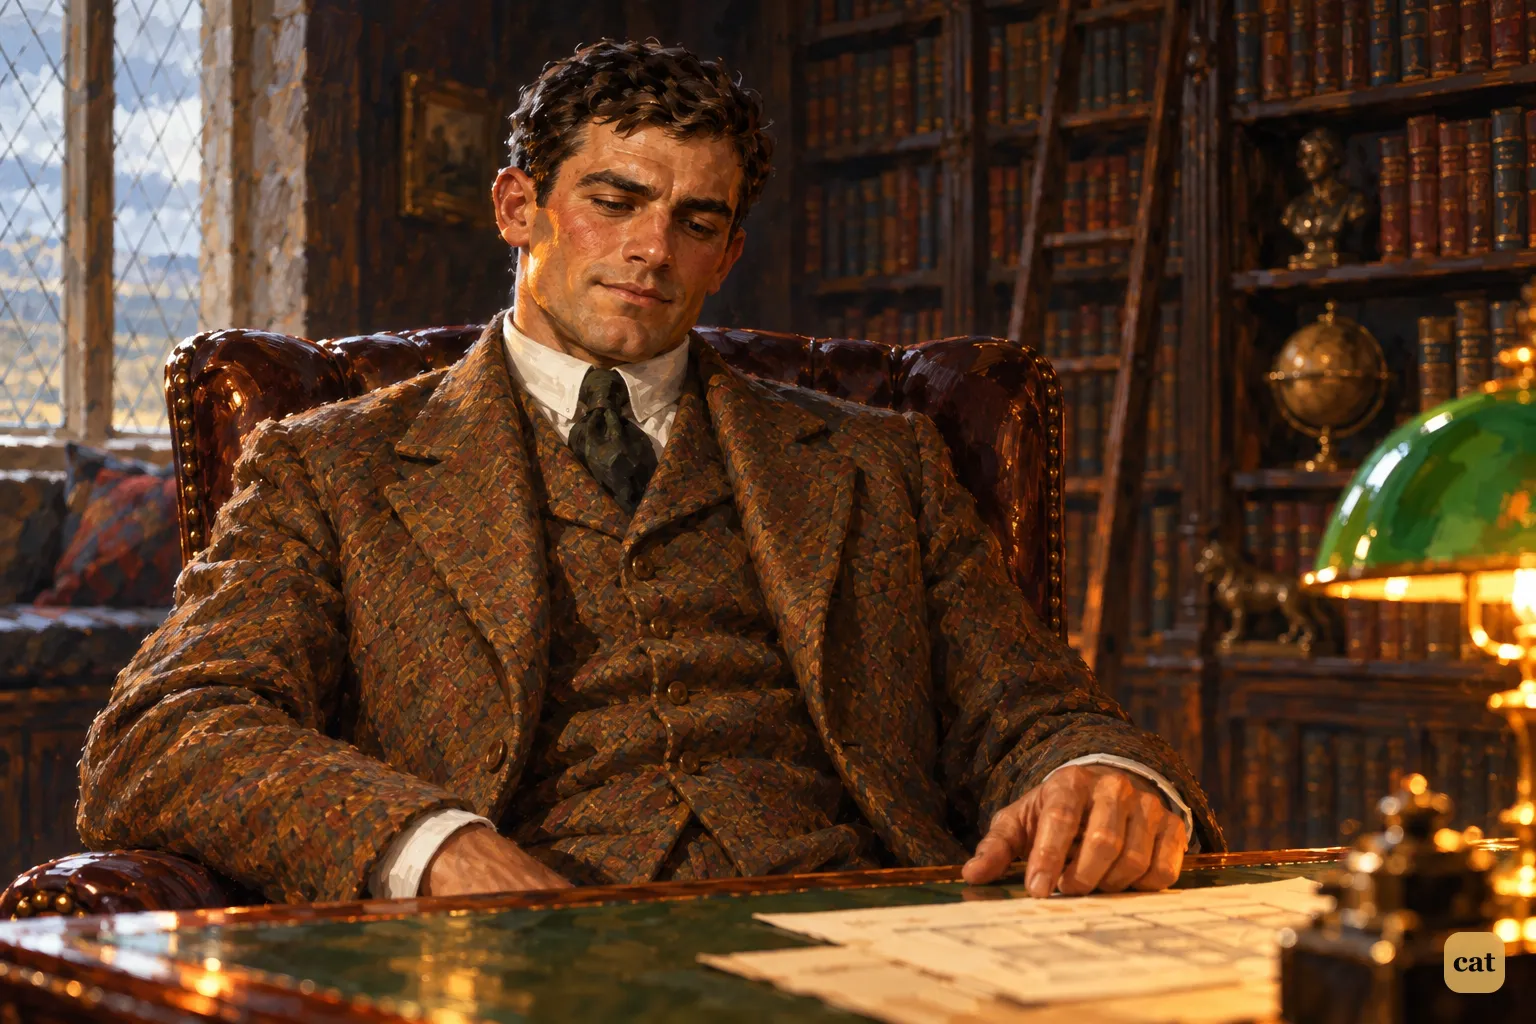
Chapter 11 · 10 illustrations The Signal at the Window and Selden's Secret
-
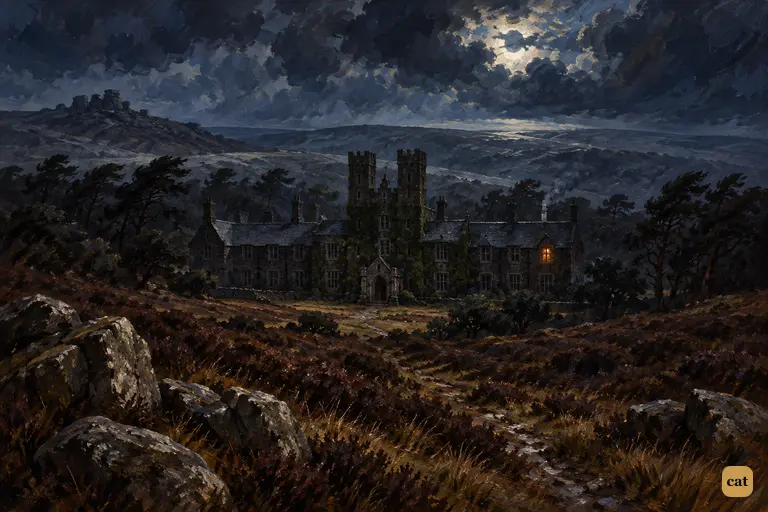
11·1 Baskerville Hall lies dark in its hollow on the night moor under a clouded moon.
In the text → -
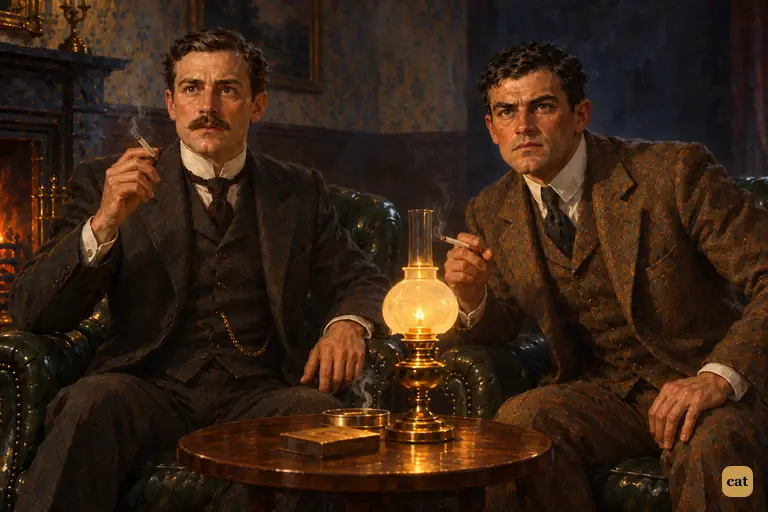
11·2 At two in the morning, Watson and Sir Henry jerk upright in their chairs at once
In the text → -
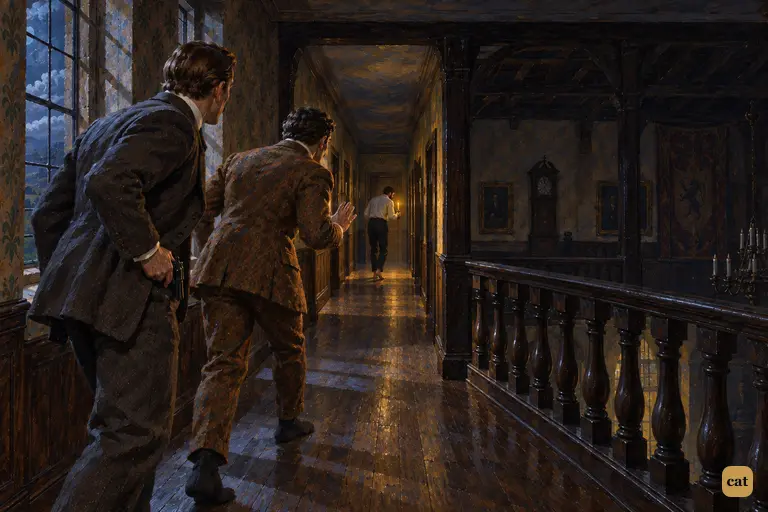
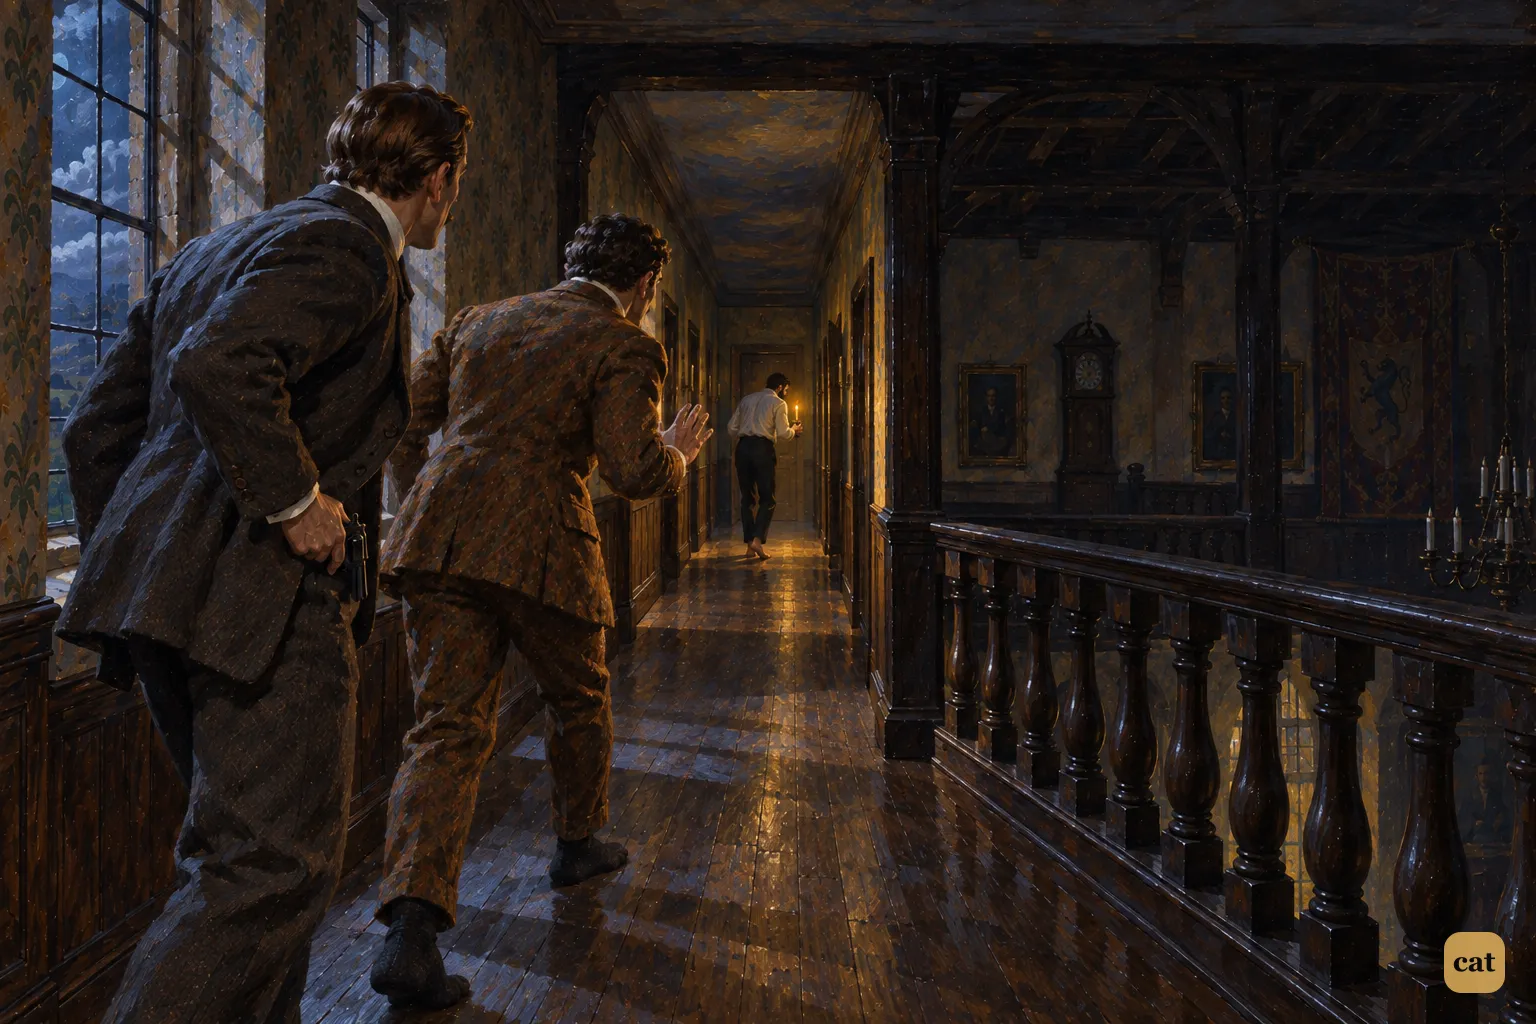
11·3 Sir Henry and Watson reach the dark mouth of the balcony in their stocking feet.
In the text → -
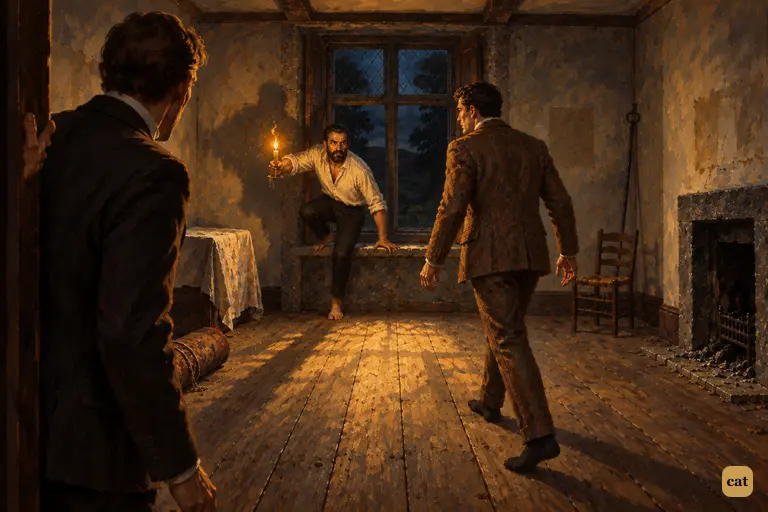
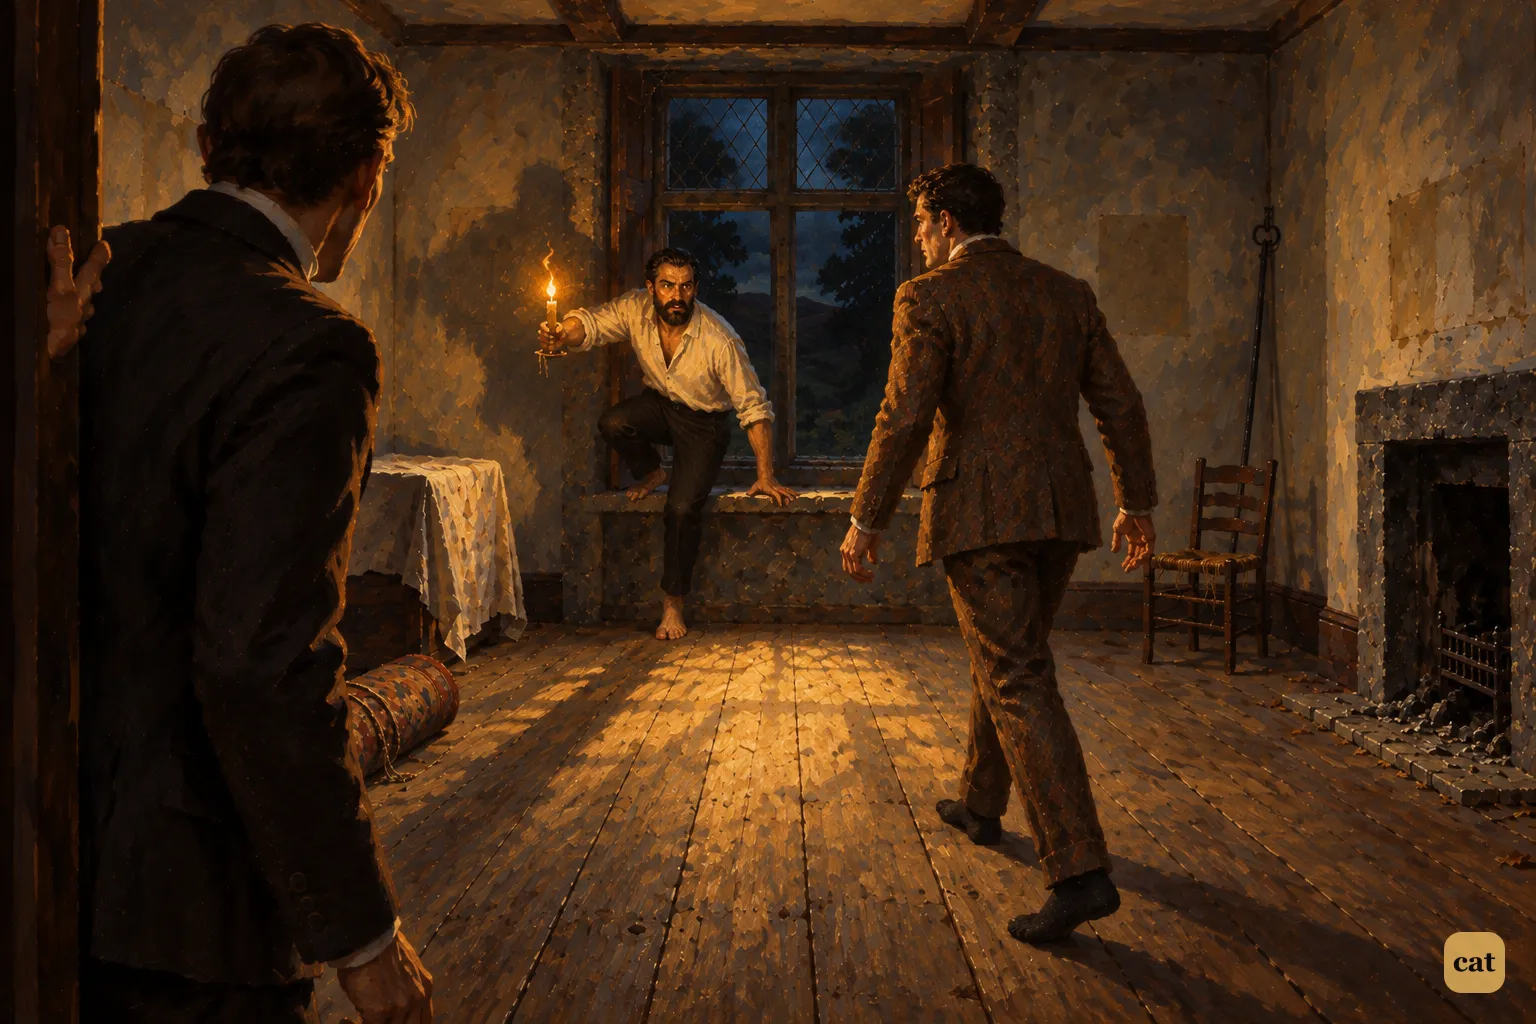
11·4 Sir Henry walks in and Barrymore springs up from the window, holding a shaking candle
In the text → -
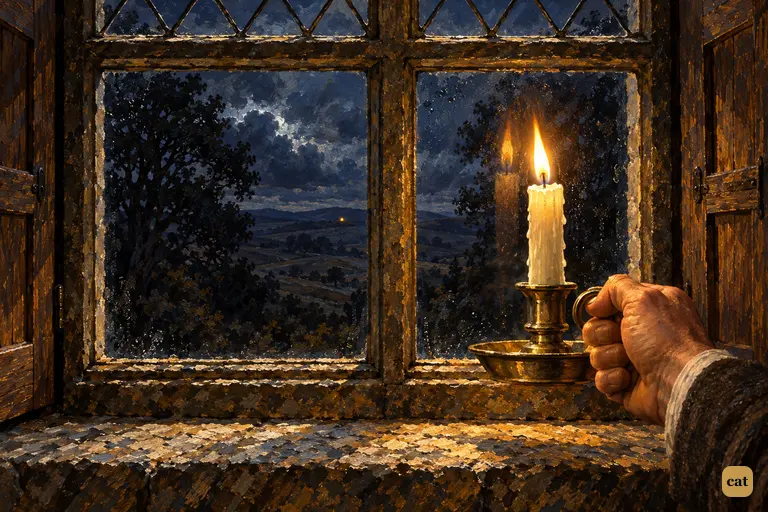
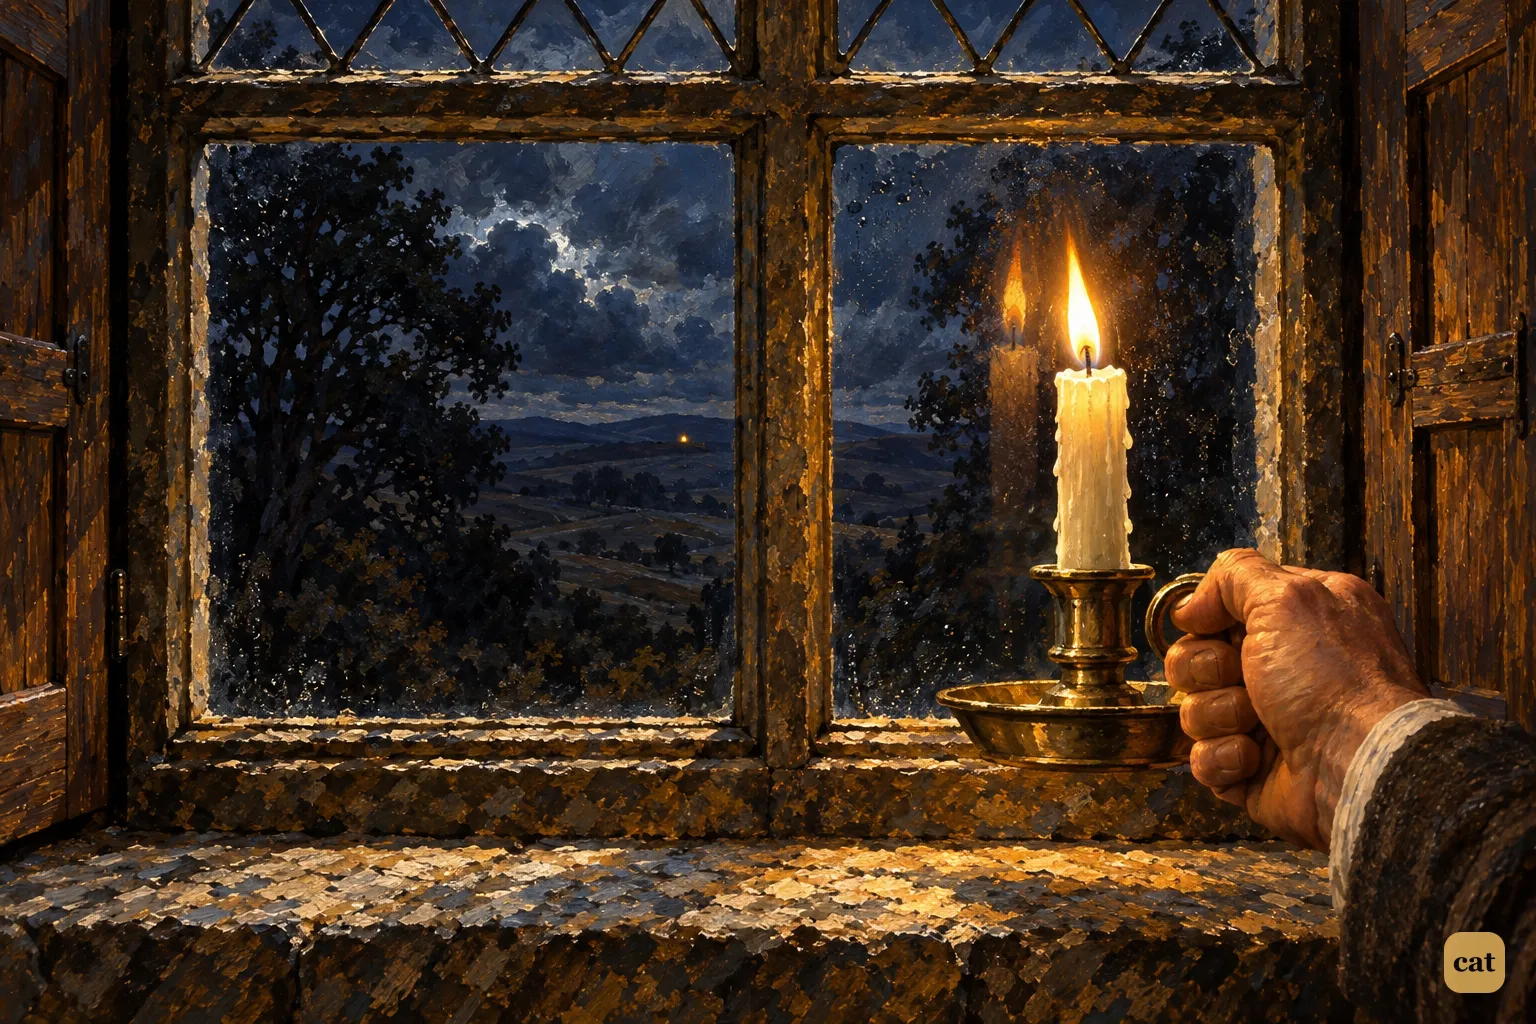
11·5 Watson holds the candle to the pane and a tiny yellow light answers far out on the moor
In the text → -
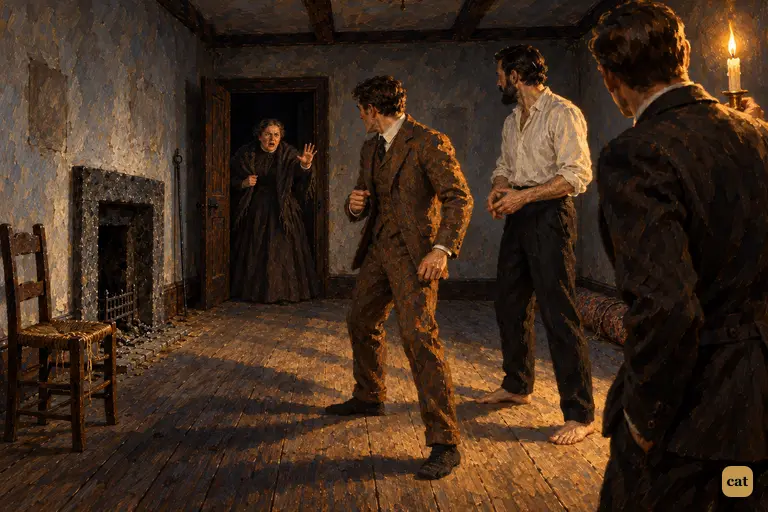
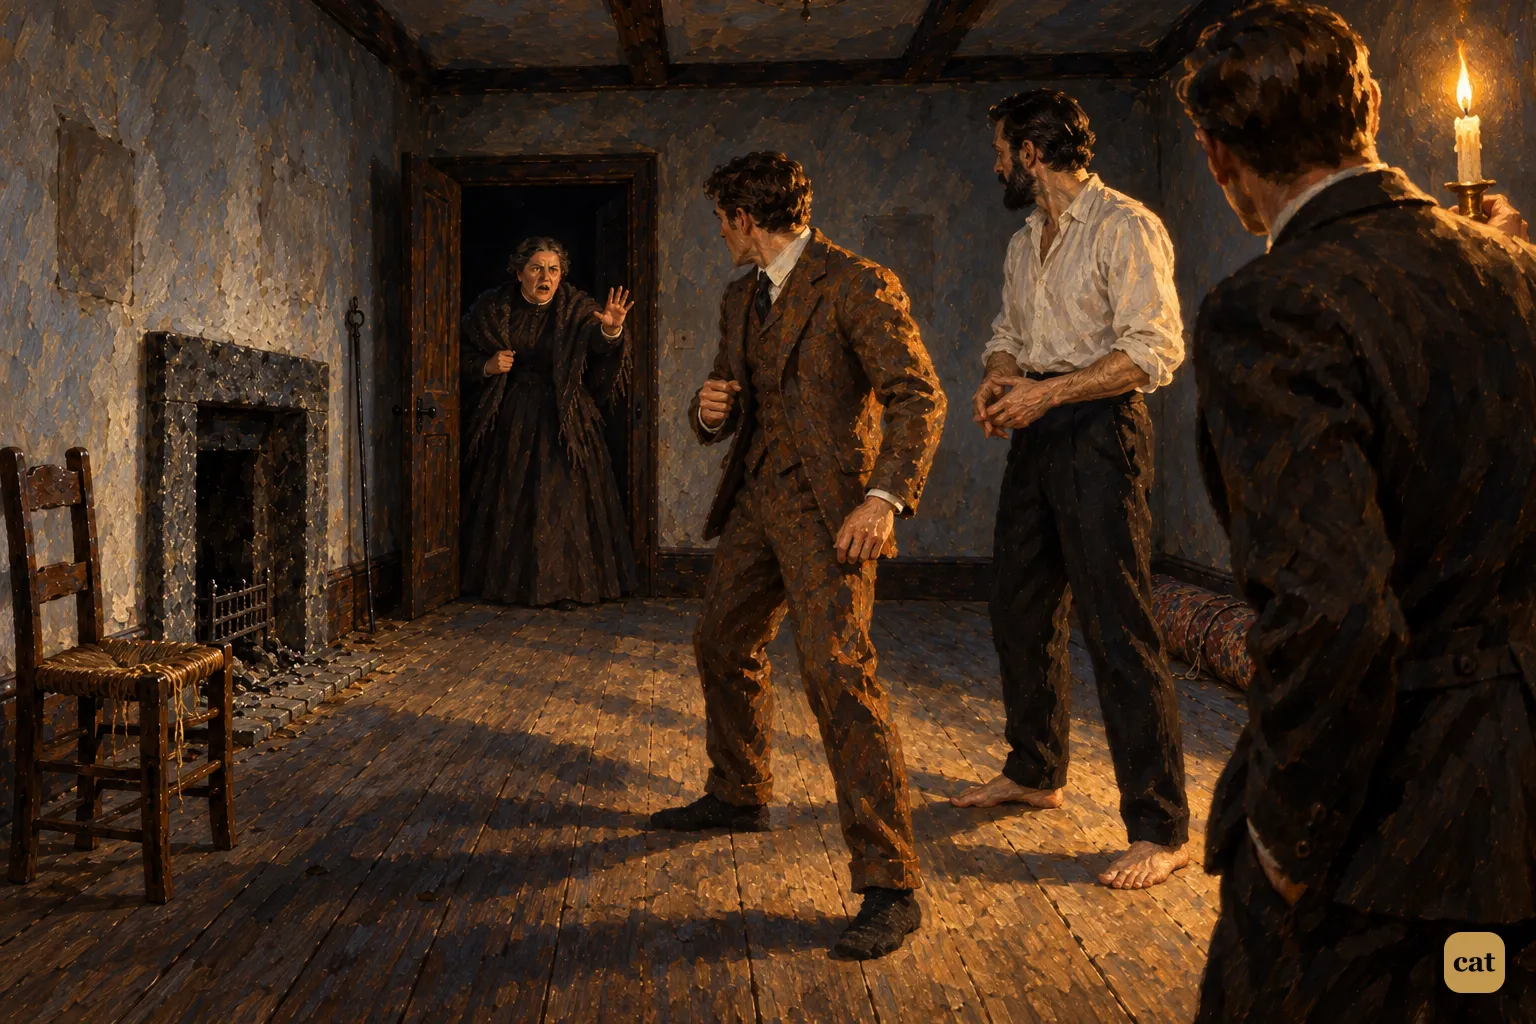
11·6 Pale and horror-struck, Mrs. Barrymore appears in the dark doorway of the empty room
In the text → -
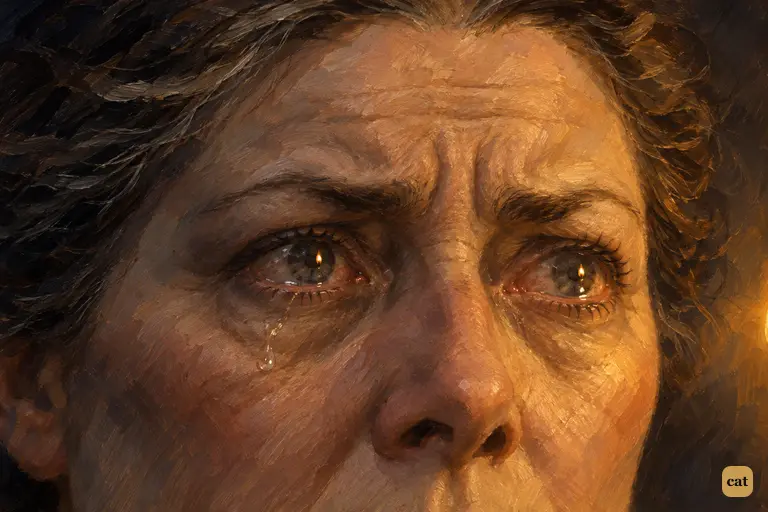
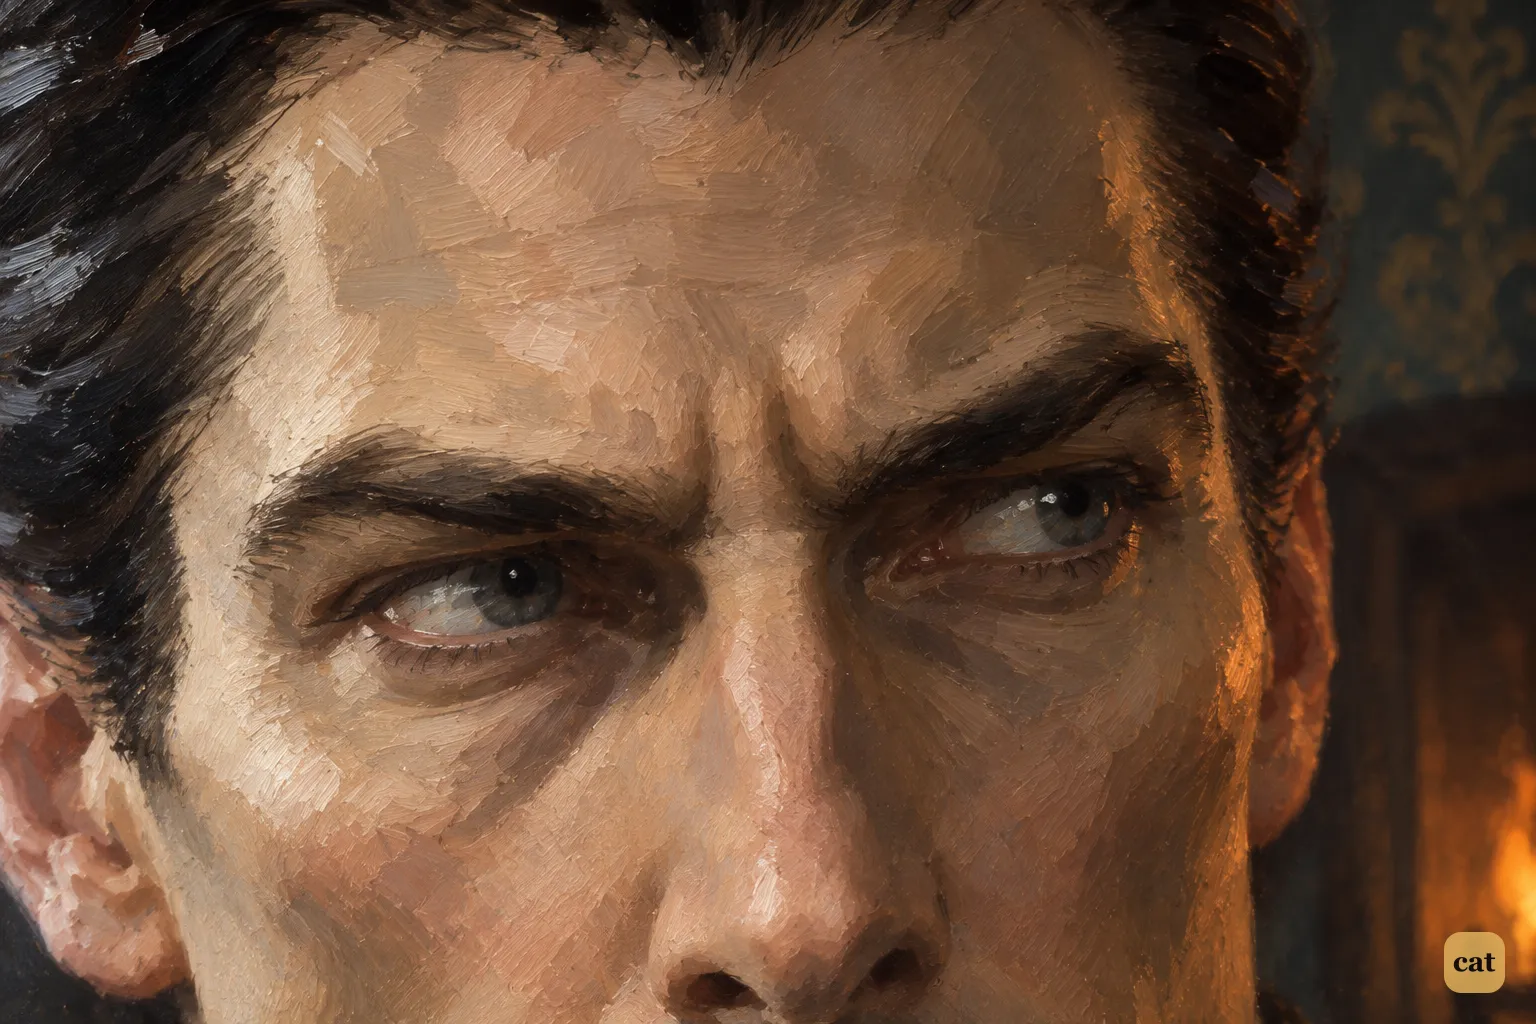
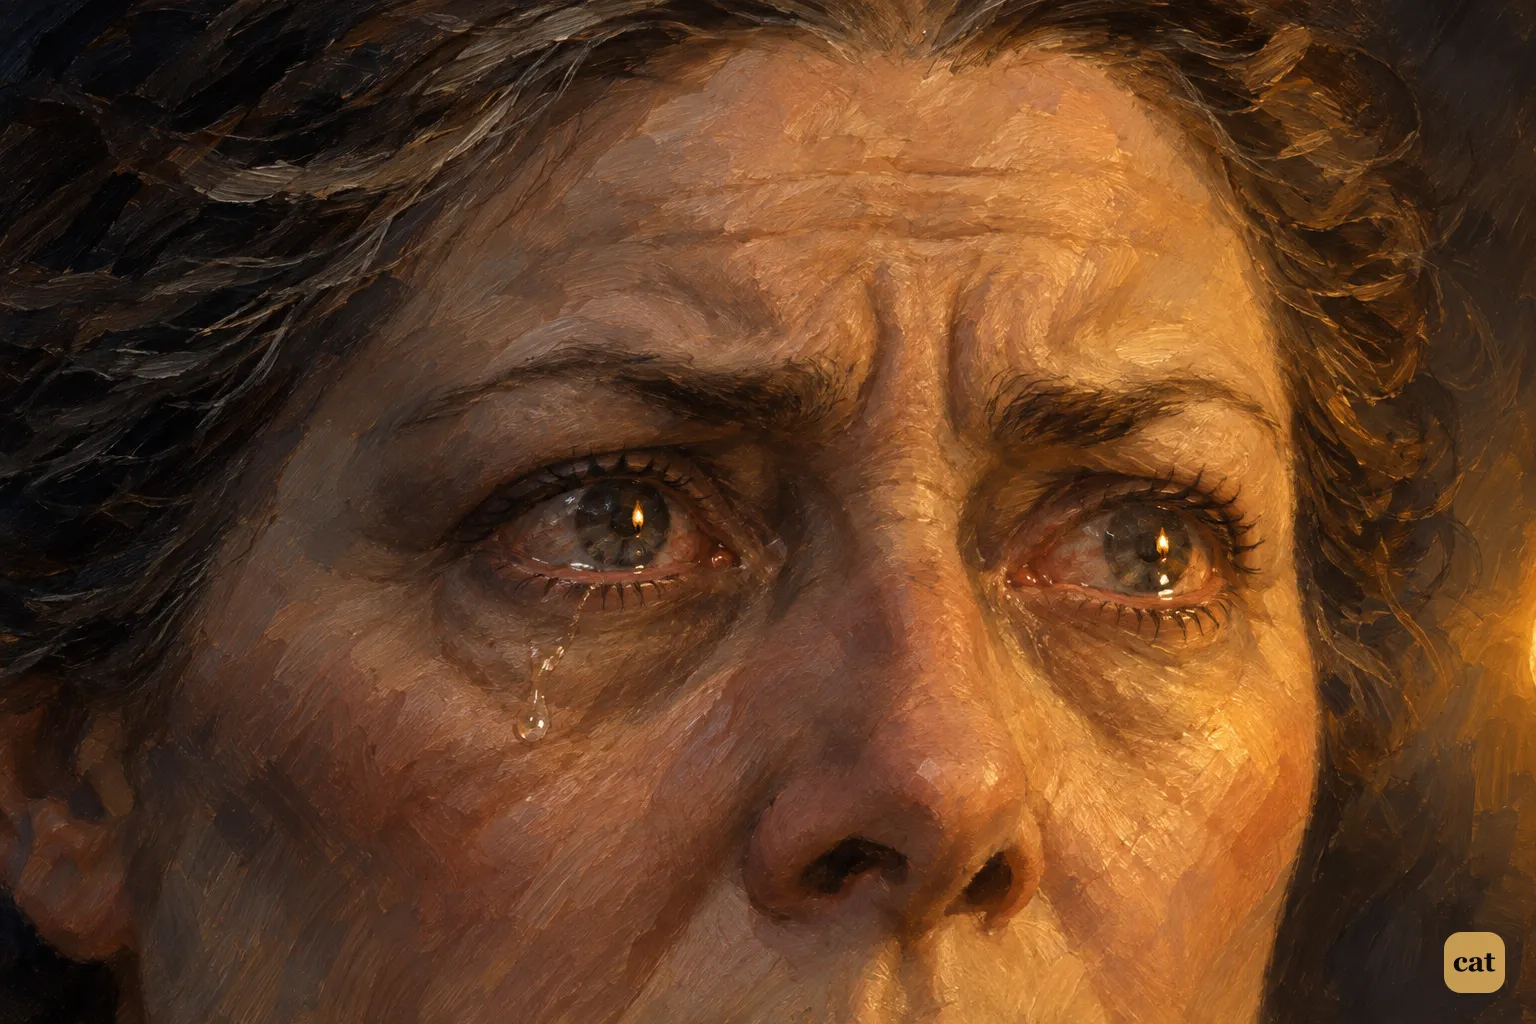
11·7 An extreme close-up of Mrs. Barrymore's eyes as she names her brother, the escaped convict Selden.
In the text → -
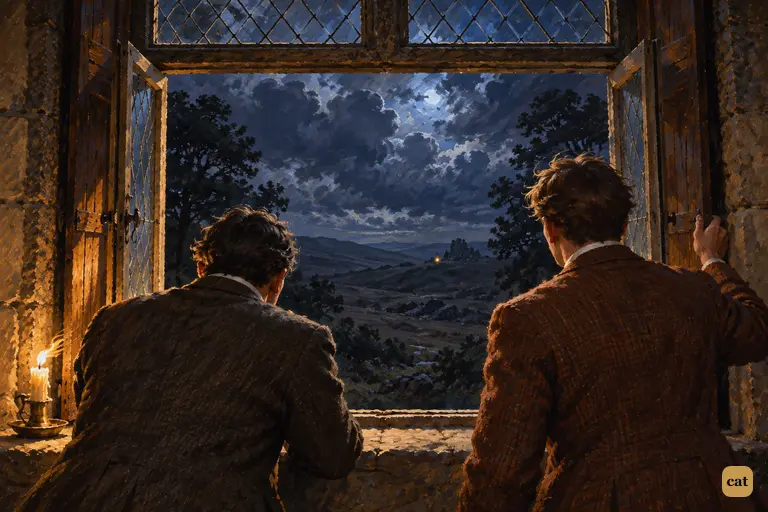
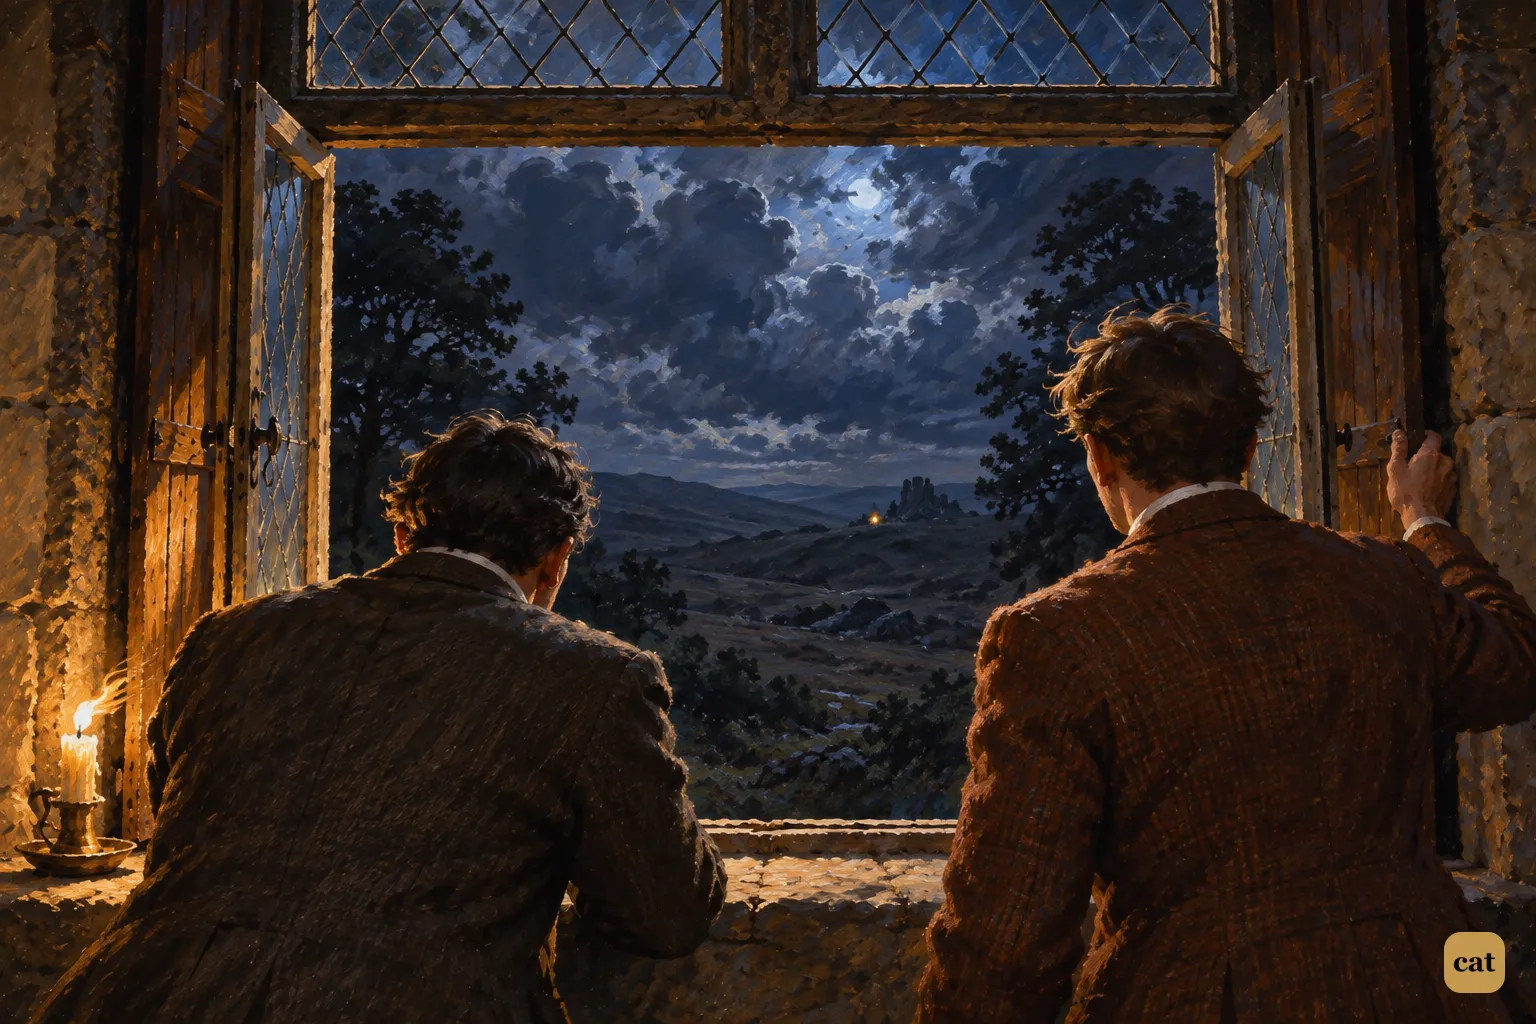
11·8 Watson and Sir Henry look from the open window at one yellow light near the Cleft Tor
In the text → -
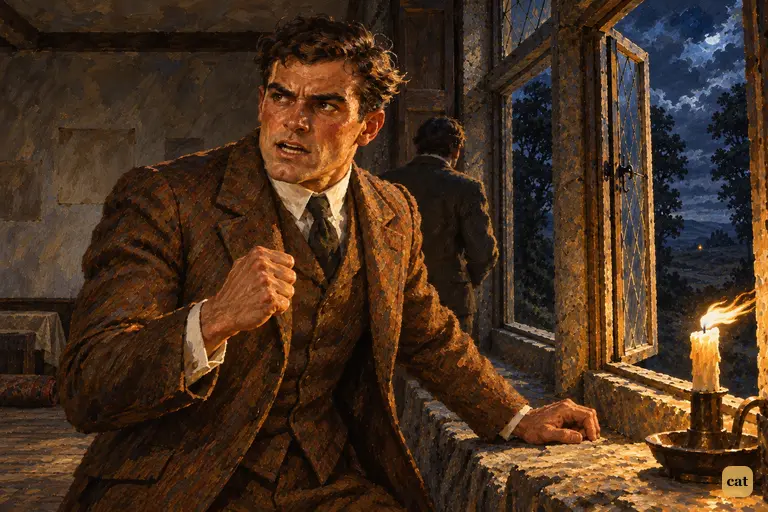
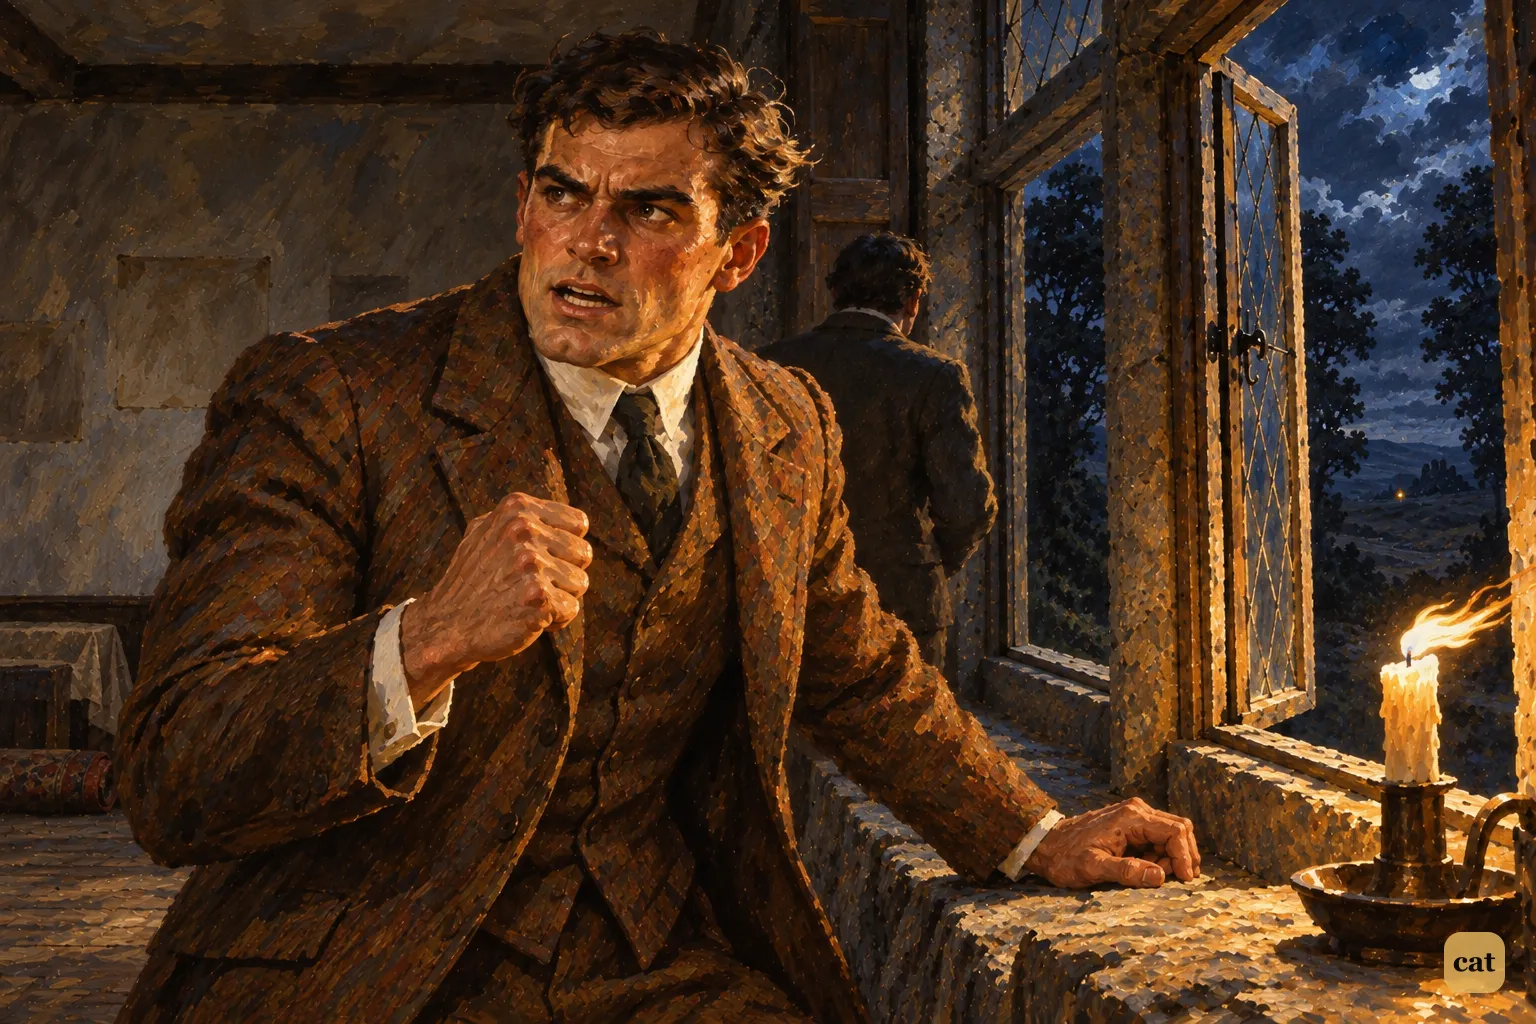
11·9 Sir Henry turns from the window, fist clenched: he will go out and take the convict
In the text → -
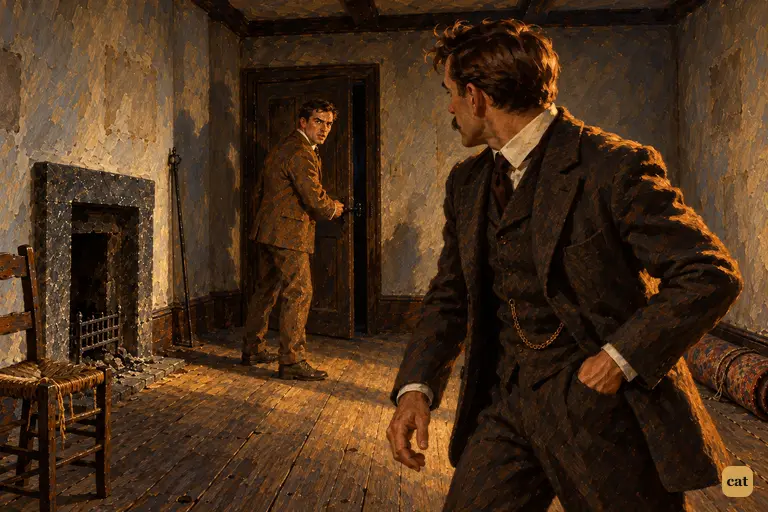
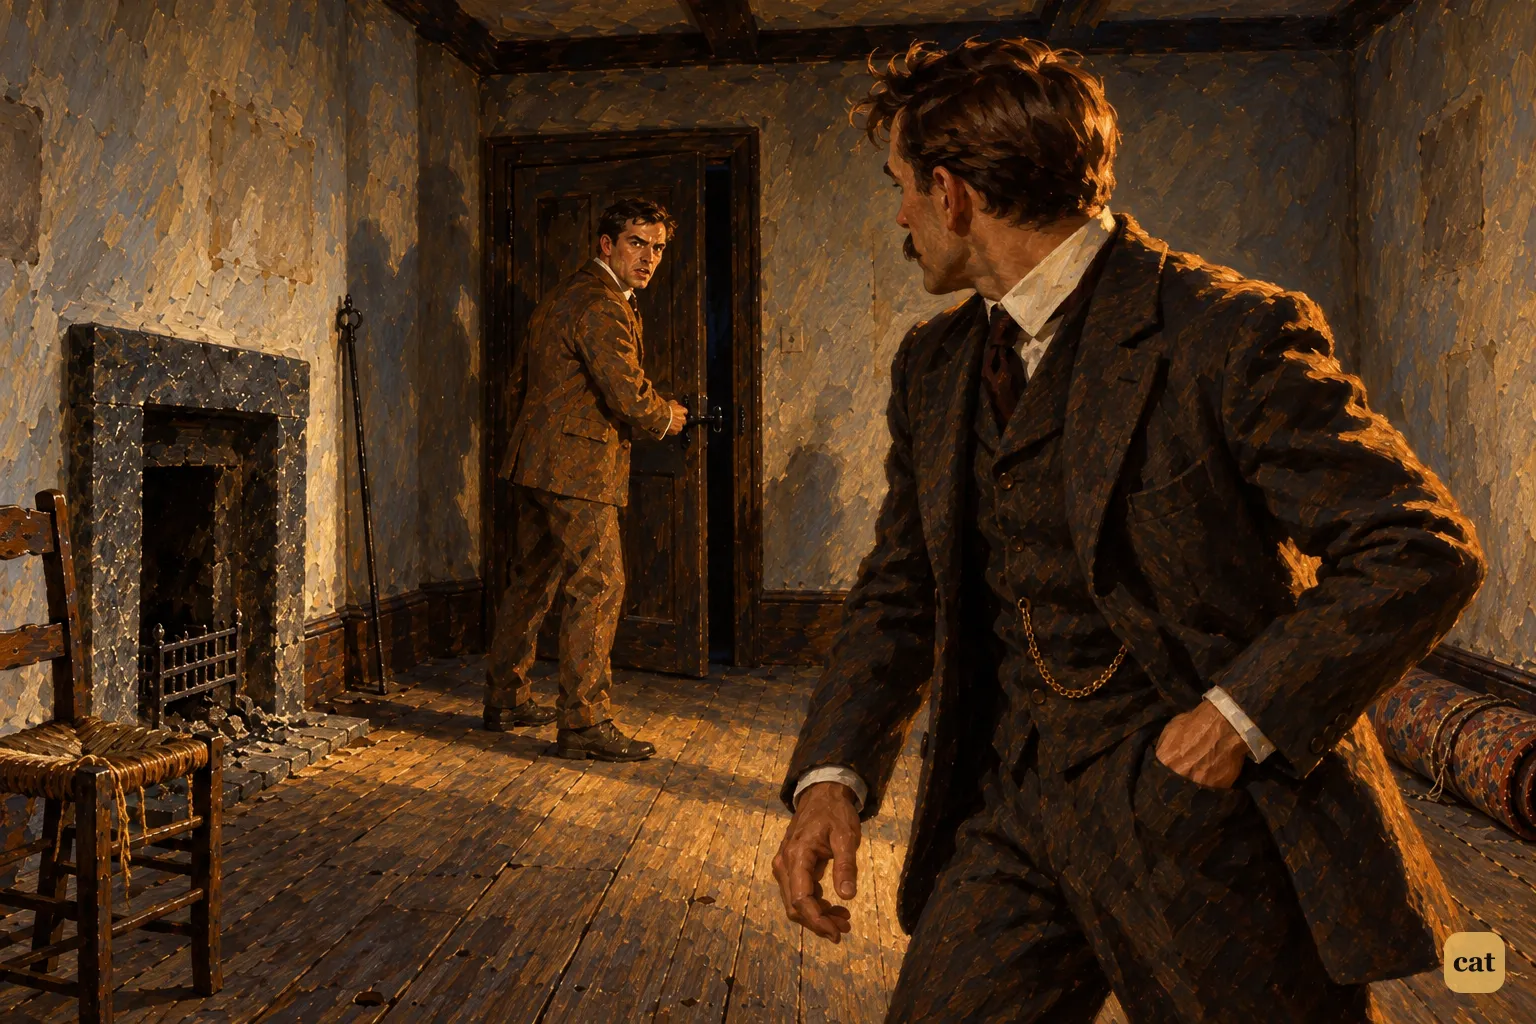
11·10 With his hand on the latch, Sir Henry tells Watson to fetch his revolver and boots
In the text →
Chapter 12 · 8 illustrations The Convict's Candle and the Man on the Tor
-
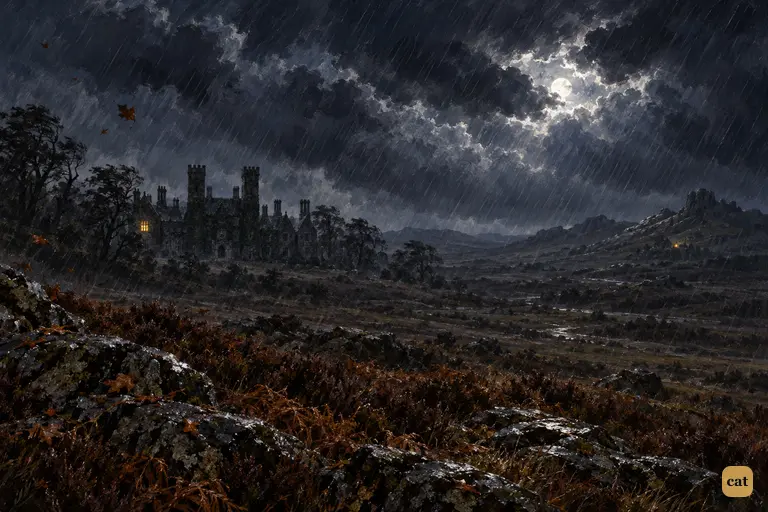
12·1 Baskerville Hall sits low and dark in its hollow with a single candle in its west wing.
In the text → -
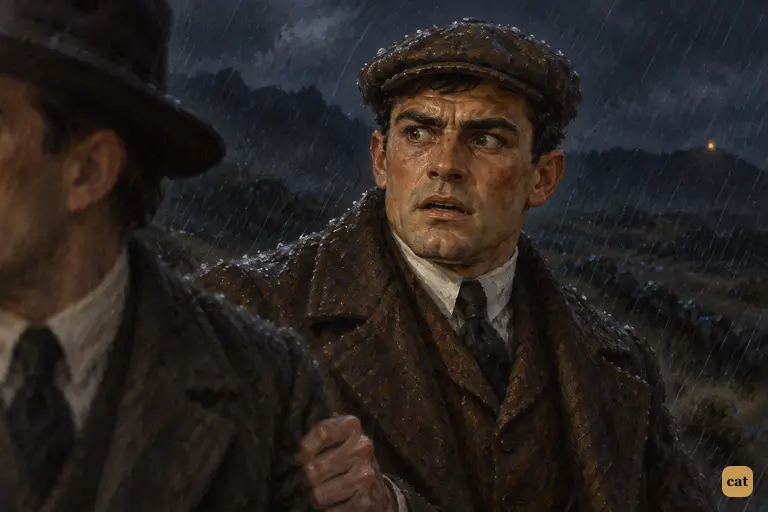
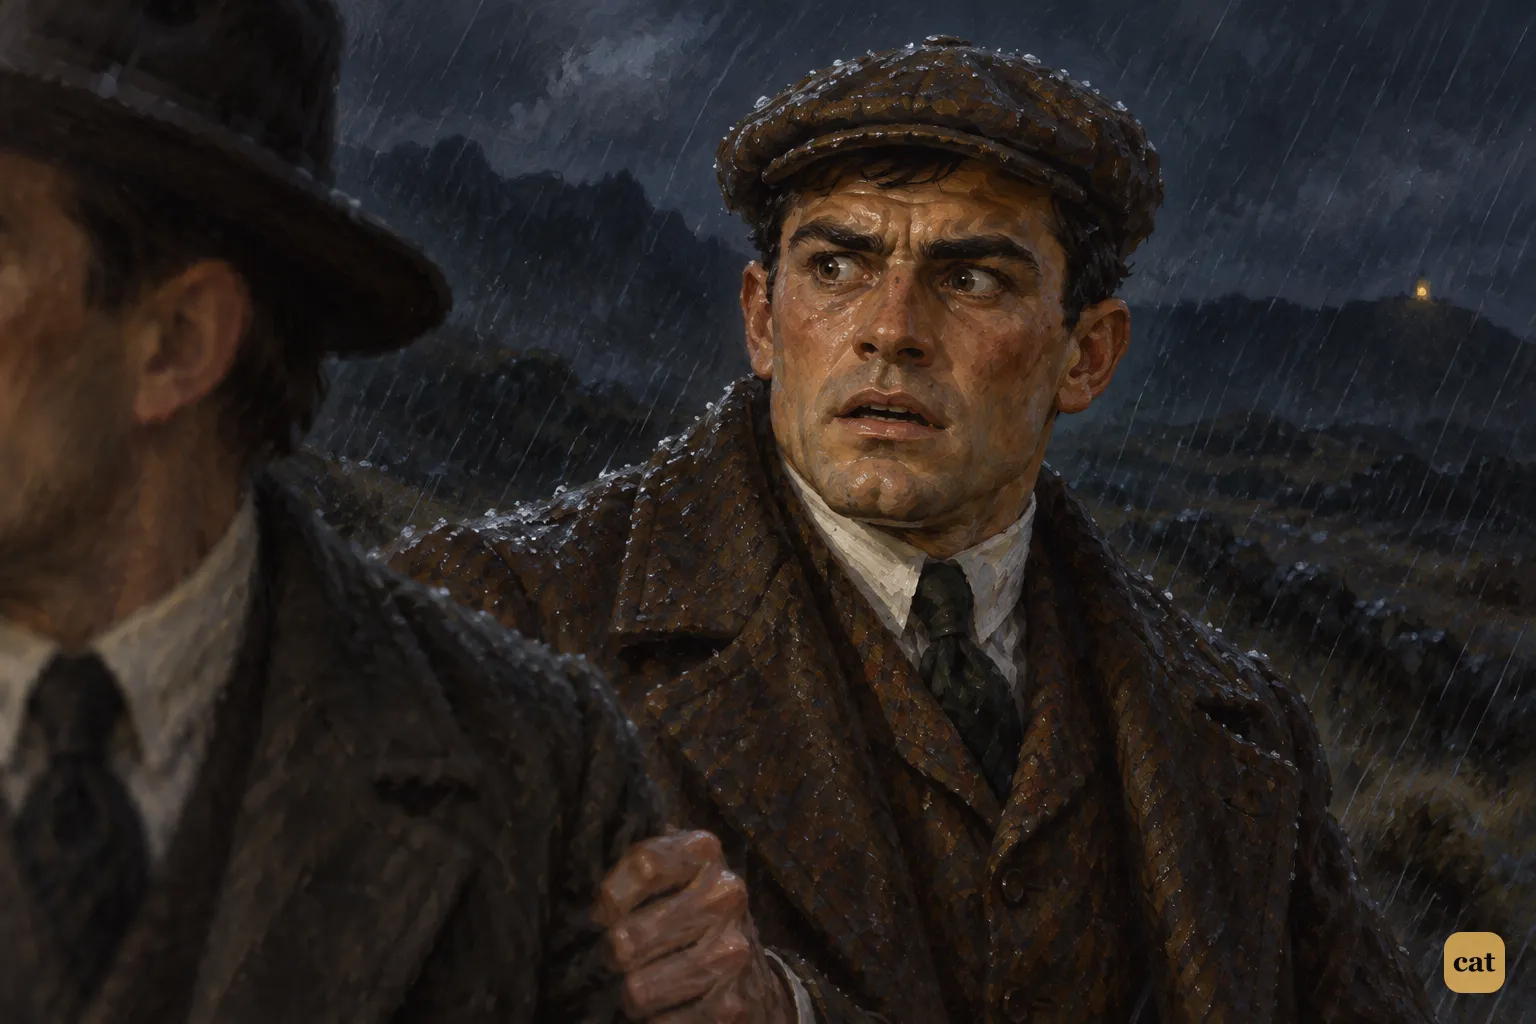
12·3 Sir Henry stands rigid on the rain-swept moor, chalk-white, gripping Watson's sleeve
In the text → -
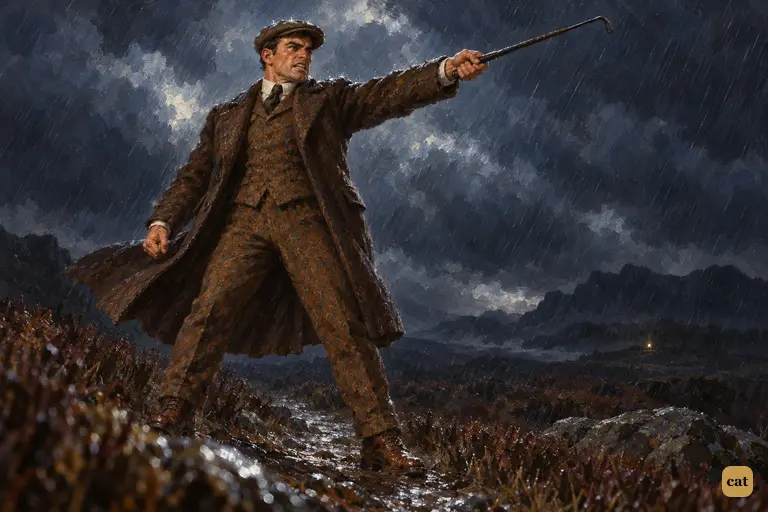
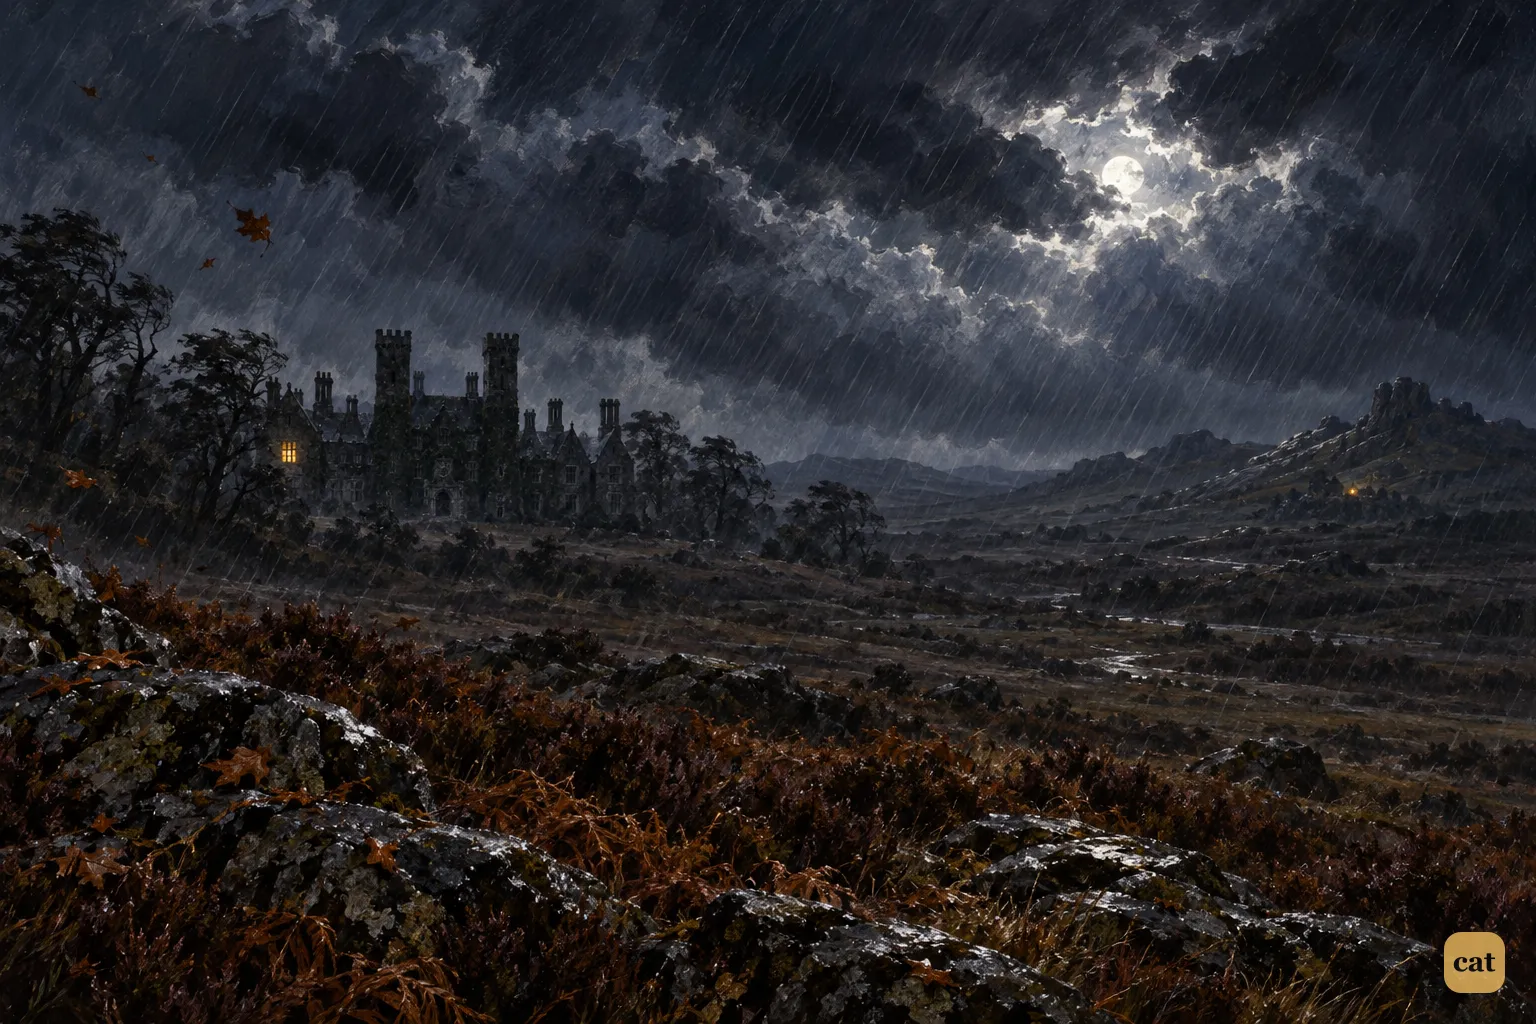
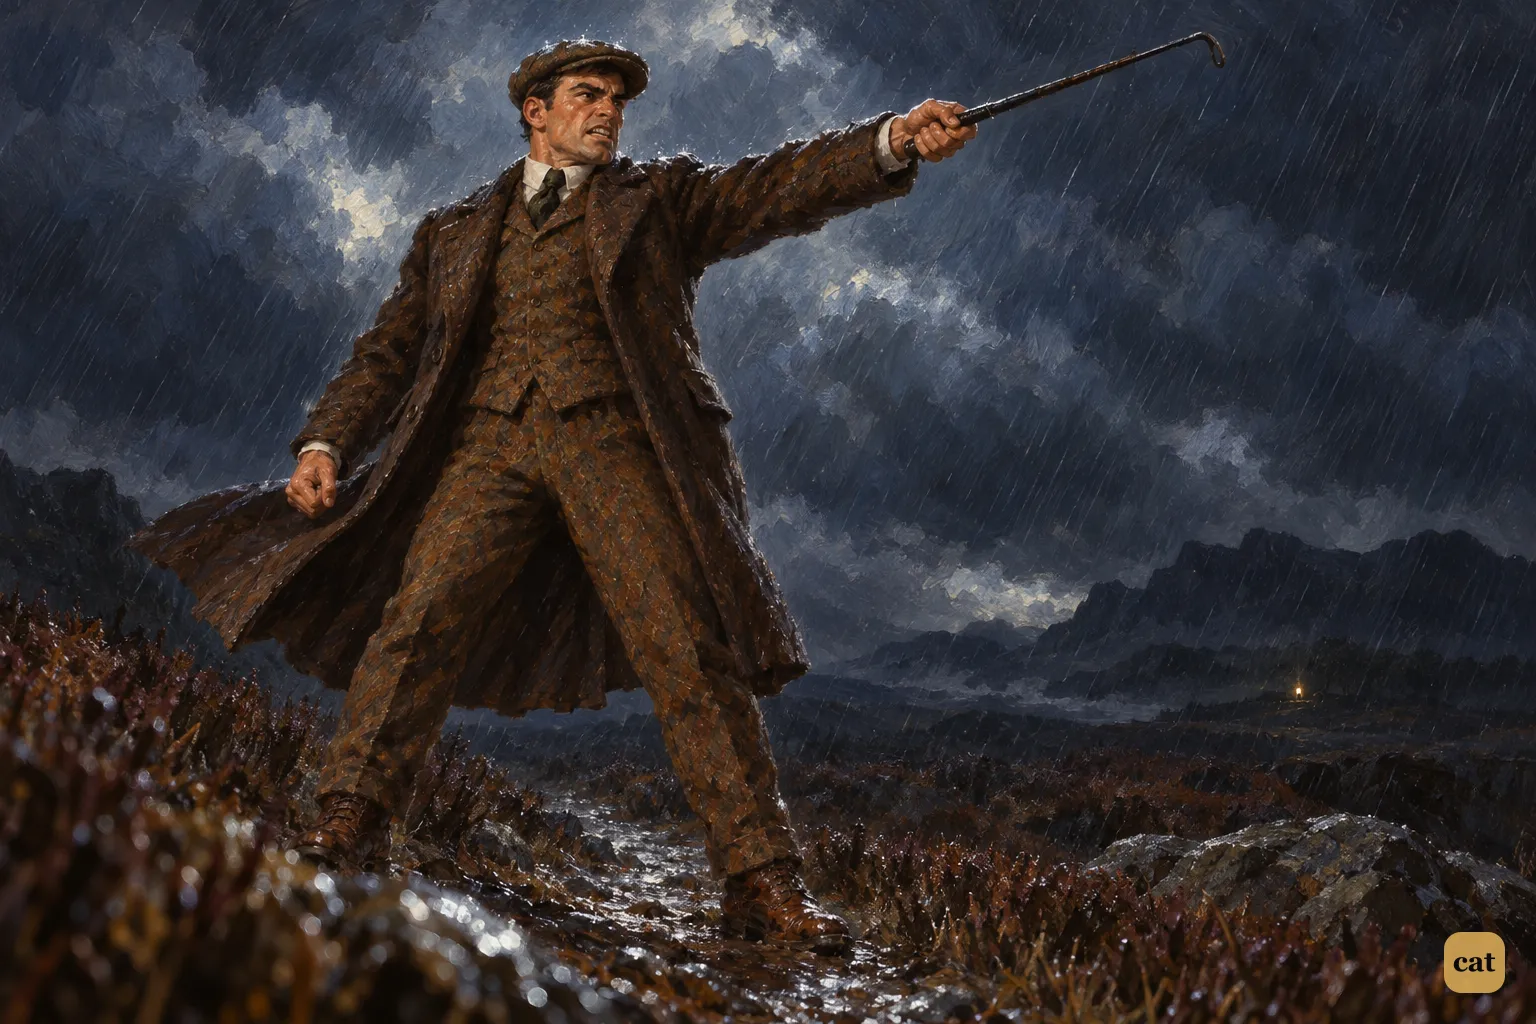
12·4 Sir Henry is still pale from the hound's cry, but he plants his feet on the rain-swept moor path.
In the text → -
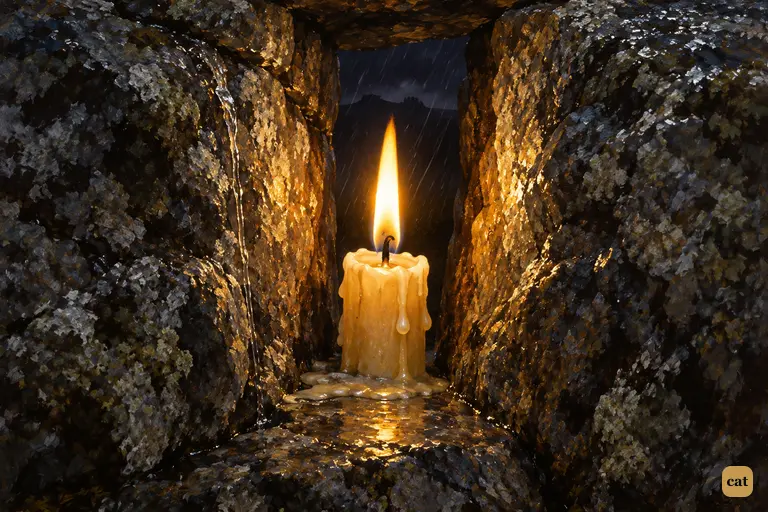
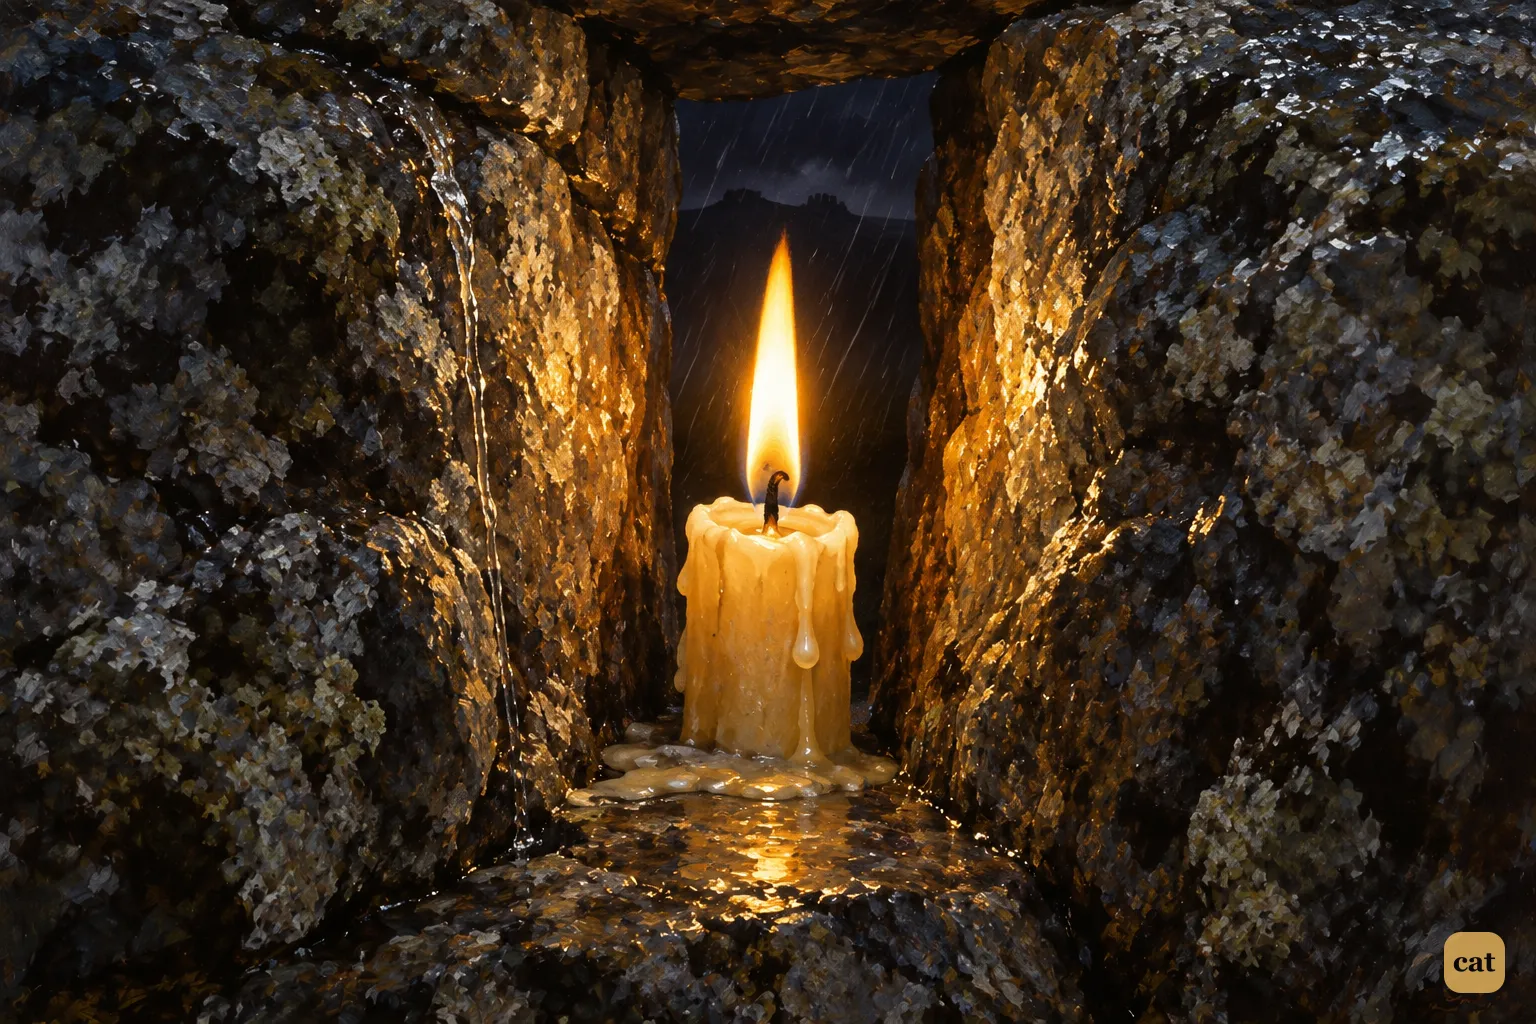
12·5 A single guttering candle burns in a crevice of wet granite on the night moor.
In the text → -
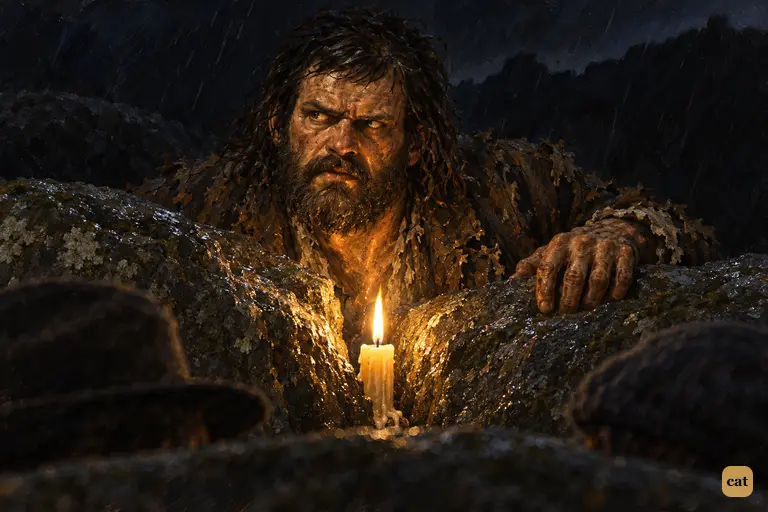
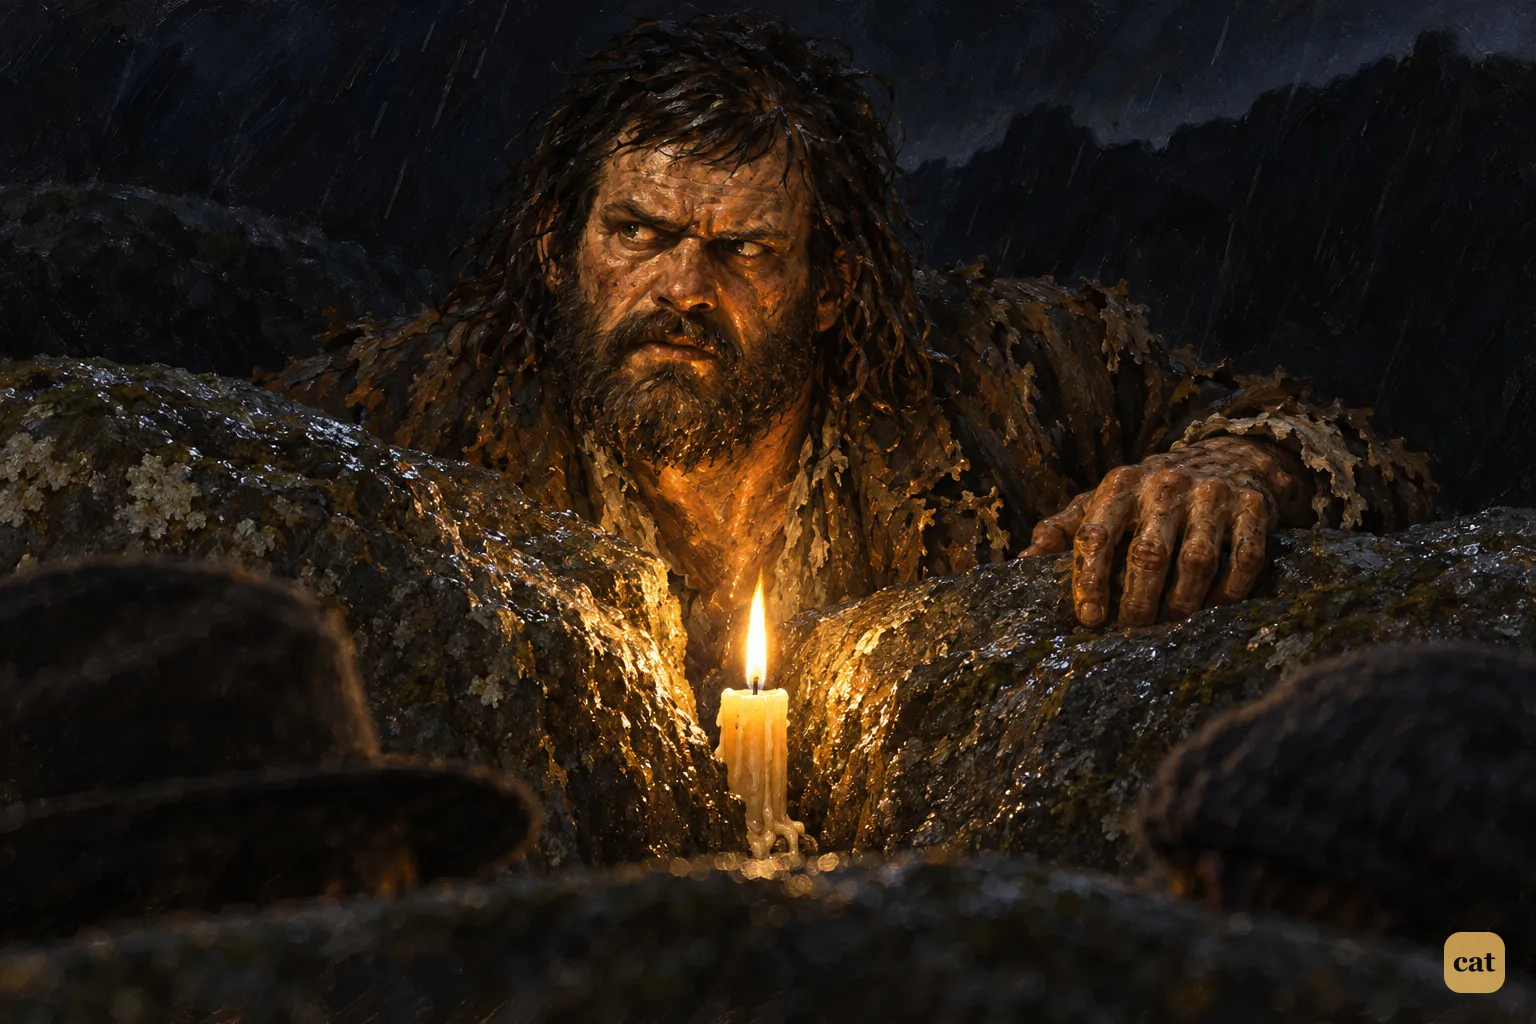
12·6 Selden's mire-smeared face rises over the rocks, lit from below by a hidden candle
In the text → -
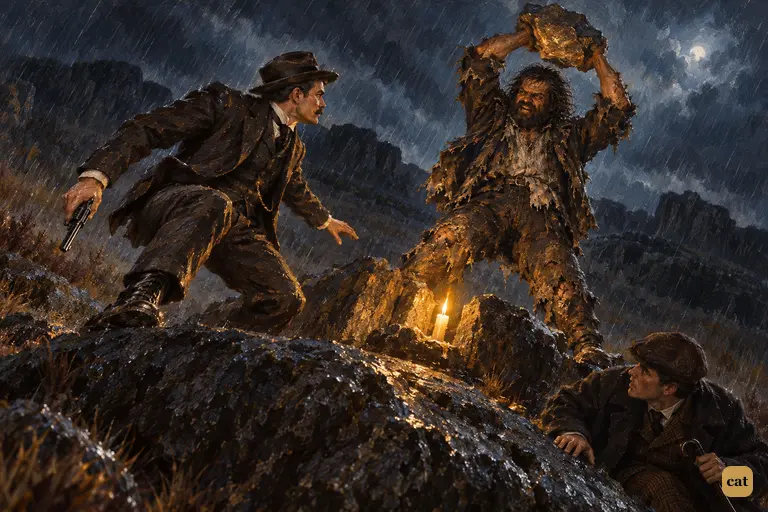
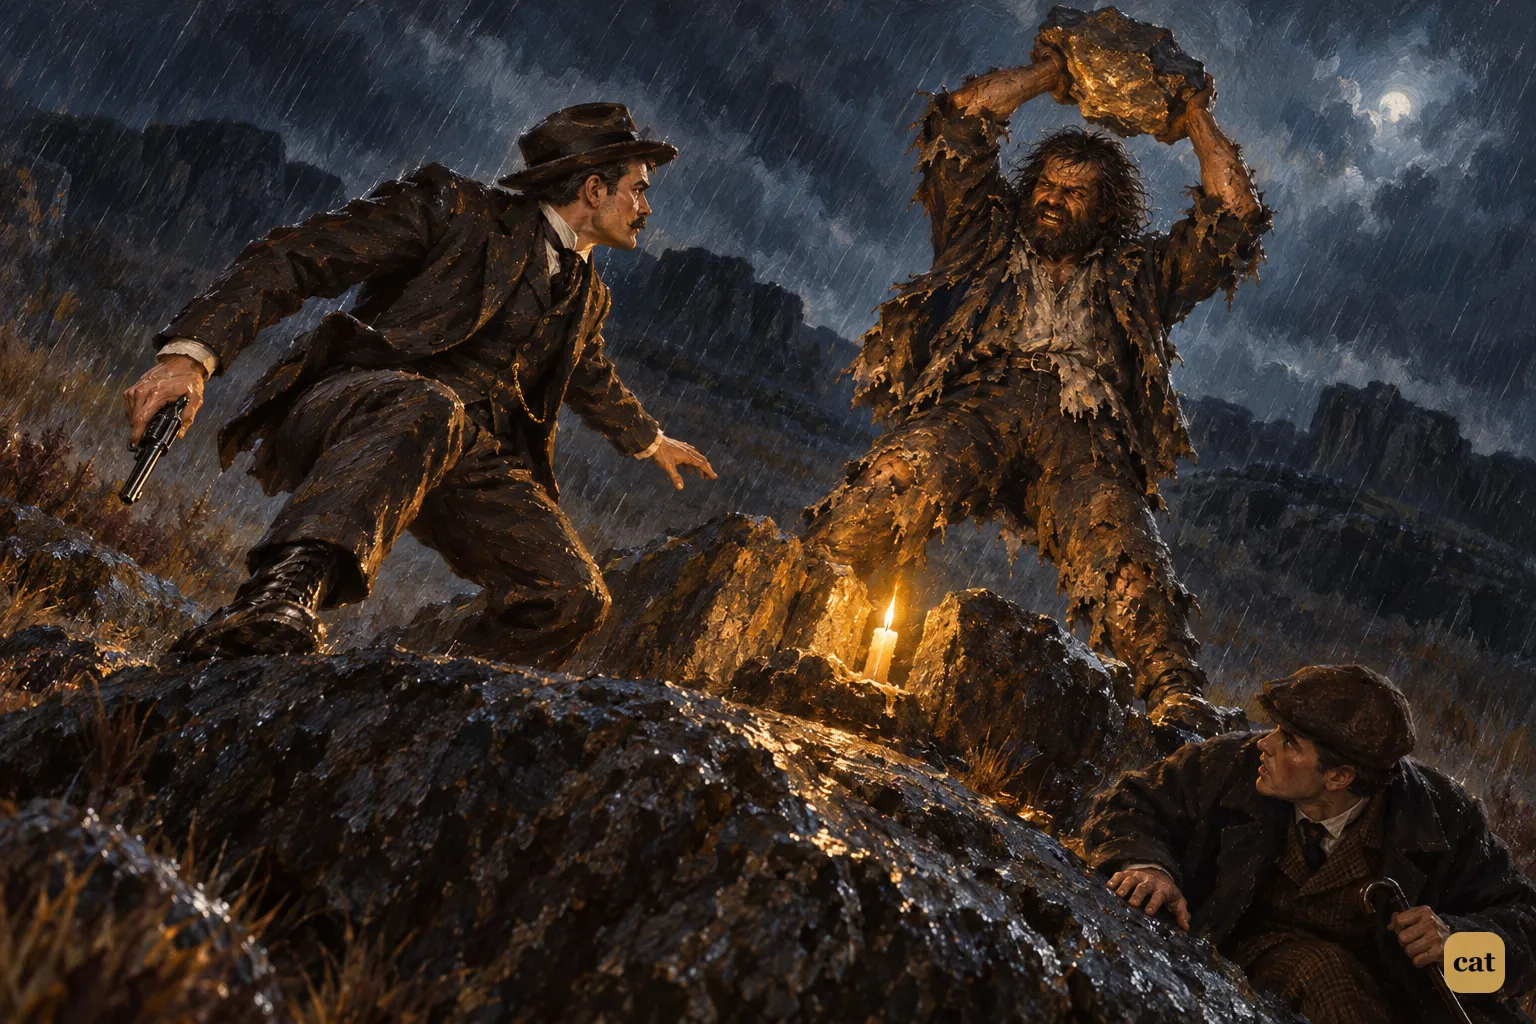
12·7 The ambush breaks on the dark, rainy moor.
In the text → -
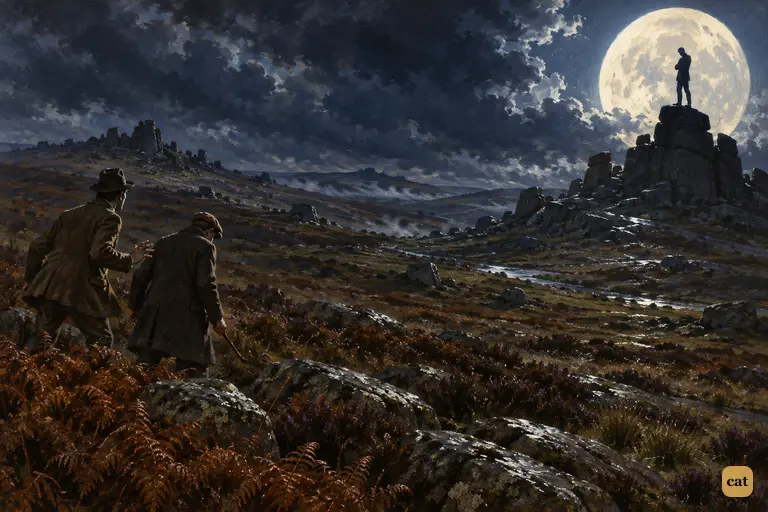
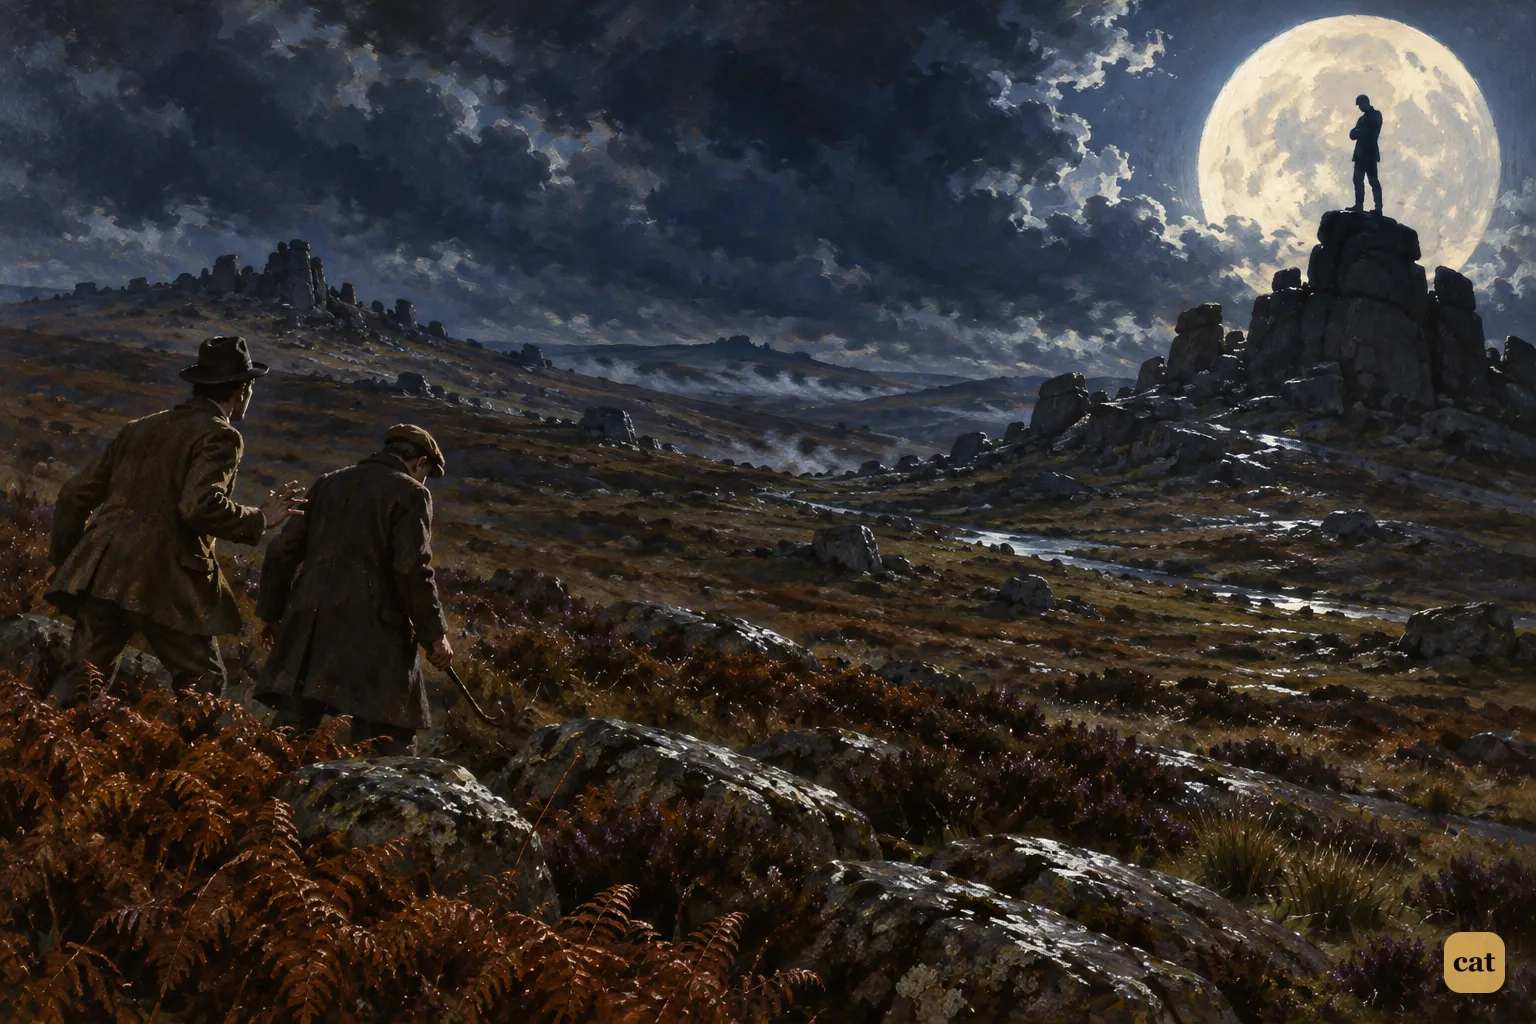
12·8 A tall black figure stands still on a granite tor against the low silver moon
In the text → -
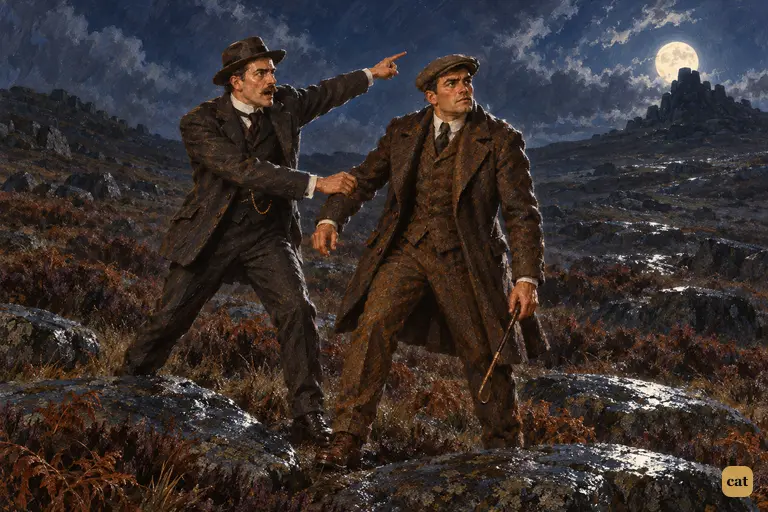
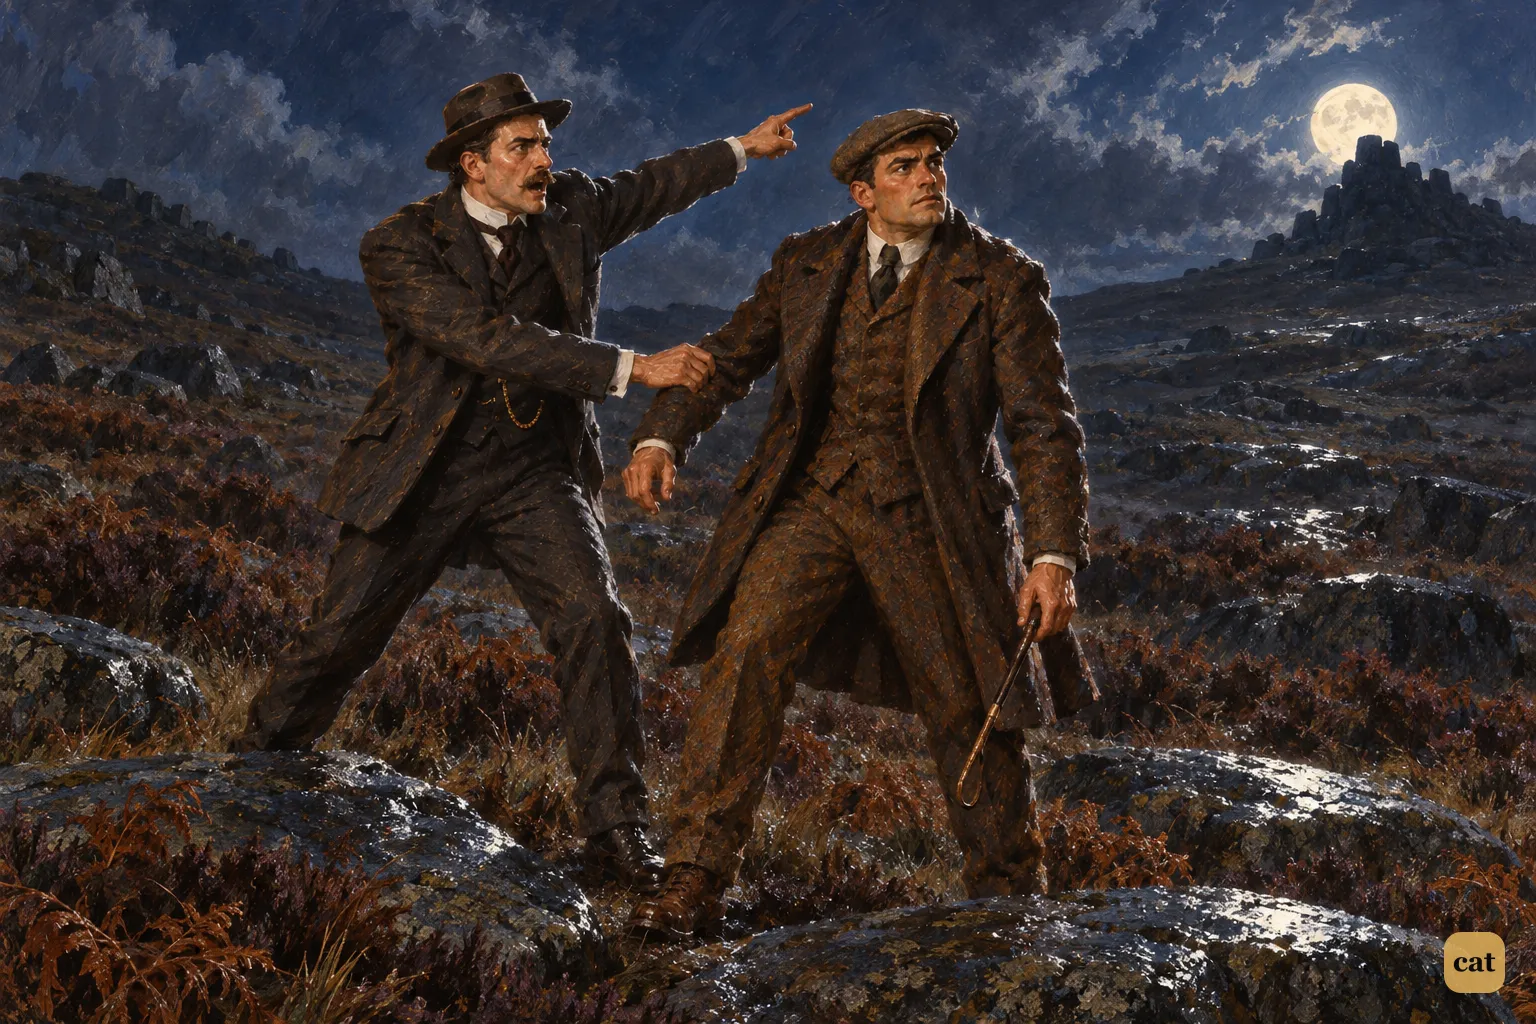
12·9 Watson points at the granite tor against the moon, but the man there is already gone
In the text →
Chapter 13 · 10 illustrations The Initials L. L. and the Man in the Huts
-
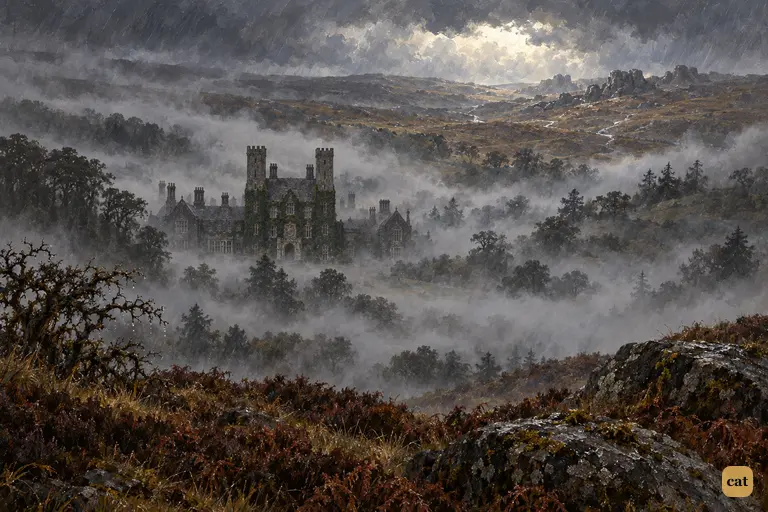
13·1 Fog fills the hollow around Baskerville Hall and only its two dark towers stand clear
In the text → -
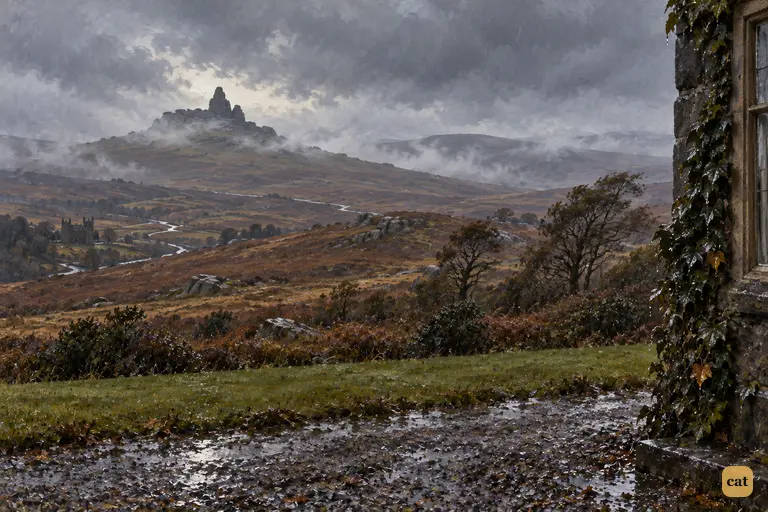
13·2 The fog lifts off the distant black tor where the stranger stood, and its summit is bare
In the text → -
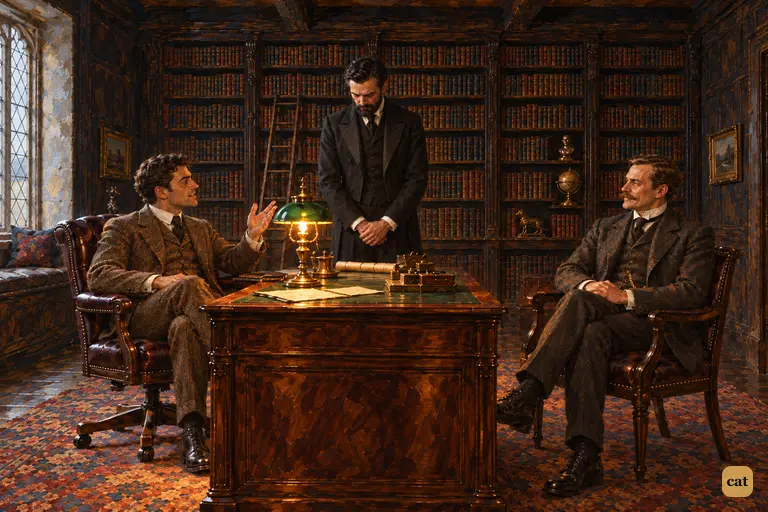
13·3 In his foggy study, Sir Henry waves the matter away and agrees to keep Selden's secret.
In the text → -
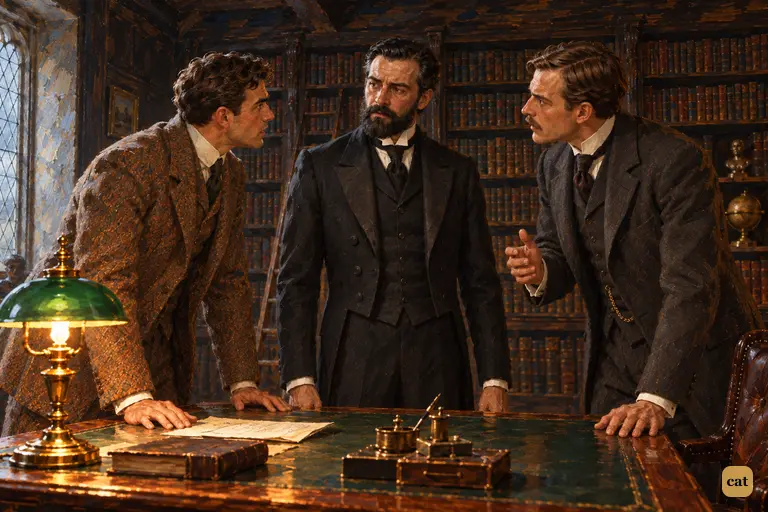
13·4 Barrymore reveals Sir Charles went to the gate to meet a woman with initials L. L.
In the text → -
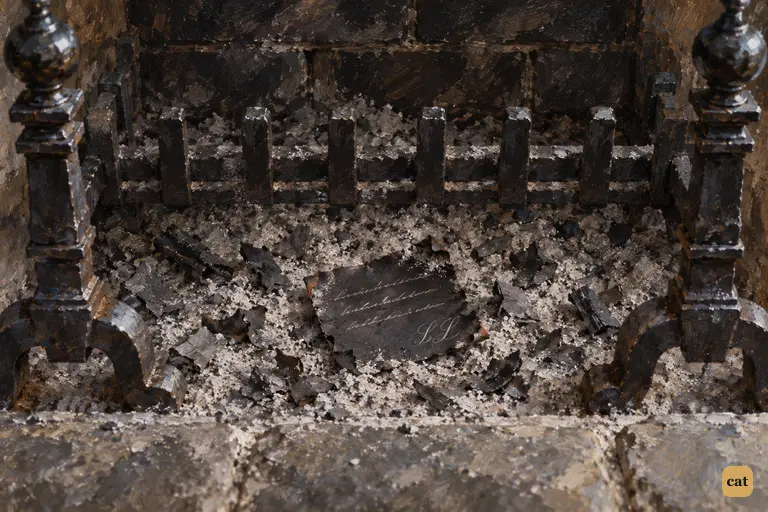
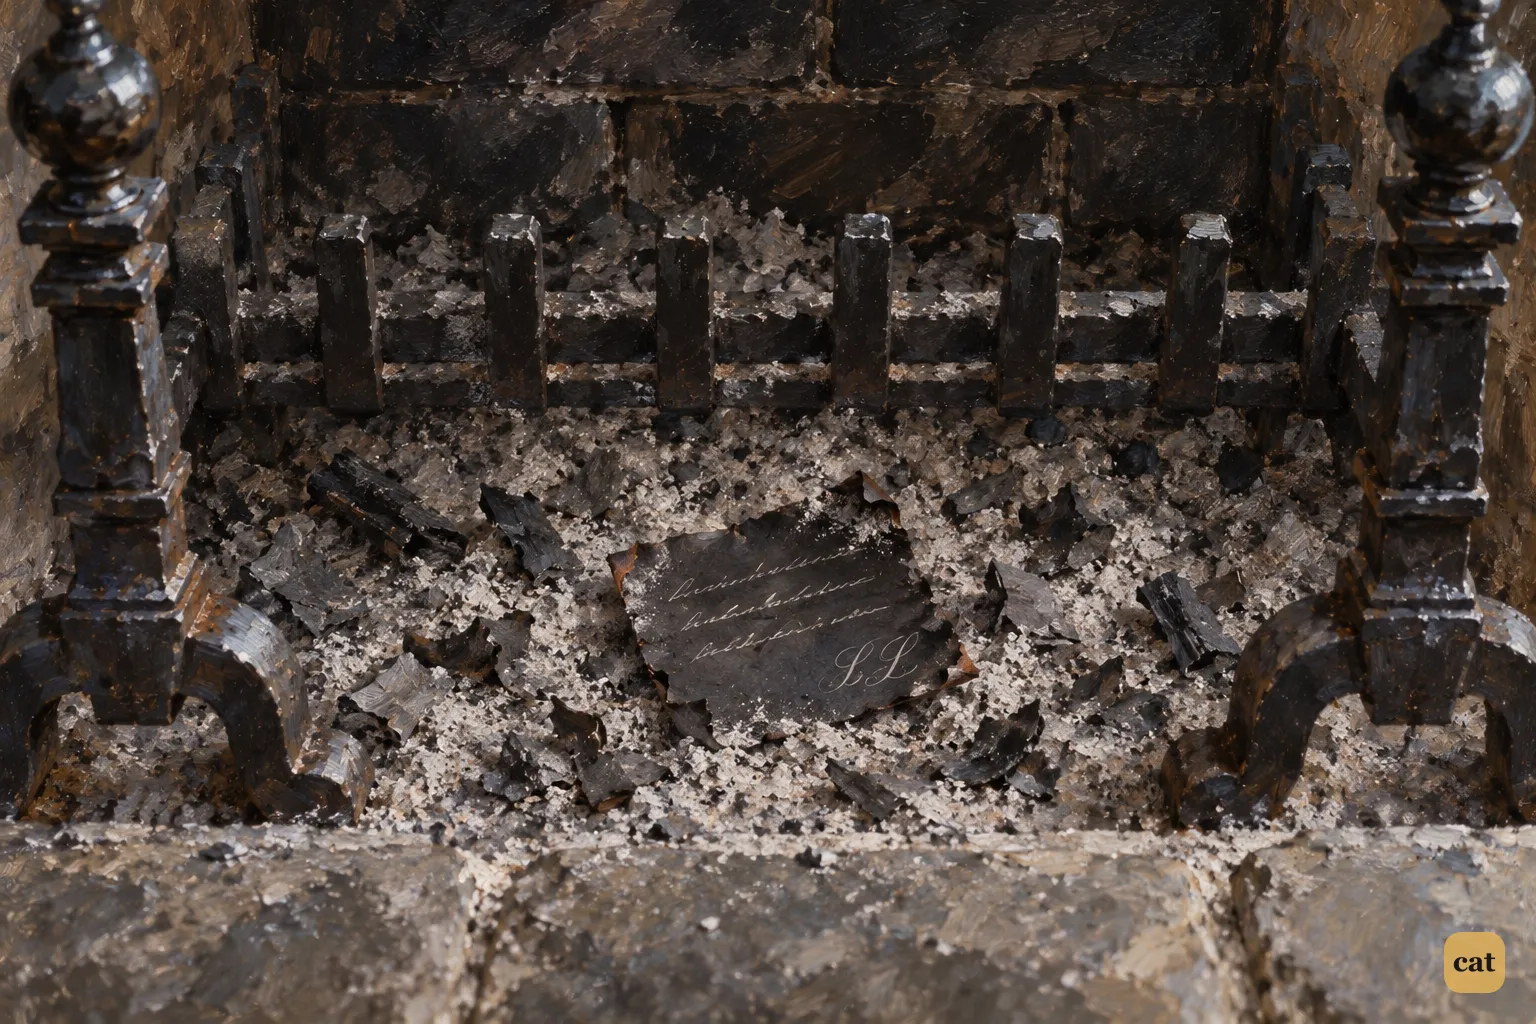
13·5 One burnt slip of a woman's letter survives in the cold grate of Sir Charles's study
In the text → -
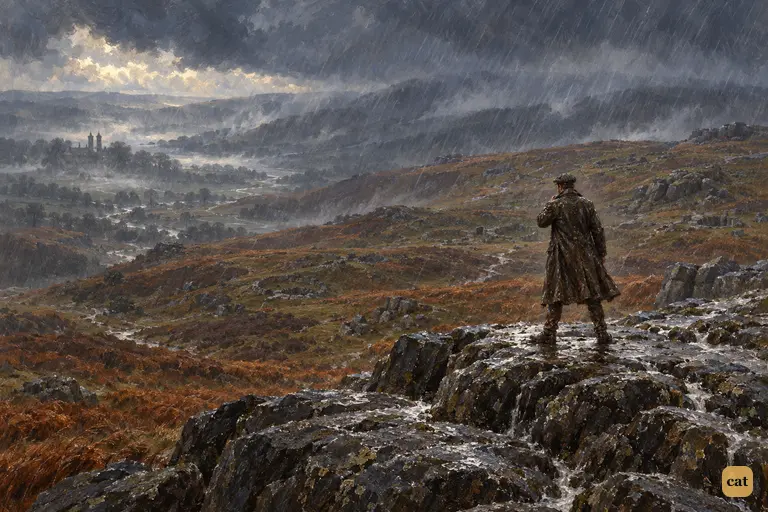
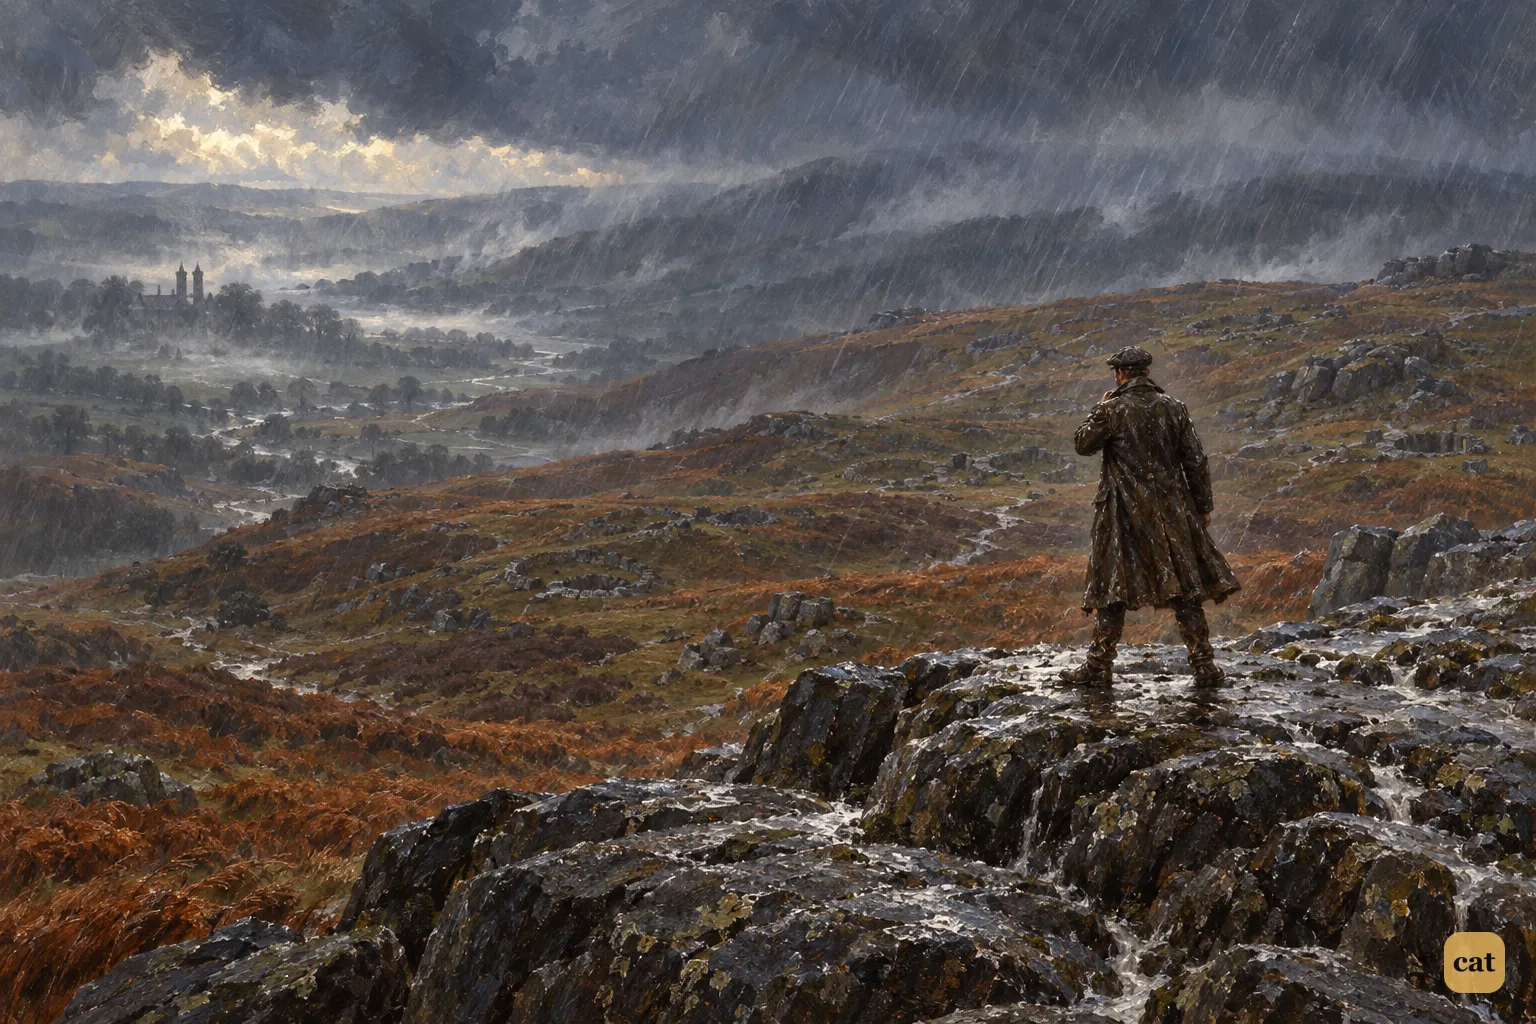
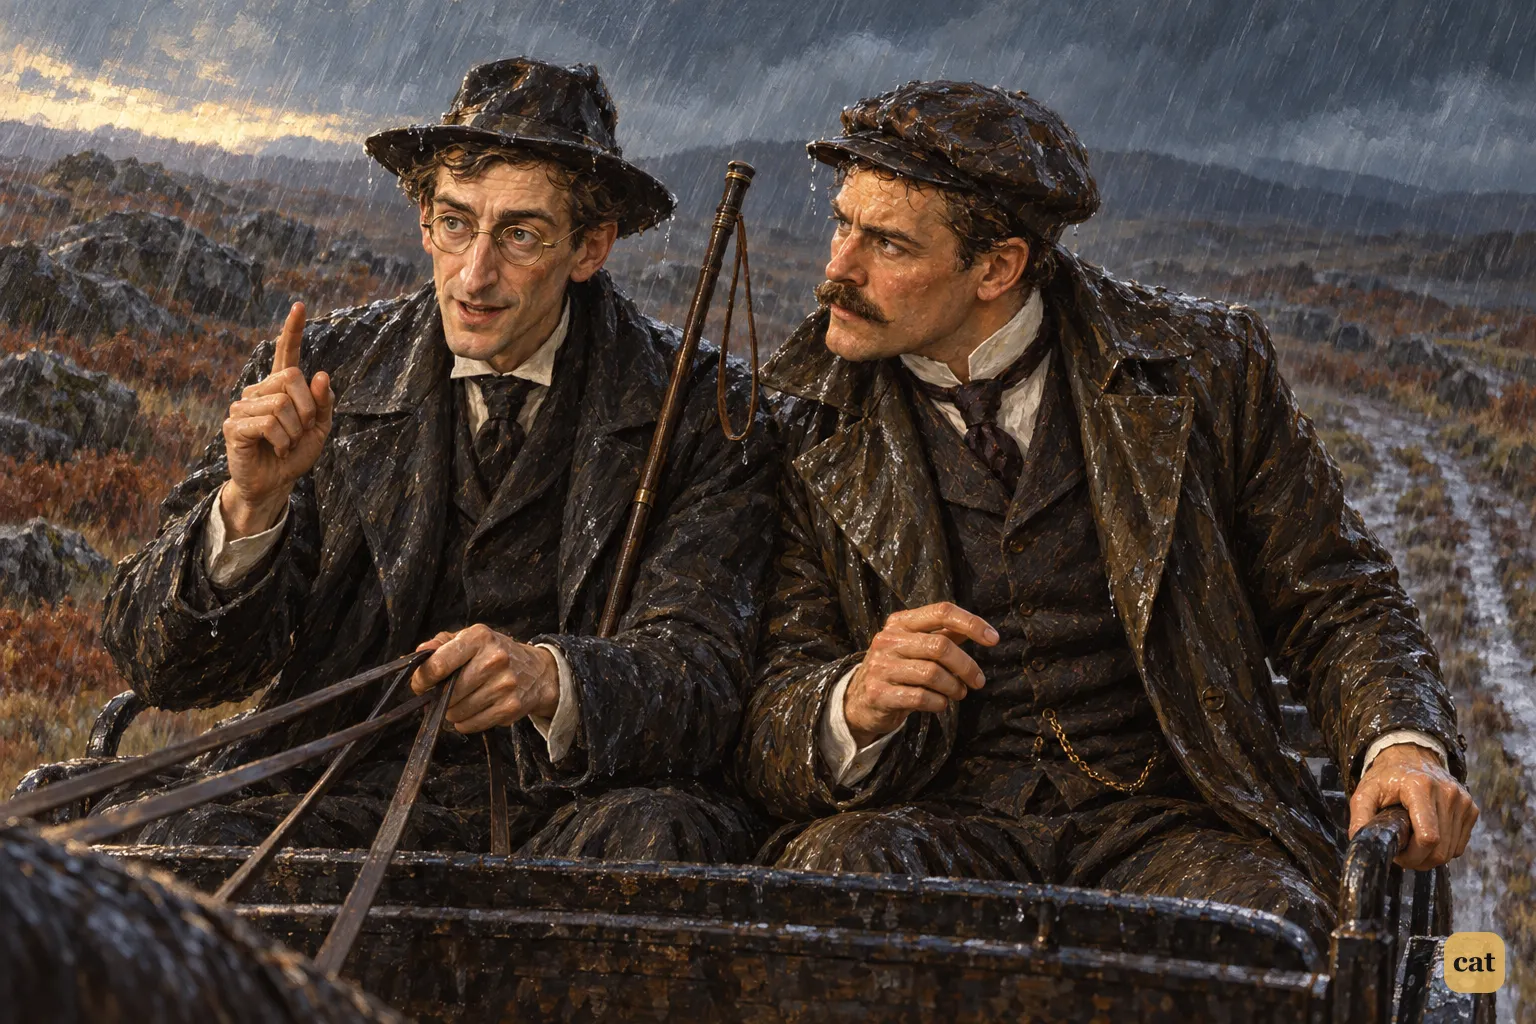
13·6 Watson stands alone in the evening downpour on the black tor where he saw the watcher
In the text → -
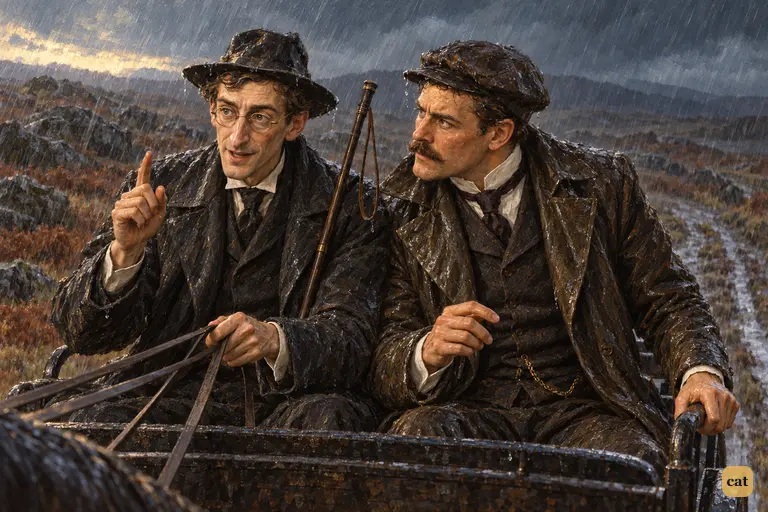
13·7 Driving the dog-cart through the wet dusk, Dr. Mortimer mentions Laura Lyons
In the text → -
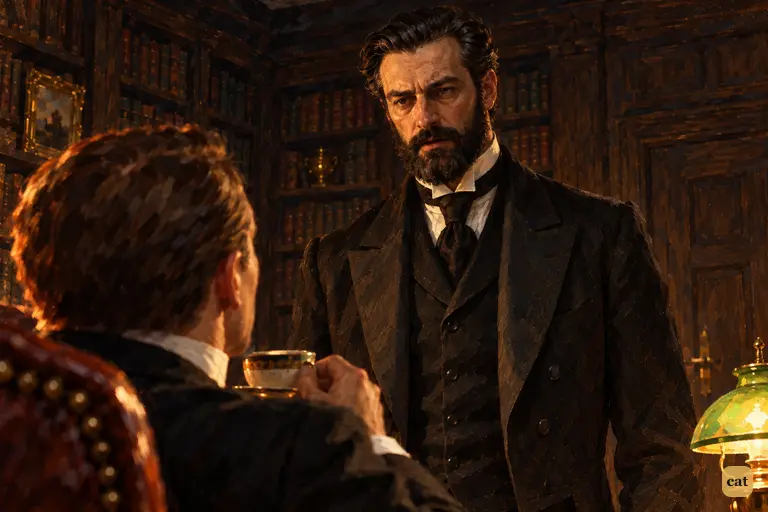
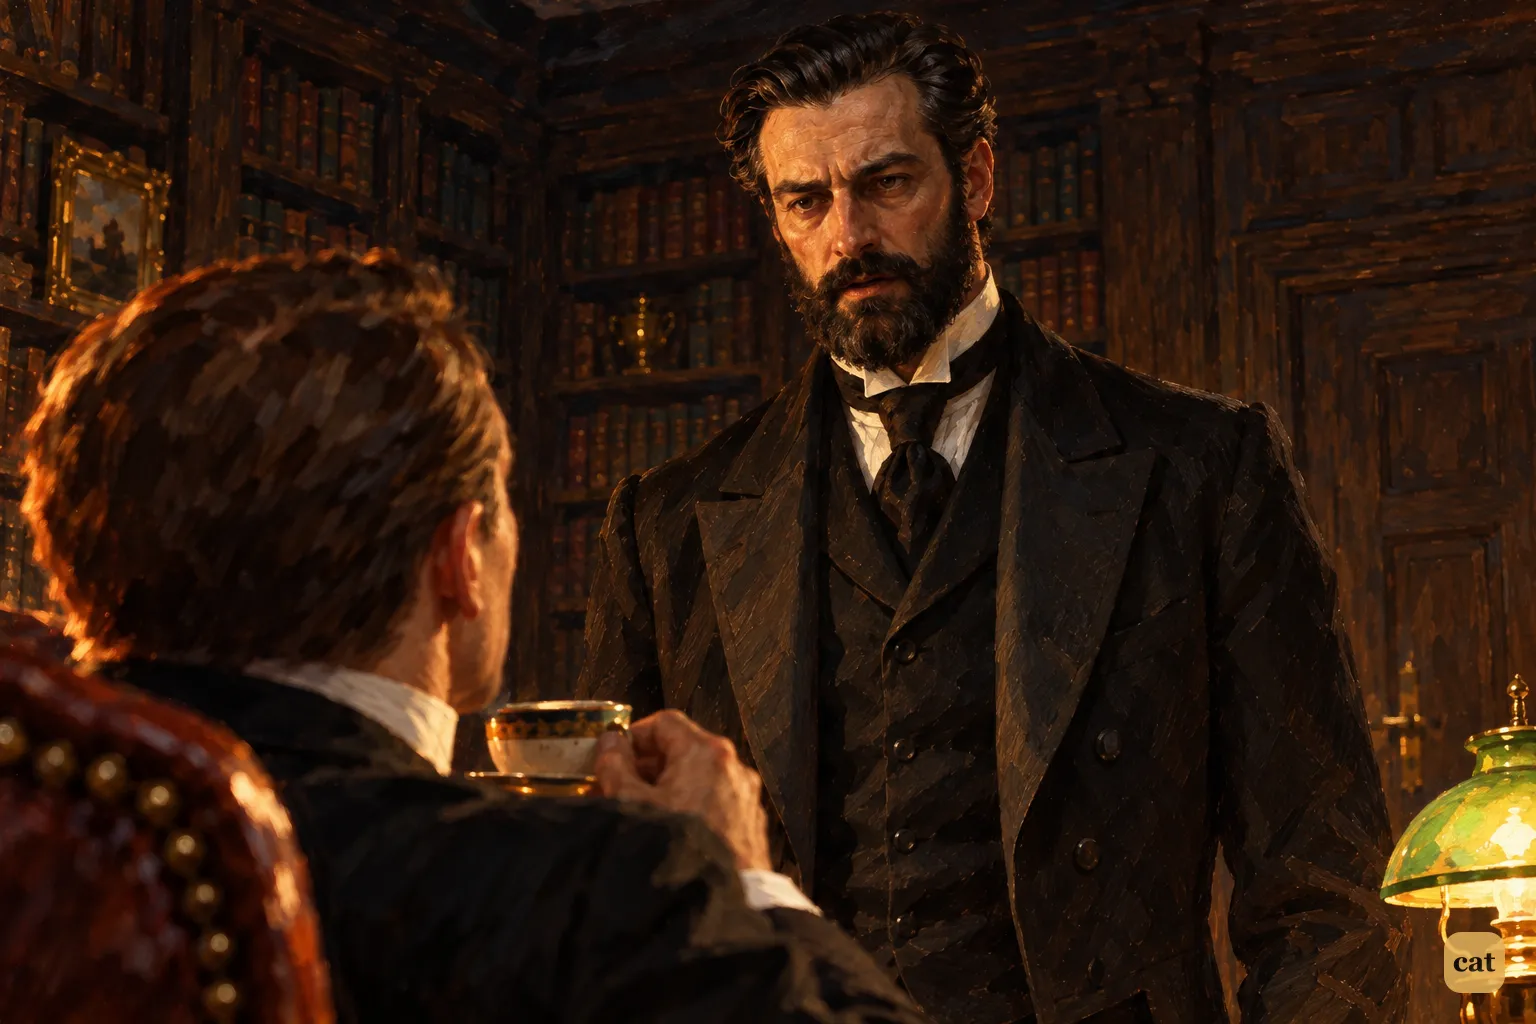
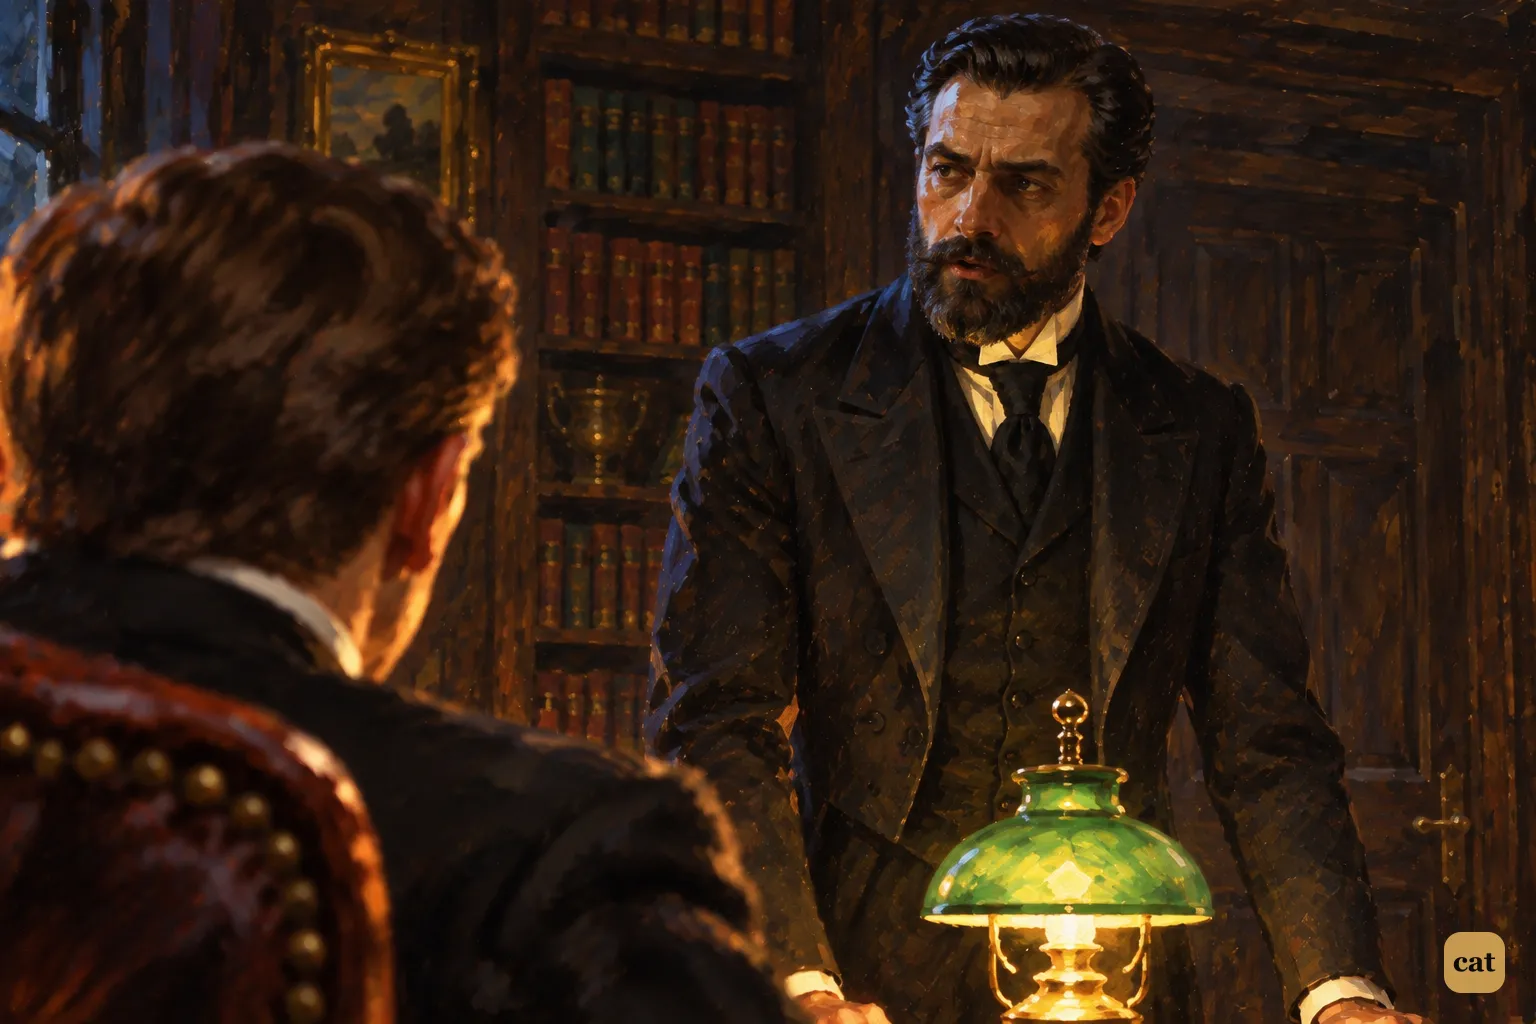
13·8 In the lamplit library, Barrymore confirms another man is hiding on the moor
In the text → -
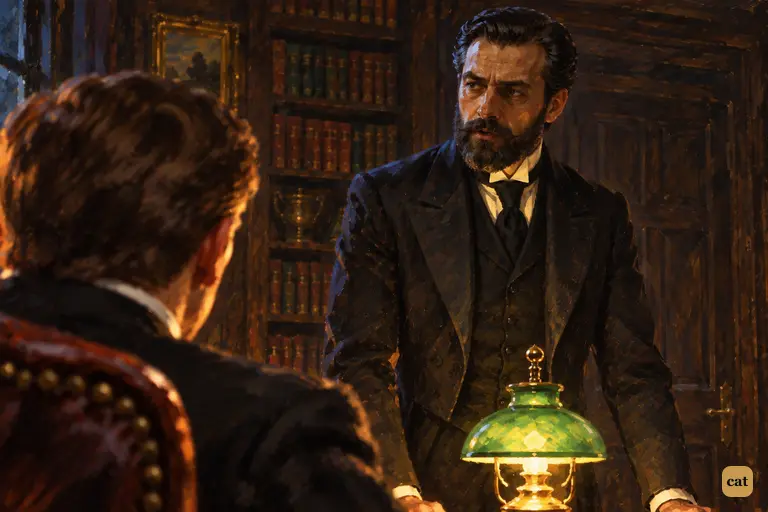
13·9 Barrymore says the stranger lives among the old stone huts on the hillside
In the text → -
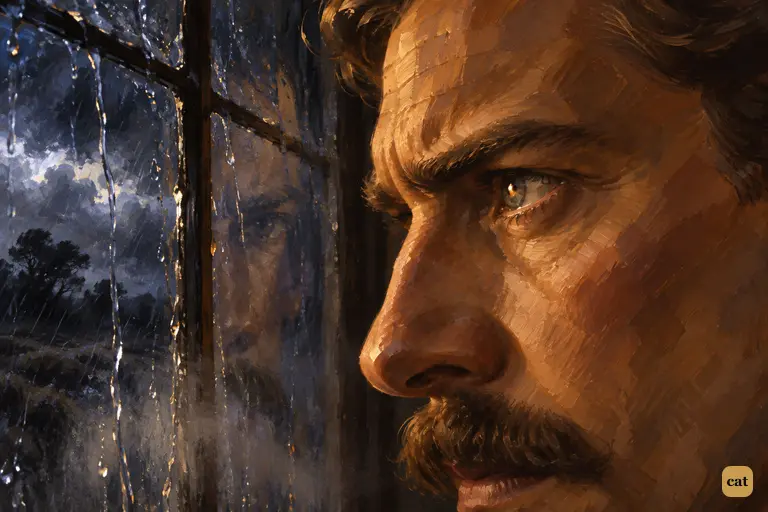
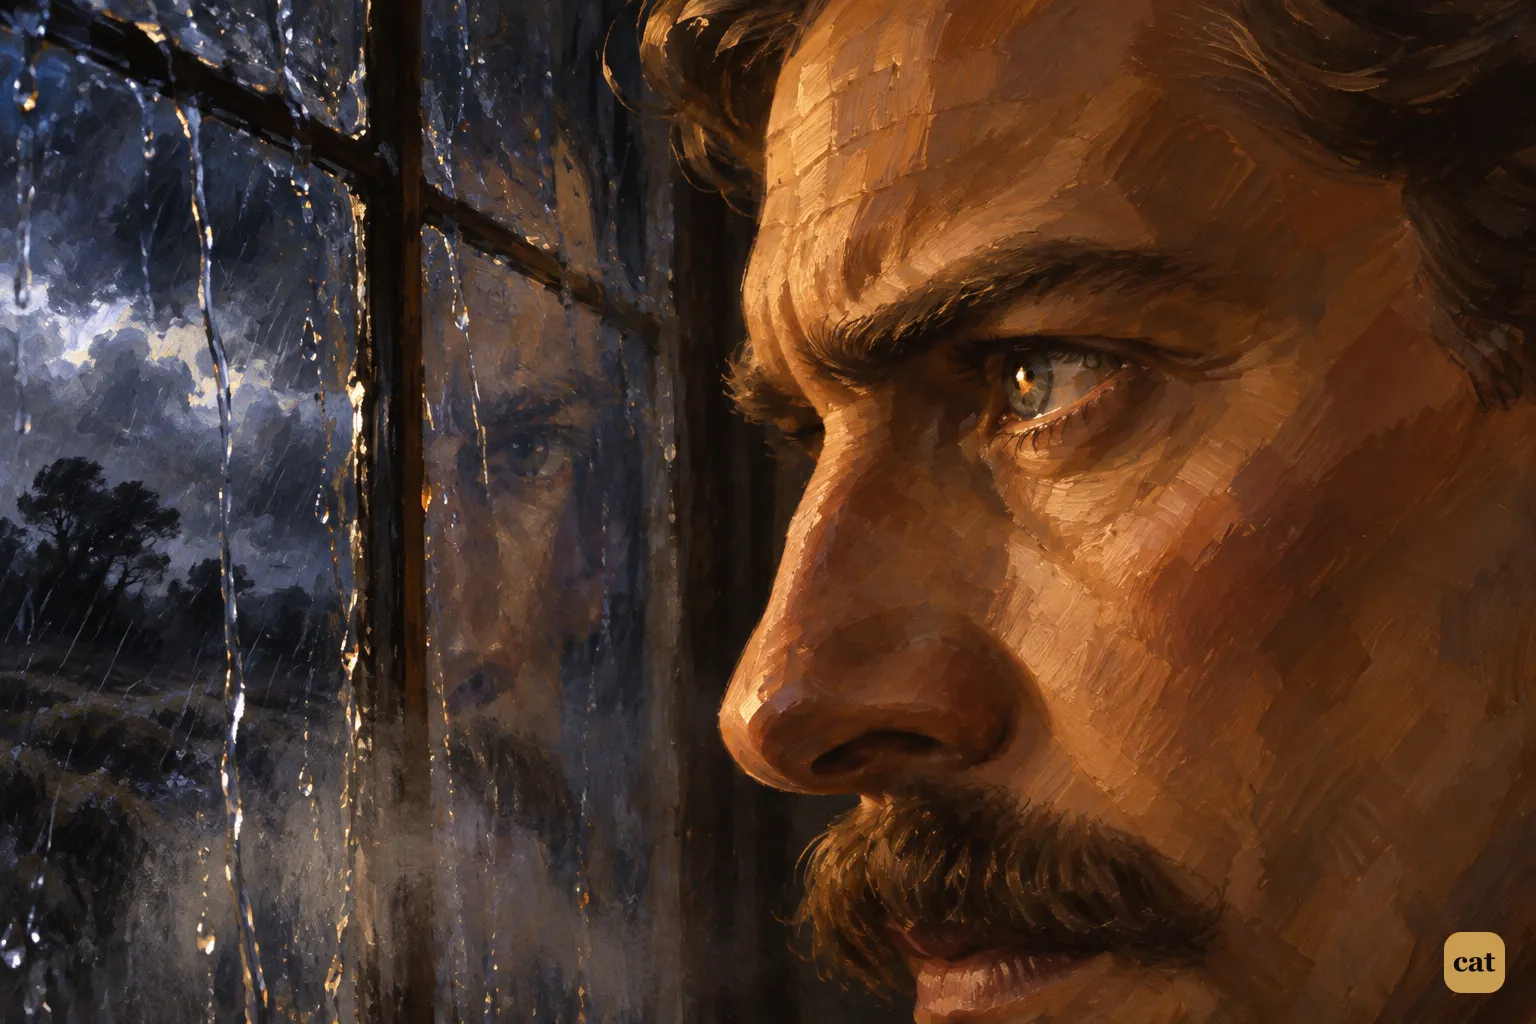
13·10 At the rain-lashed library window, Watson swears to reach the heart of the mystery
In the text →
Chapter 14 · 11 illustrations The Hut on the Moor and the Familiar Voice
-
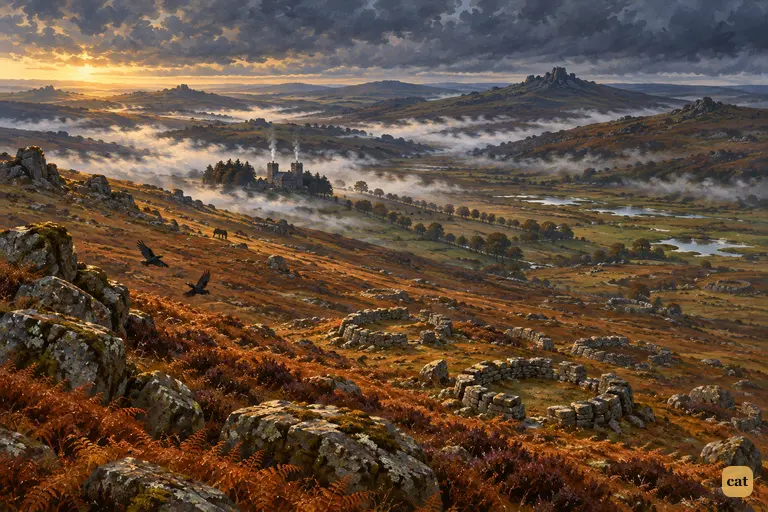
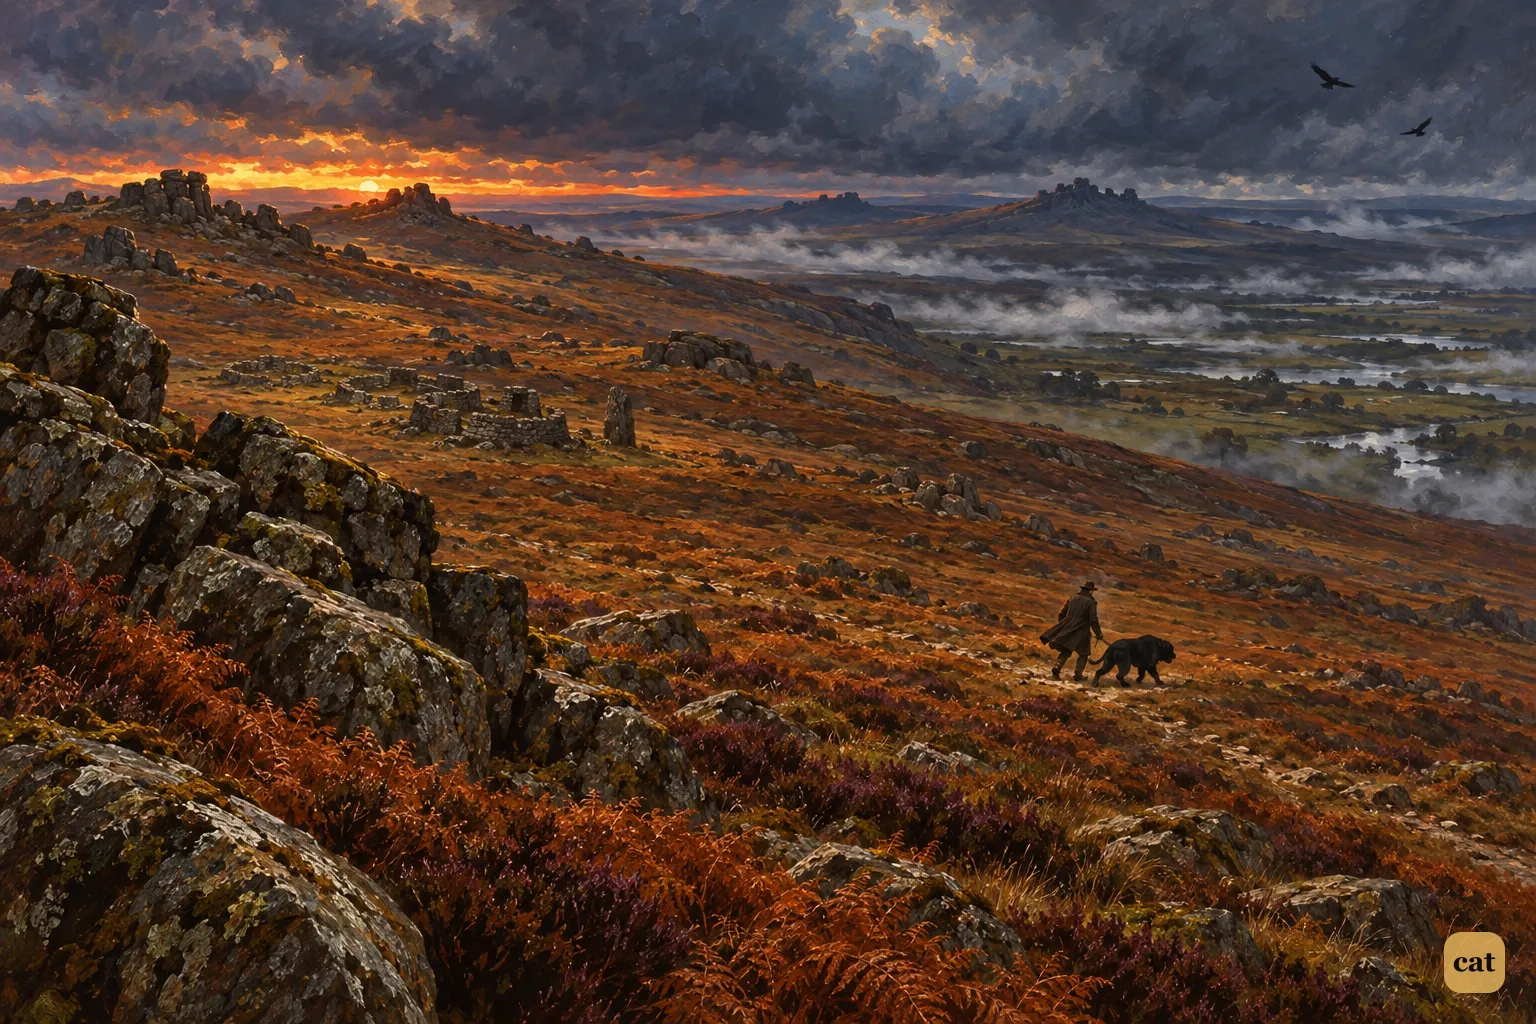
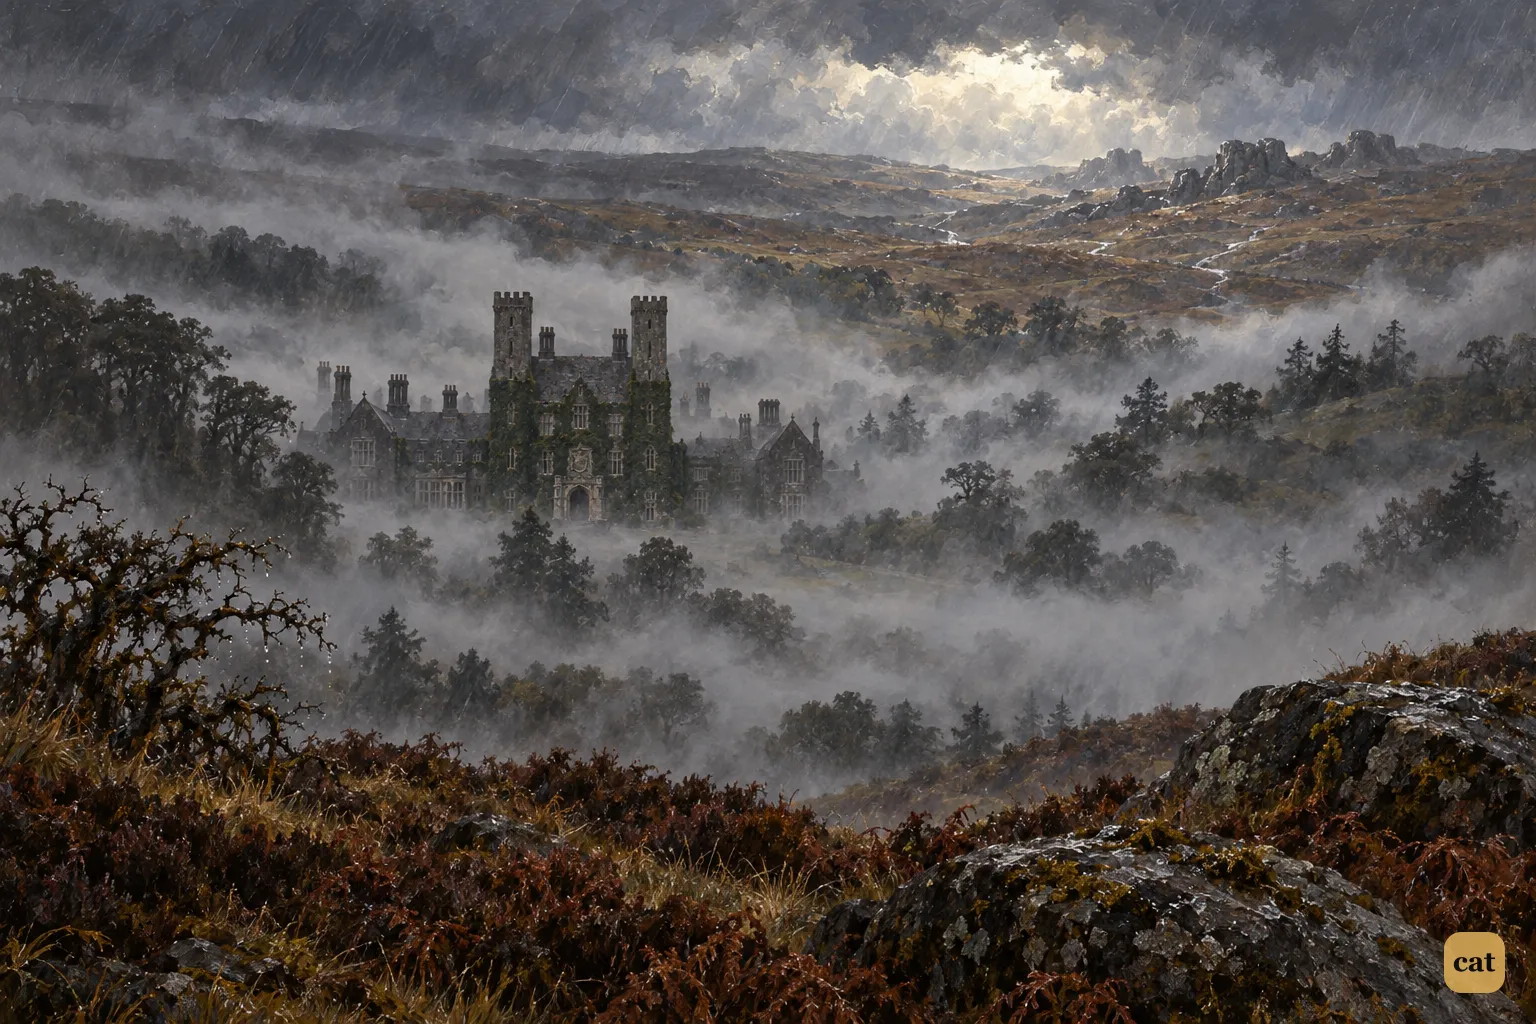
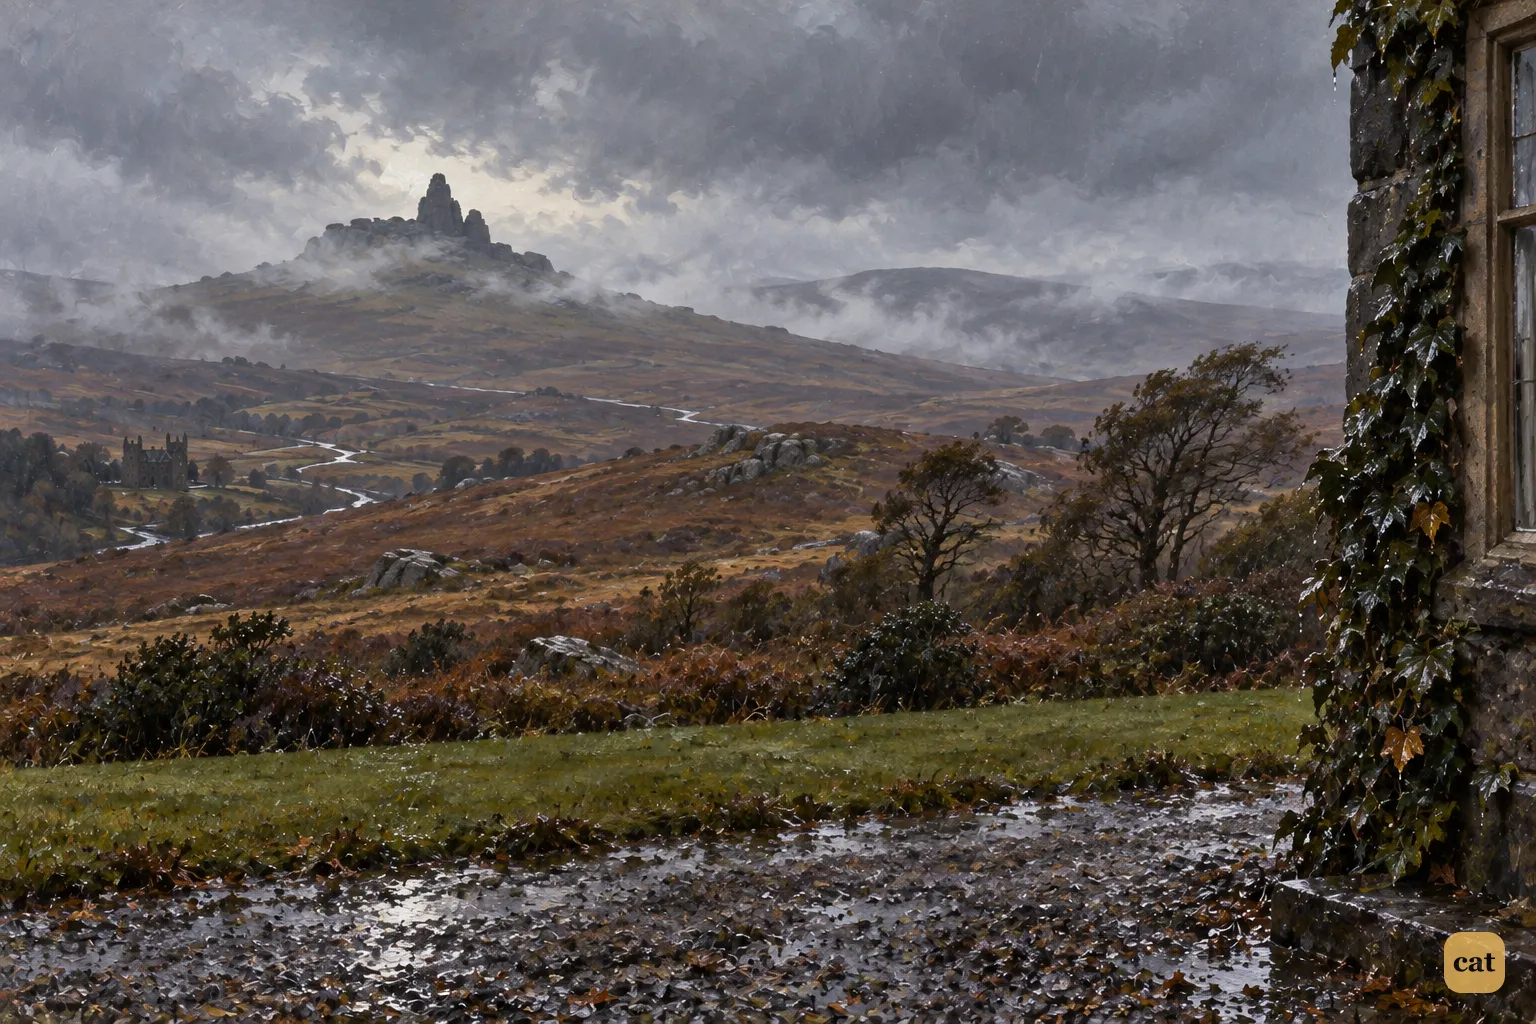
14·1 Cold dawn over the moor: the Hall is tiny in its misty hollow, stone huts on the hills
In the text → -
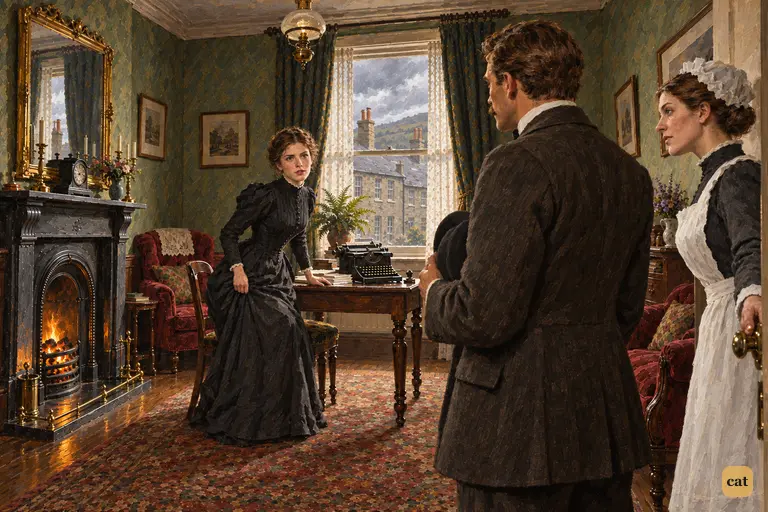
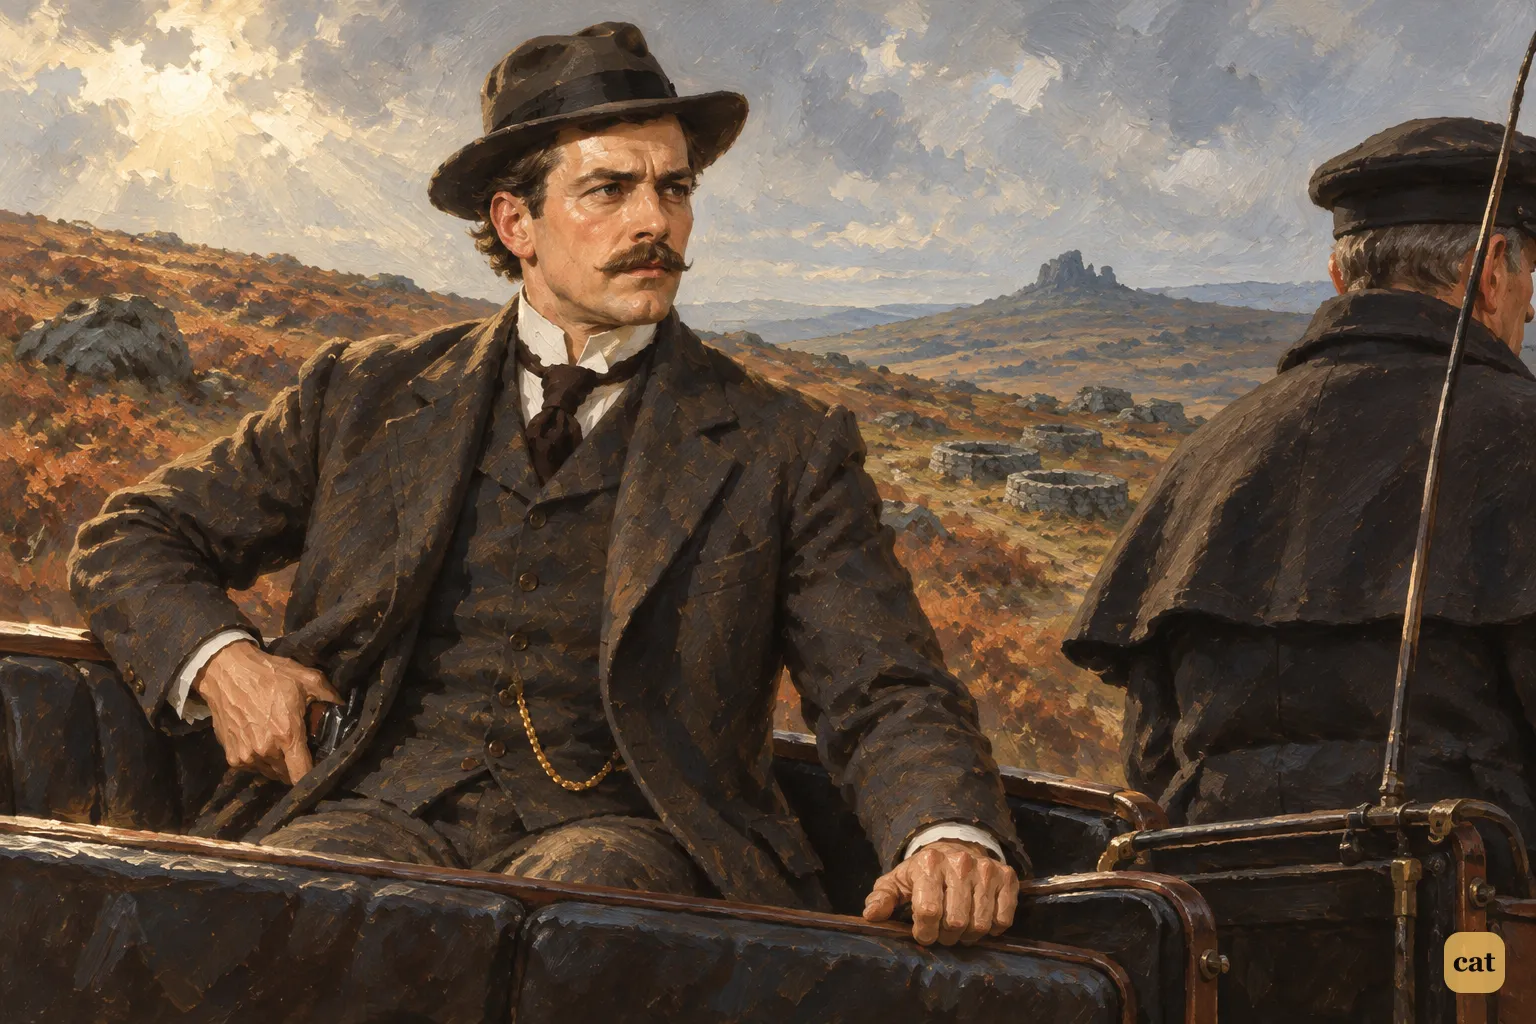
14·2 Watson steps into the sitting-room in Coombe Tracey.
In the text → -
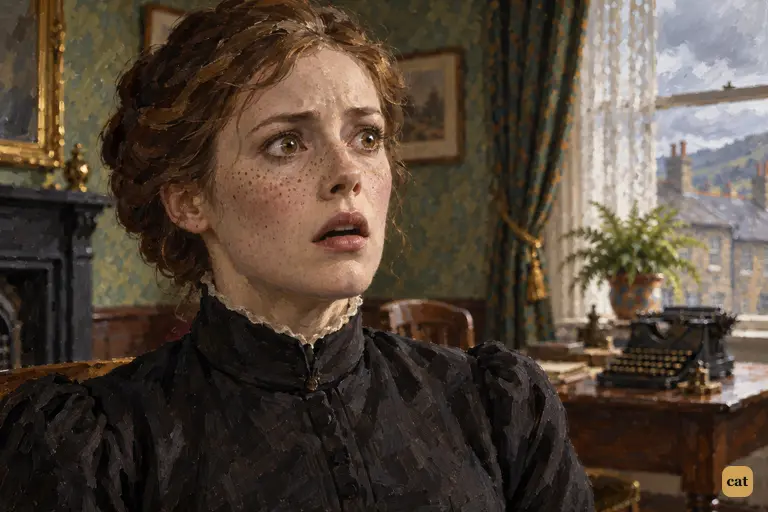
14·3 At the words "the very day of Sir Charles's death," the flush drains from Mrs. Lyons's face.
In the text → -
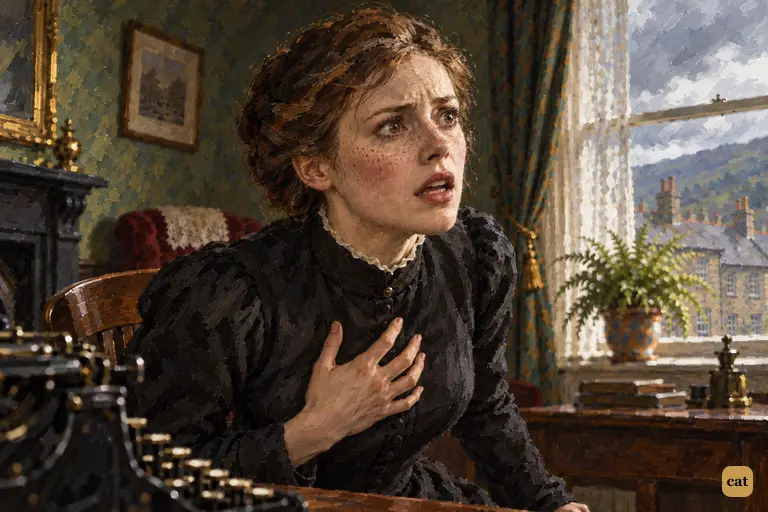
14·4 Mrs. Lyons's denial breaks at last.
In the text → -
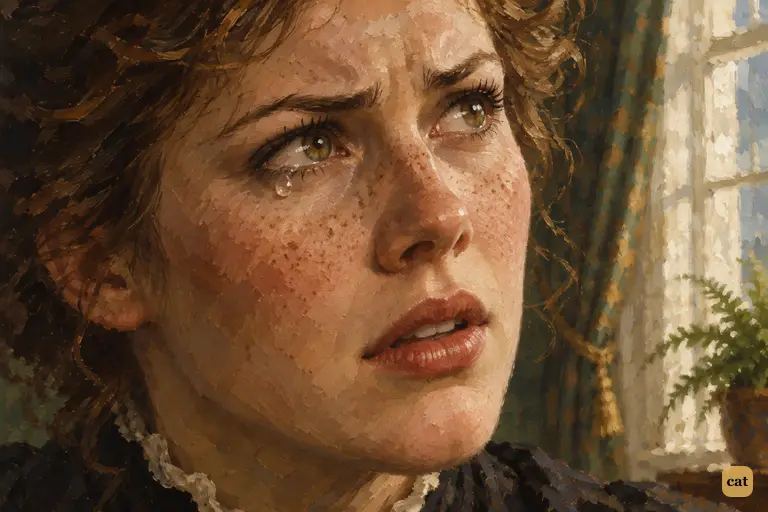
14·5 Laura Lyons lifts her tear-filled eyes to Watson, saying freedom meant everything
In the text → -
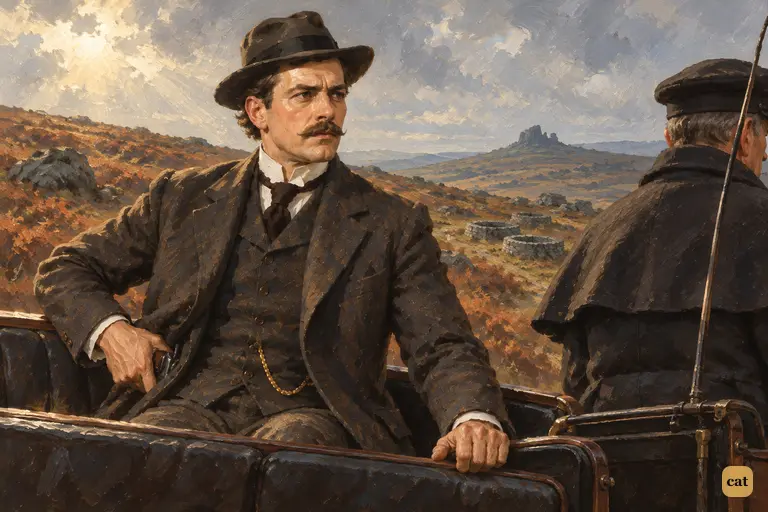
14·6 Riding back across the moor, Watson fixes his eyes on the distant Black Tor
In the text → -
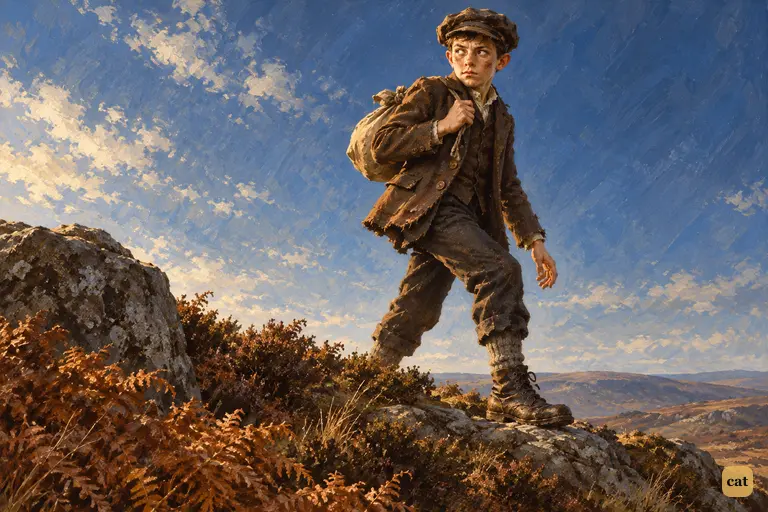
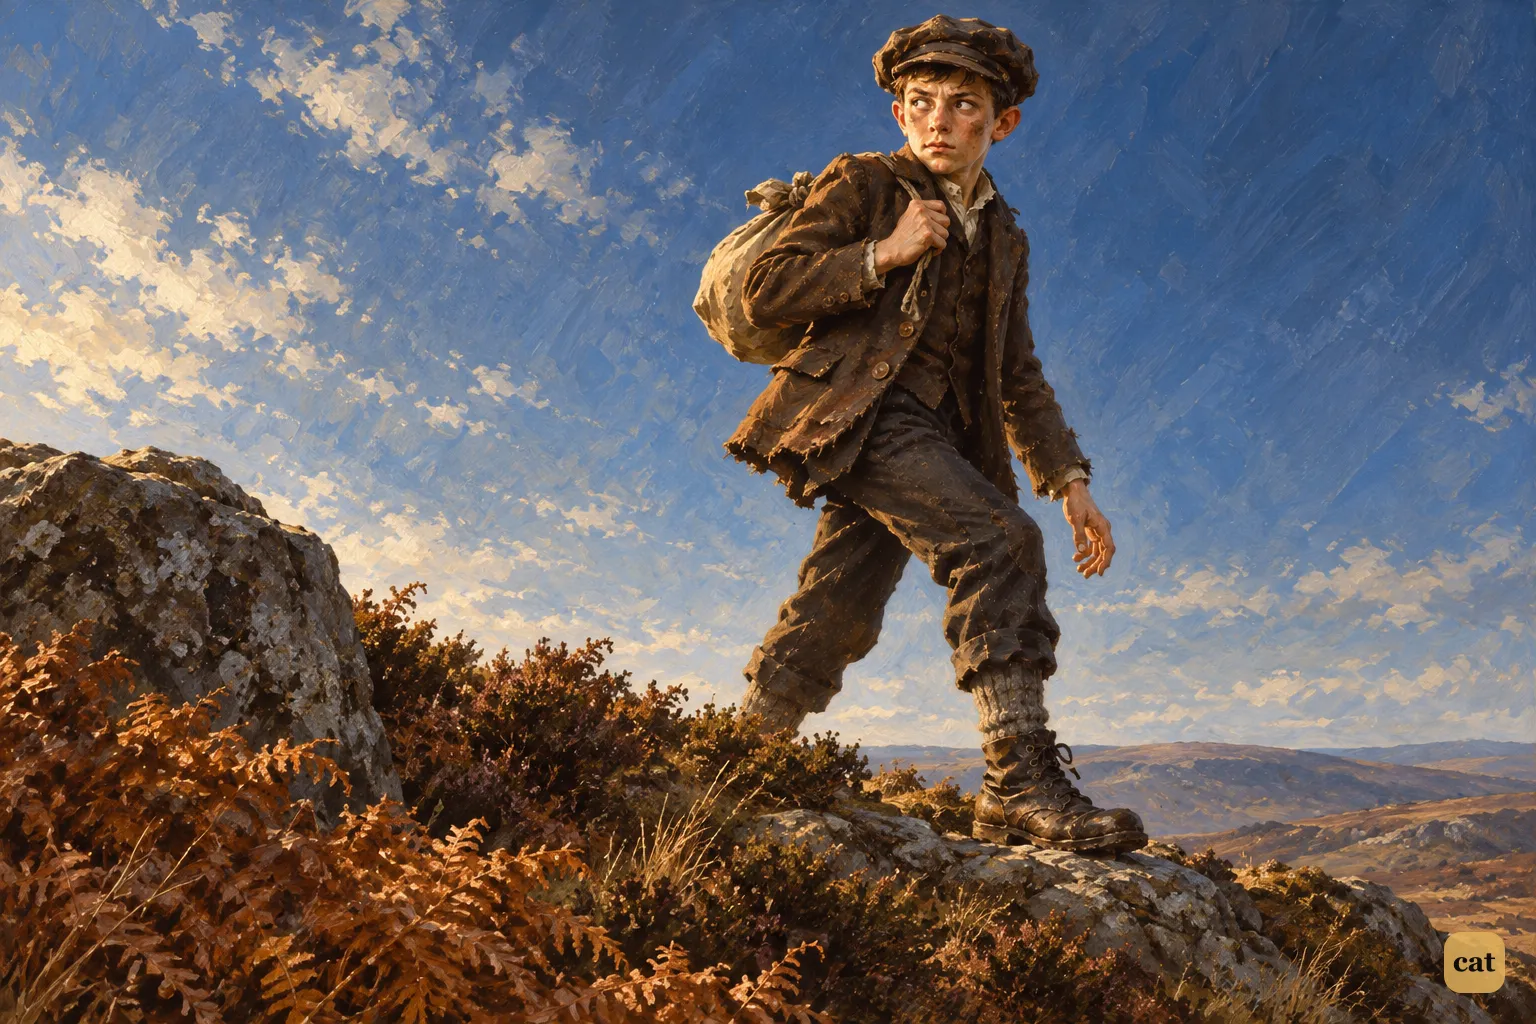
14·9 A small ragged boy with a bundle stands on the moor crest against the blue sky
In the text → -
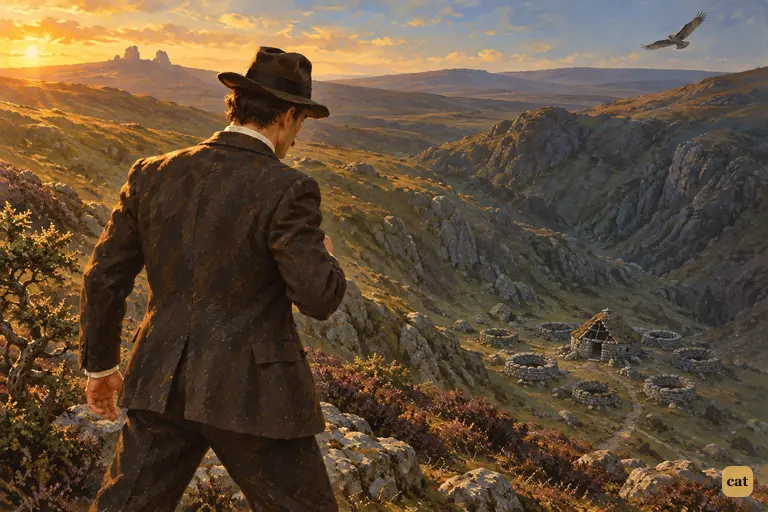
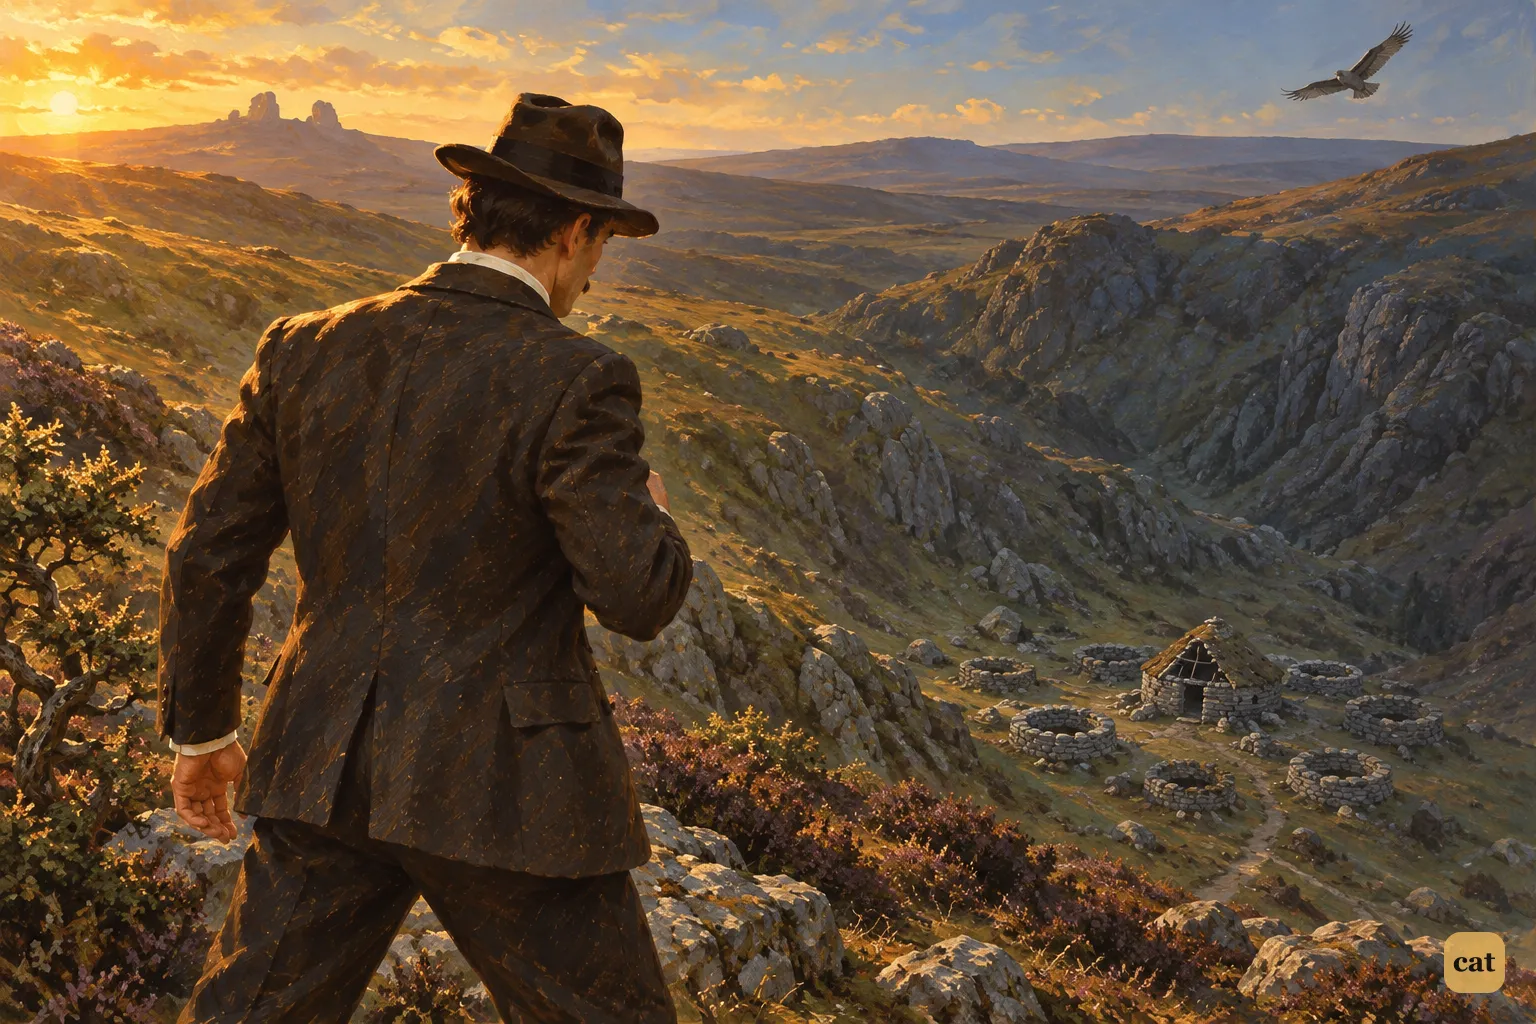
14·10 Watson stops on the sunlit summit and looks down into a shadowed cleft.
In the text → -
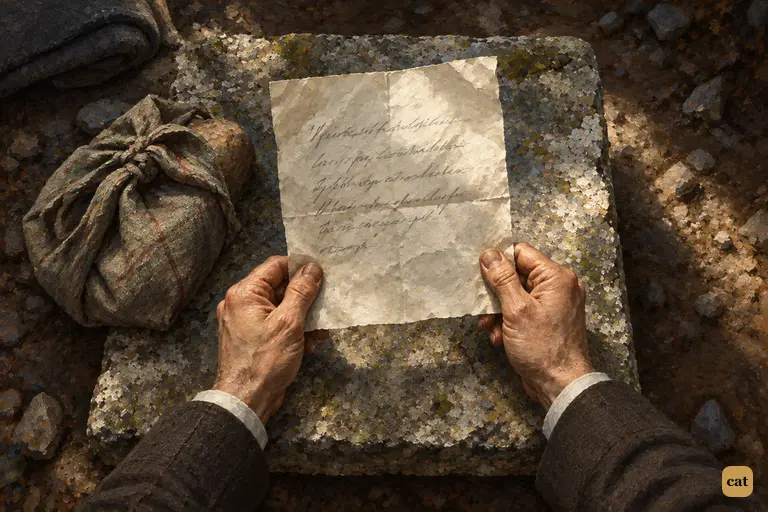
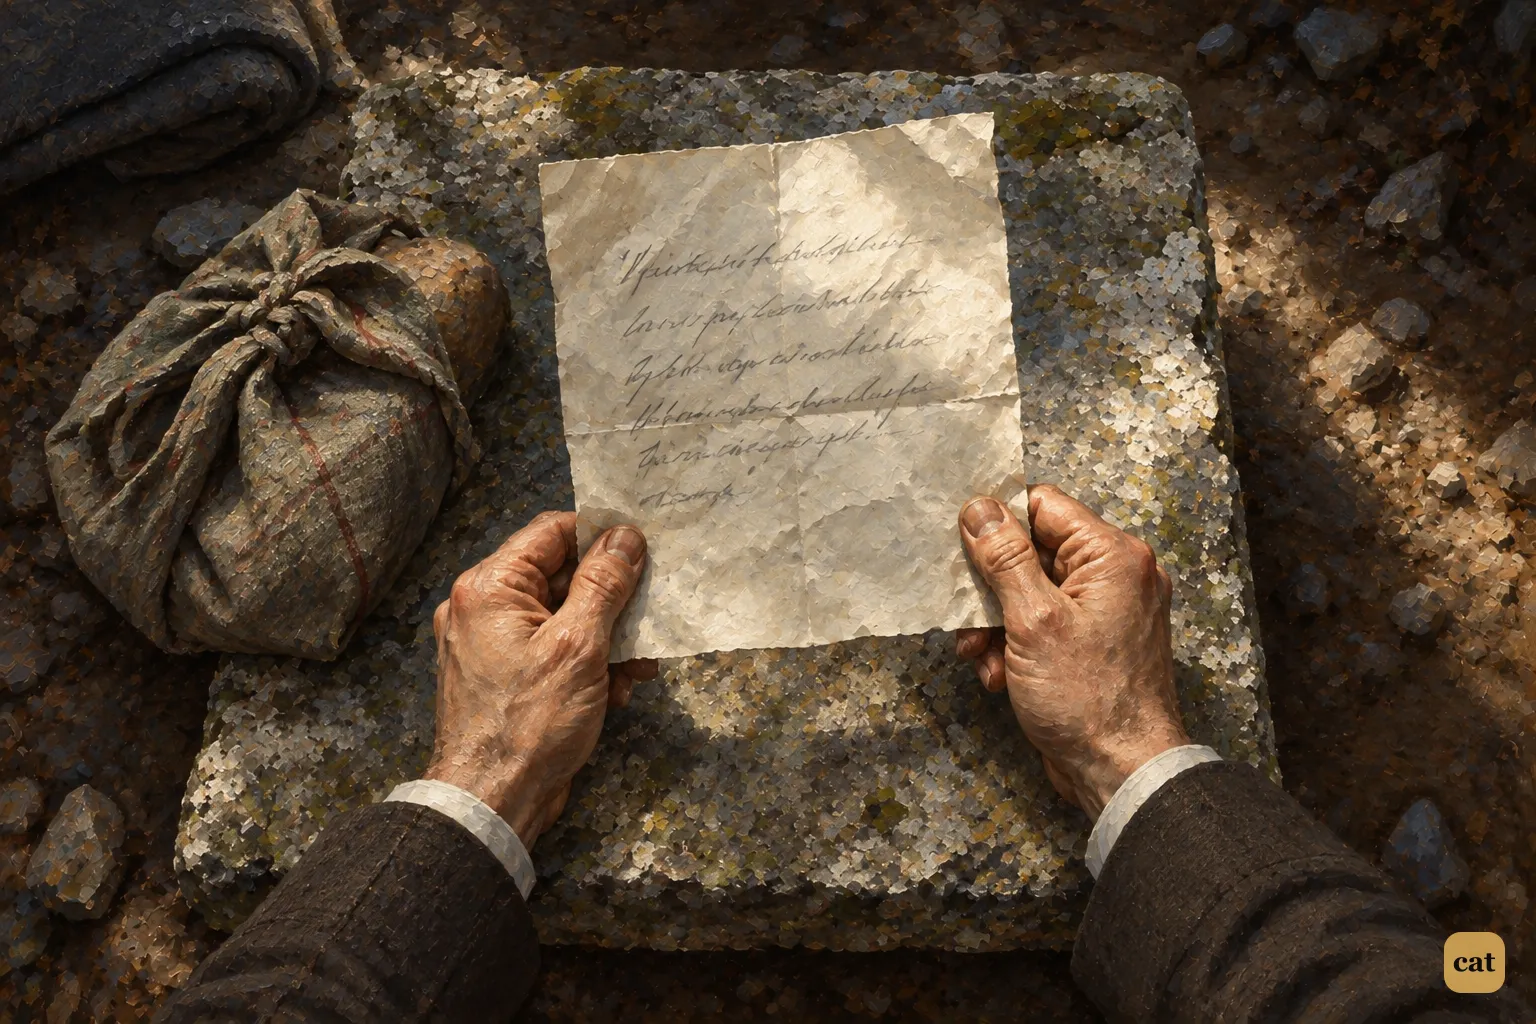
14·11 Inside the stone hut on the moor, Watson's hands lift a sheet of paper from under the boy's bundle.
In the text → -
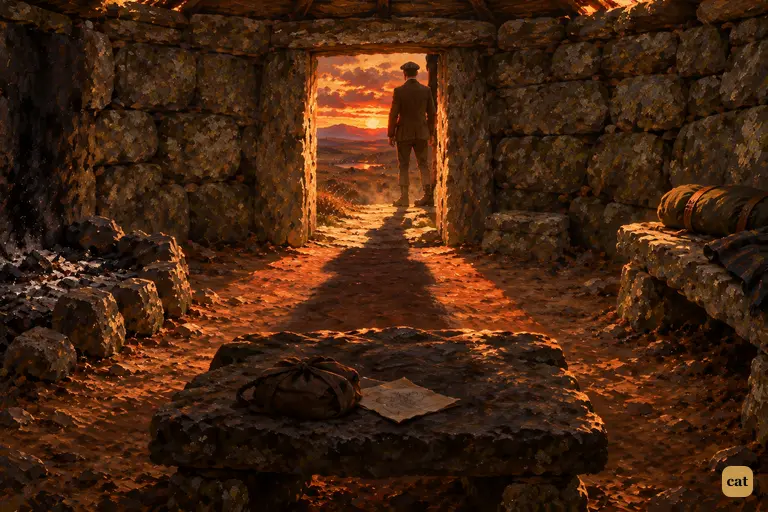
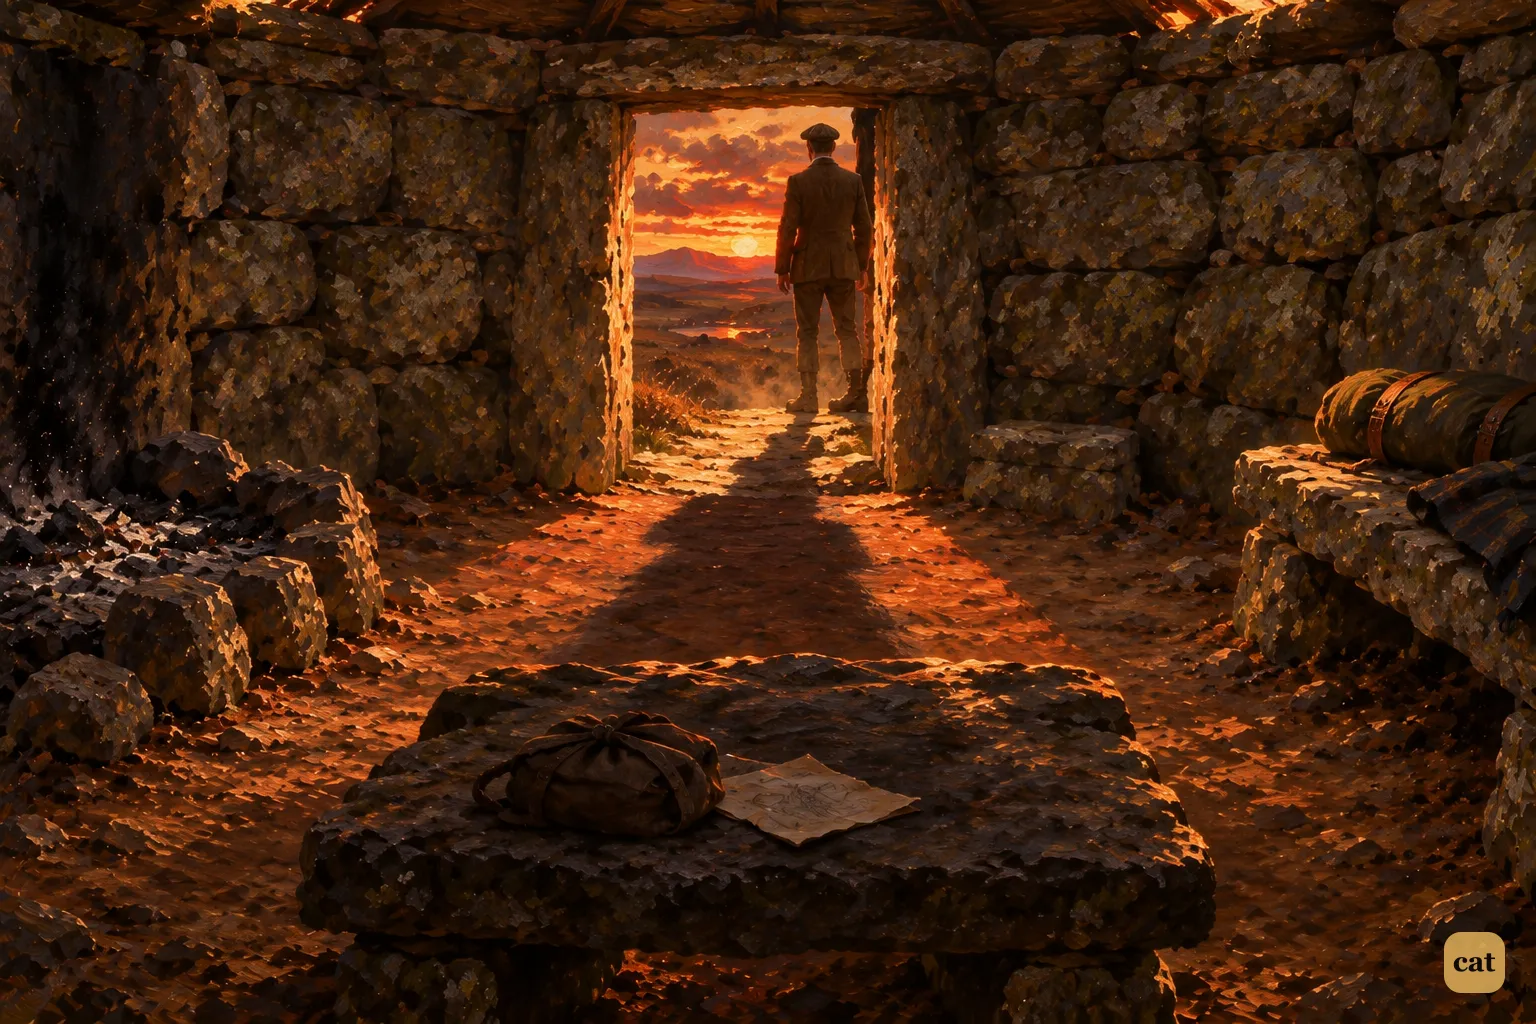
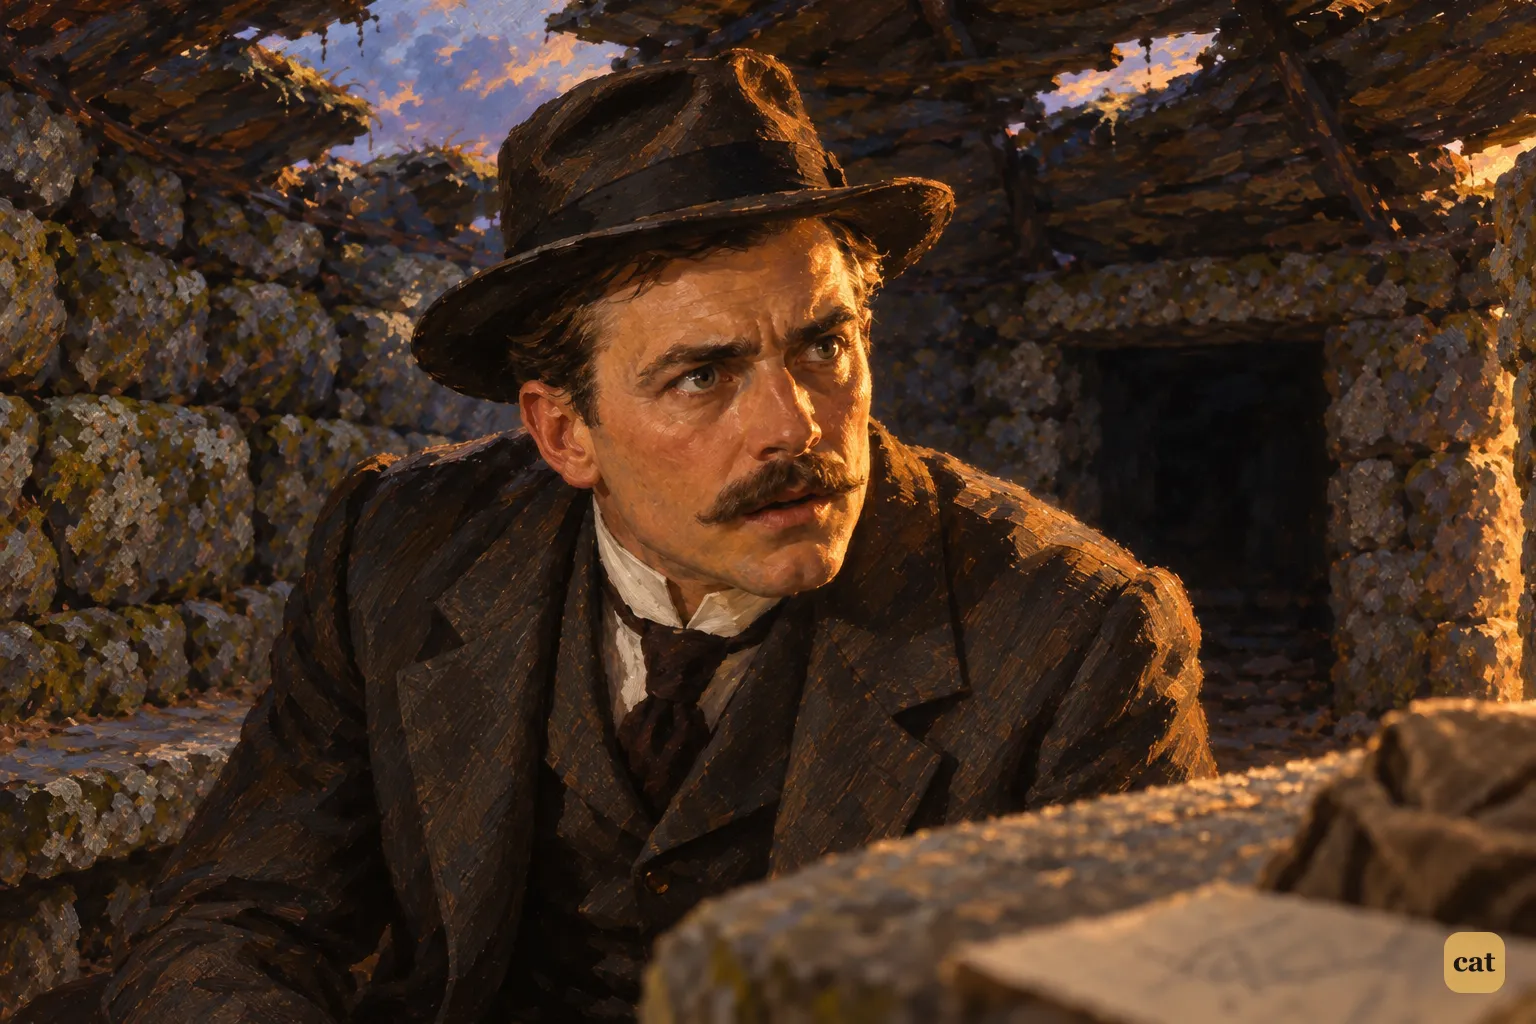
14·12 From the dark recess of the stone hut, the doorway glows with a blood-red sunset.
In the text → -
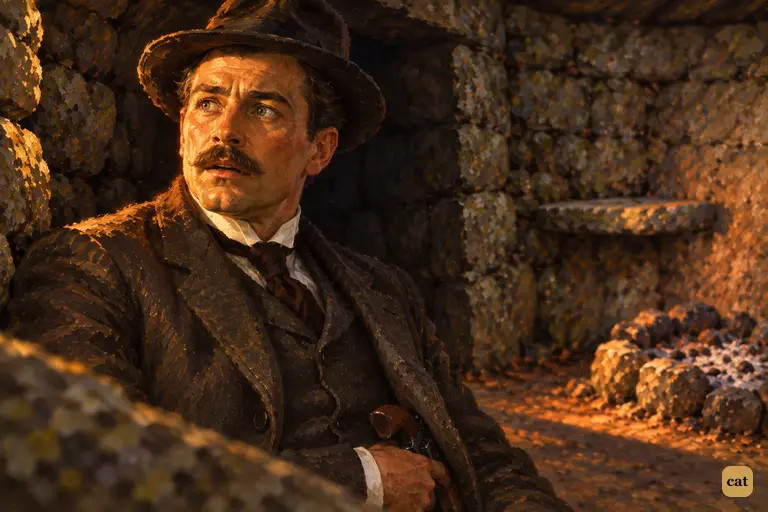
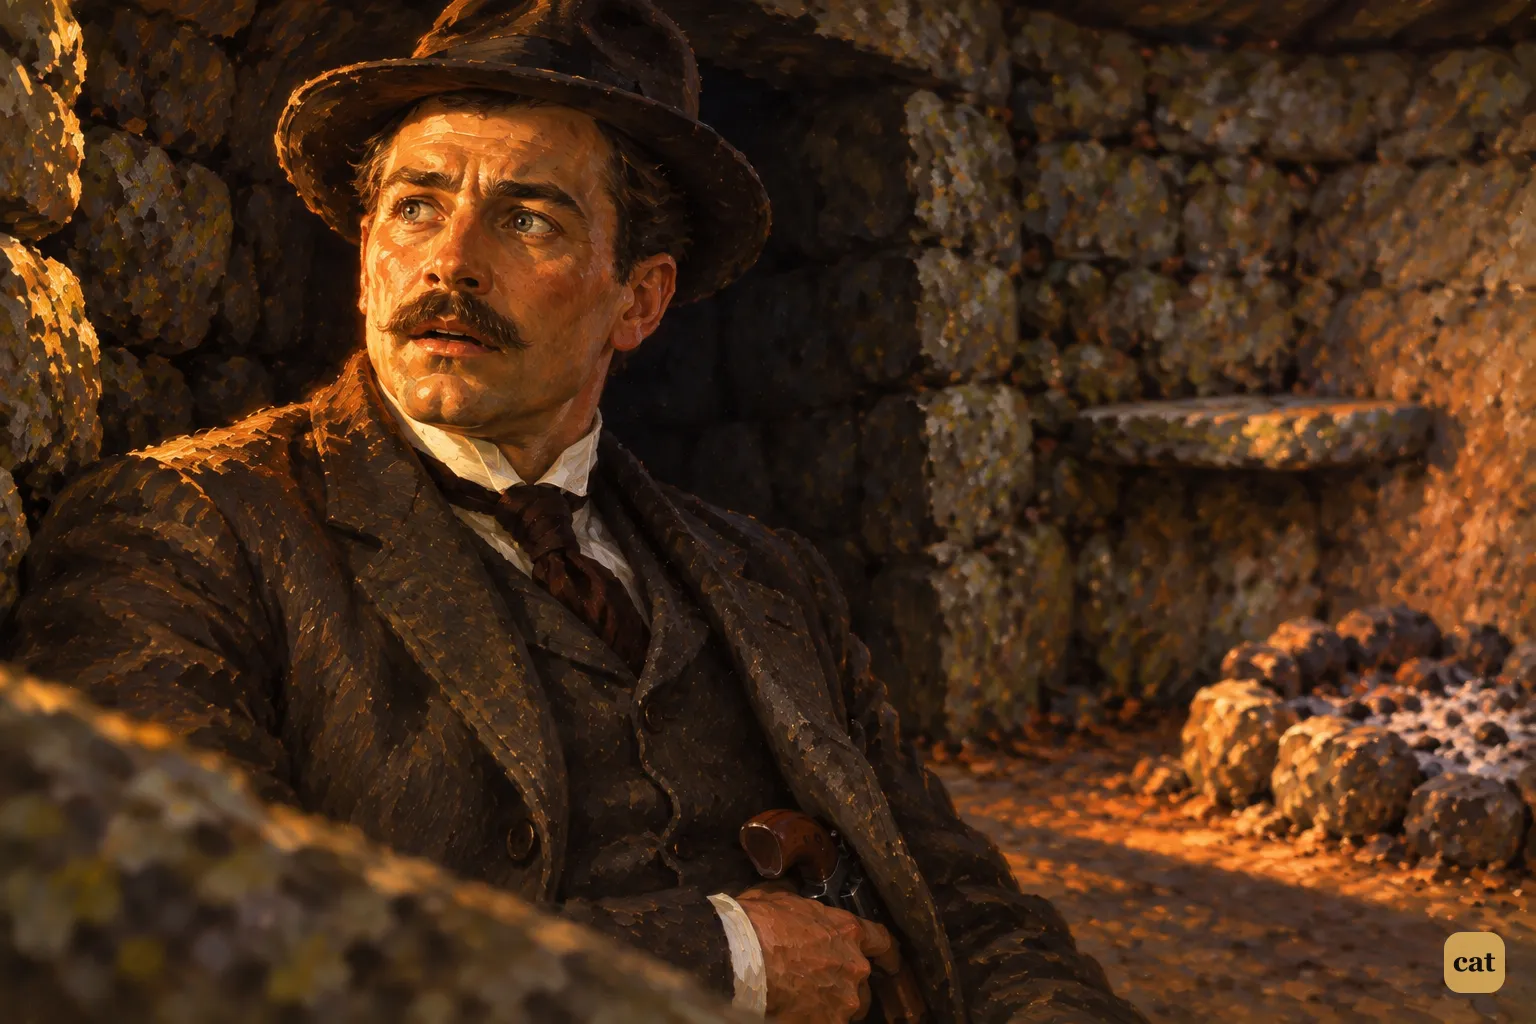
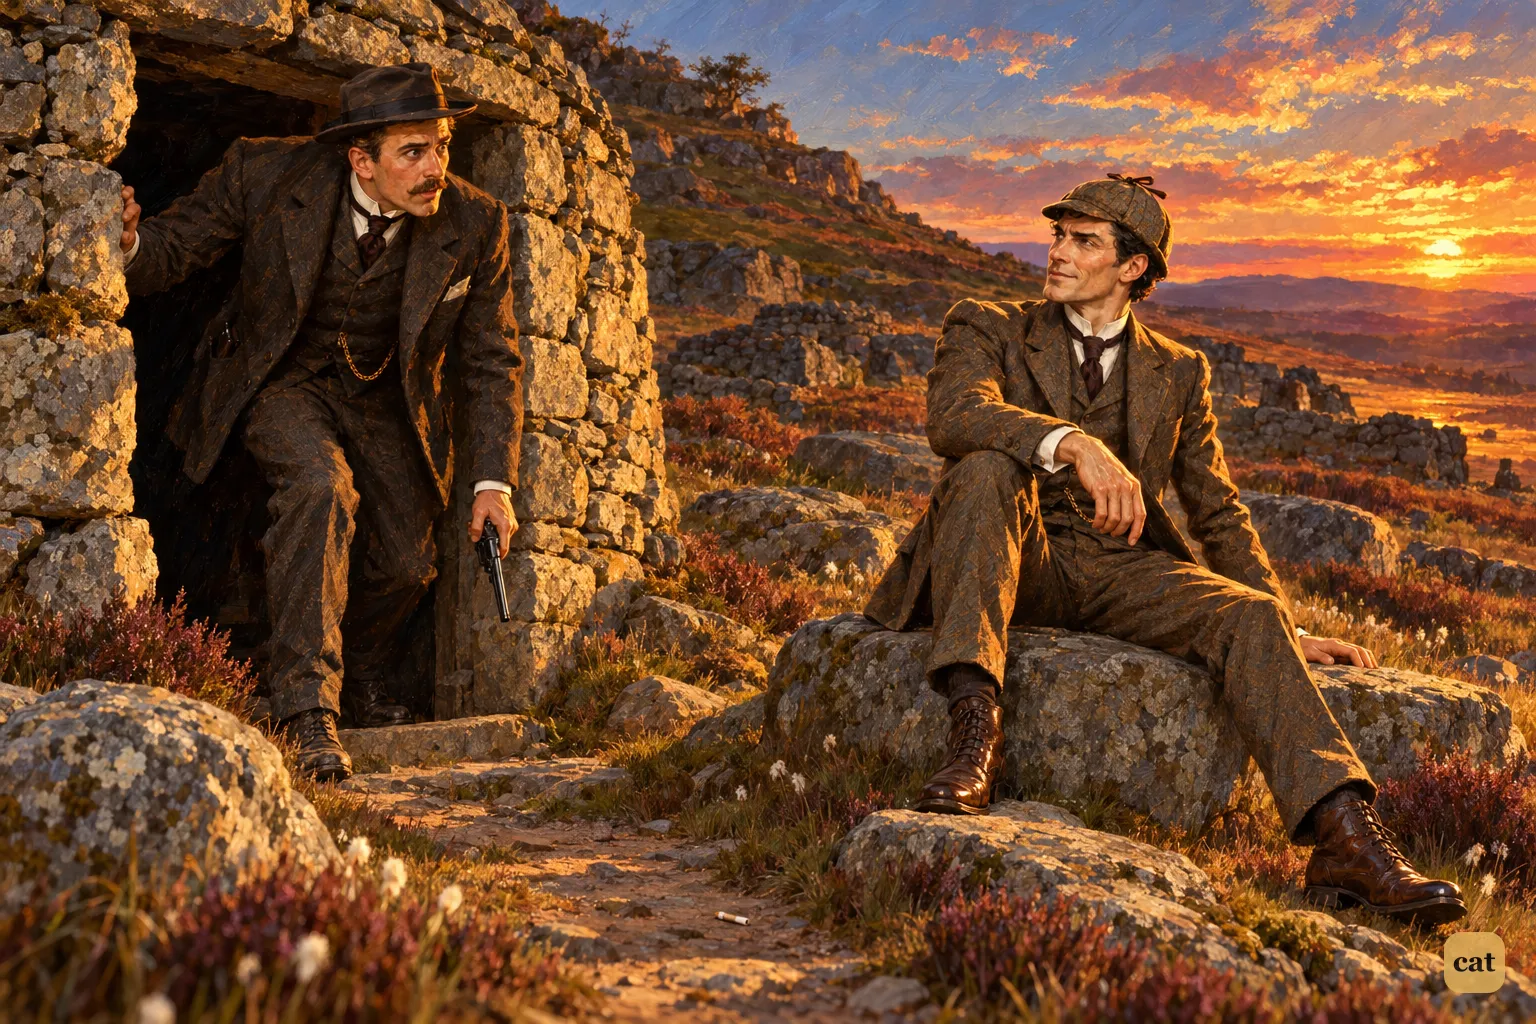
14·13 Watson is crouched in the dark recess of the stone hut with his hand on his revolver.
In the text →
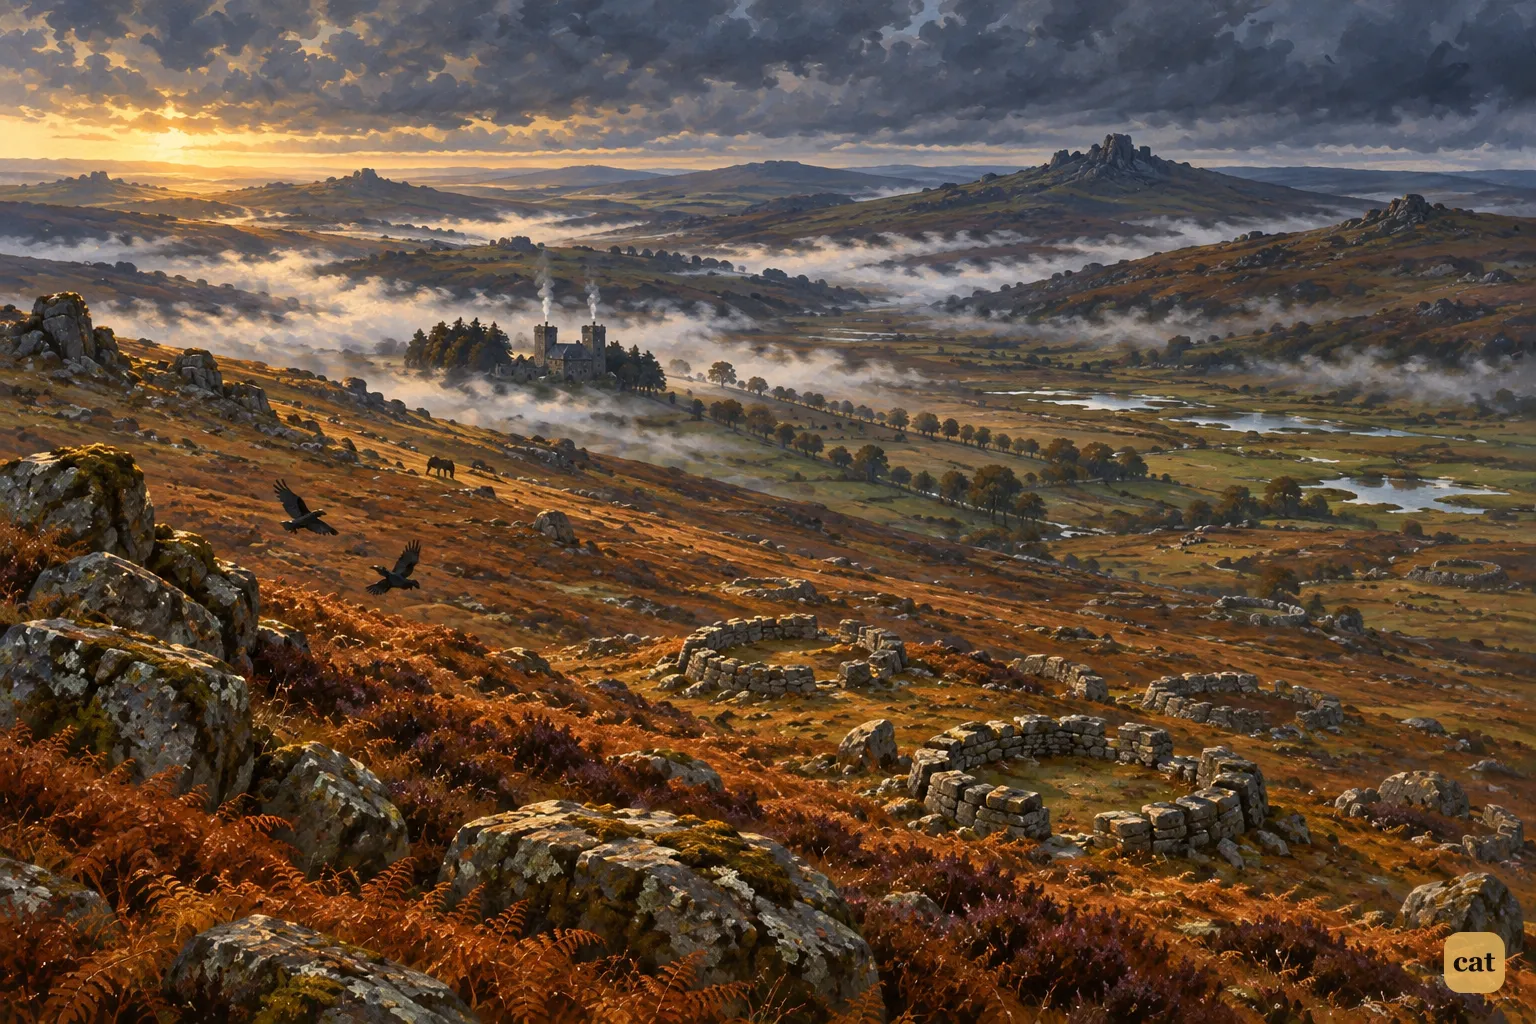
Chapter 15 · 12 illustrations Holmes Revealed; Selden Dies in Sir Henry's Place
-
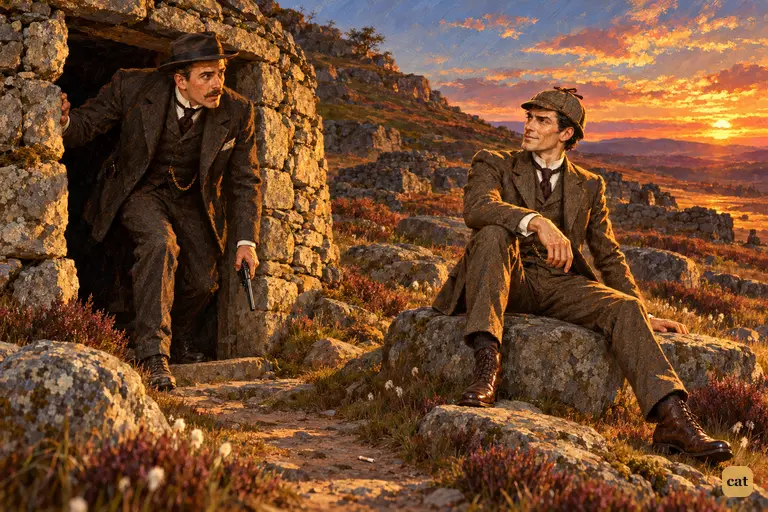
15·1 Watson stoops out of the low doorway of the stone hut with his revolver still in hand.
In the text → -
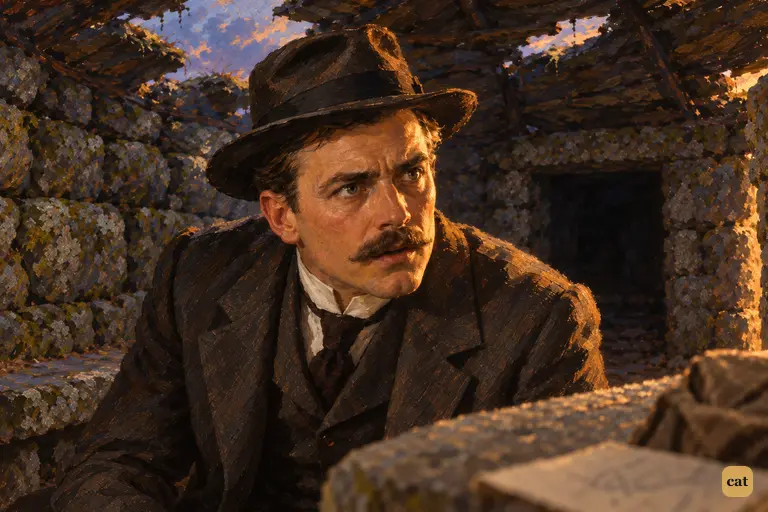
15·2 In the stone hut, Watson freezes as Holmes says Miss Stapleton is Stapleton's wife
In the text → -
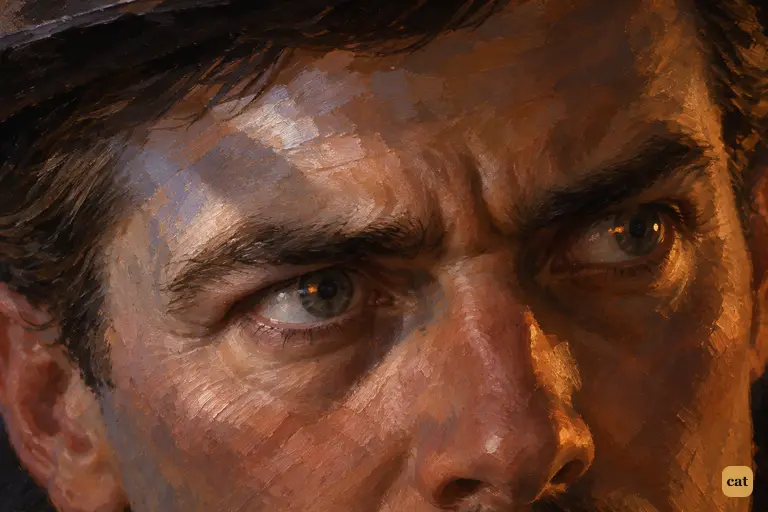
15·3 In the twilit stone hut, suspicion hardens into certainty in Watson's eyes.
In the text → -
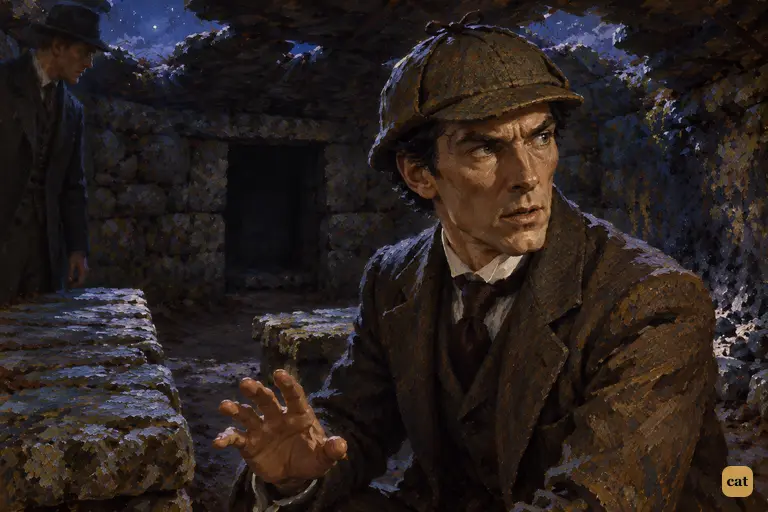
15·4 Holmes has just told Watson, "It is murder," in the dark stone hut.
In the text → -
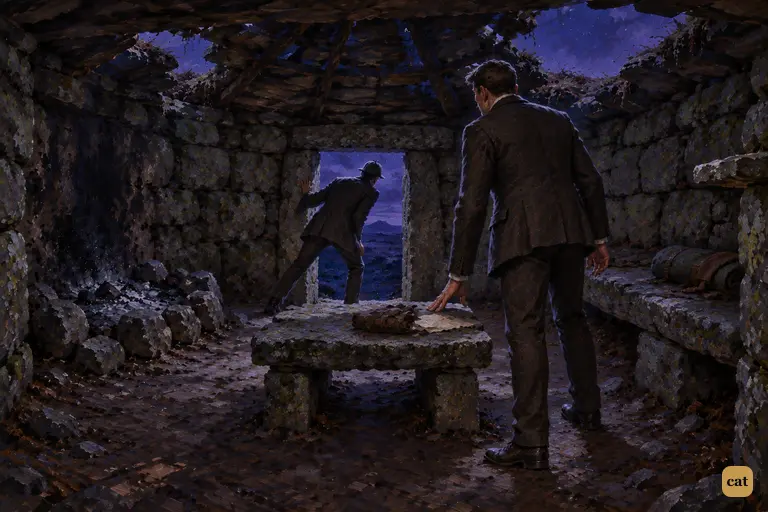
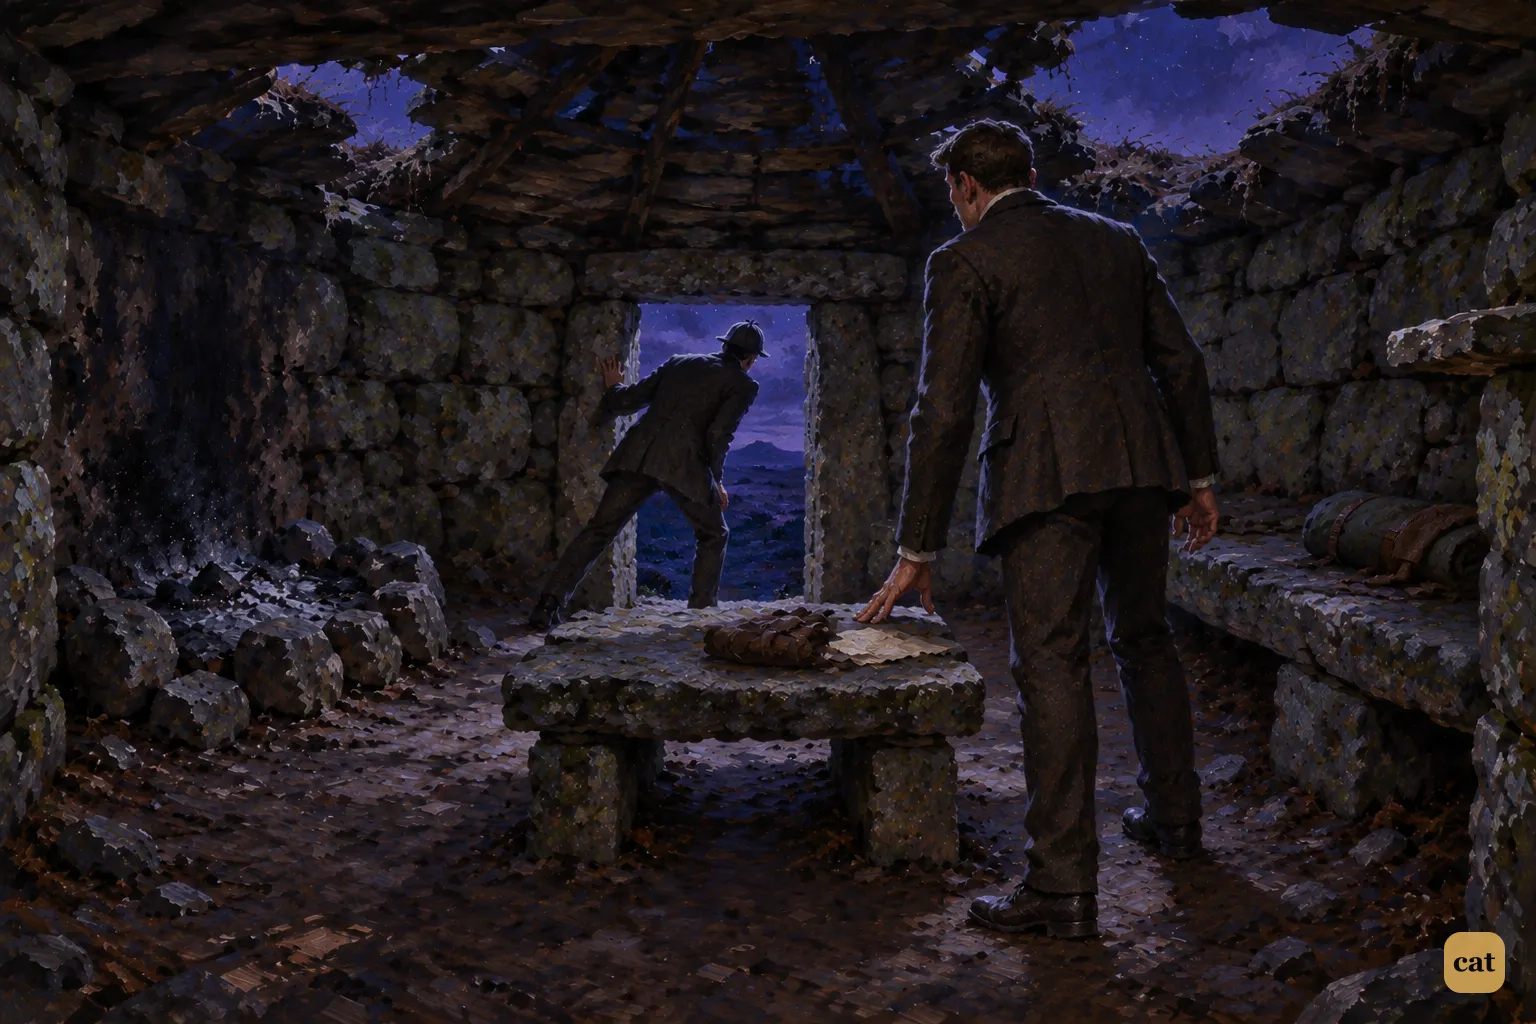
15·5 The scream tears across the night moor, and Holmes springs to the low doorway of the stone hut, a stooping black outline against the violet sky.
In the text → -
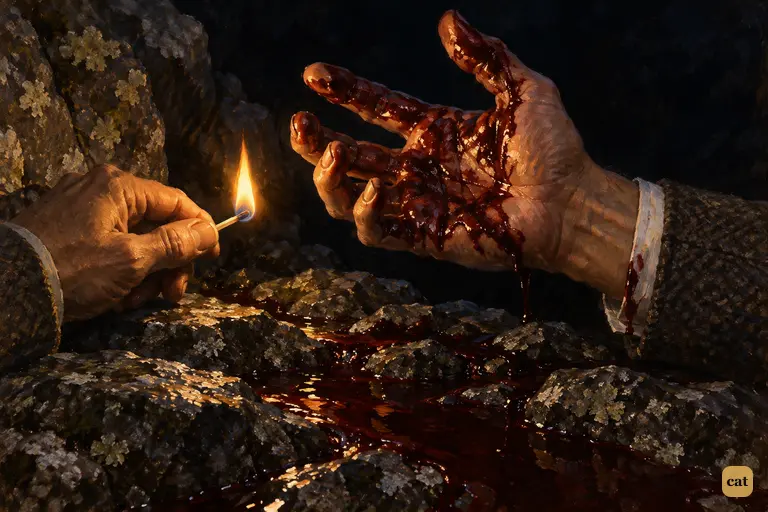
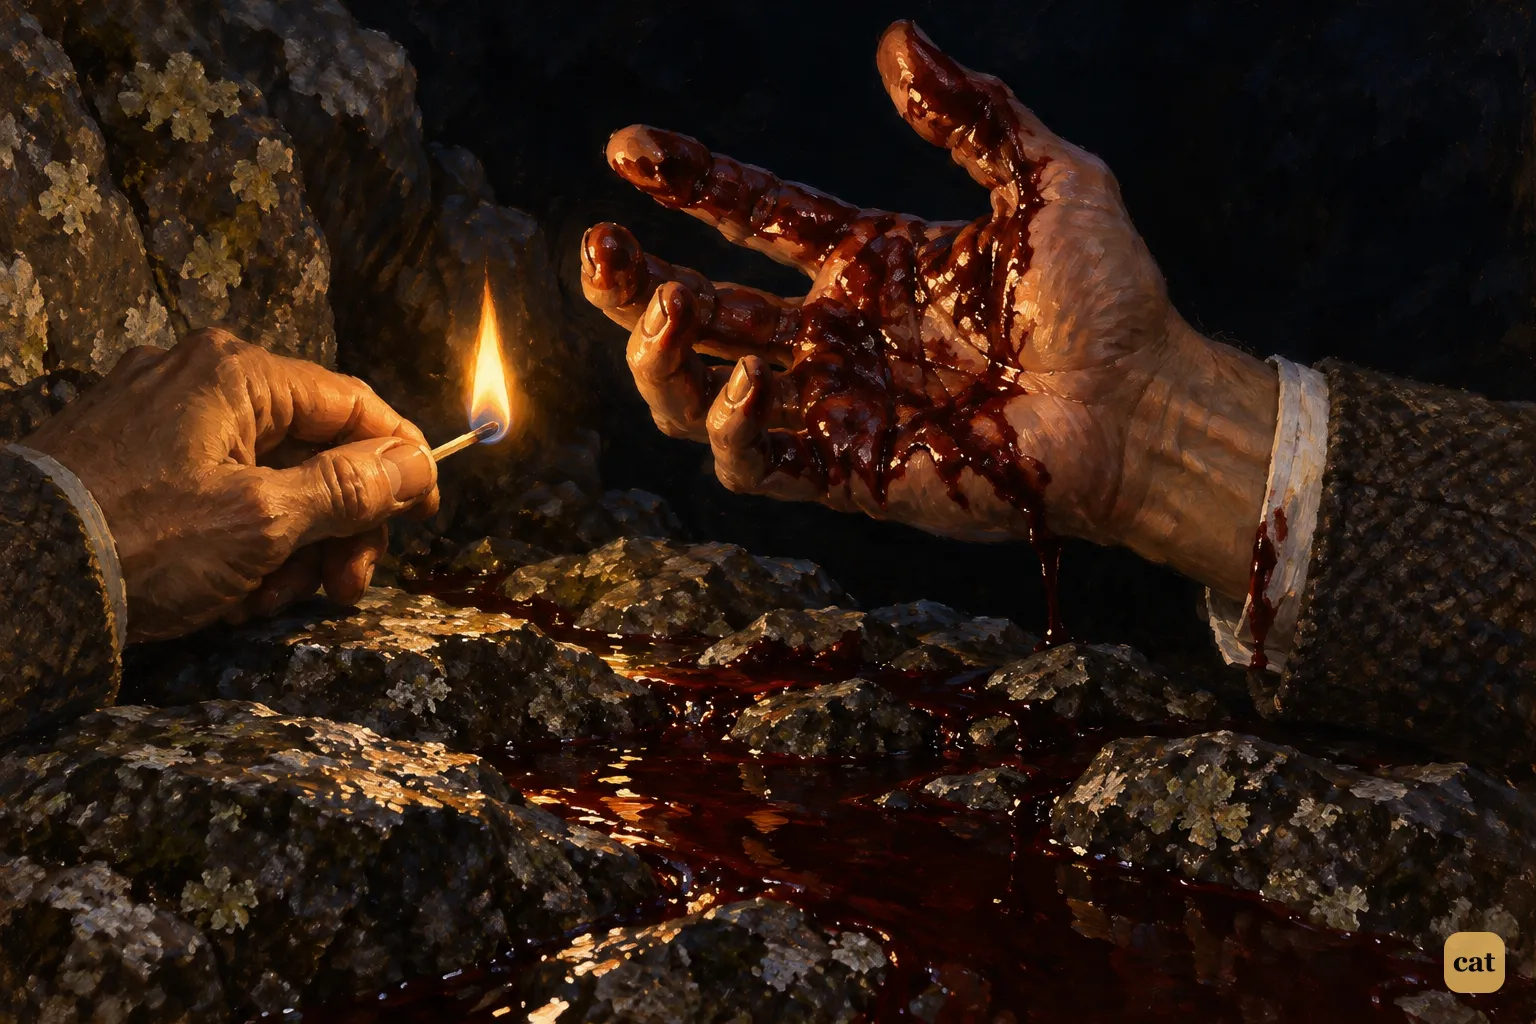
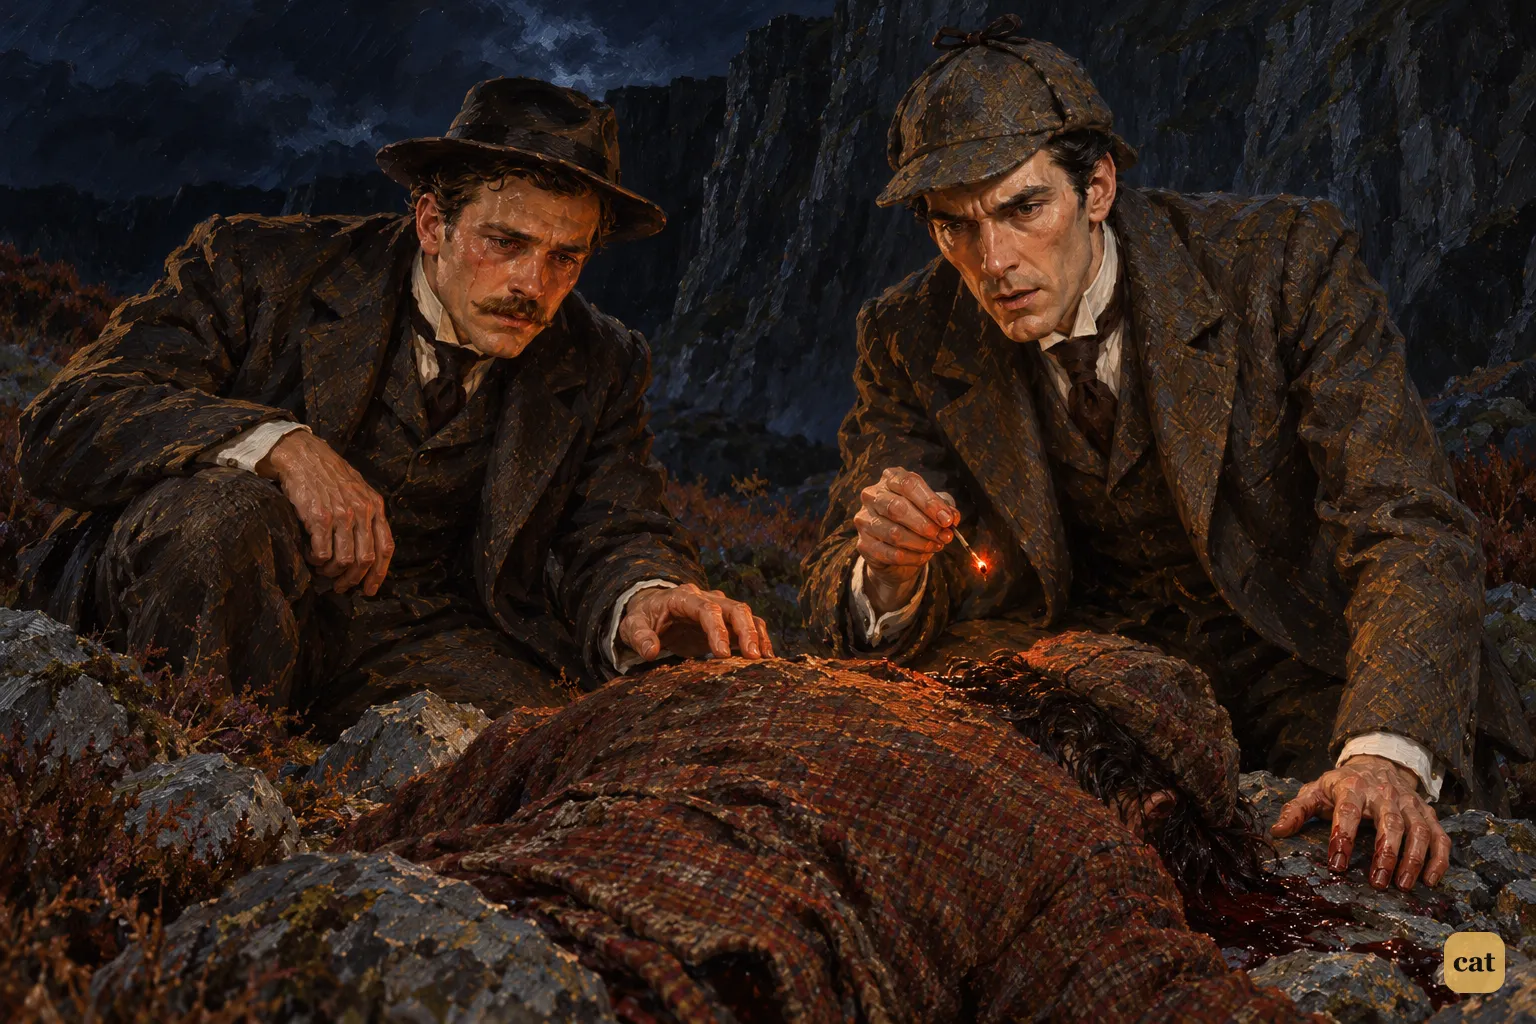
15·6 Holmes's match shows his fingers thick with blood from the figure at the cliff foot
In the text → -
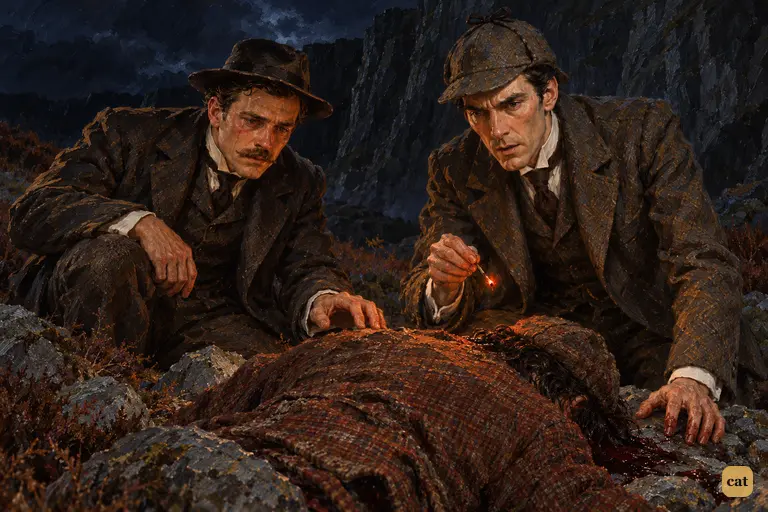
15·7 The match burns down to its last ember over the face-down body in the ruddy tweed suit.
In the text → -
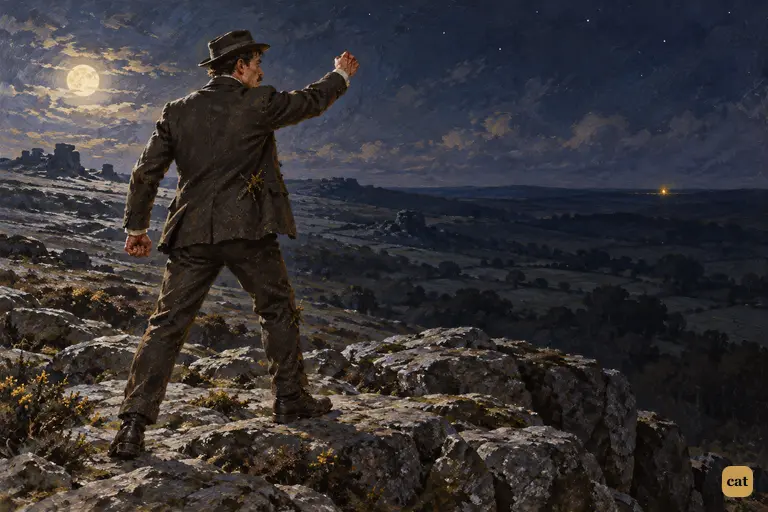
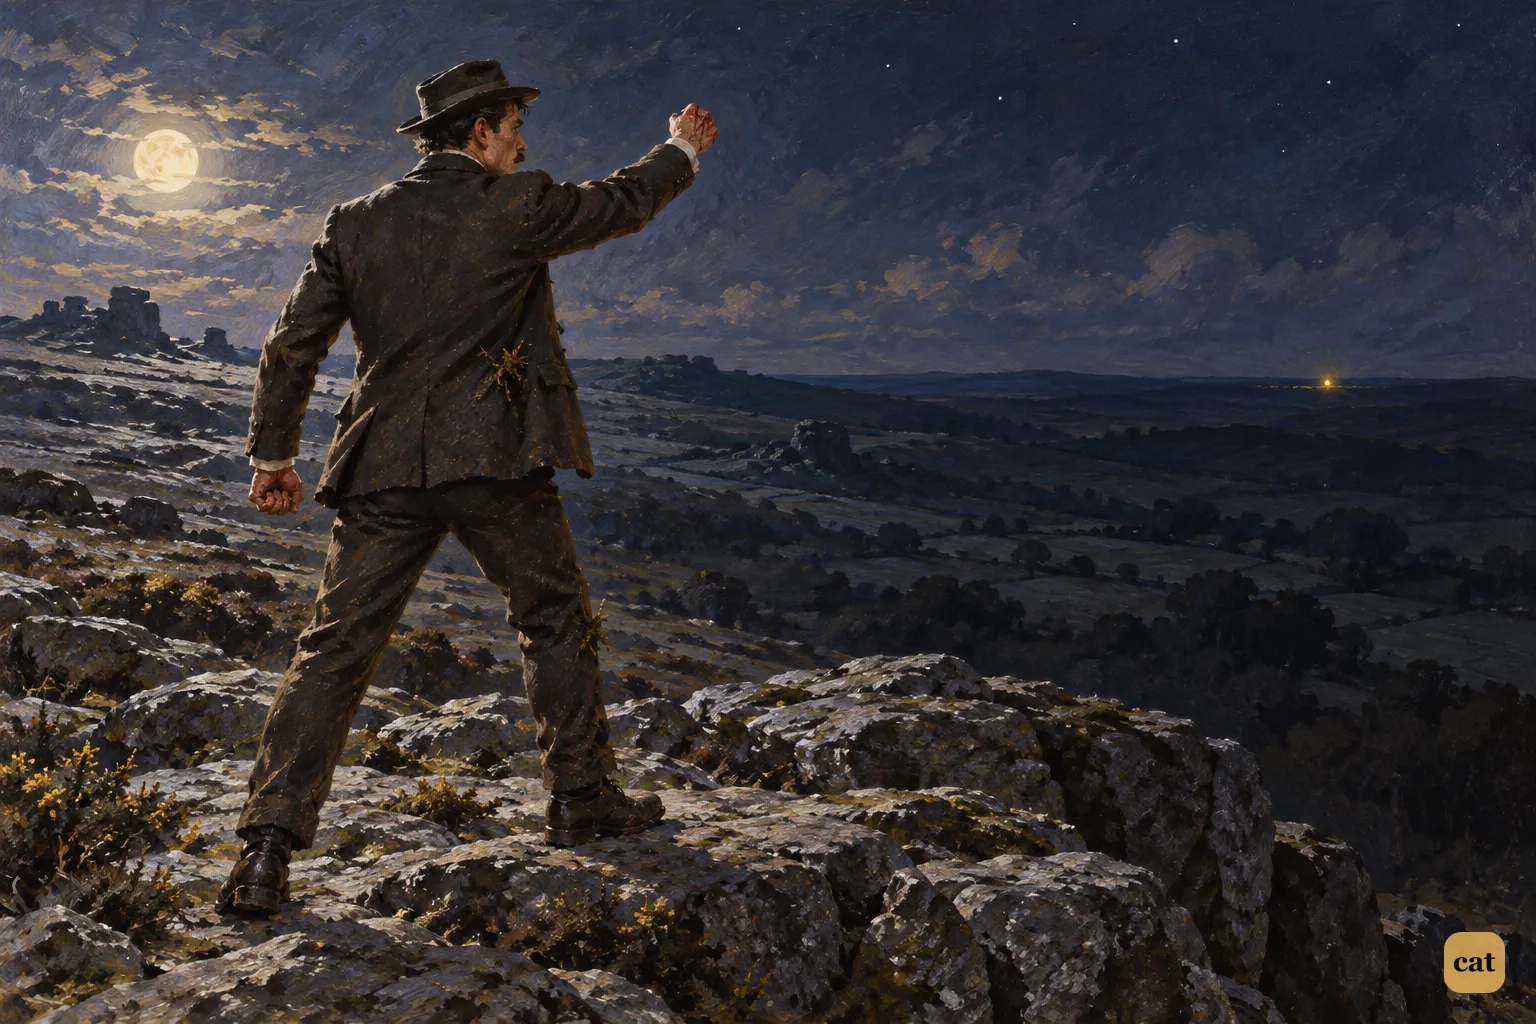
15·8 Alone on the moonlit summit, Watson shakes his fist at the Stapletons' far light
In the text → -
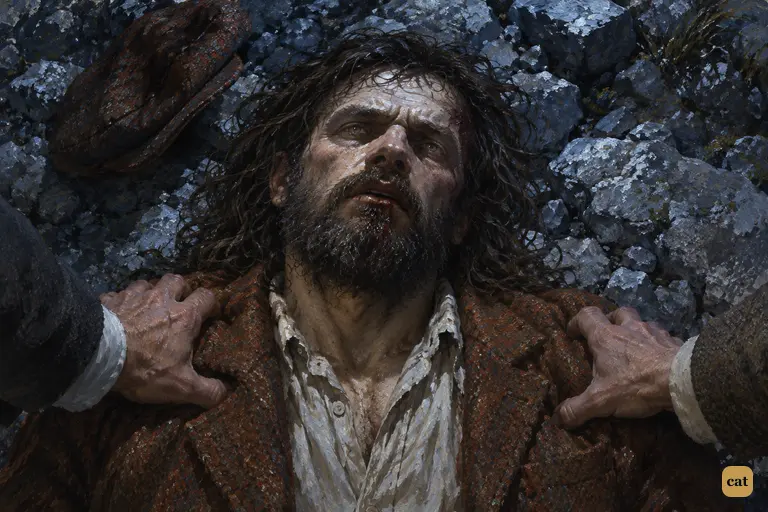
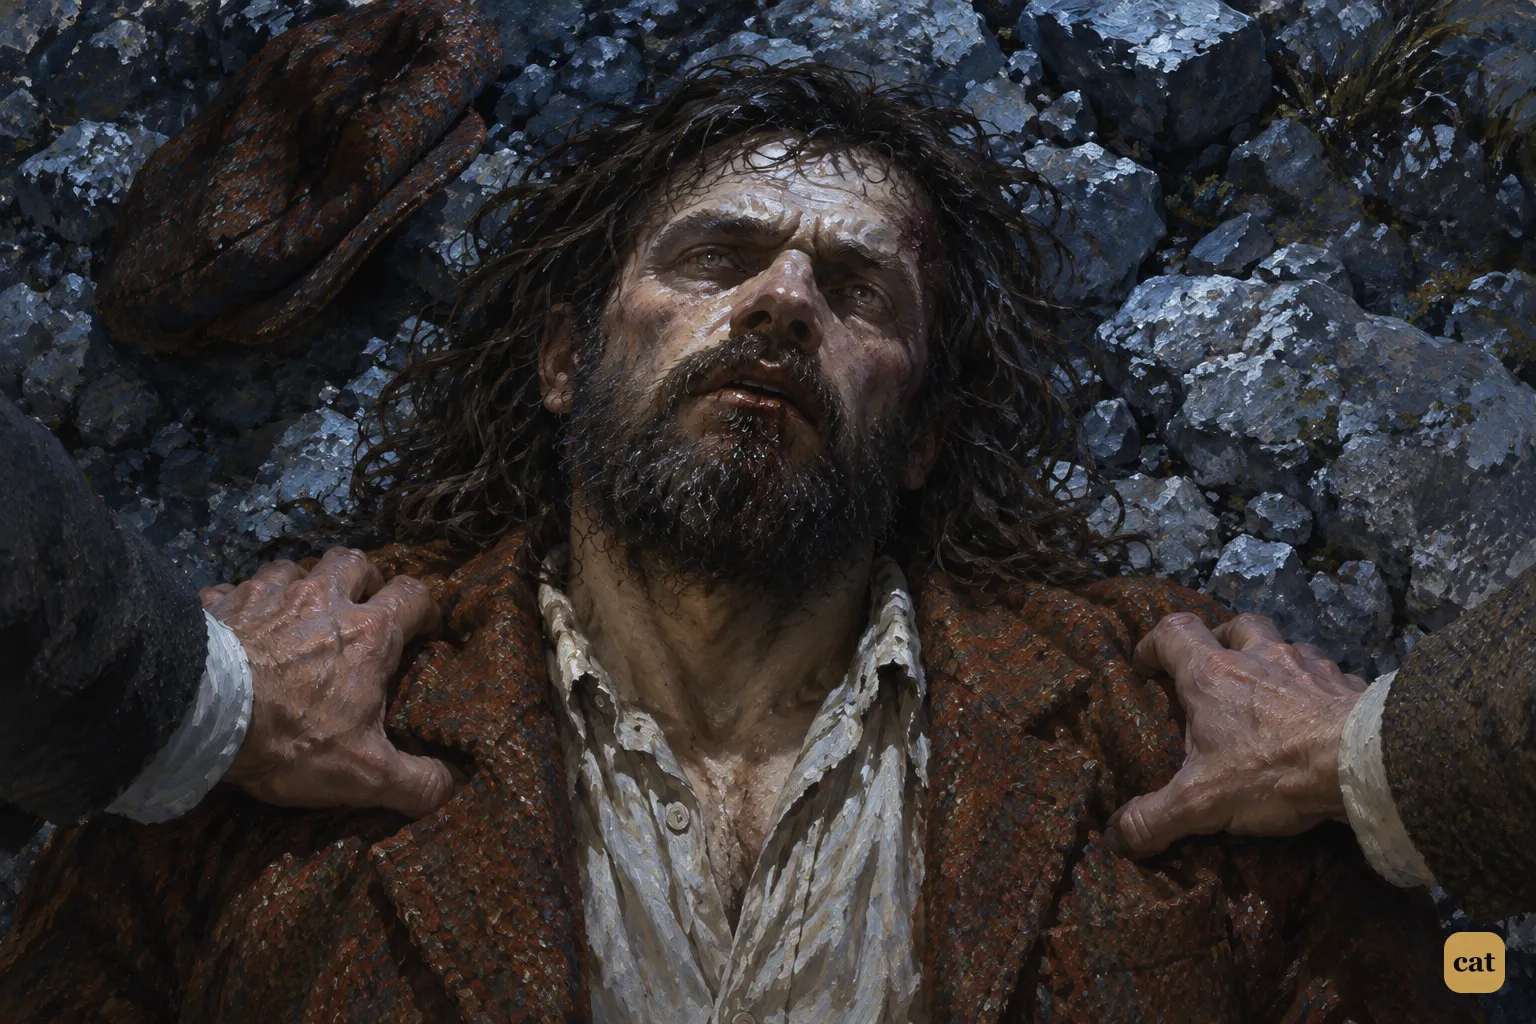
15·9 Watson and Holmes turn the dead man over and see Selden the convict, not Sir Henry
In the text → -
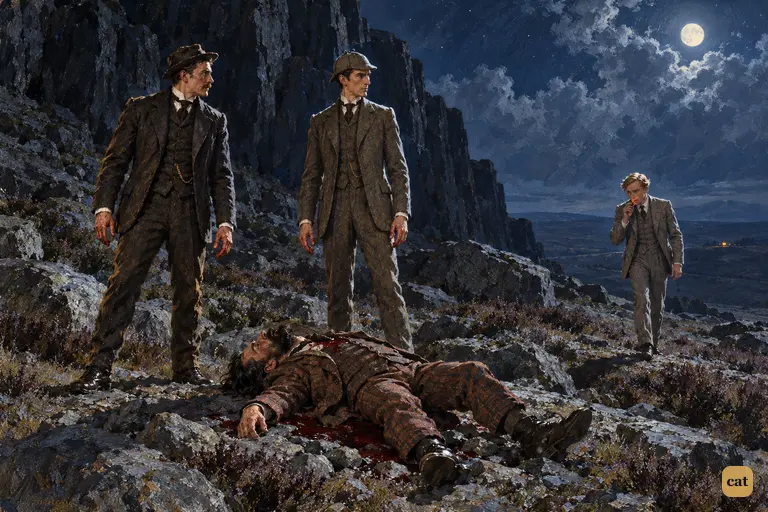
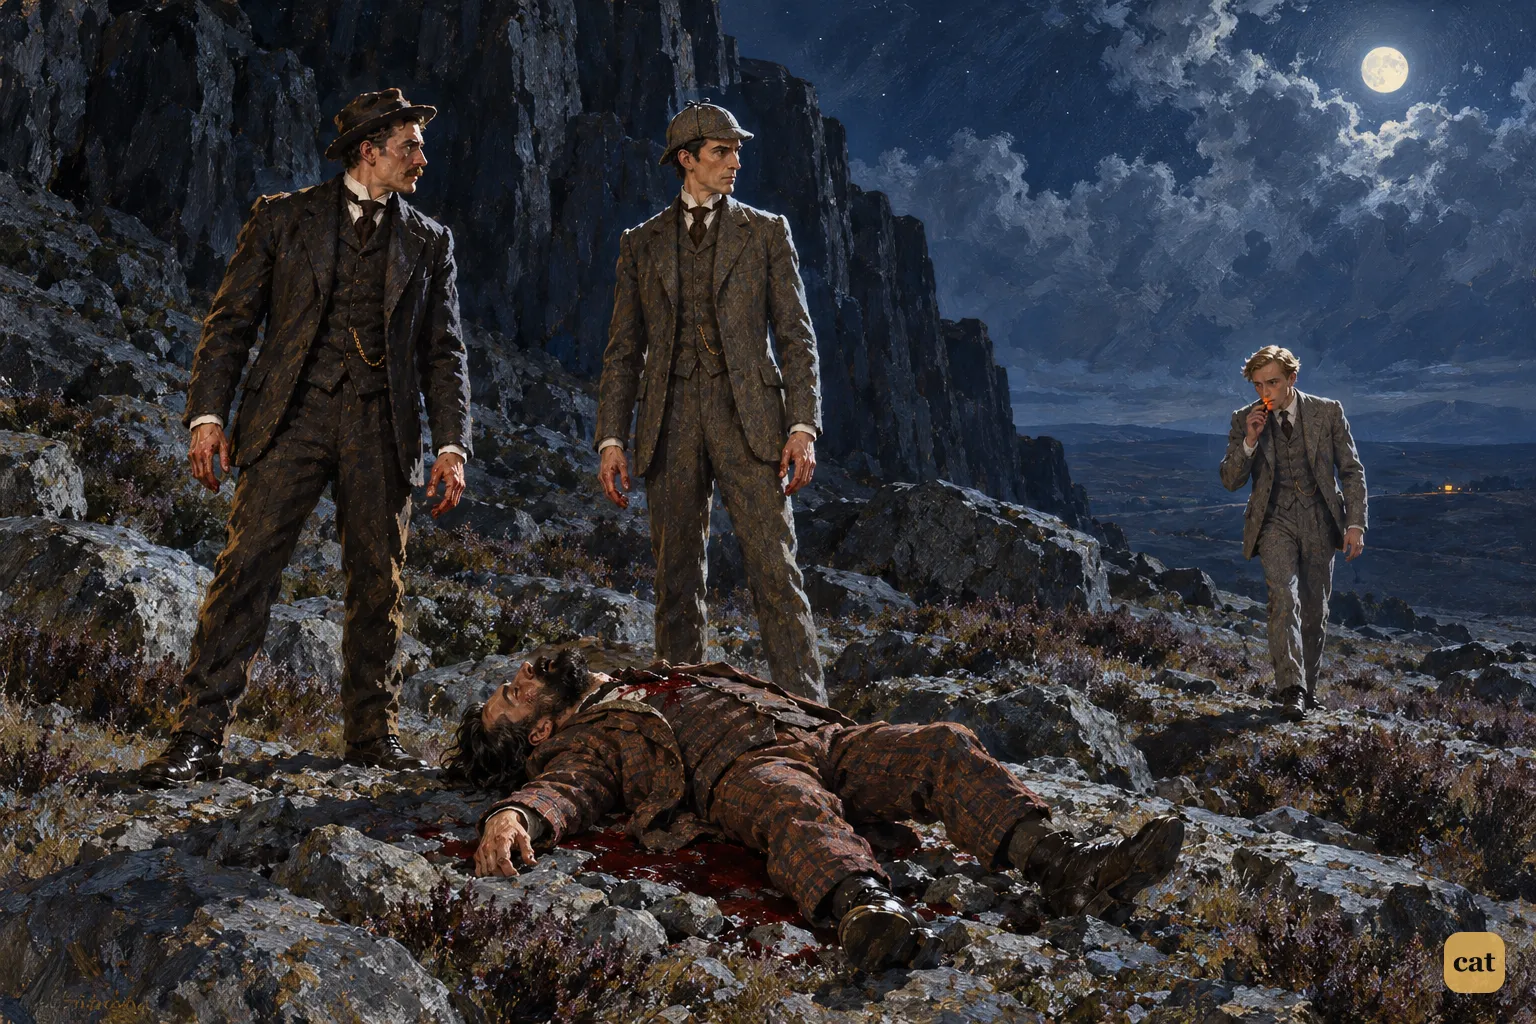
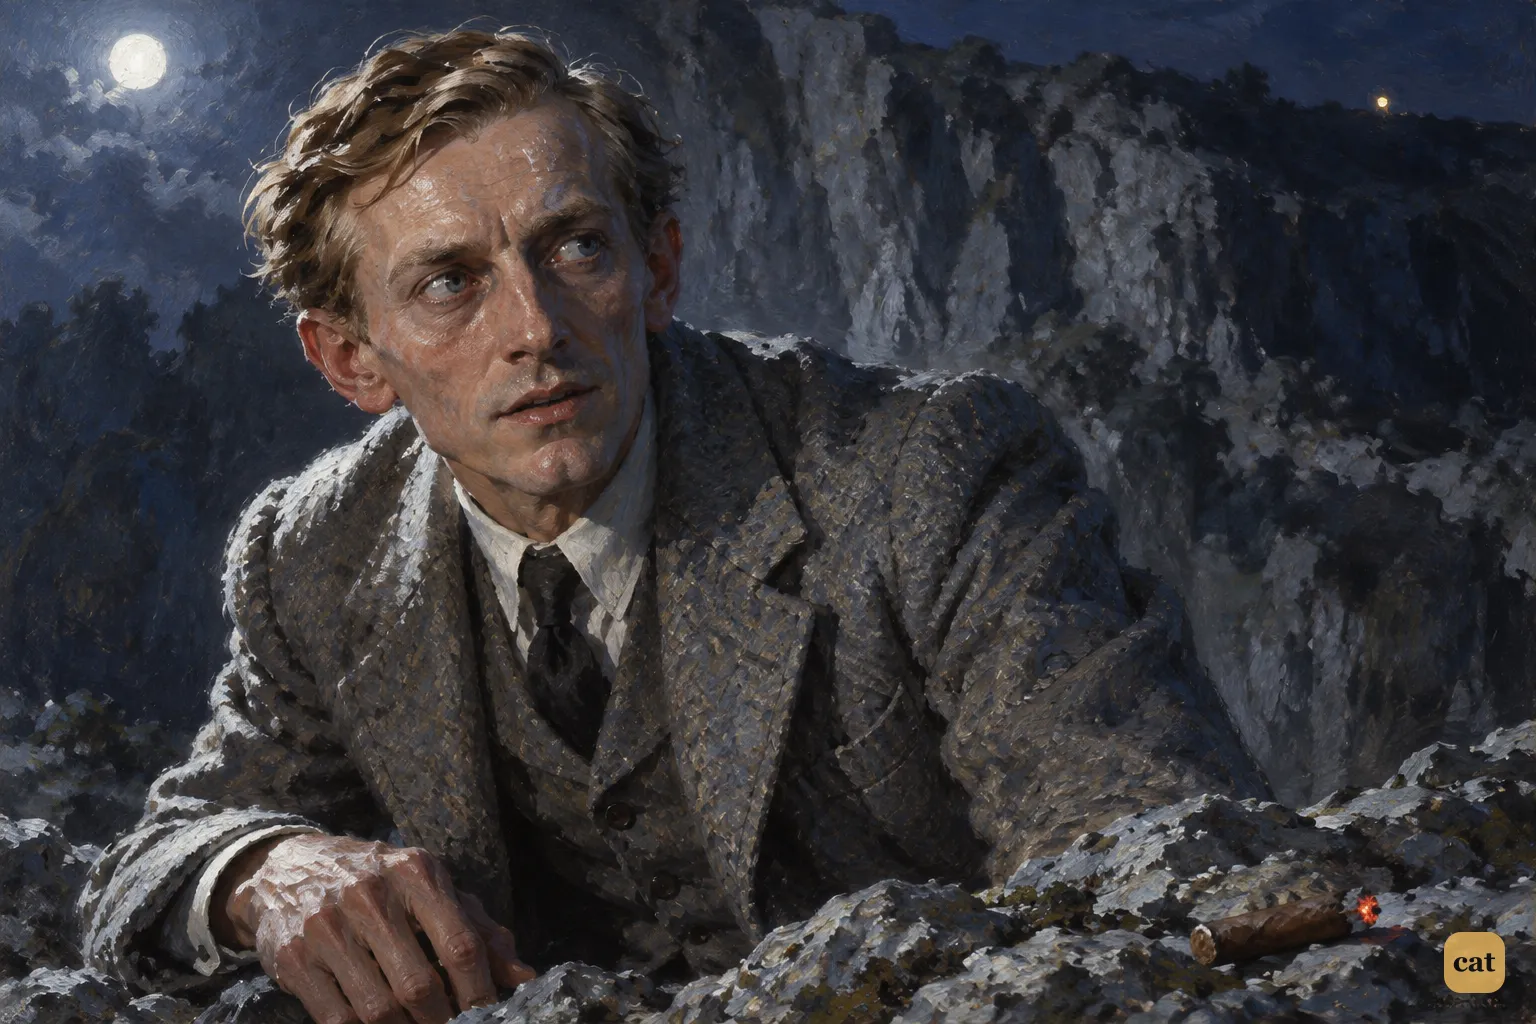
15·10 Across the moonlit moor a small red cigar-glow comes toward Holmes and Watson as they stand over the dead convict at the foot of the cliff.
In the text → -
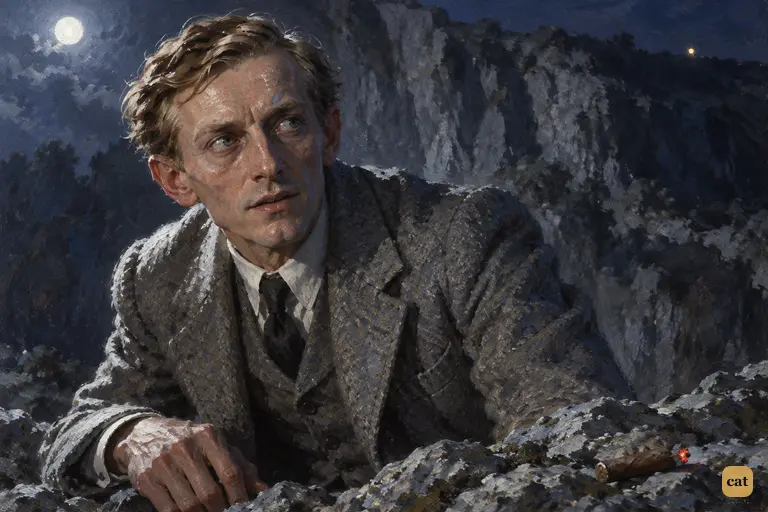
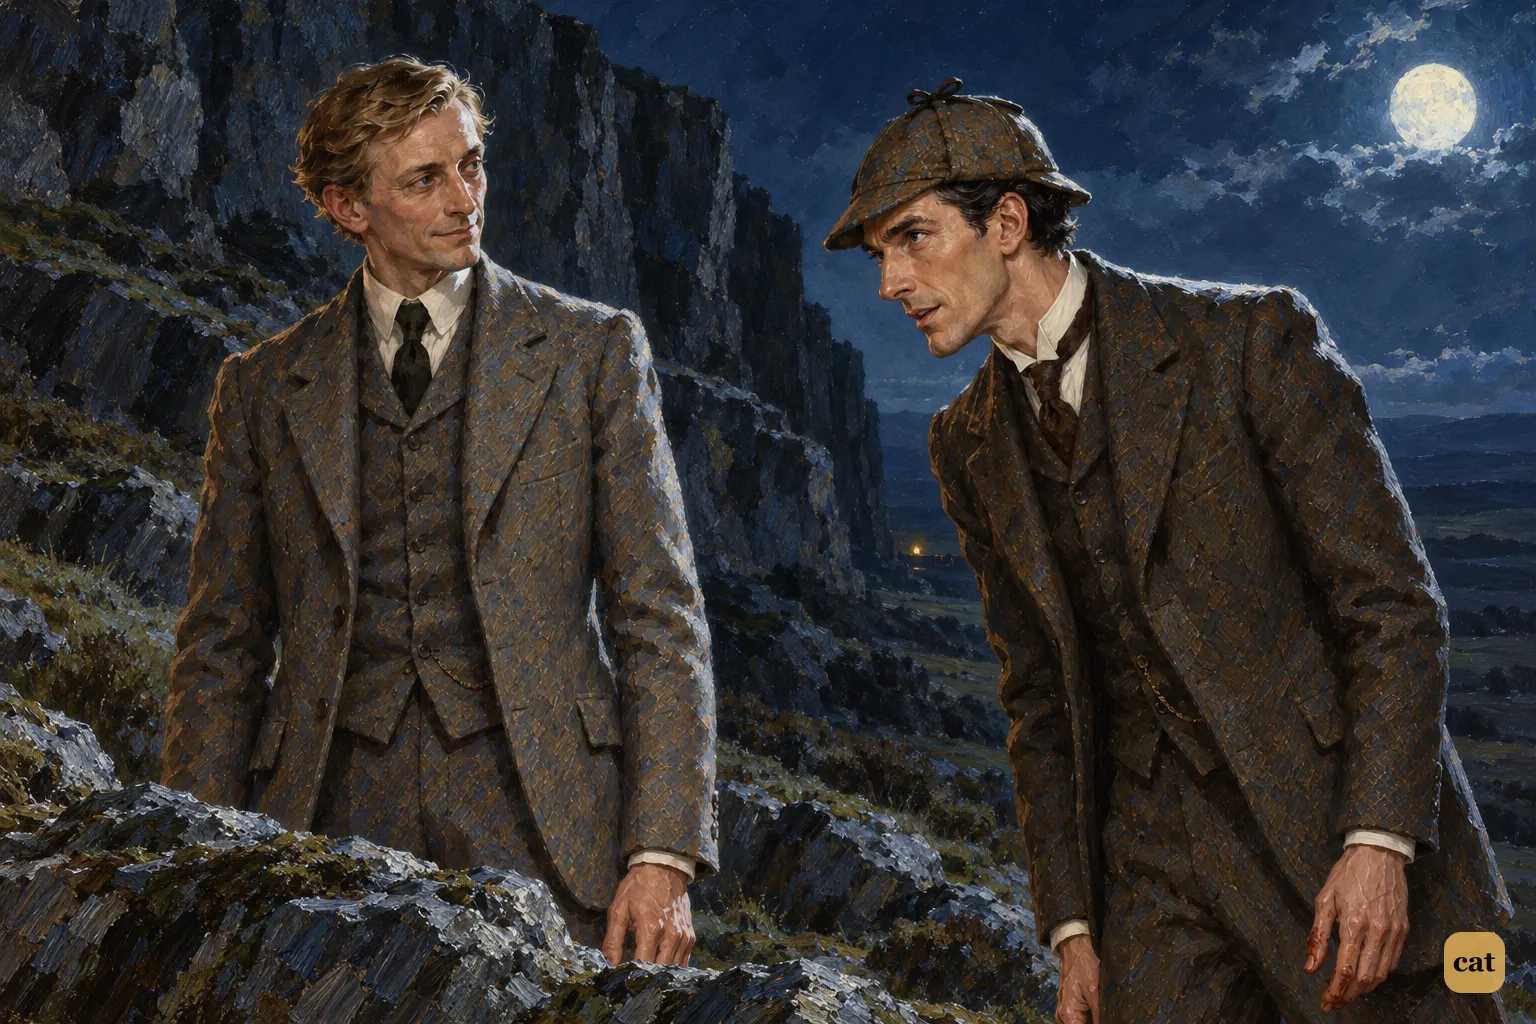
15·11 Stapleton looks up from the dead convict under the white moon.
In the text → -
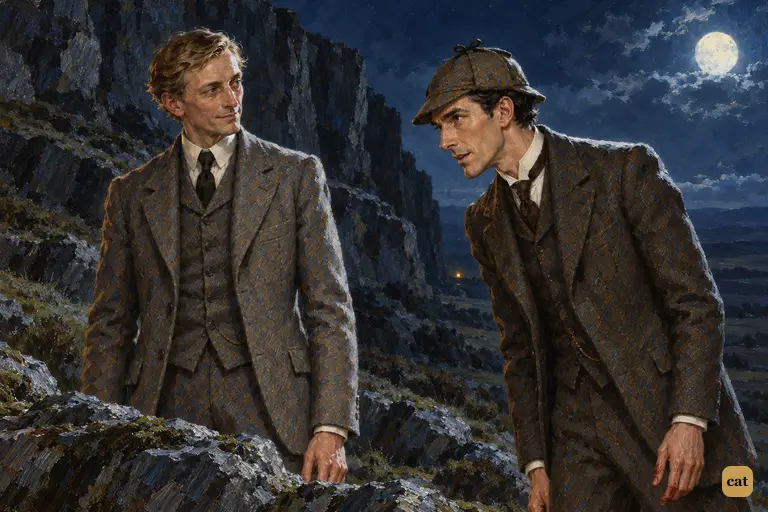
15·12 Under the risen moon at the foot of the cliff, Holmes gives Stapleton a small, courteous bow.
In the text →
Chapter 16 · 11 illustrations The Portrait and the Trap
-
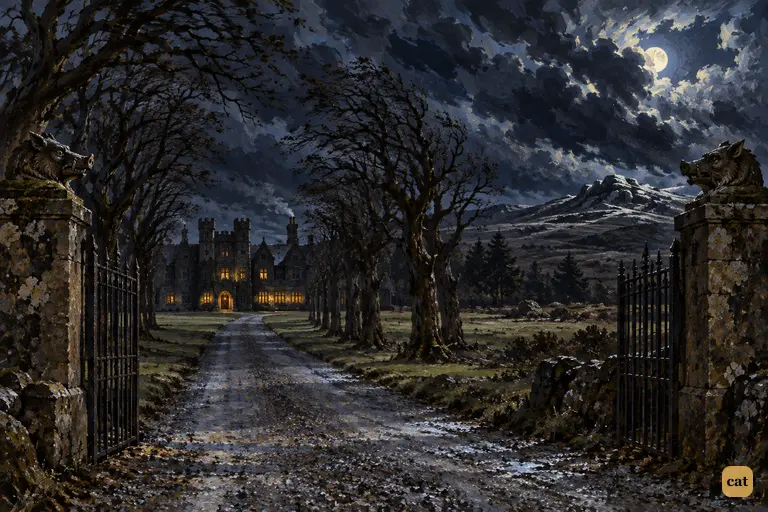
16·1 Baskerville Hall seen from the lodge-gates on a windy October night.
In the text → -
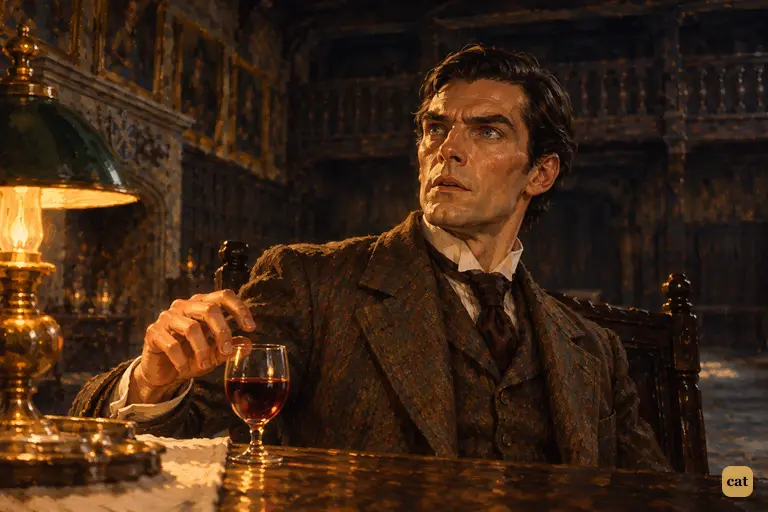
16·2 Holmes stops in the middle of a sentence at the lamplit supper table and stares up past Watson's head.
In the text → -
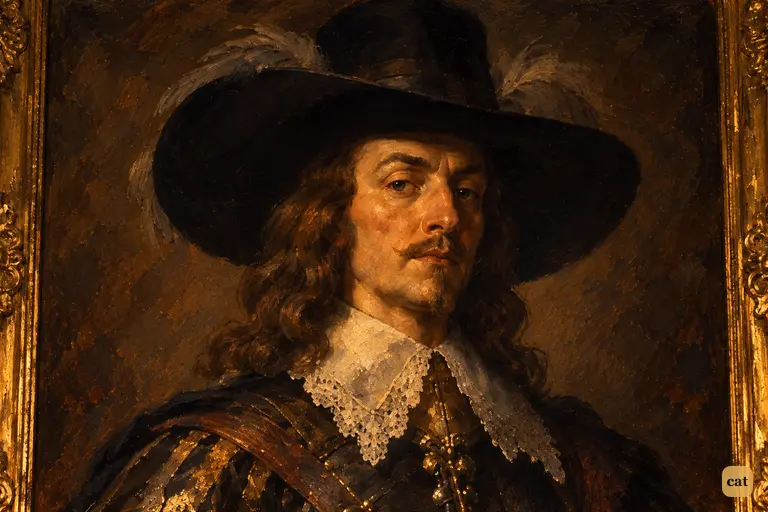
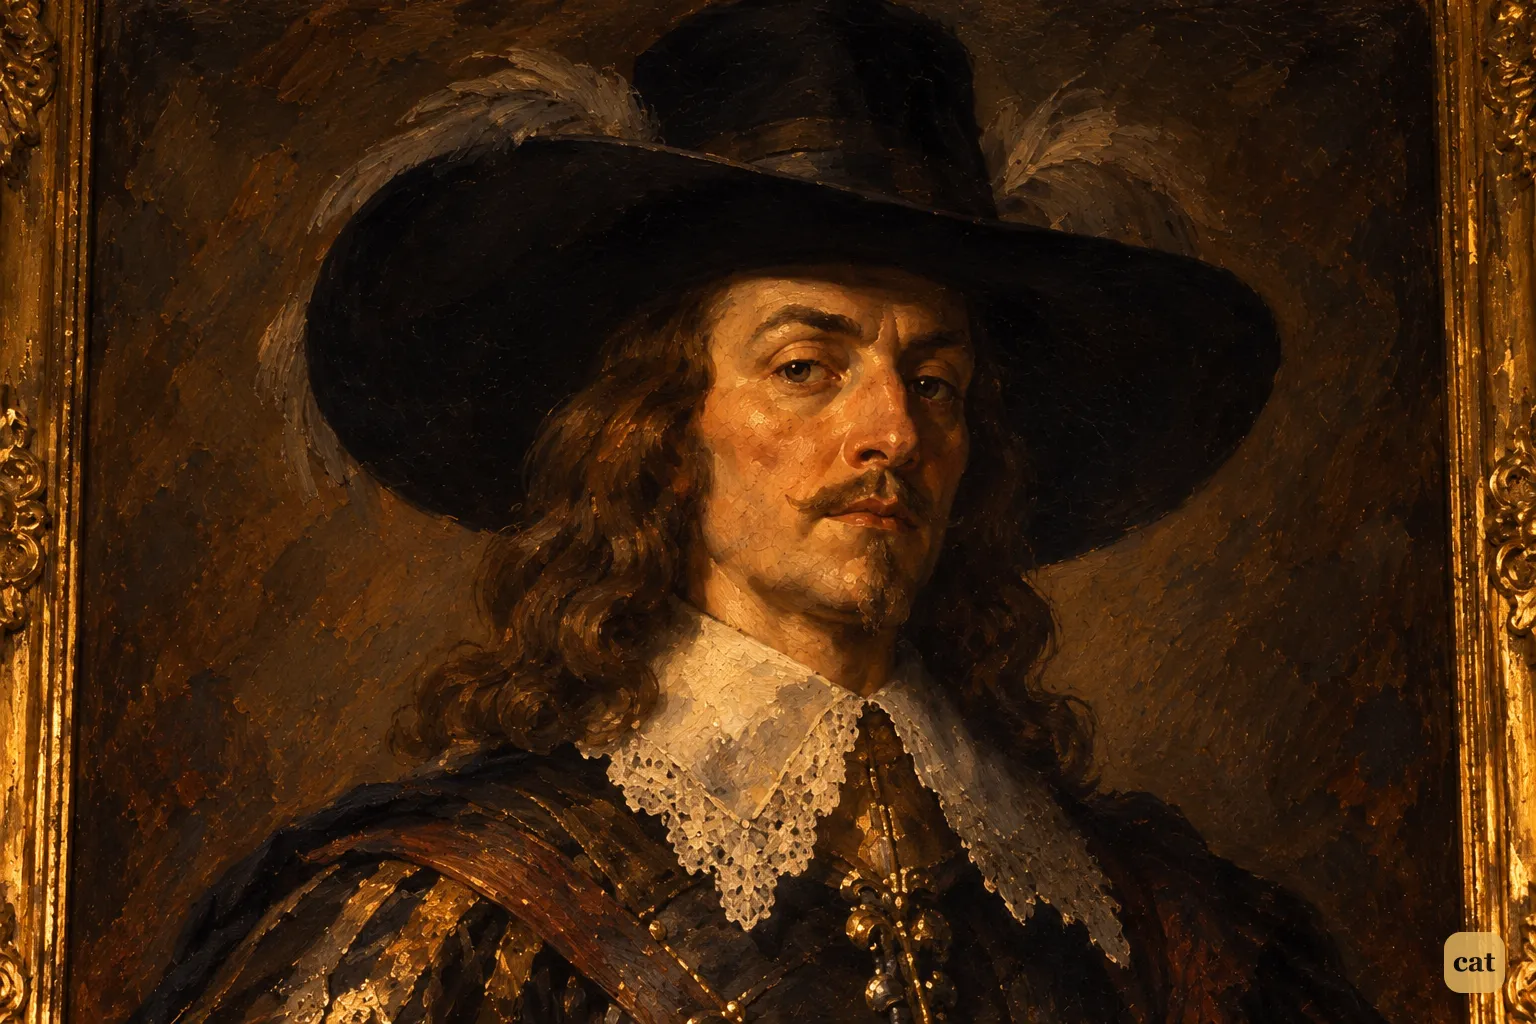
16·3 The time-darkened portrait of the cavalier who started the Hound of the Baskervilles looks down over the supper table.
In the text → -
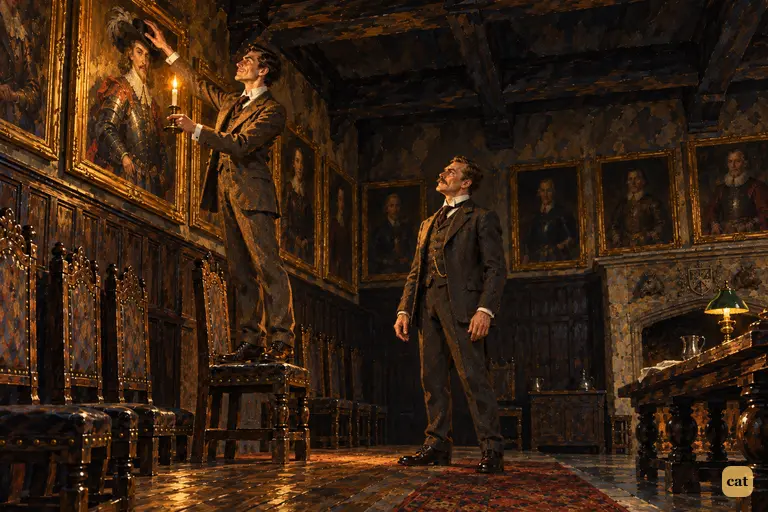
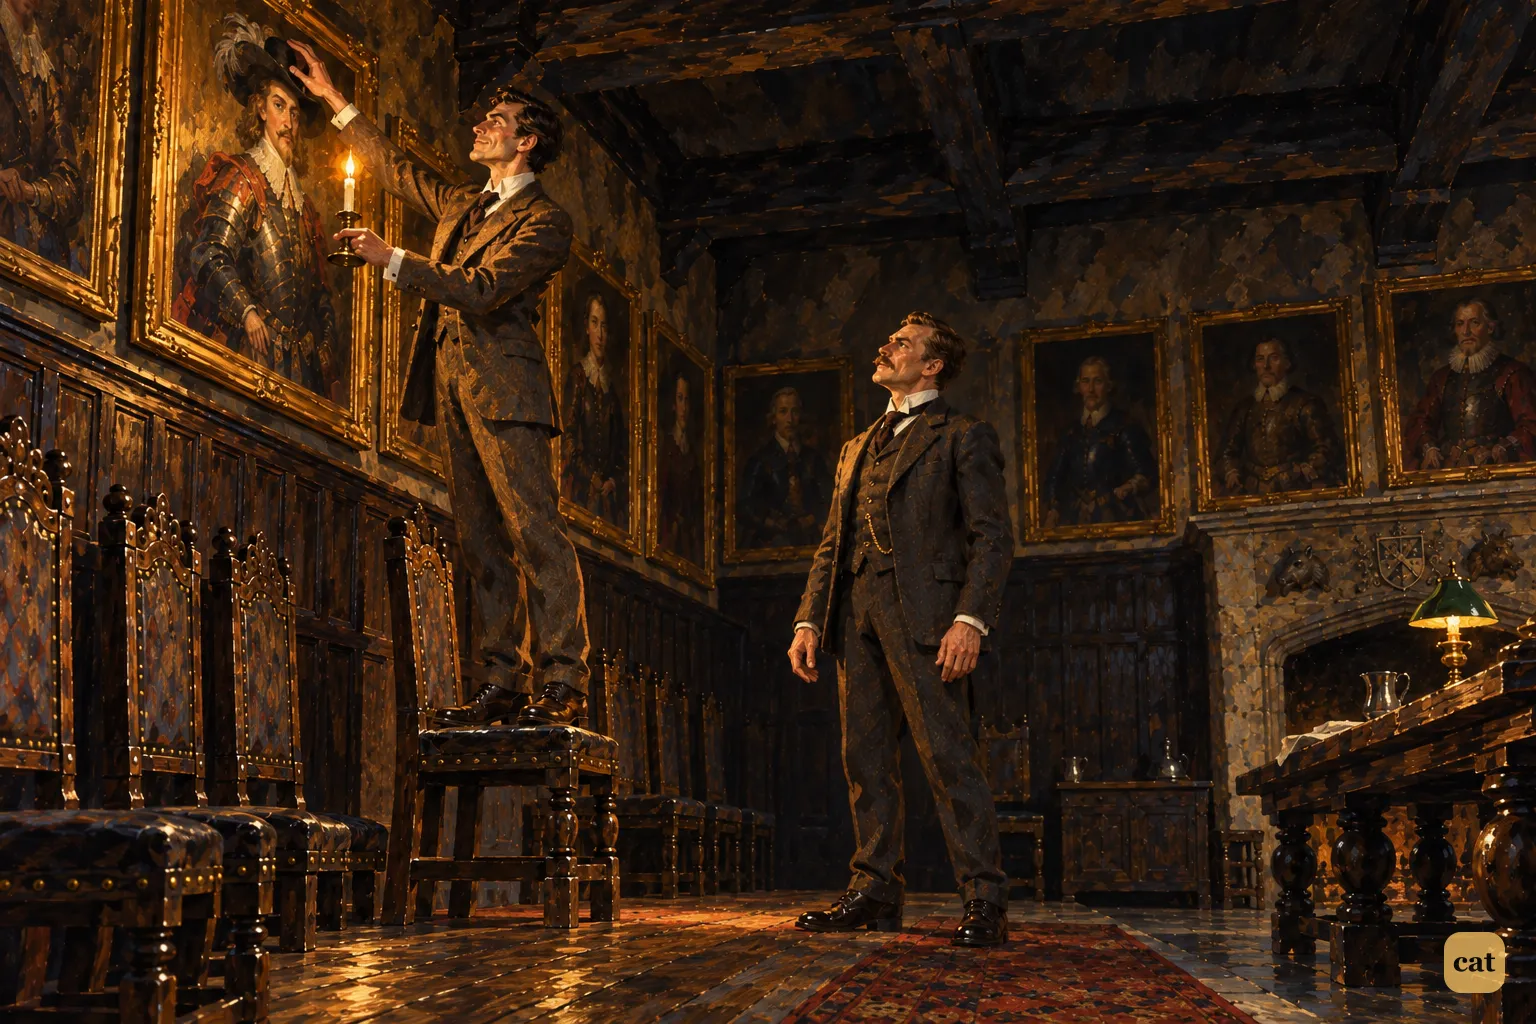
16·4 Holmes stands on a chair under the portrait of Hugo Baskerville, holding his candle high, and curves his arm over the painted hat and ringlets.
In the text → -
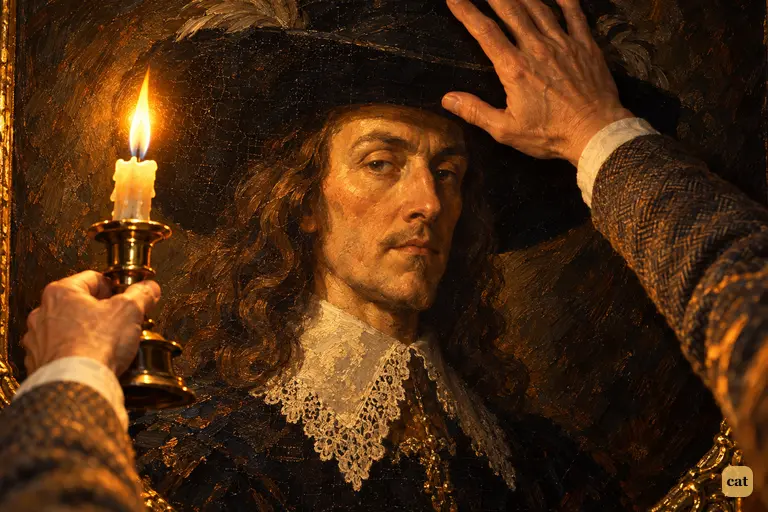
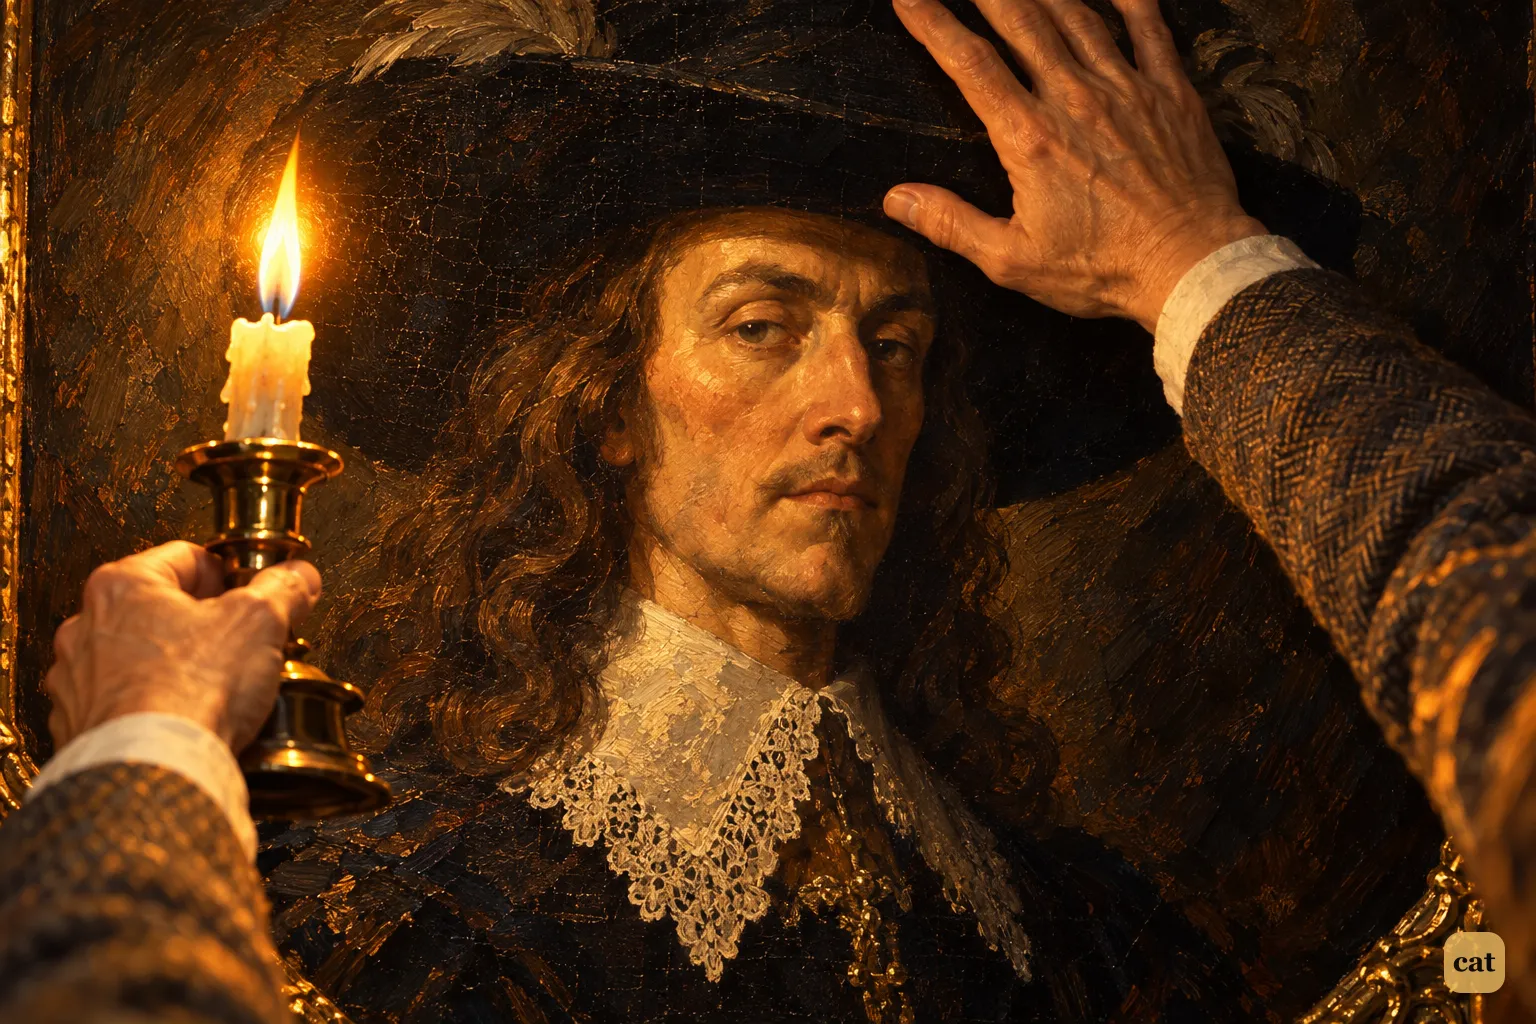
16·5 Holmes curves his arm over the Cavalier's plumed hat and ringlets by candlelight.
In the text → -
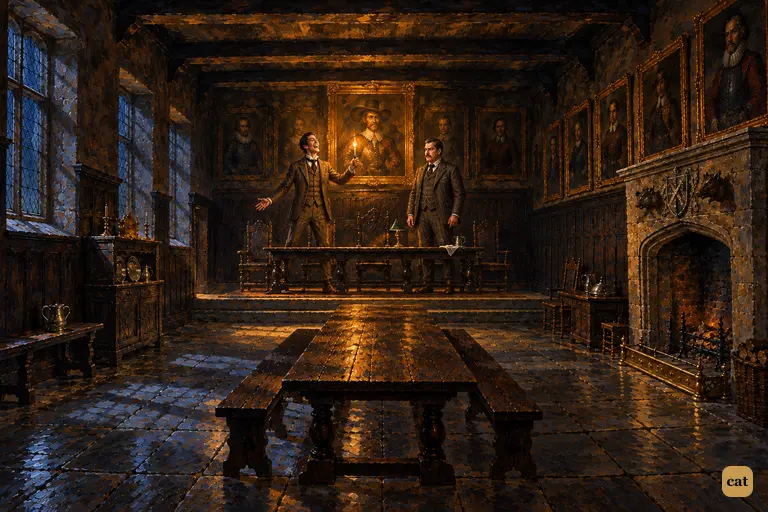
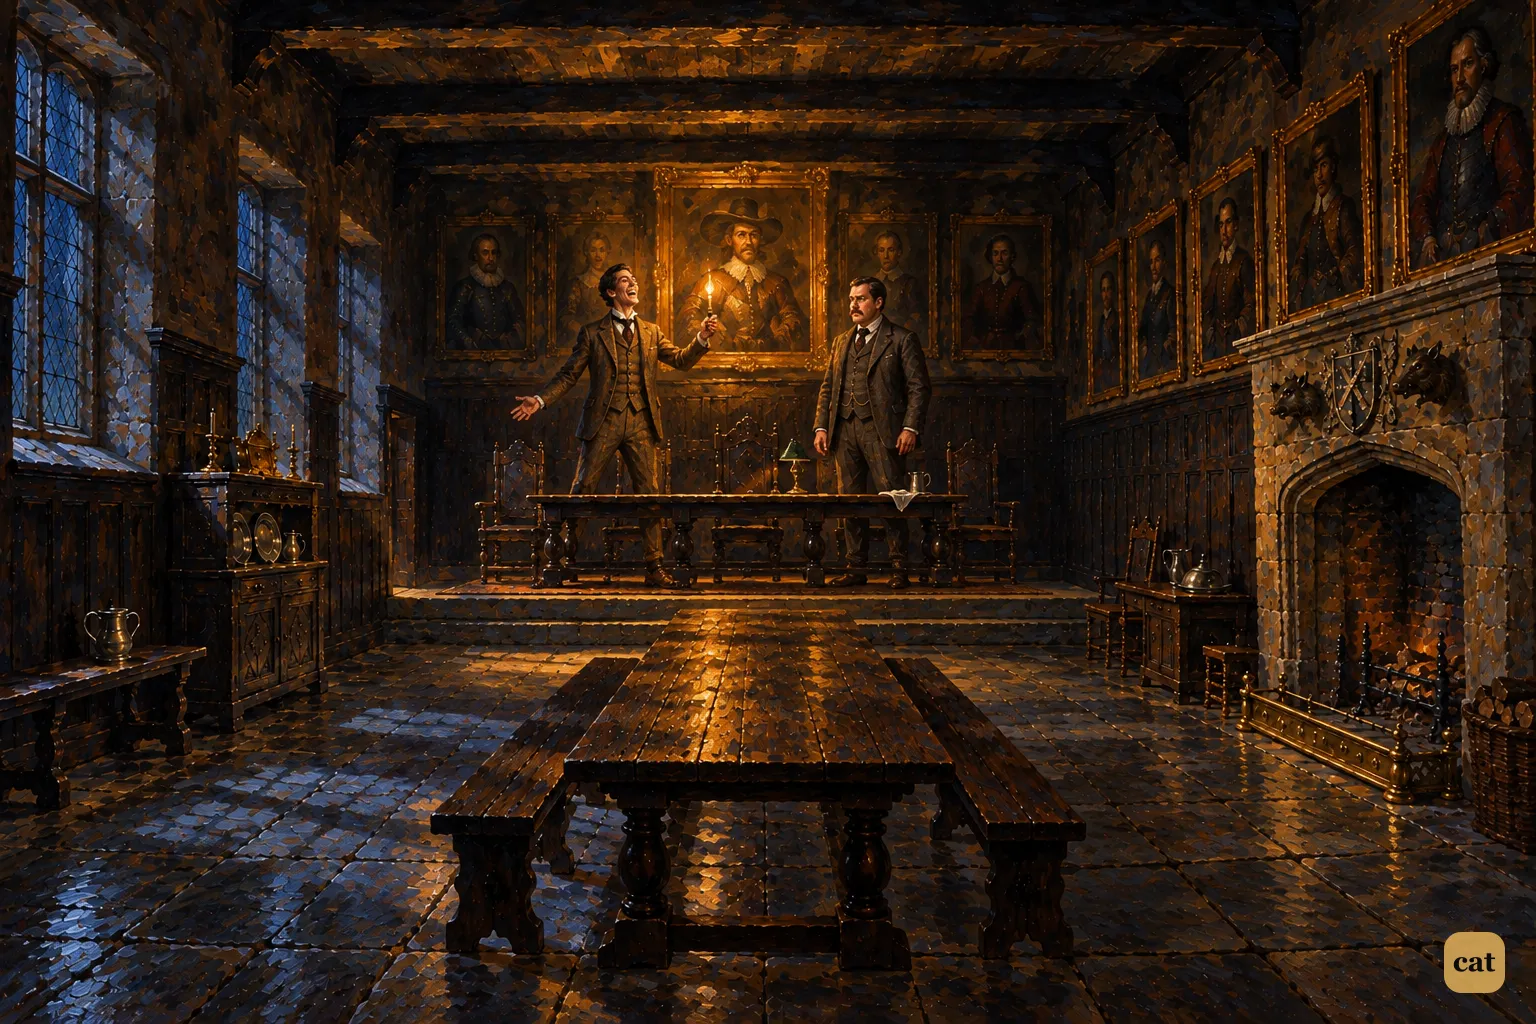
16·6 Late at night in the dark banqueting-hall, Holmes turns from the portrait of wicked Hugo and bursts into one of his rare fits of laughter.
In the text → -
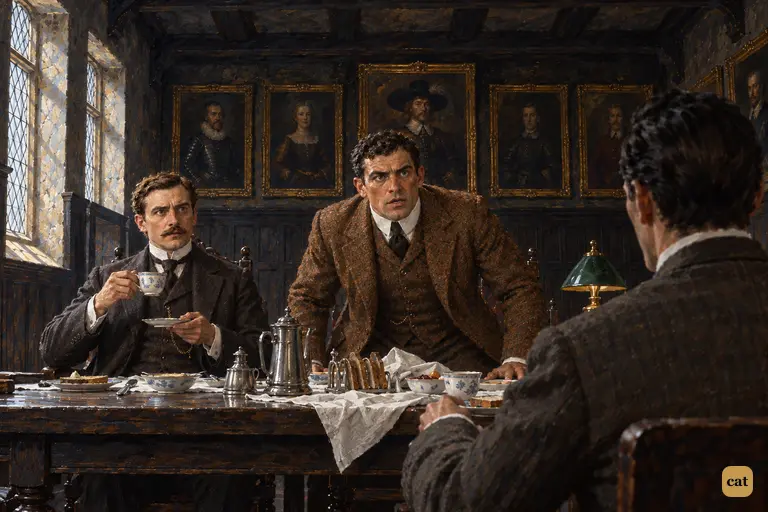
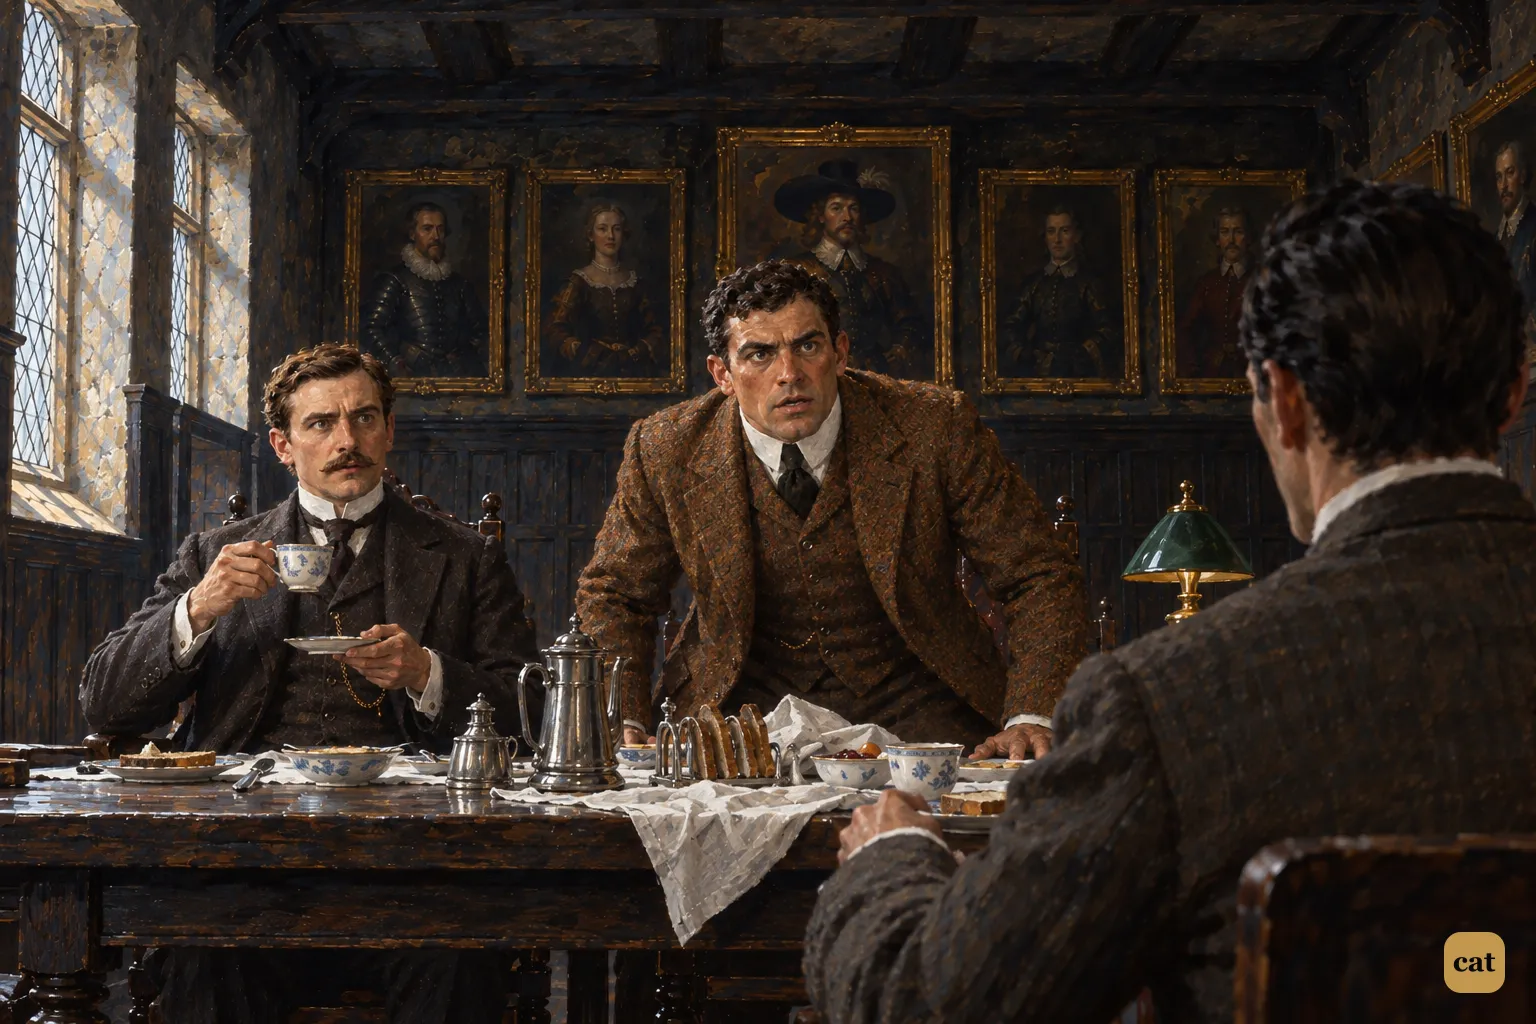
16·7 At breakfast, Holmes calmly tells Sir Henry to walk home alone across the moor
In the text → -
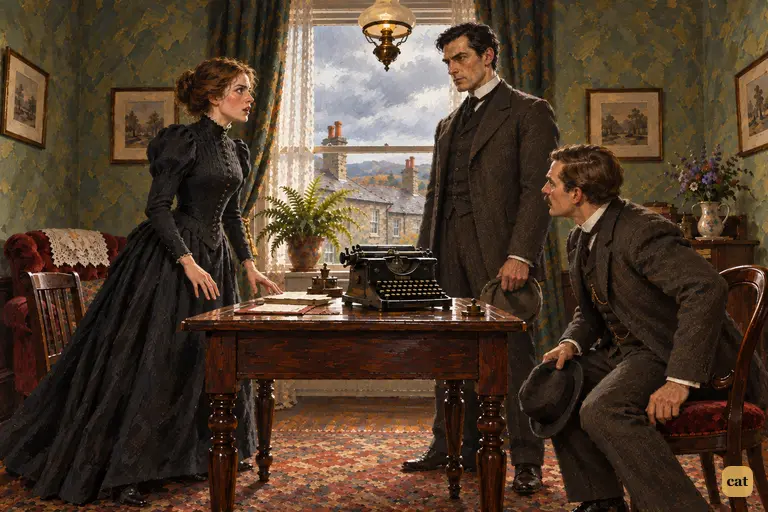
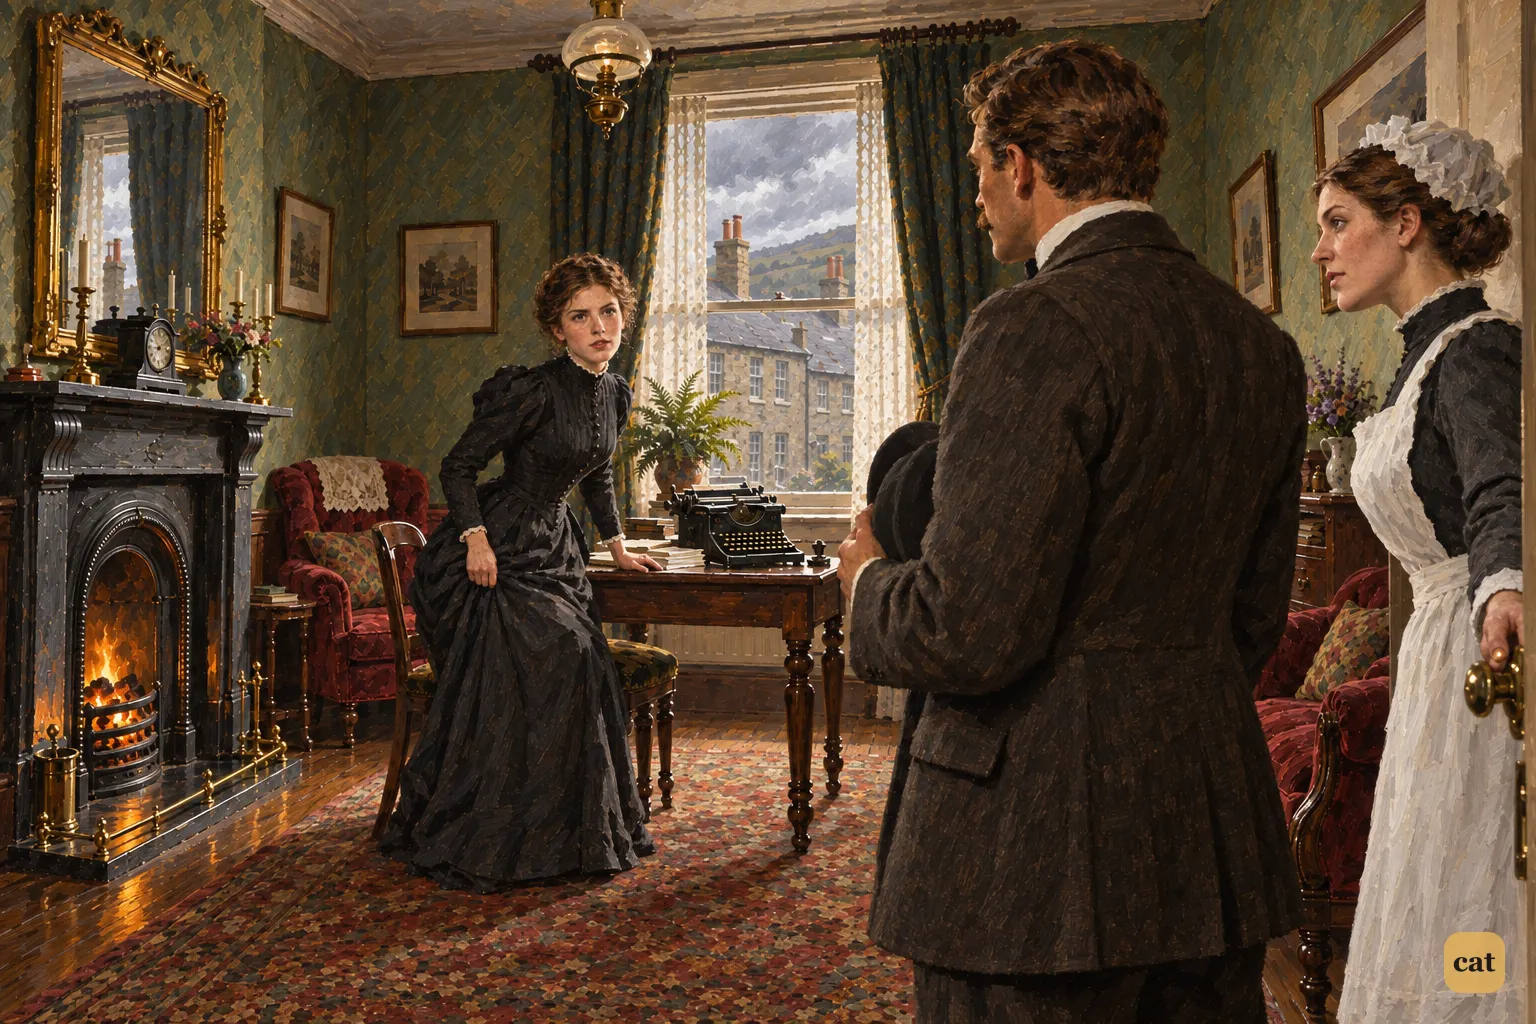
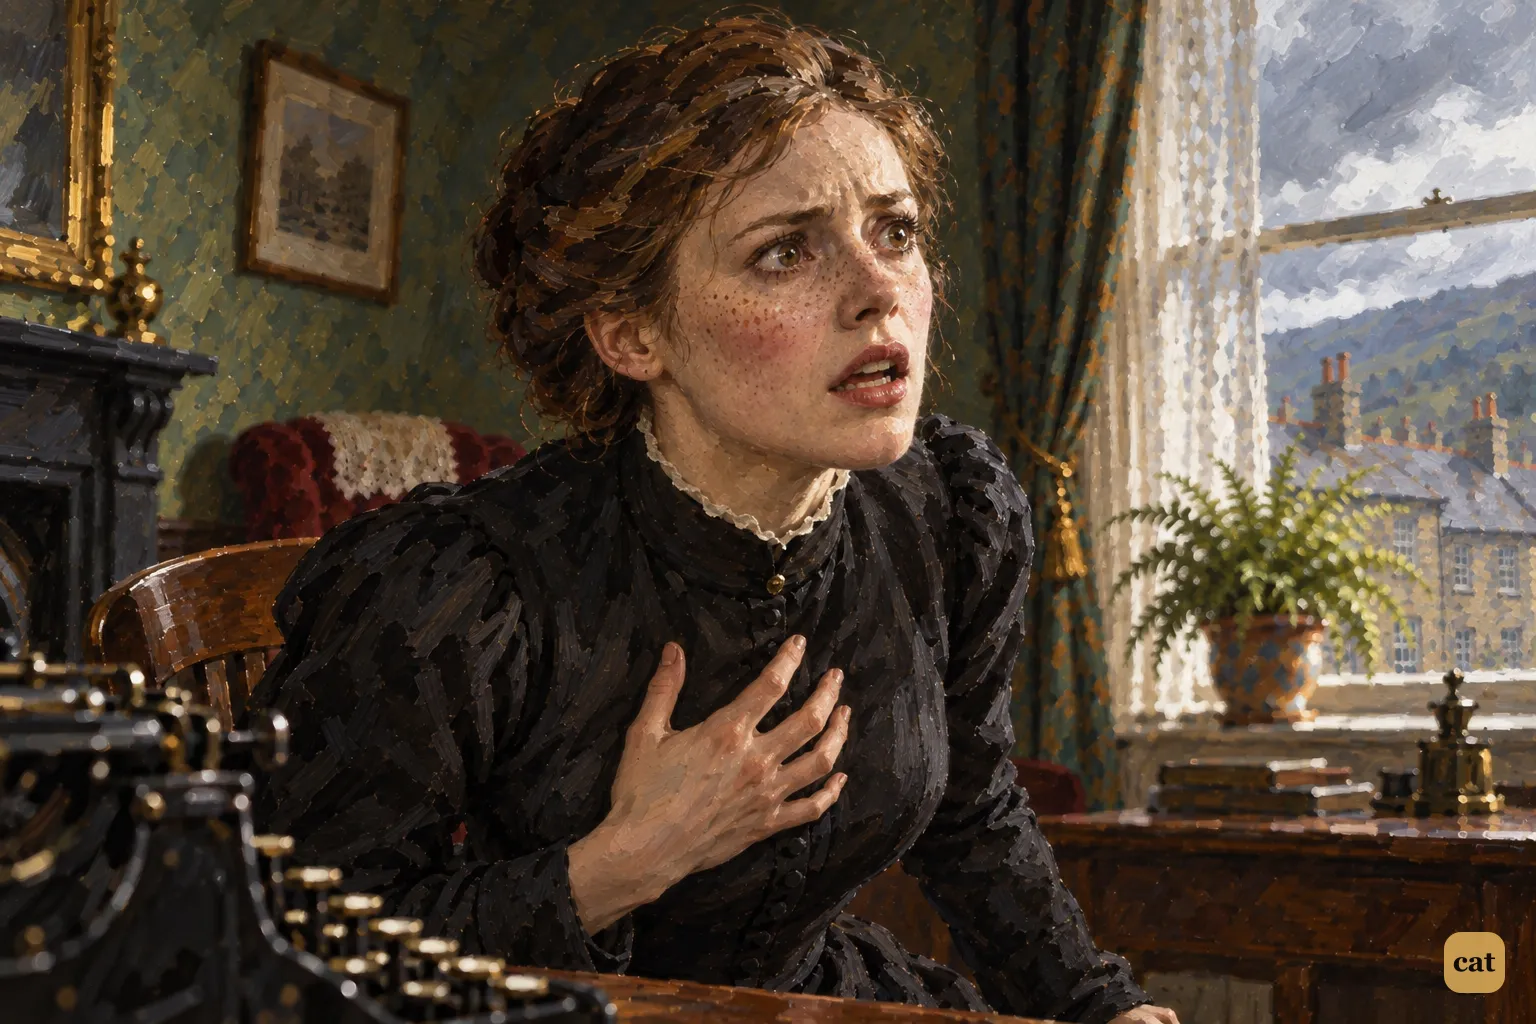
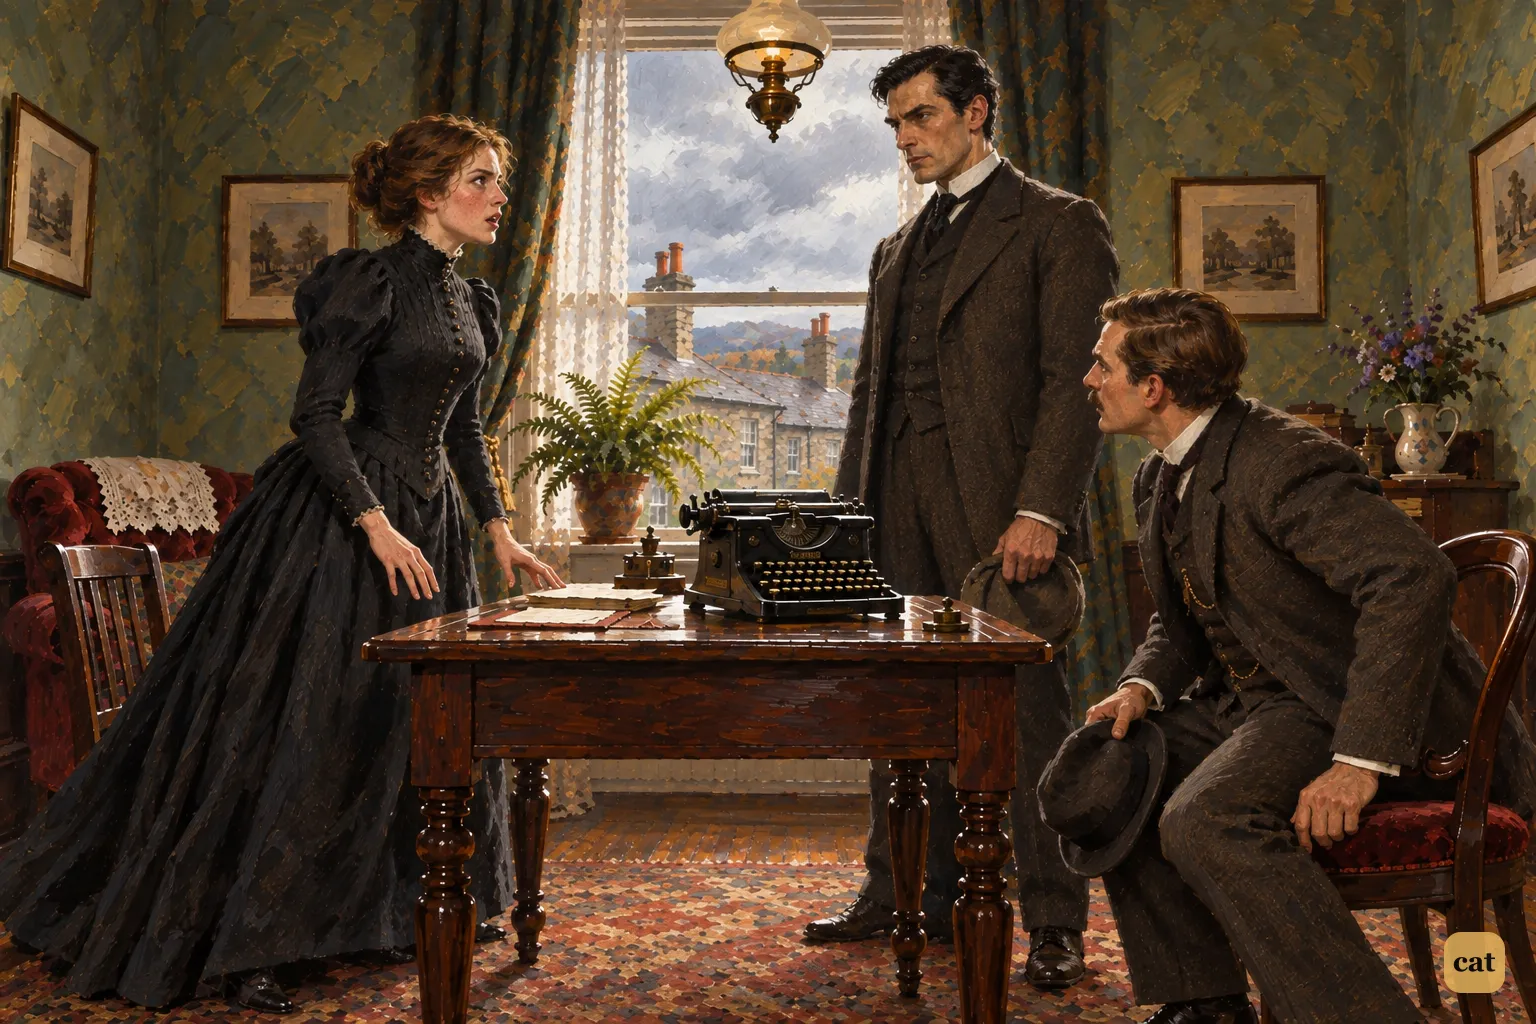
16·8 Mrs. Lyons jumps up from the typewriter table when told Stapleton is married
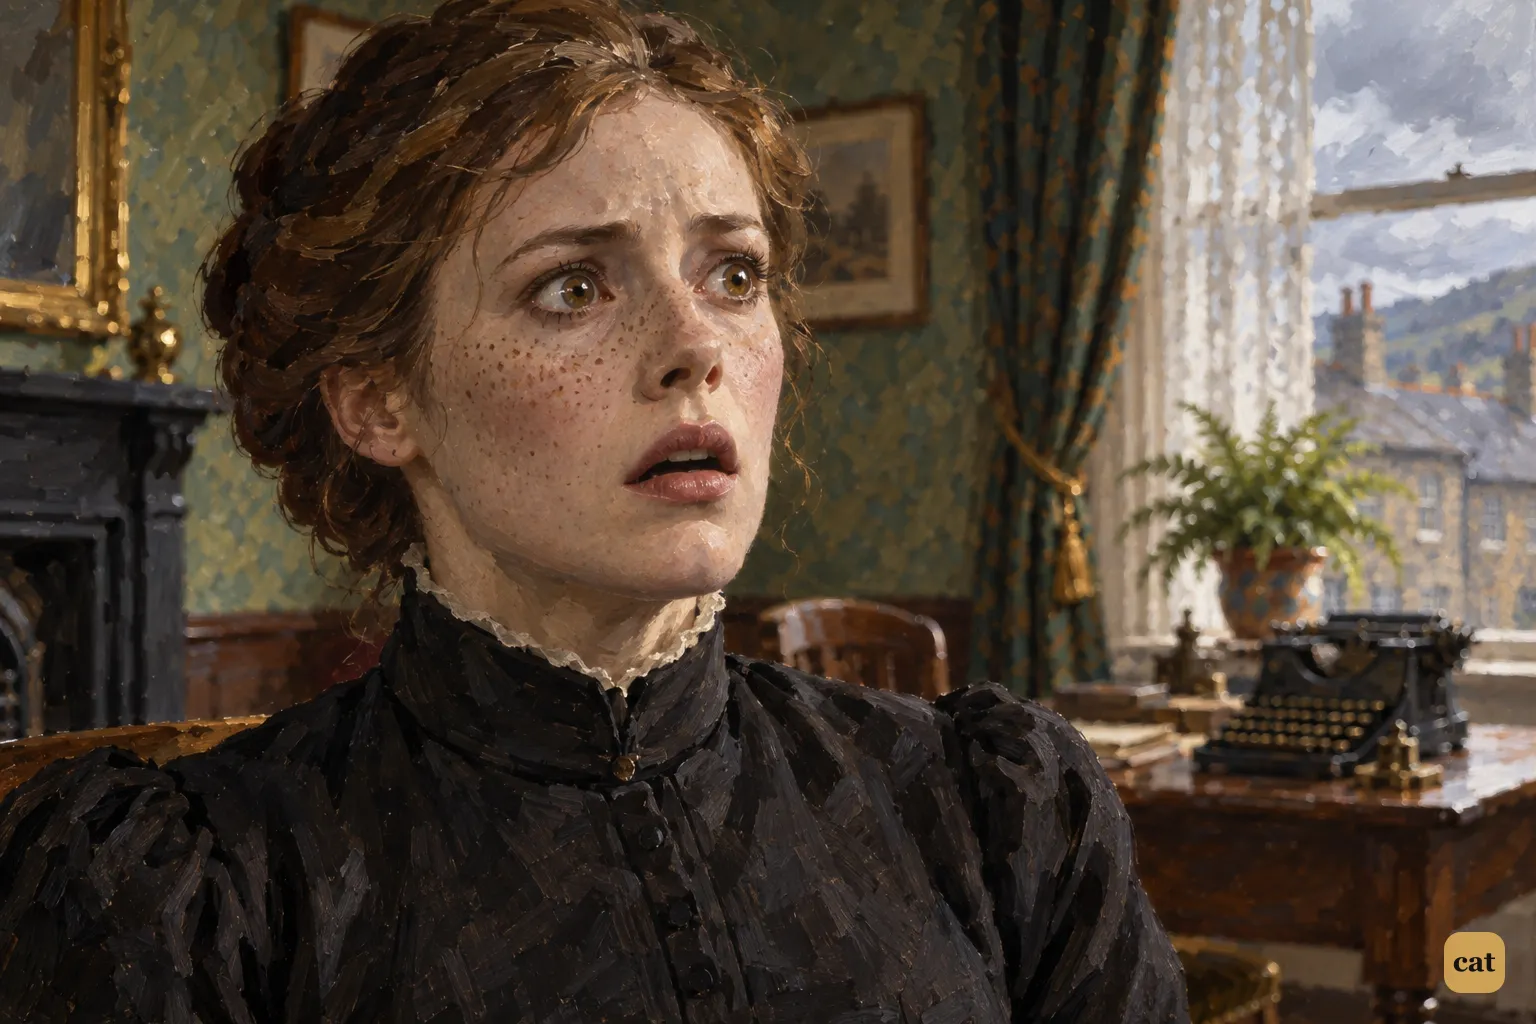
In the text → -
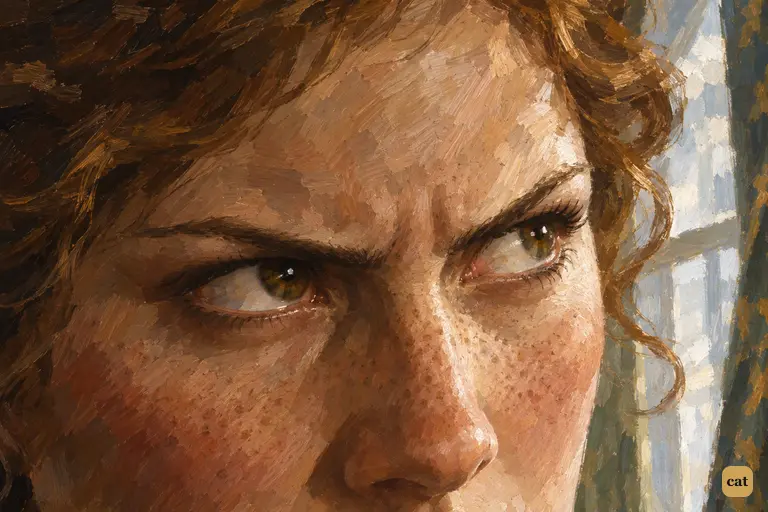
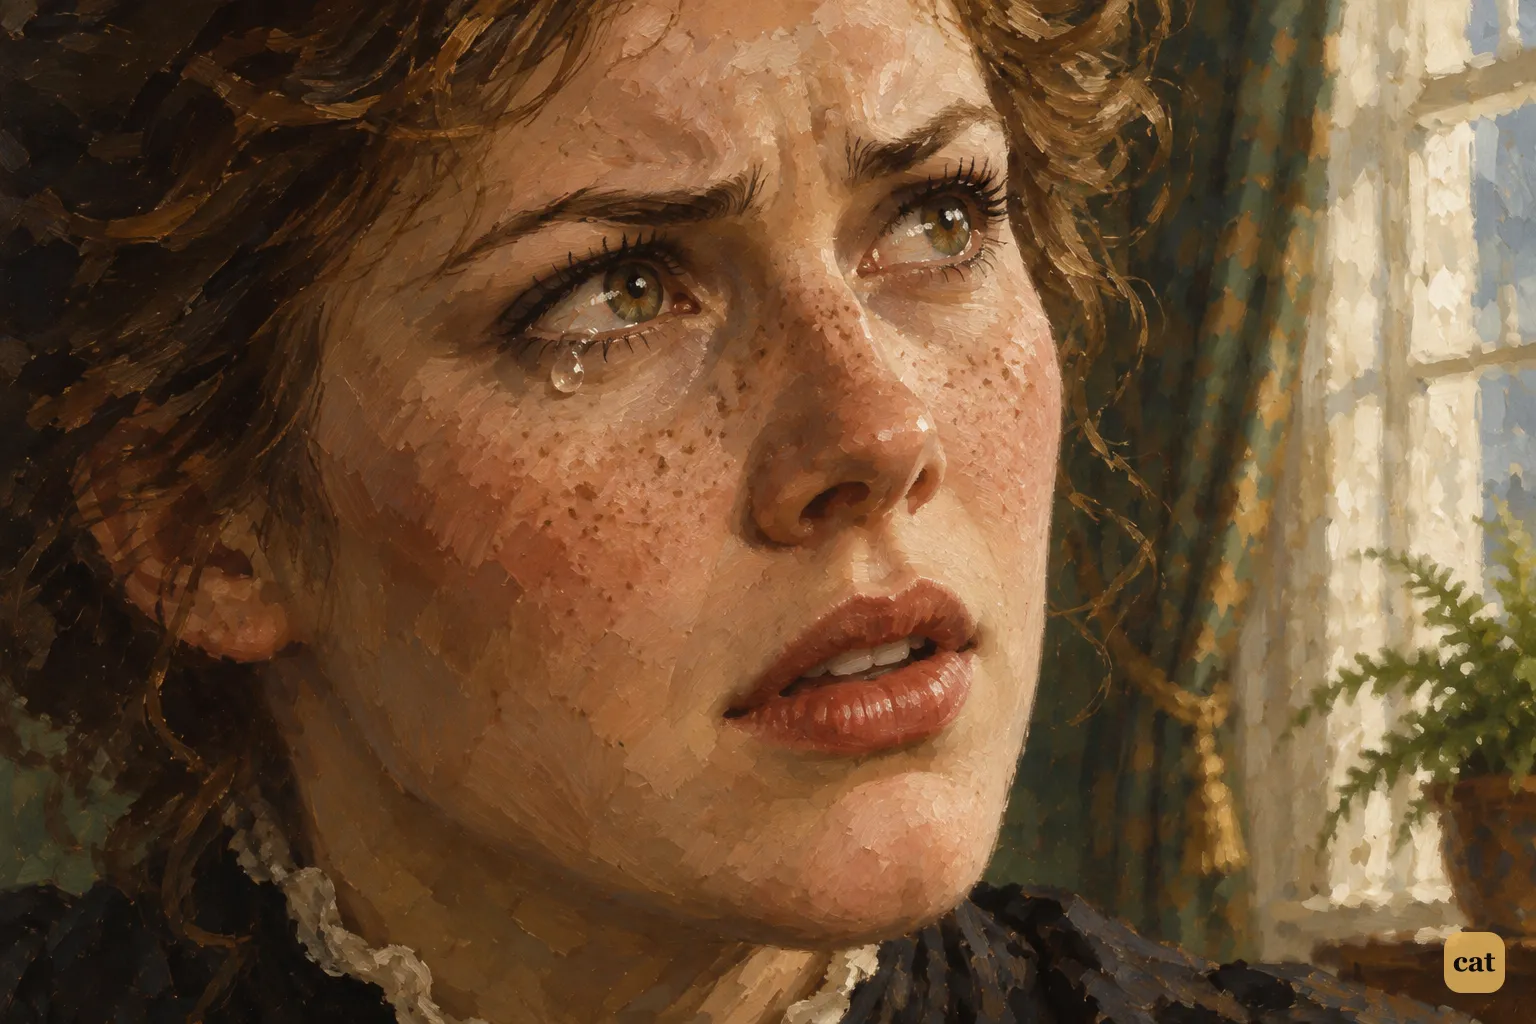
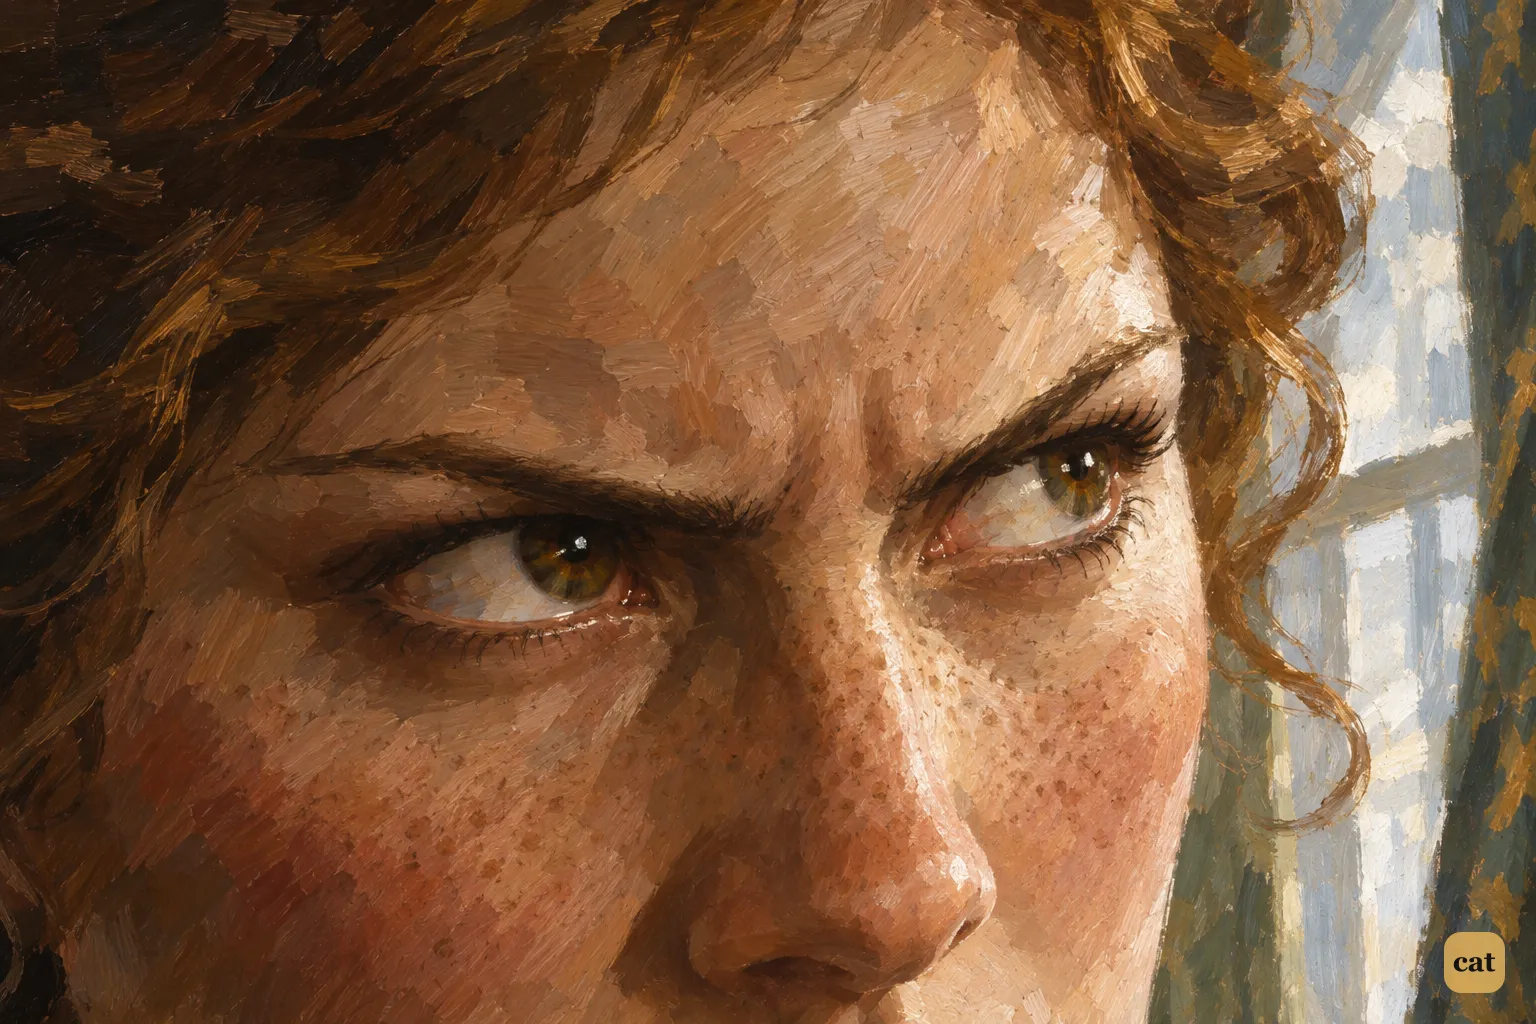
16·9 An extreme close-up of Laura Lyons's eyes just after she learns that Stapleton has a wife.
In the text → -
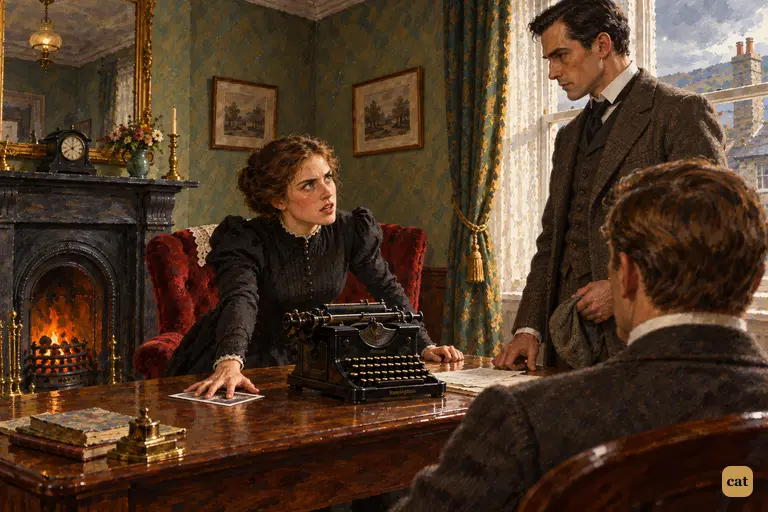
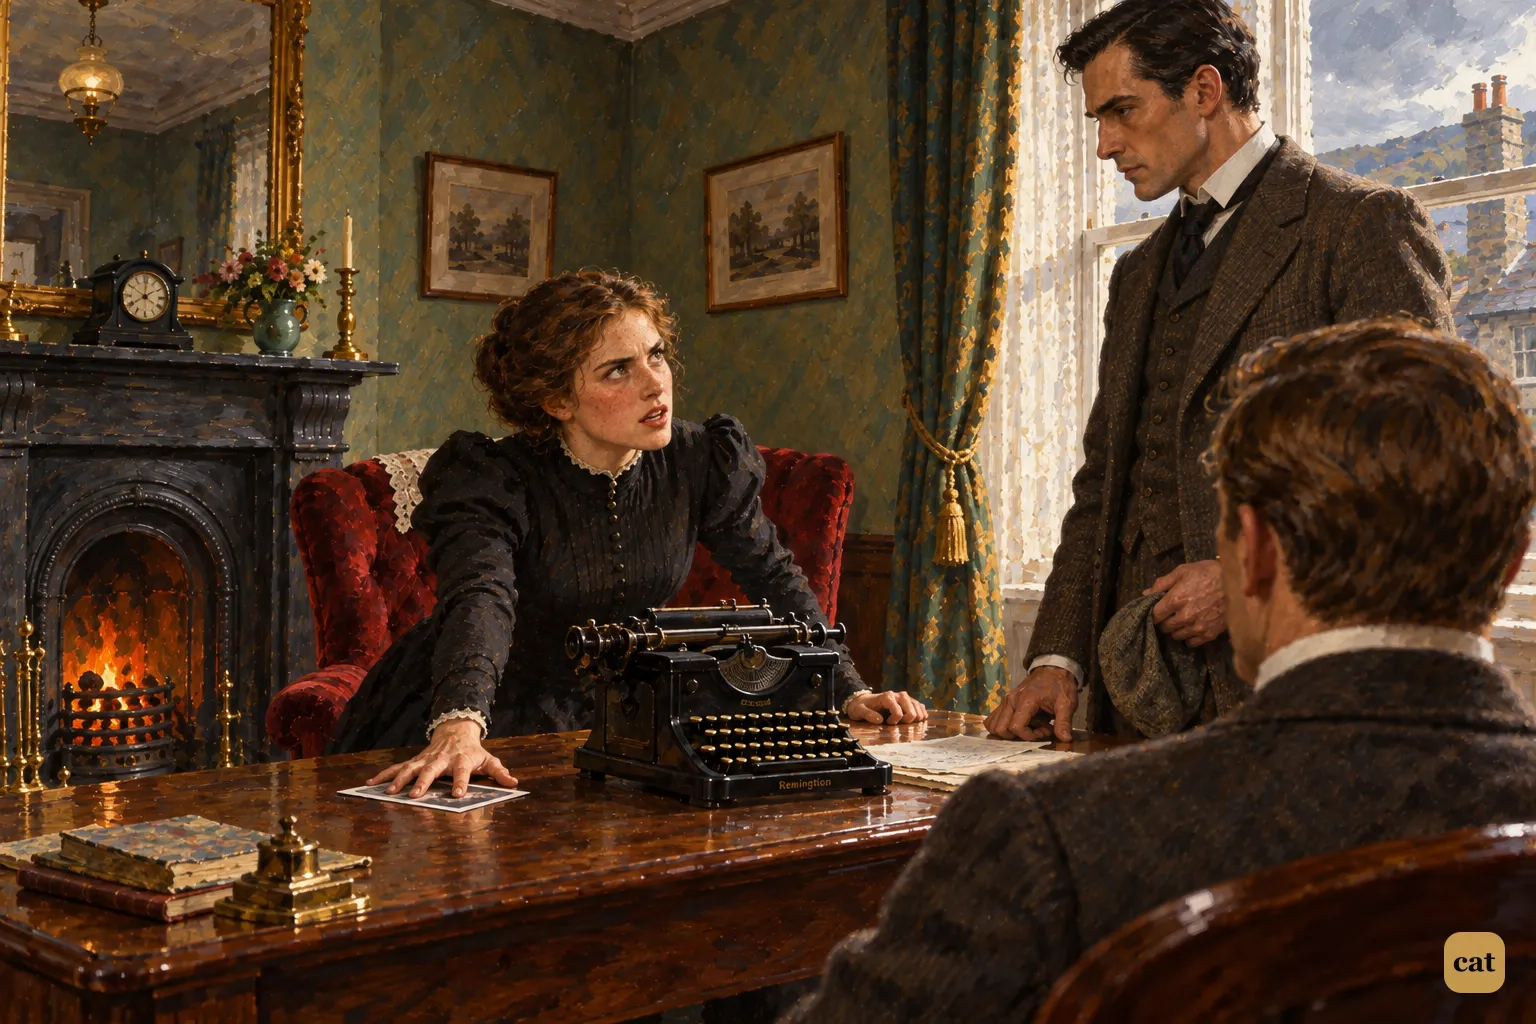
16·10 Laura Lyons presses Stapleton's photograph face down and leans towards Holmes
In the text → -
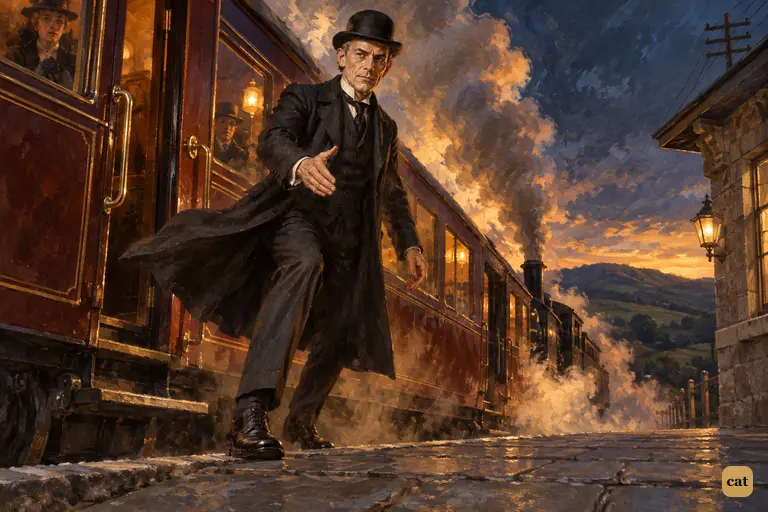
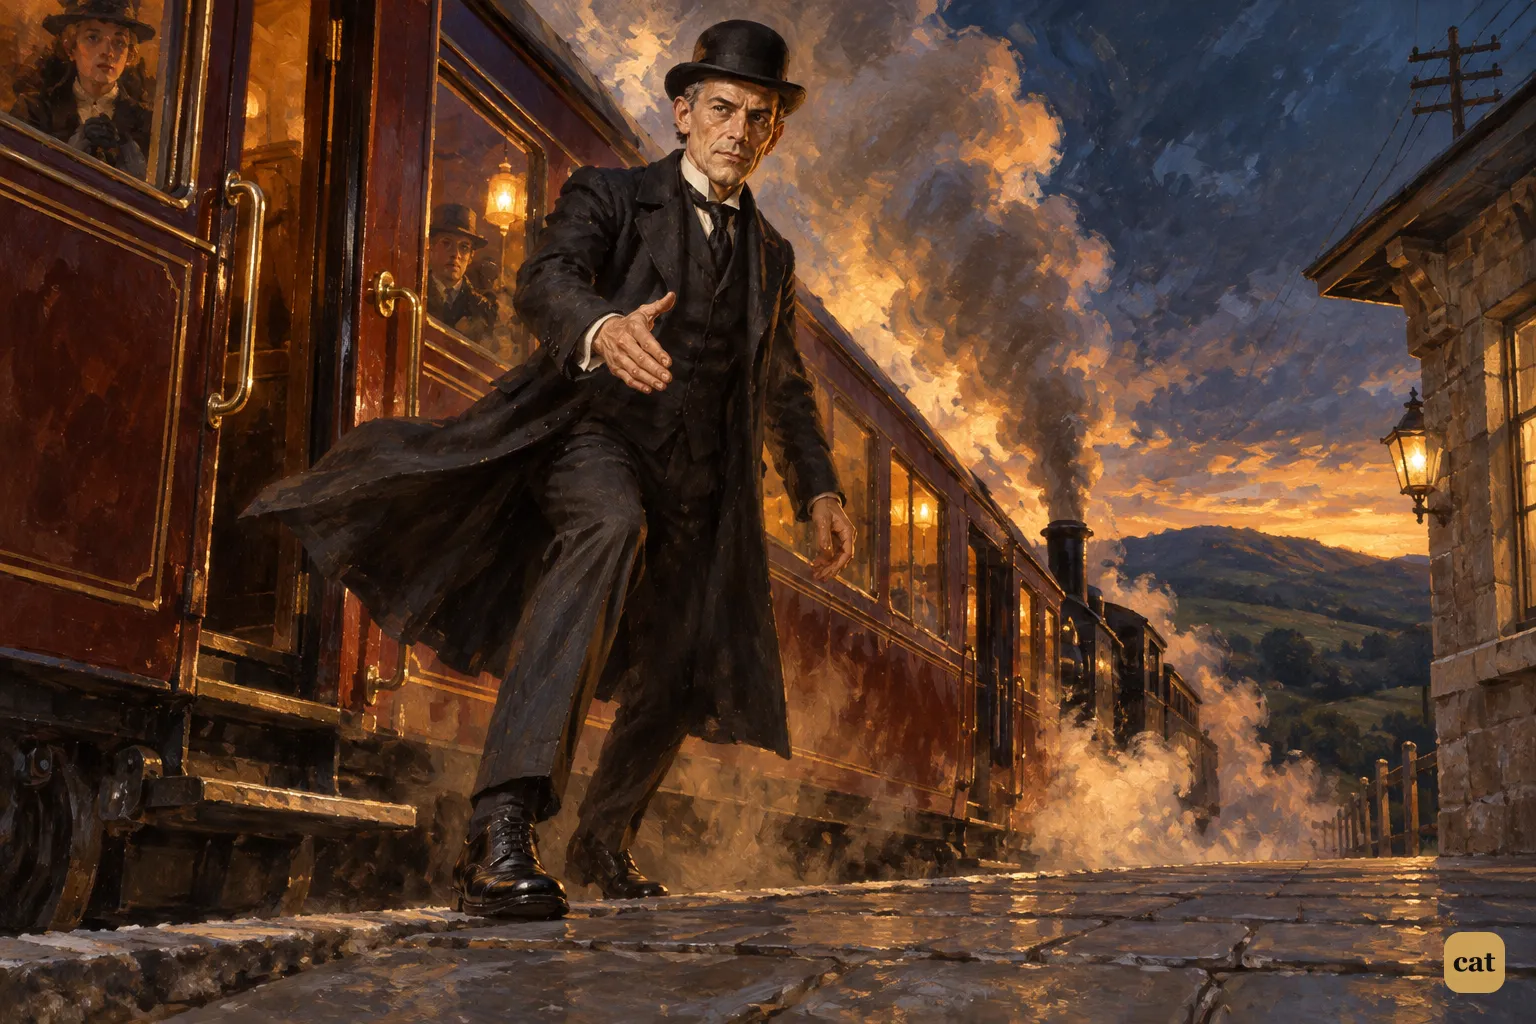
16·11 Lestrade springs from the London express at Coombe Tracey, his hand out for Holmes
In the text →
Chapter 17 · 12 illustrations The Ambush on the Moor and the Hound's Death
-
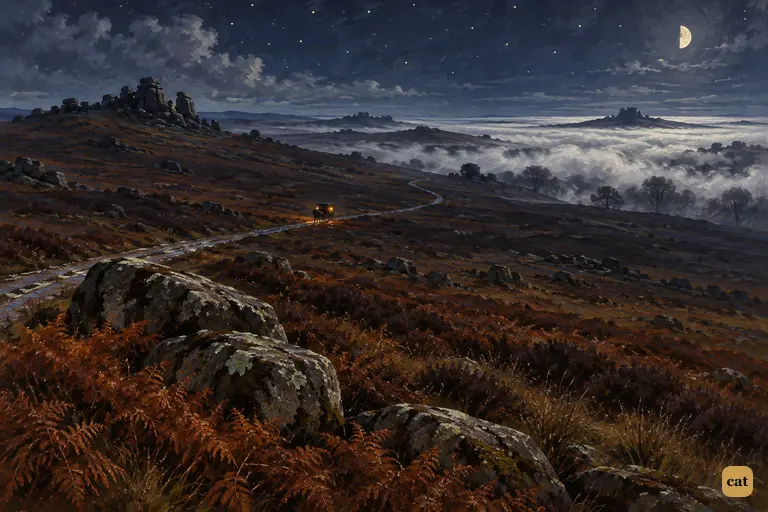
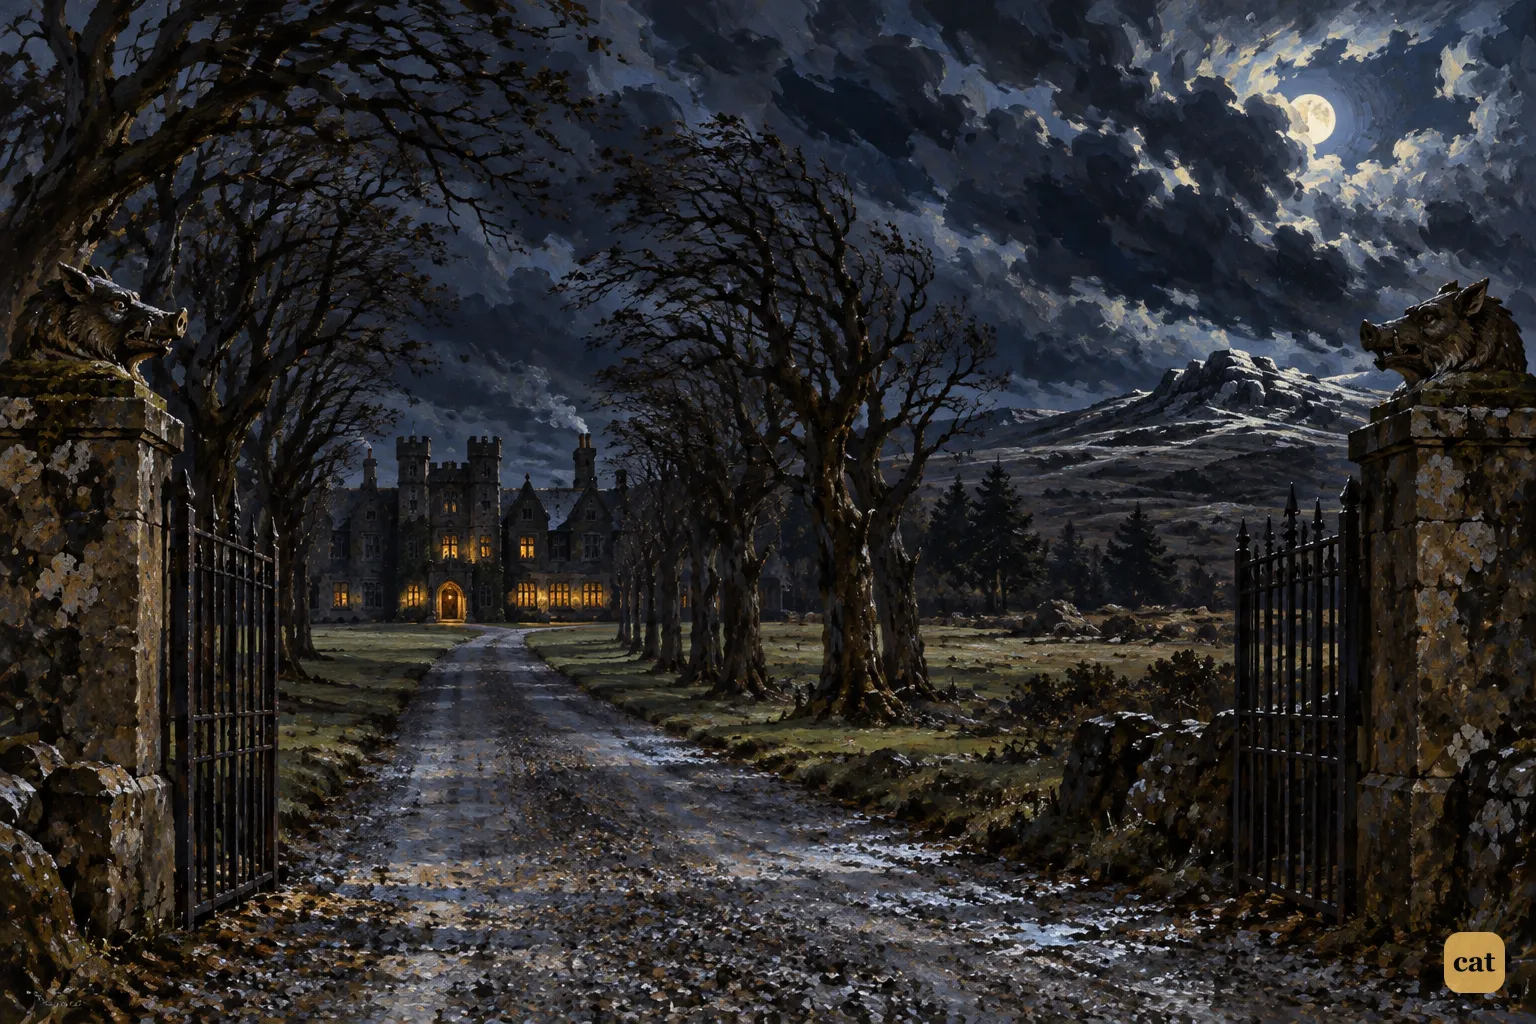
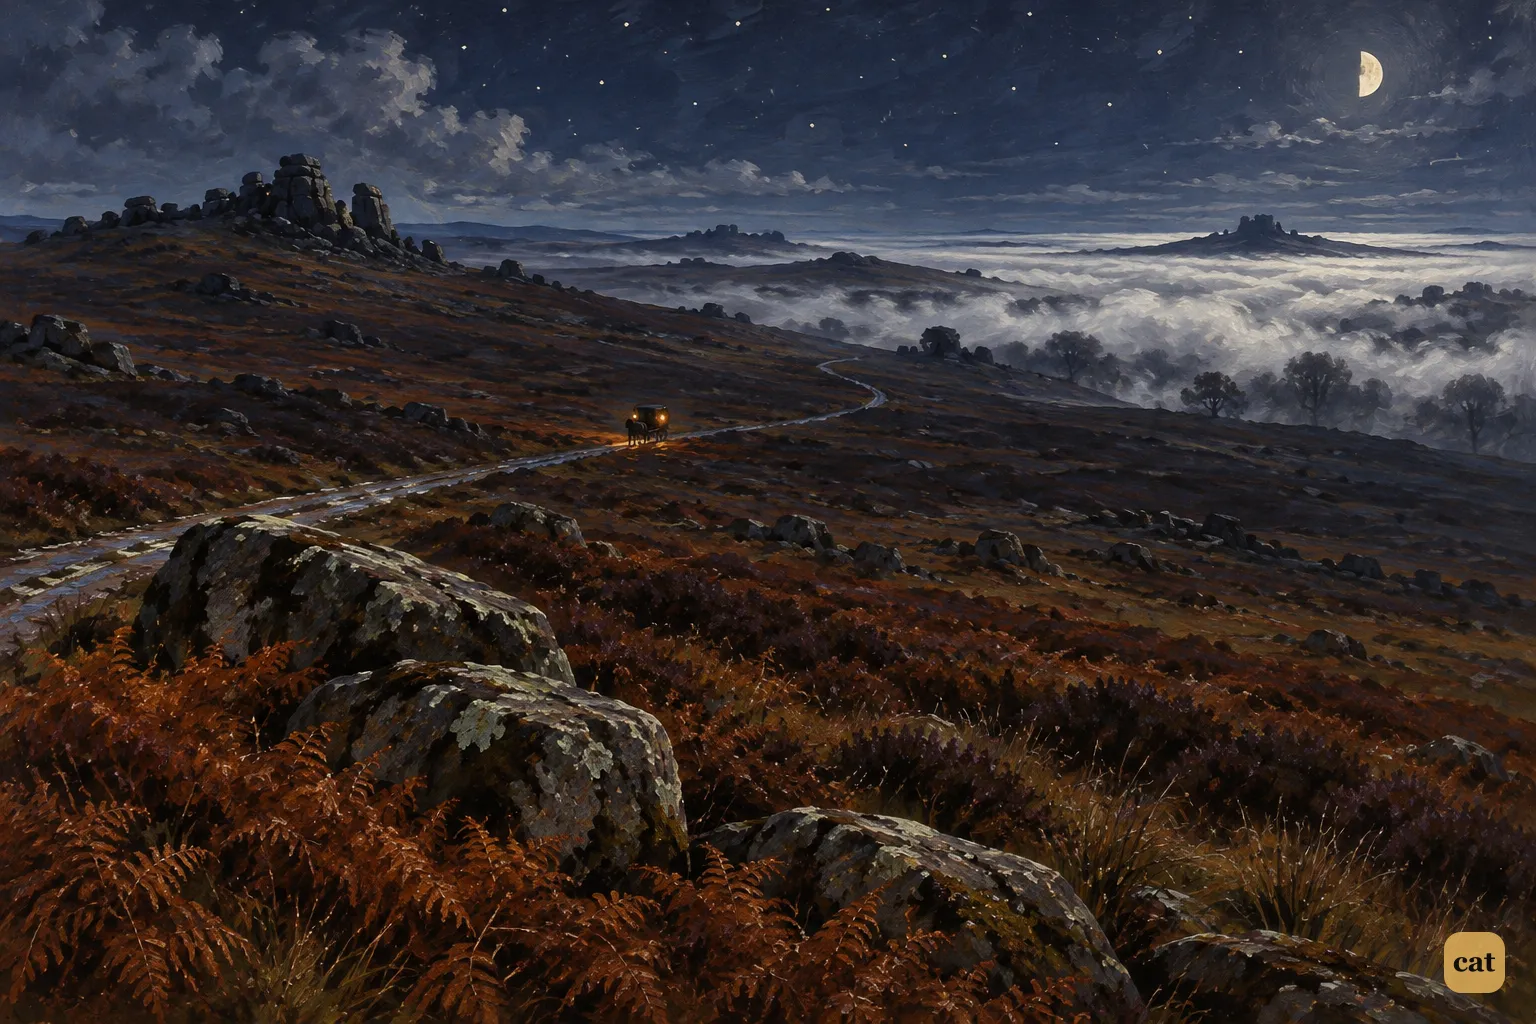
17·1 Tiny wagonette lamps creep across the black moor toward the fog over the Grimpen Mire
In the text → -
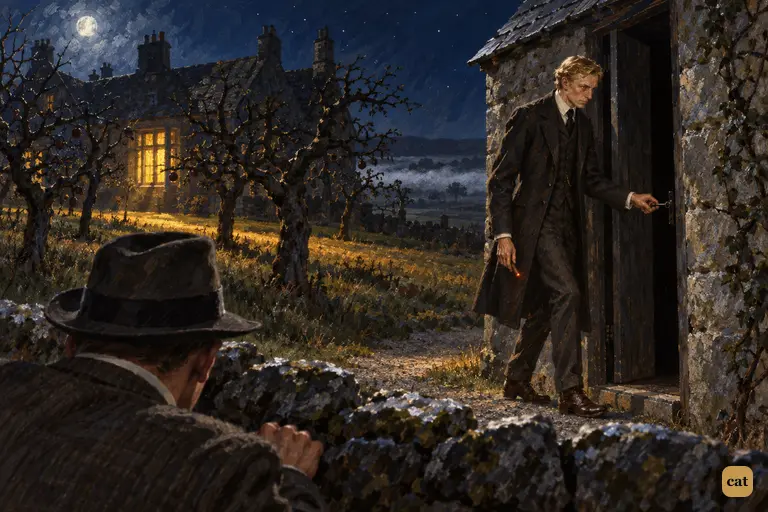
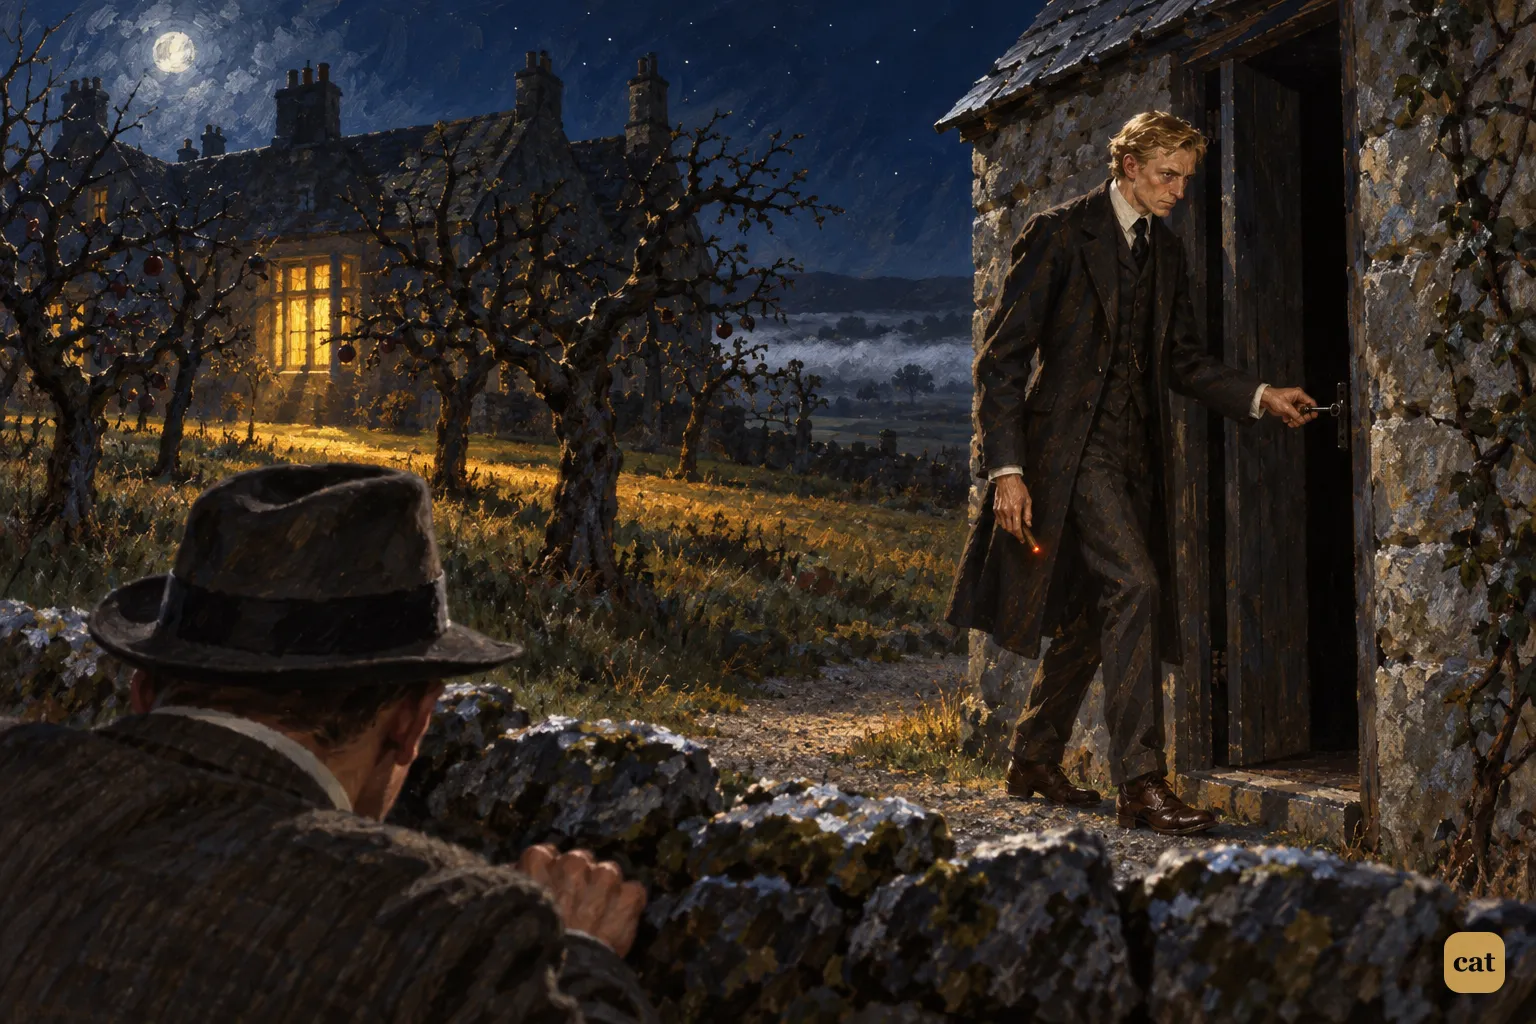
17·2 Behind the orchard wall, Watson watches Stapleton unlock the out-house
In the text → -
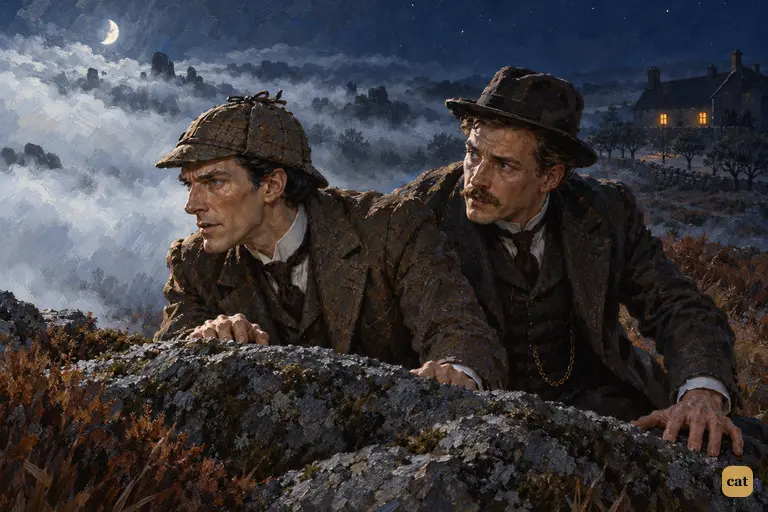
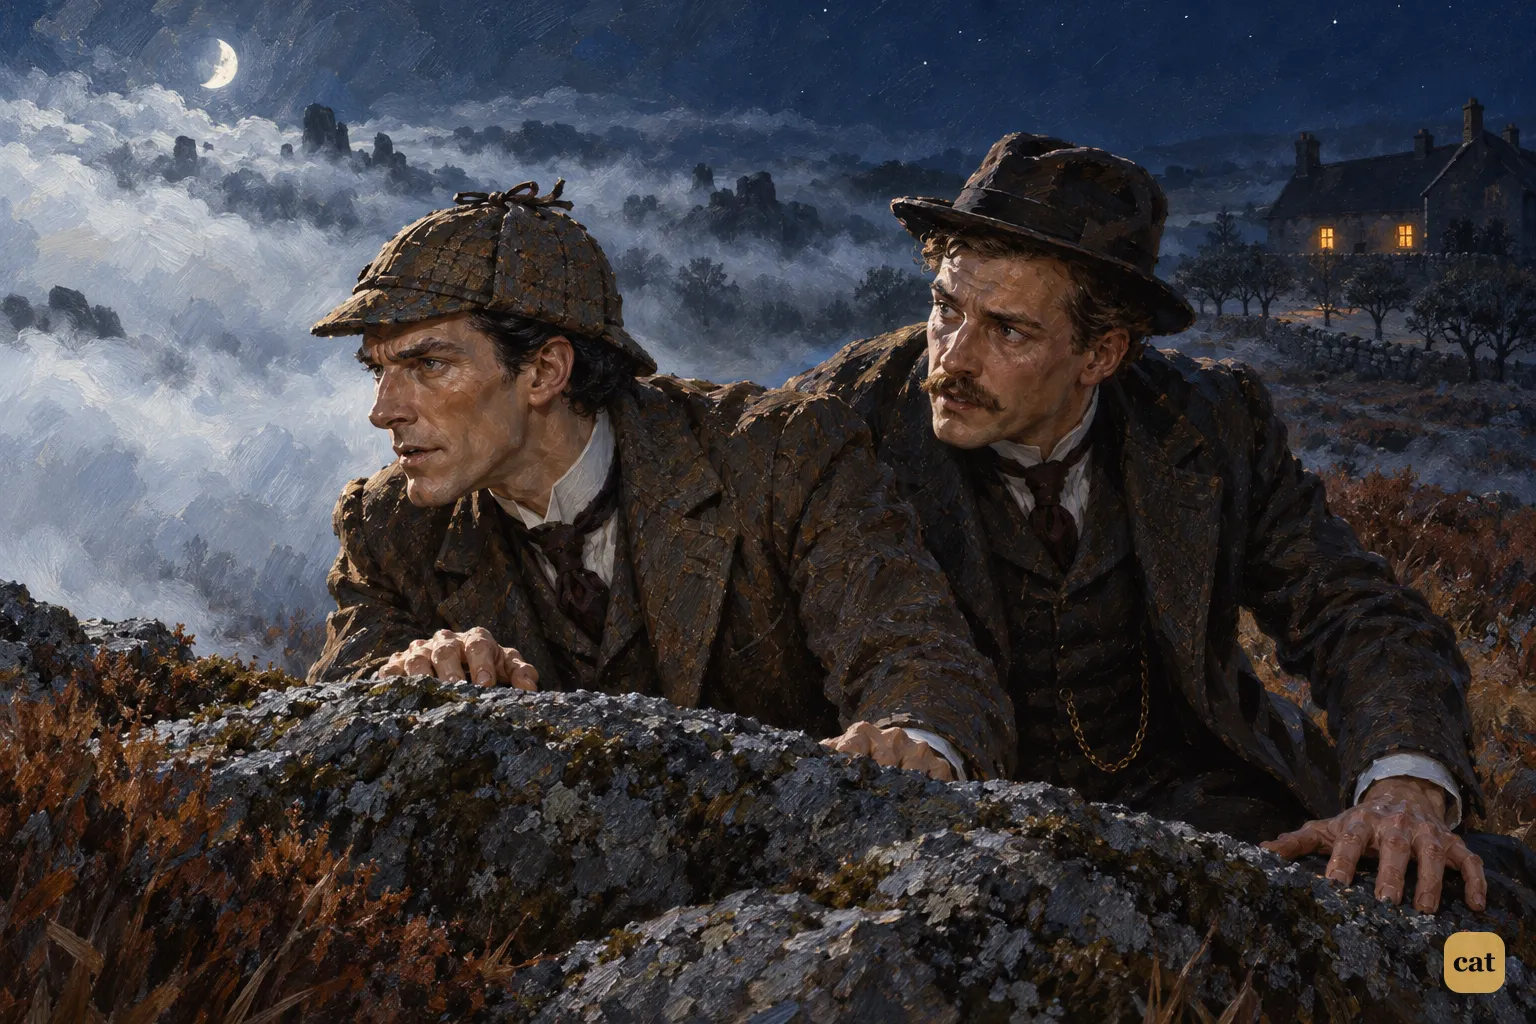
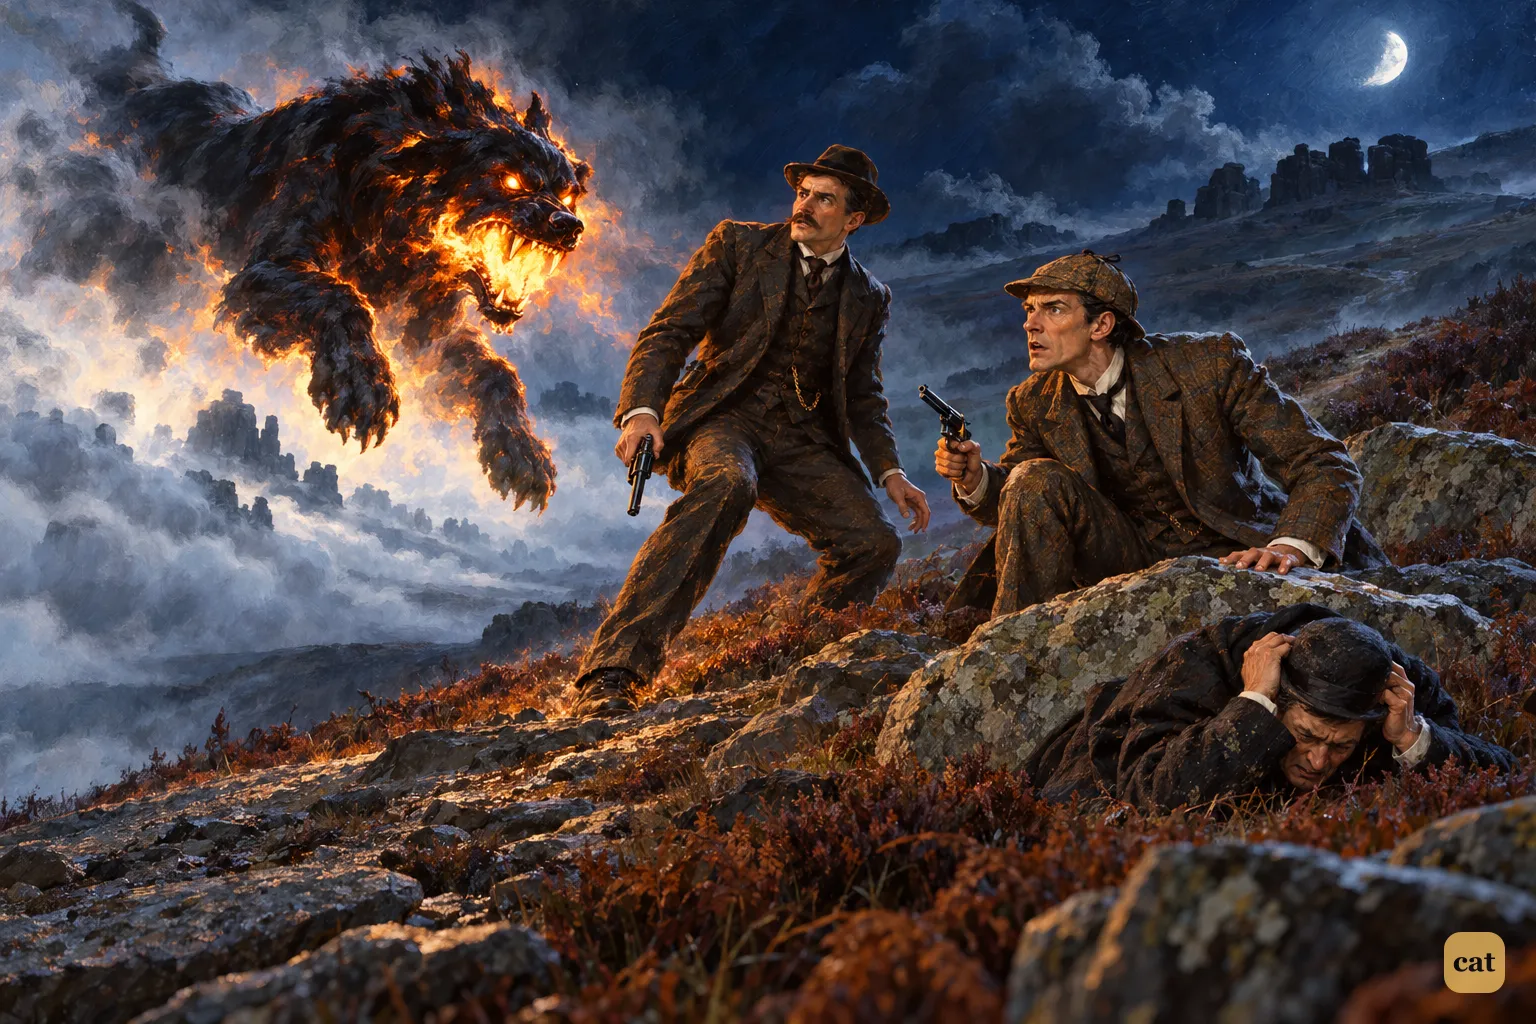
17·3 Behind the granite screen, Holmes stares at the moonlit fog rolling in from the Grimpen Mire and says, "It's moving towards us."
In the text → -
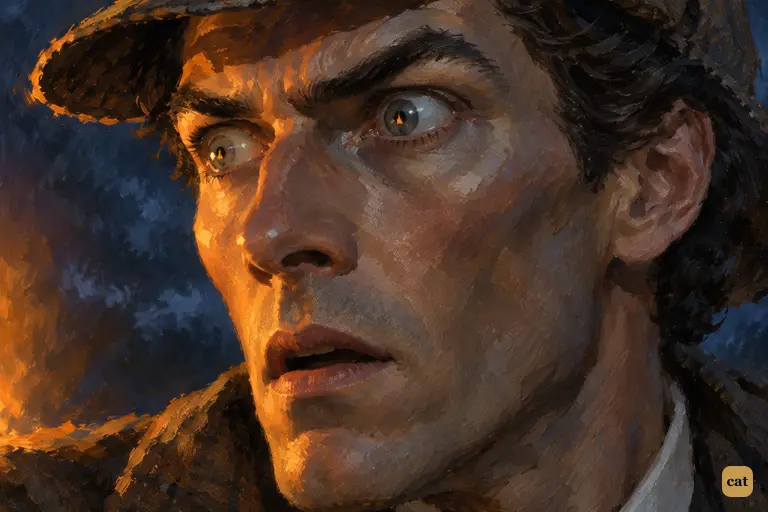
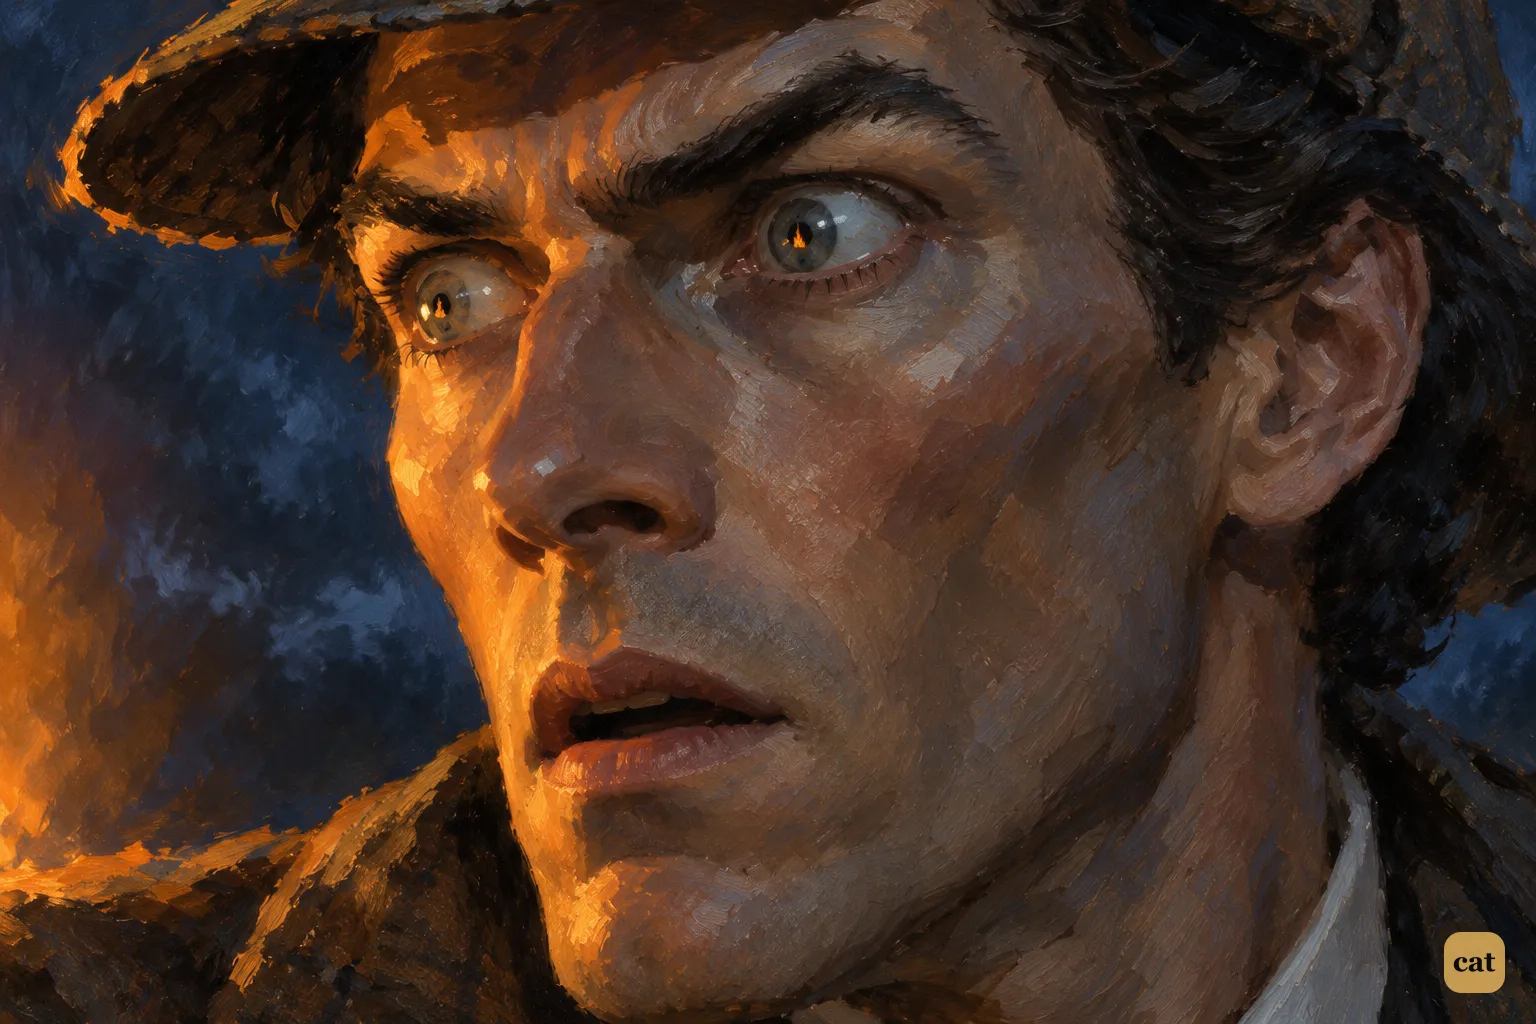
17·4 For the first time, the man who is never surprised is struck with amazement: Holmes's pale face freezes in a fixed stare and his lips part.
In the text → -
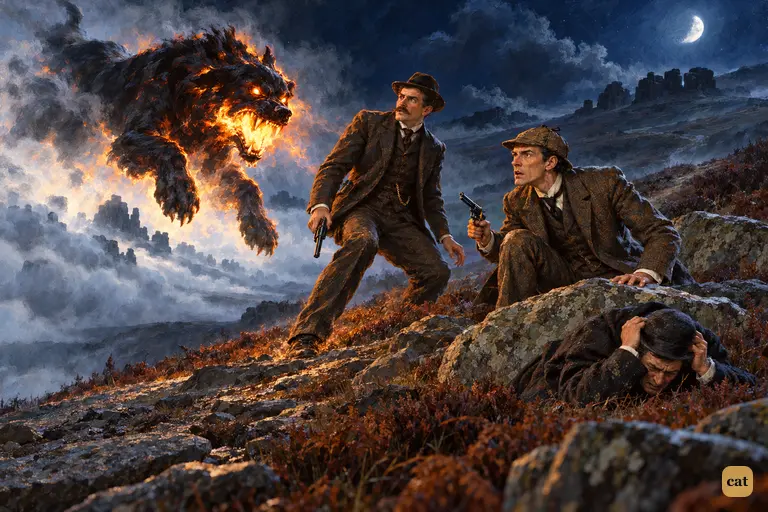
17·5 Out of the moonlit wall of fog, the coal-black hound leaps with fire at its jaws.
In the text → -
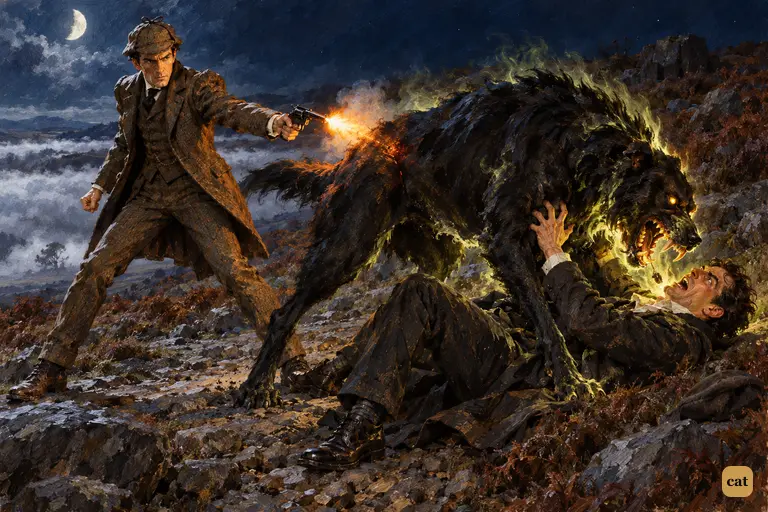
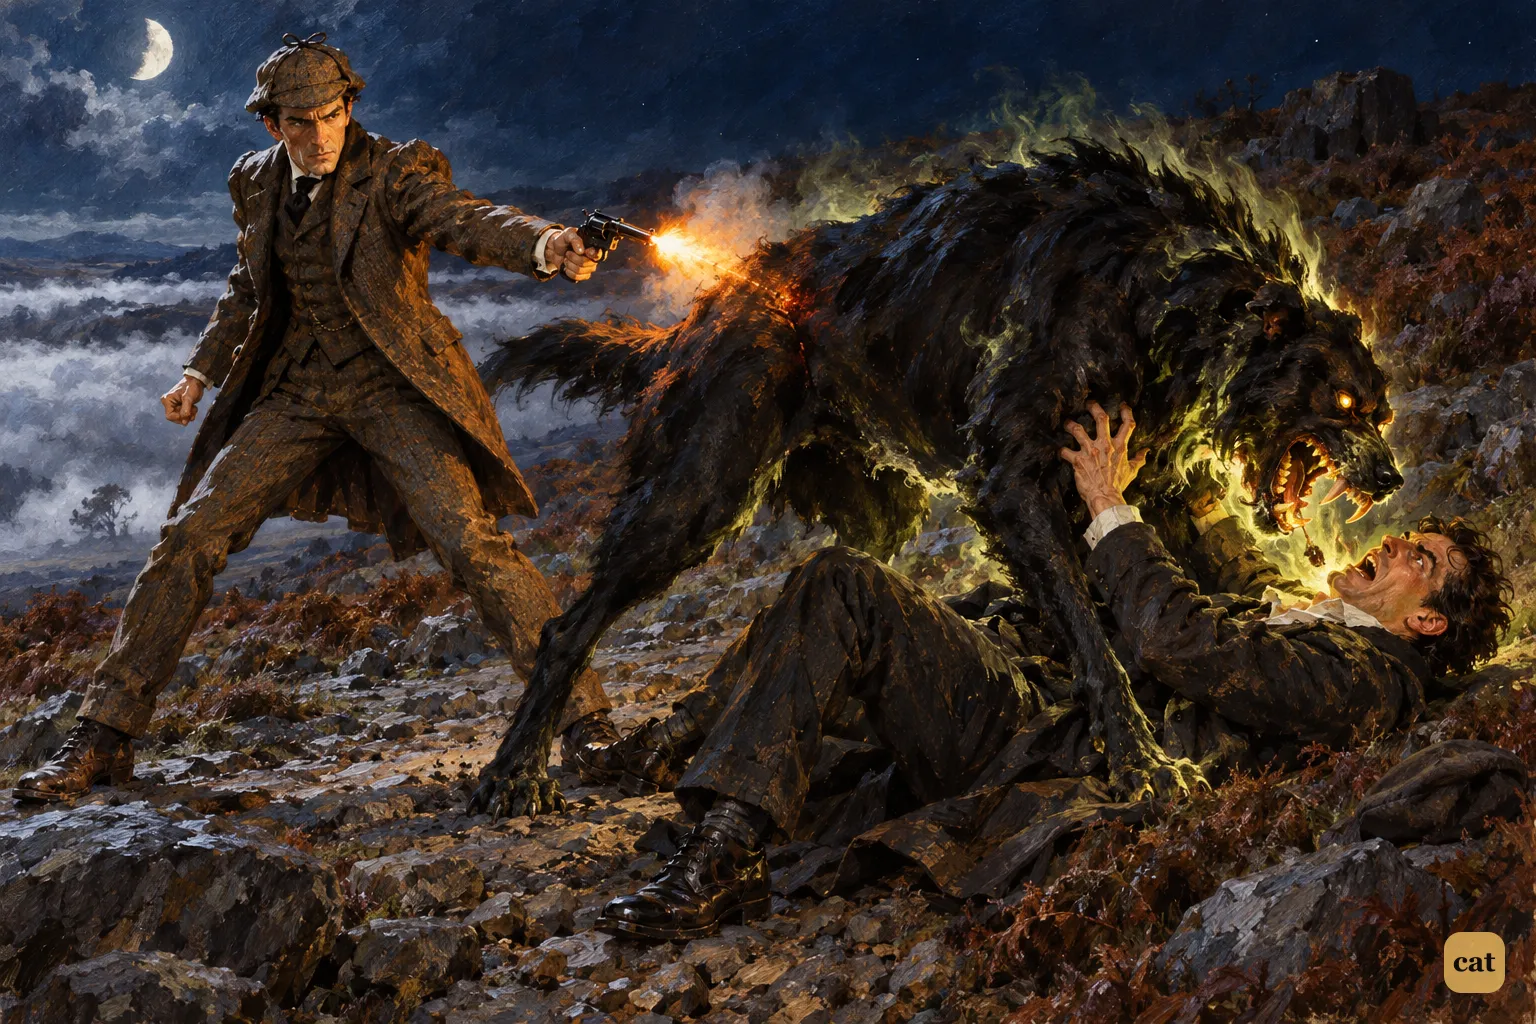
17·6 Holmes has outrun the others up the moonlit track and fires his revolver point-blank into the flank of the burning hound as it pins Sir Henry to the stones.
In the text → -
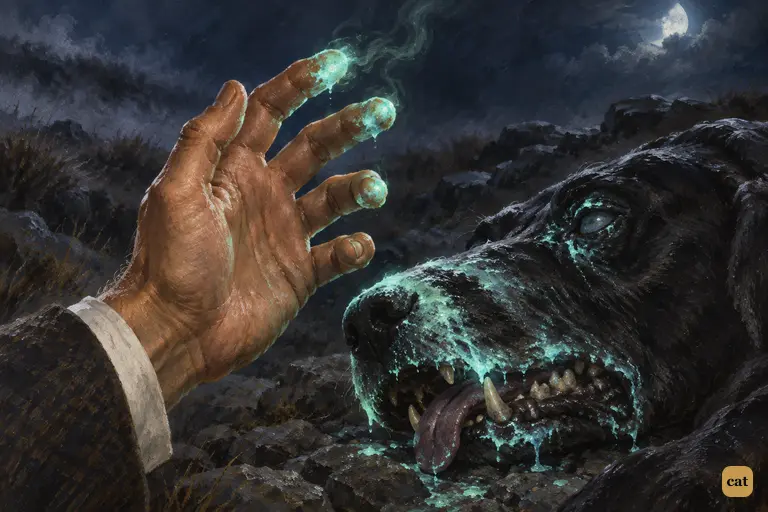
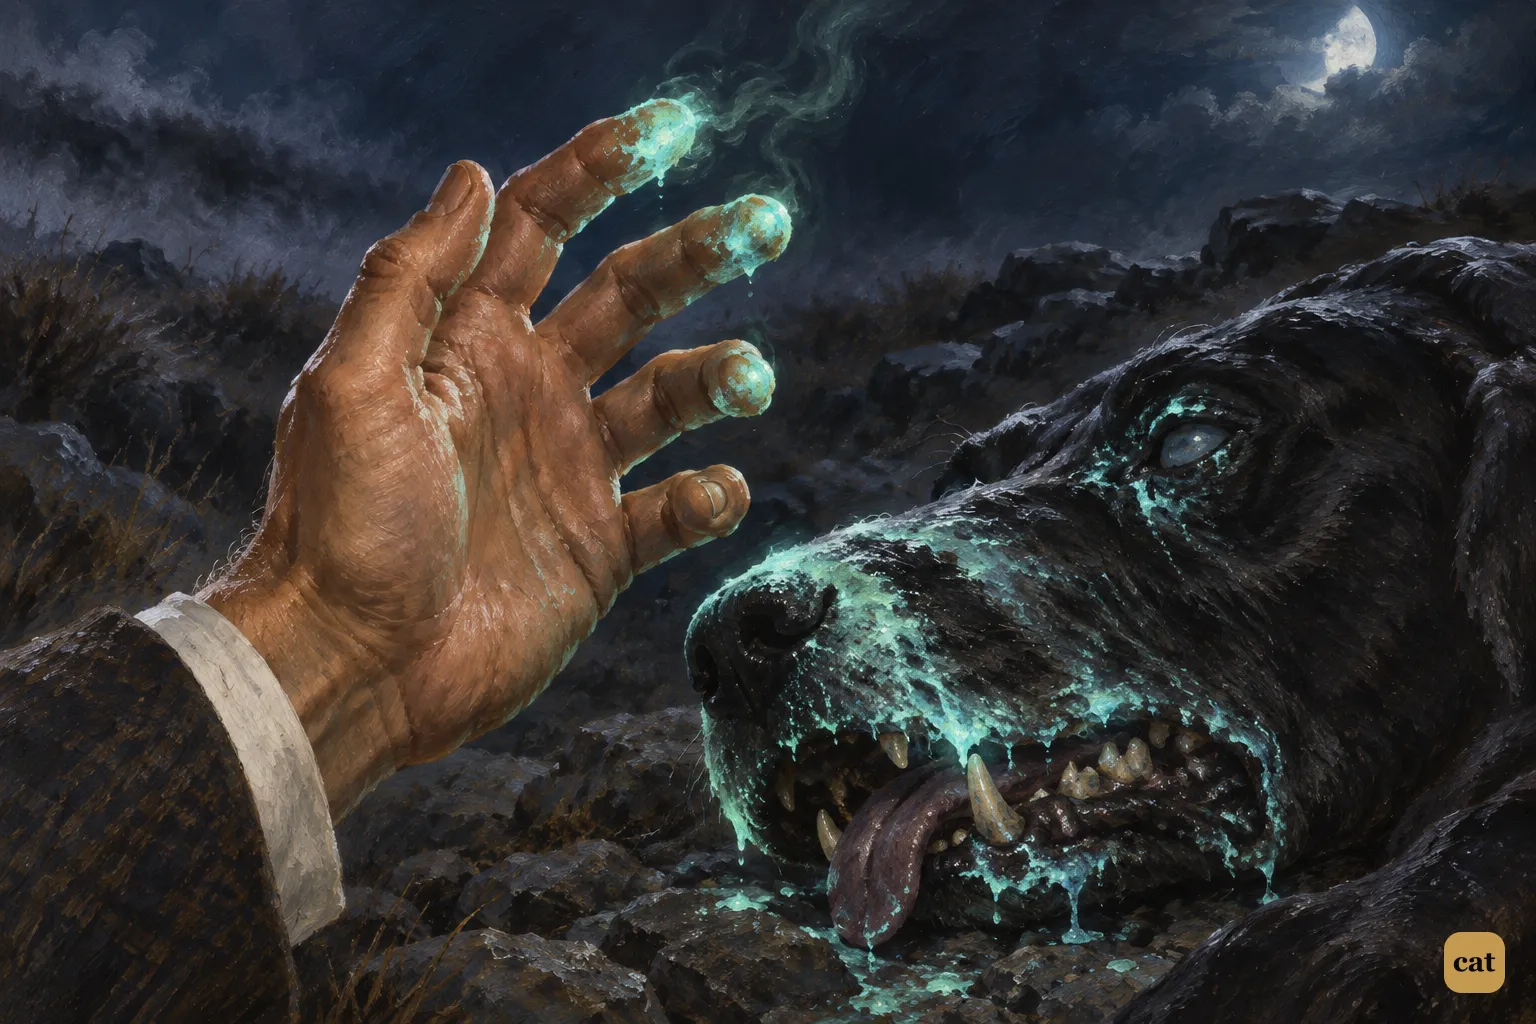
17·7 Watson's fingertips smoulder with cold blue flame from the dead hound's muzzle
In the text → -
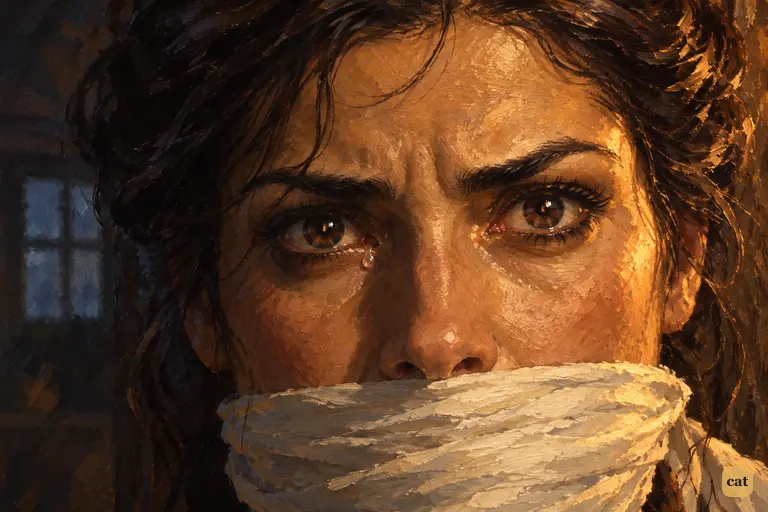
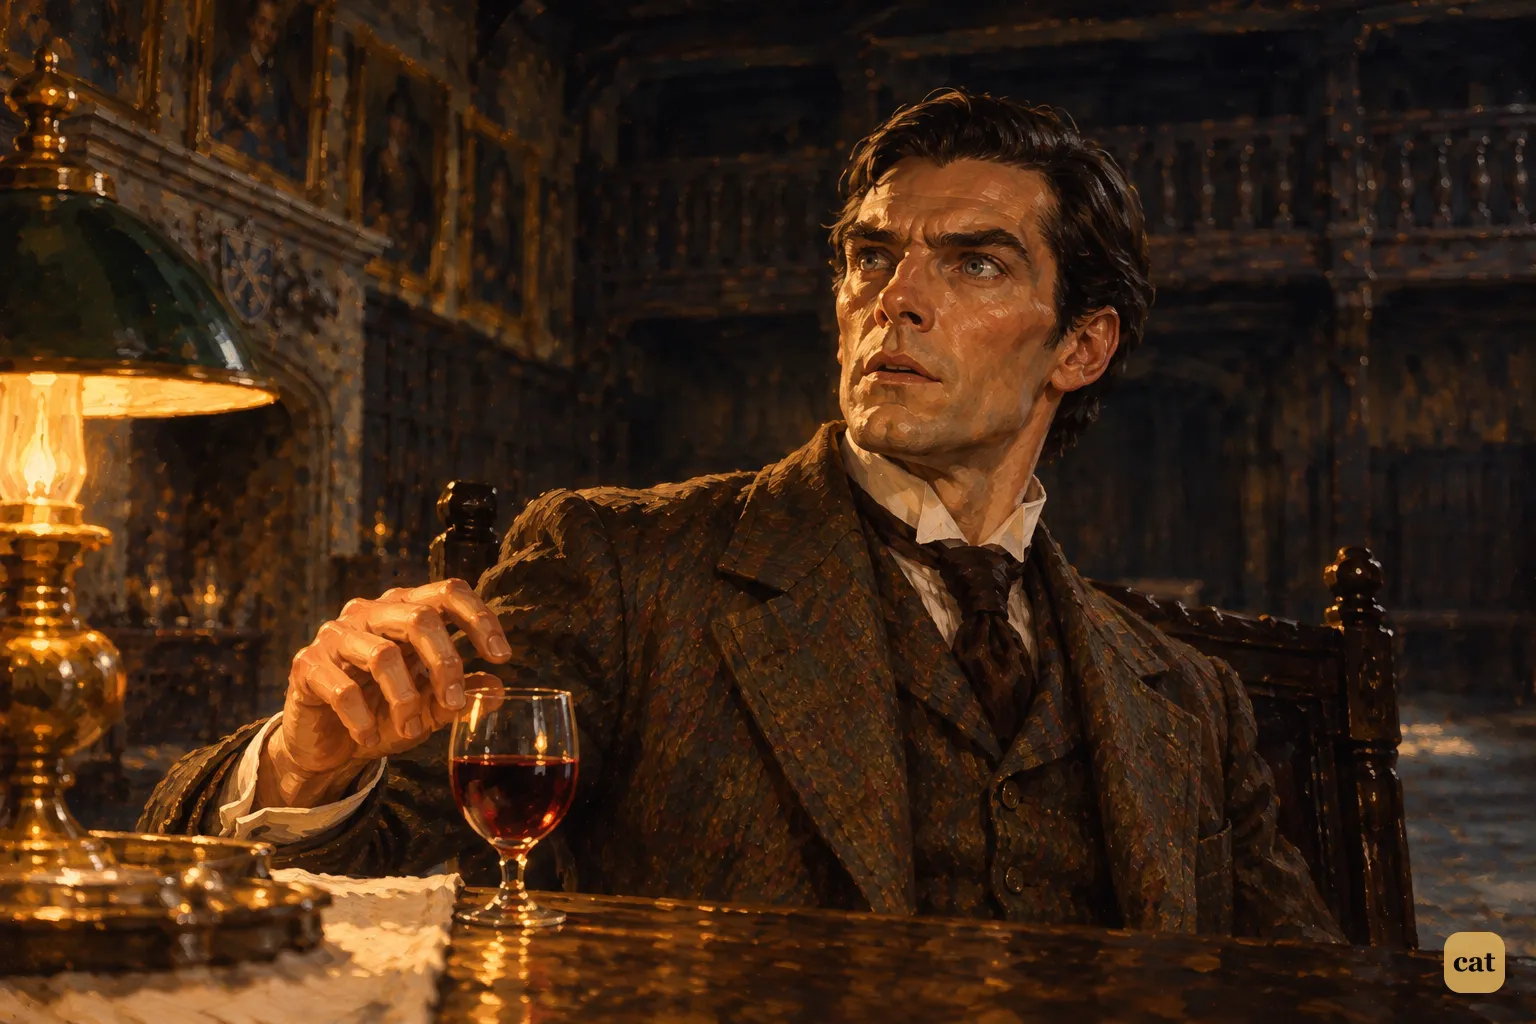
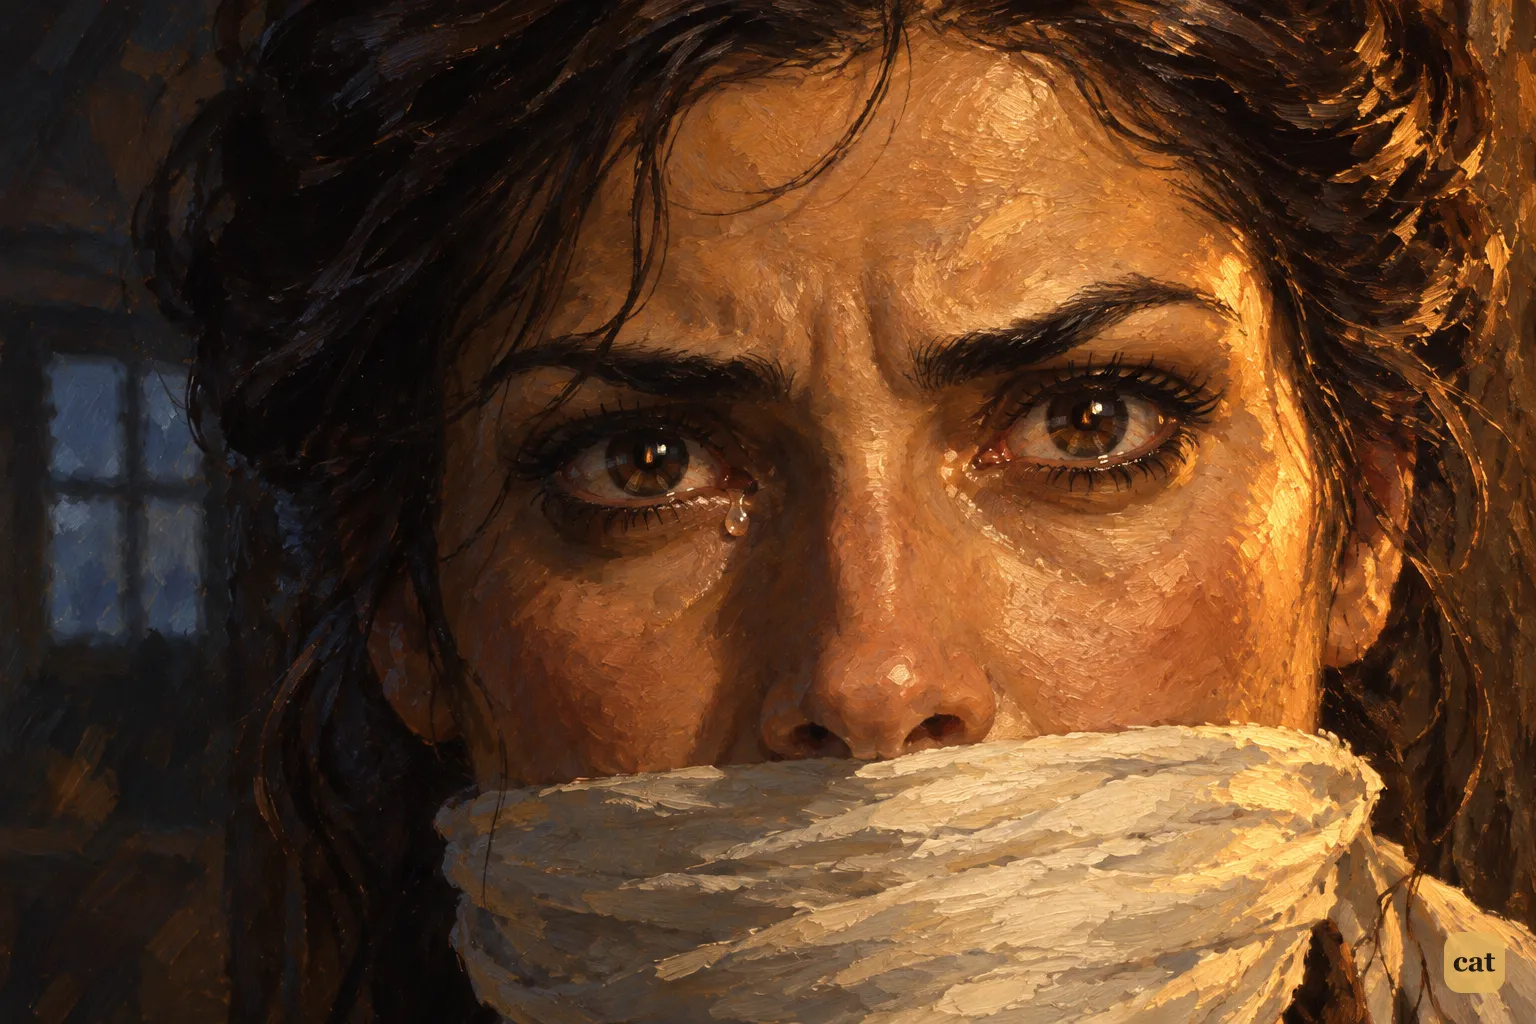
17·8 Two dark eyes above a white towel gag look out of the shadowed museum room
In the text → -
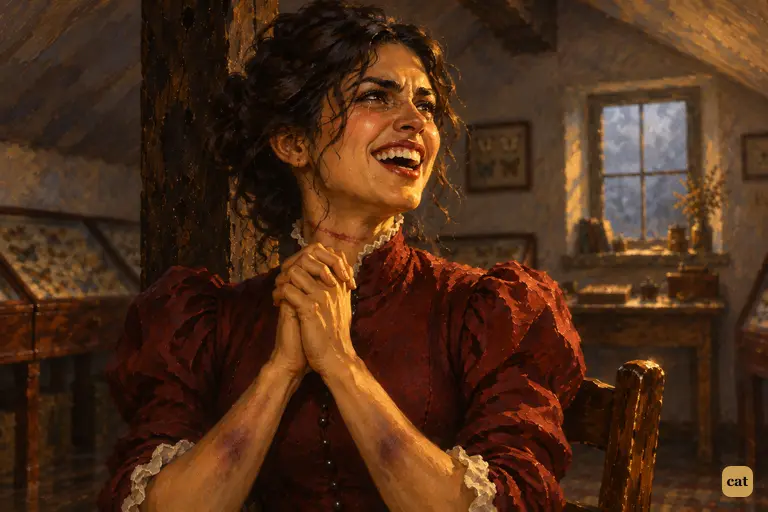
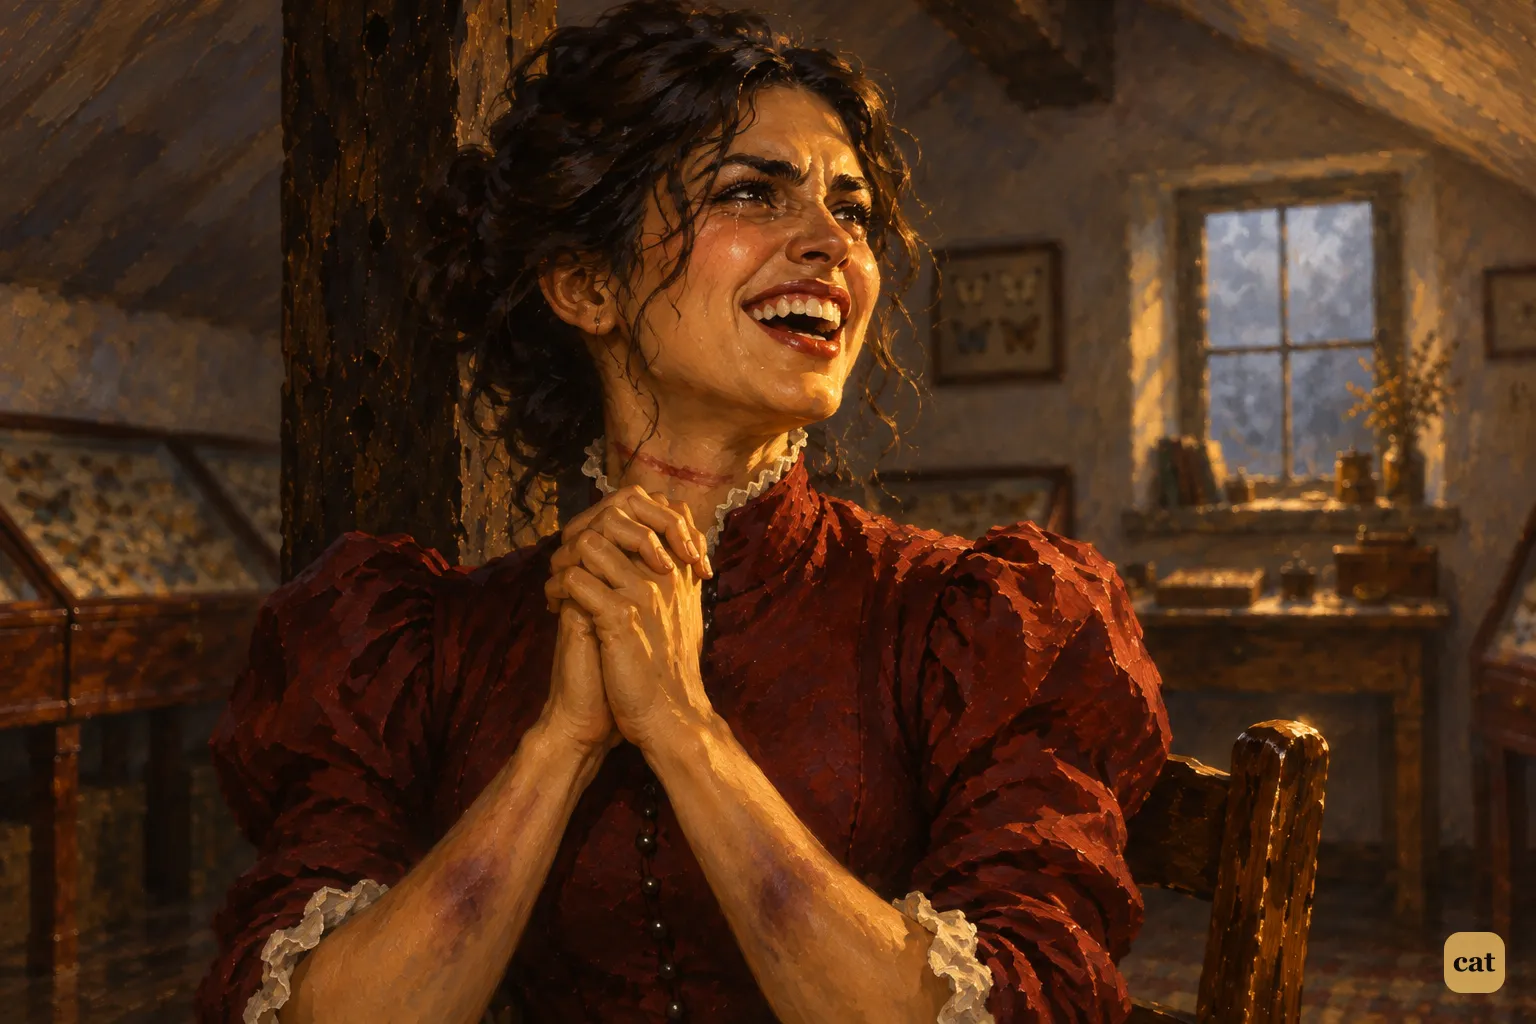
17·9 Beryl Stapleton, freed and bruised, claps her hands and laughs fiercely at the fogged window.
In the text → -
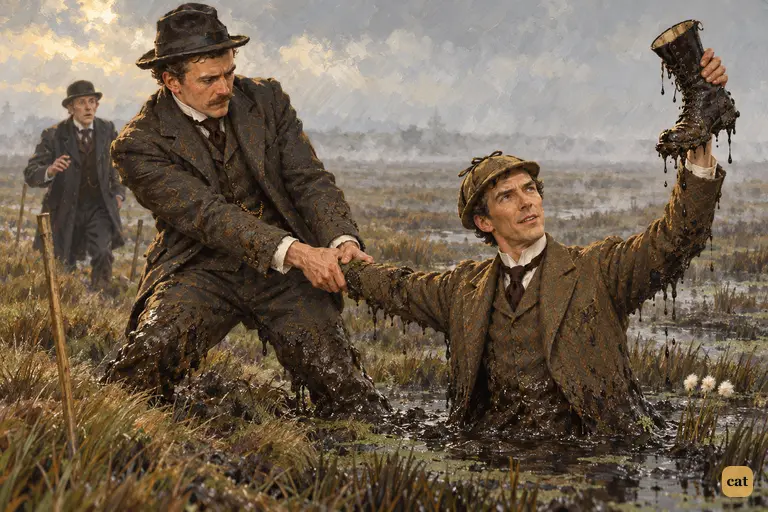
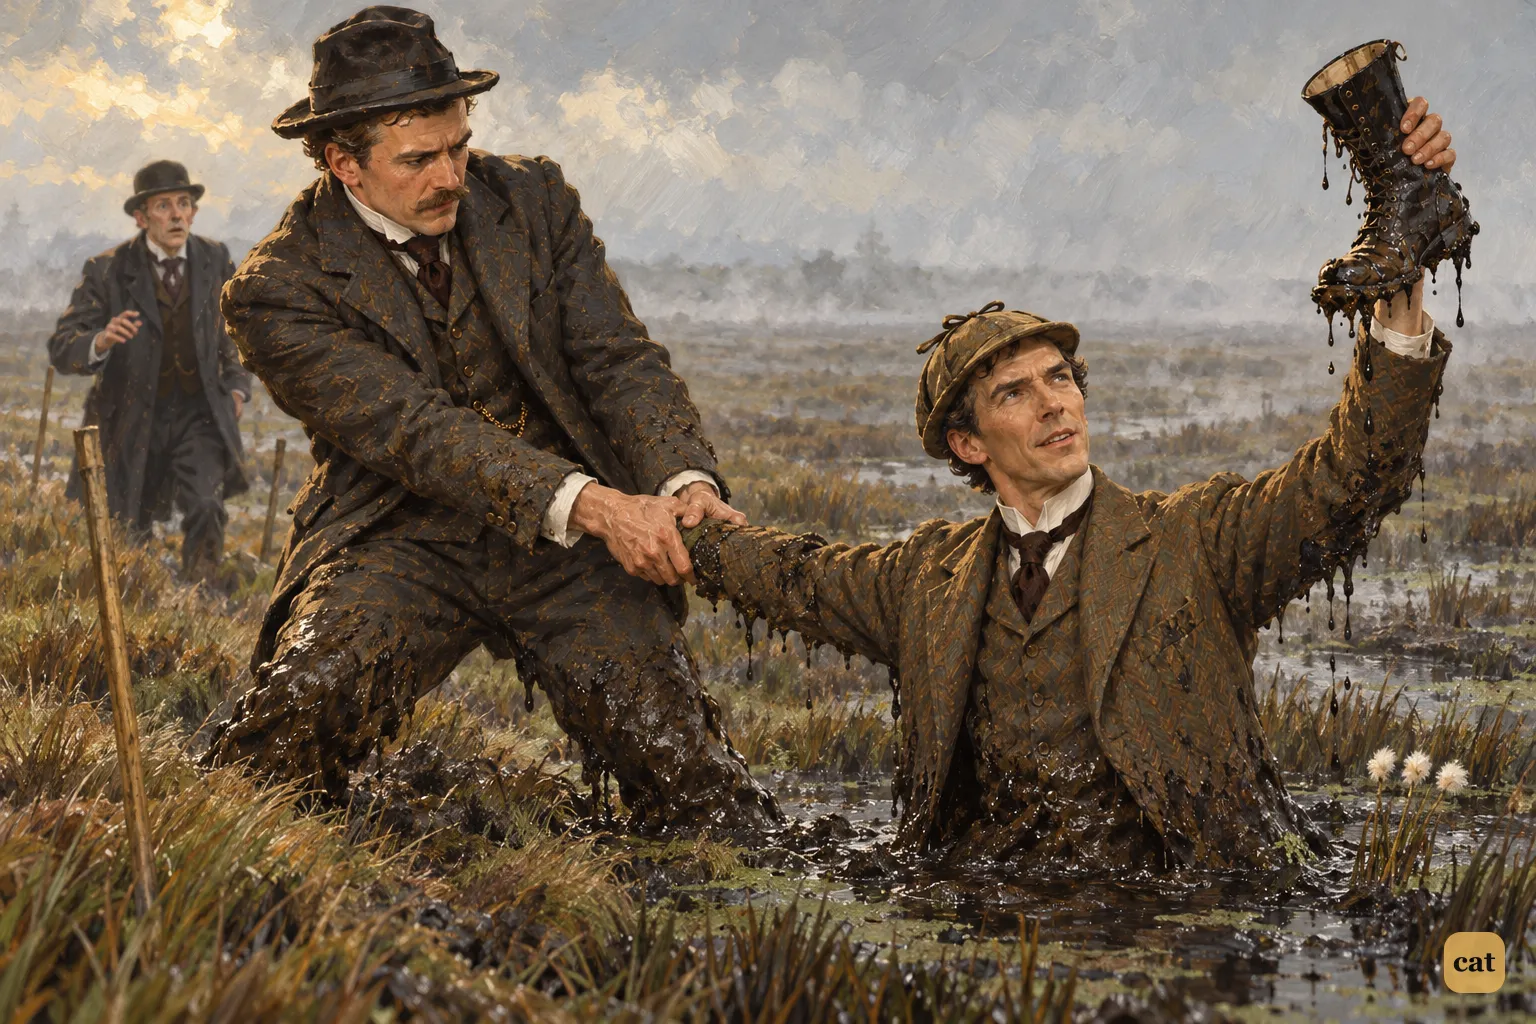
17·10 Holmes has sunk to his waist in the Grimpen Mire.
In the text → -
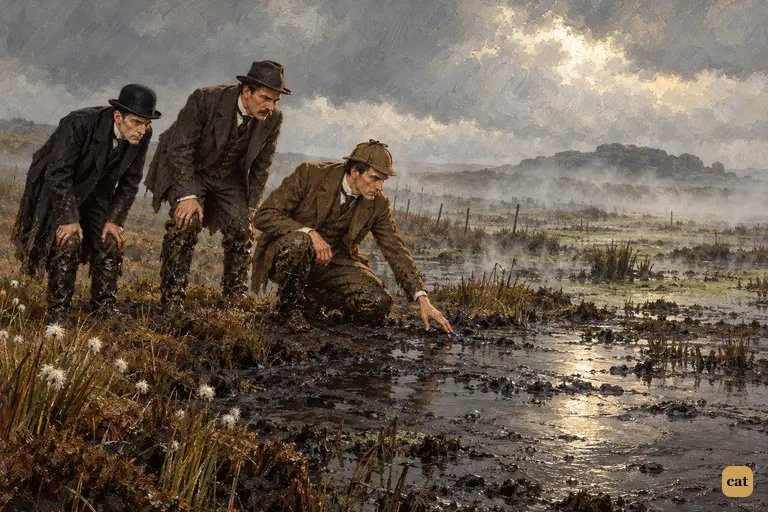
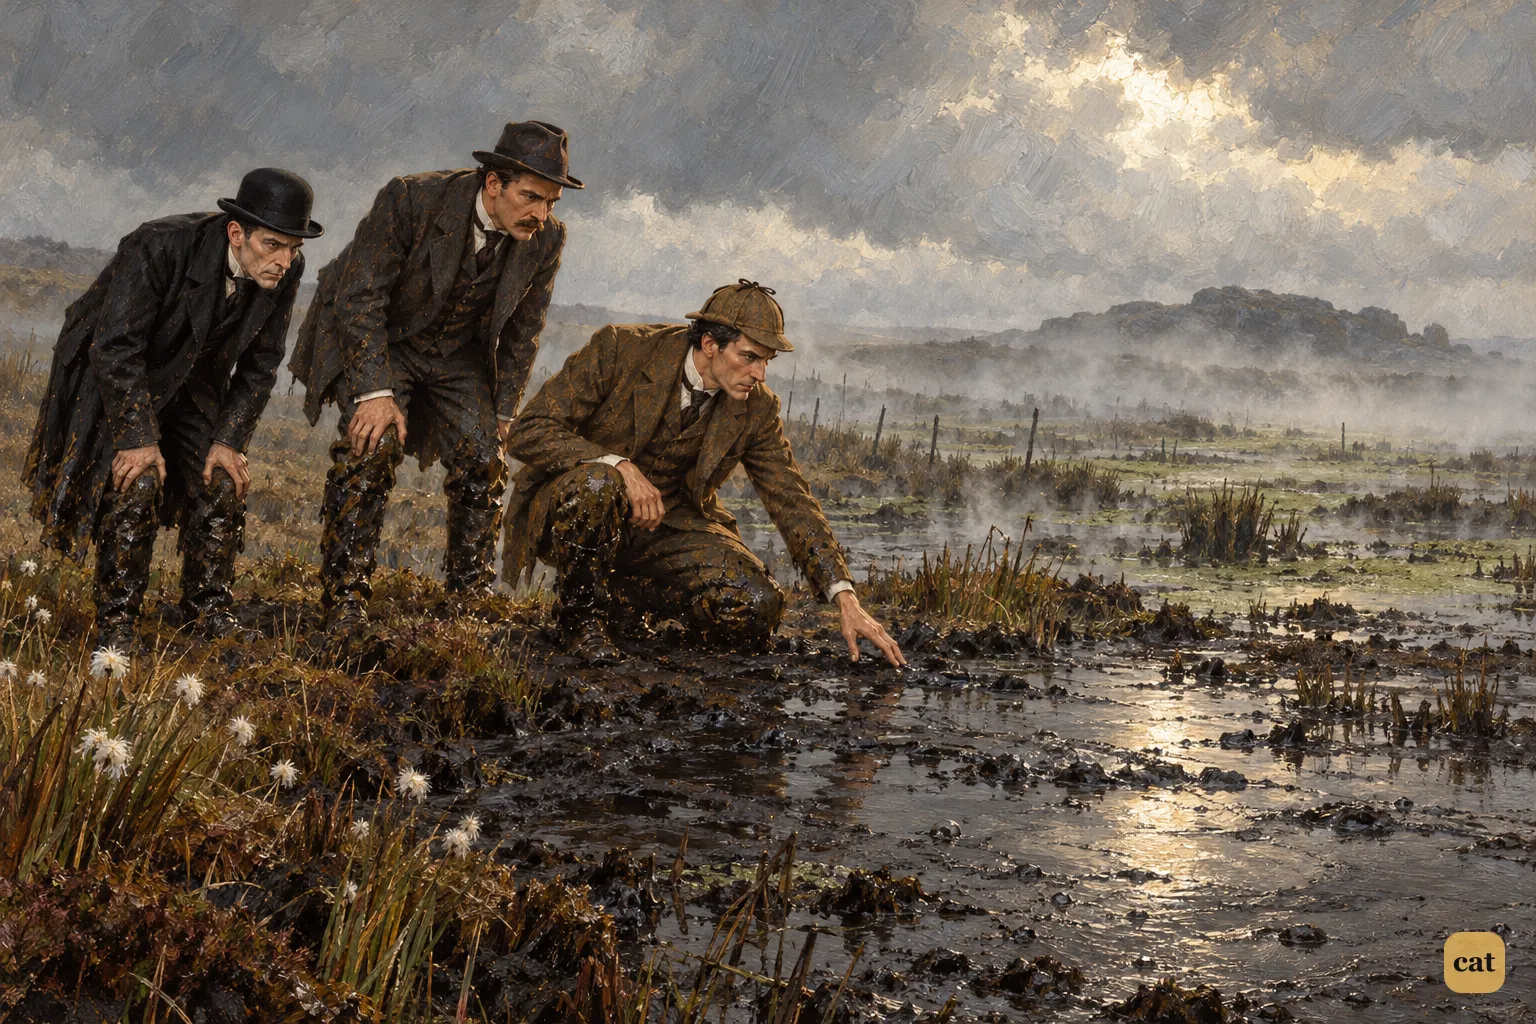
17·11 On the firmer ground past the morass, Holmes, Watson and Lestrade bend over the smooth black mud looking for Stapleton's footprints.
In the text → -
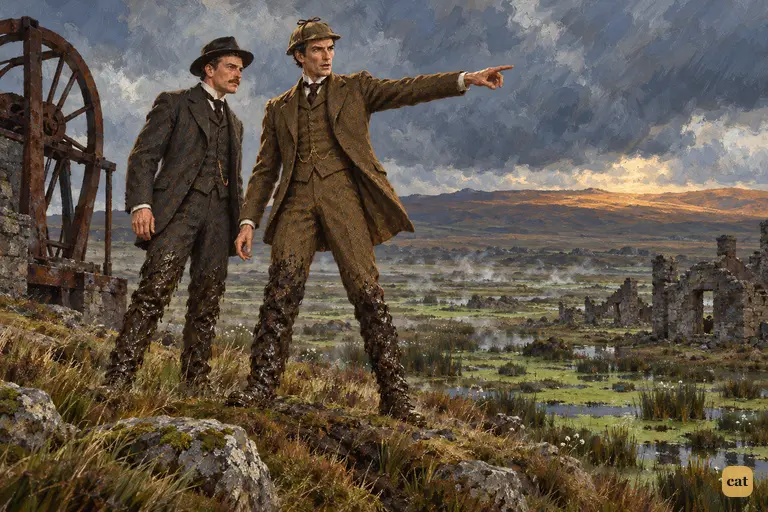
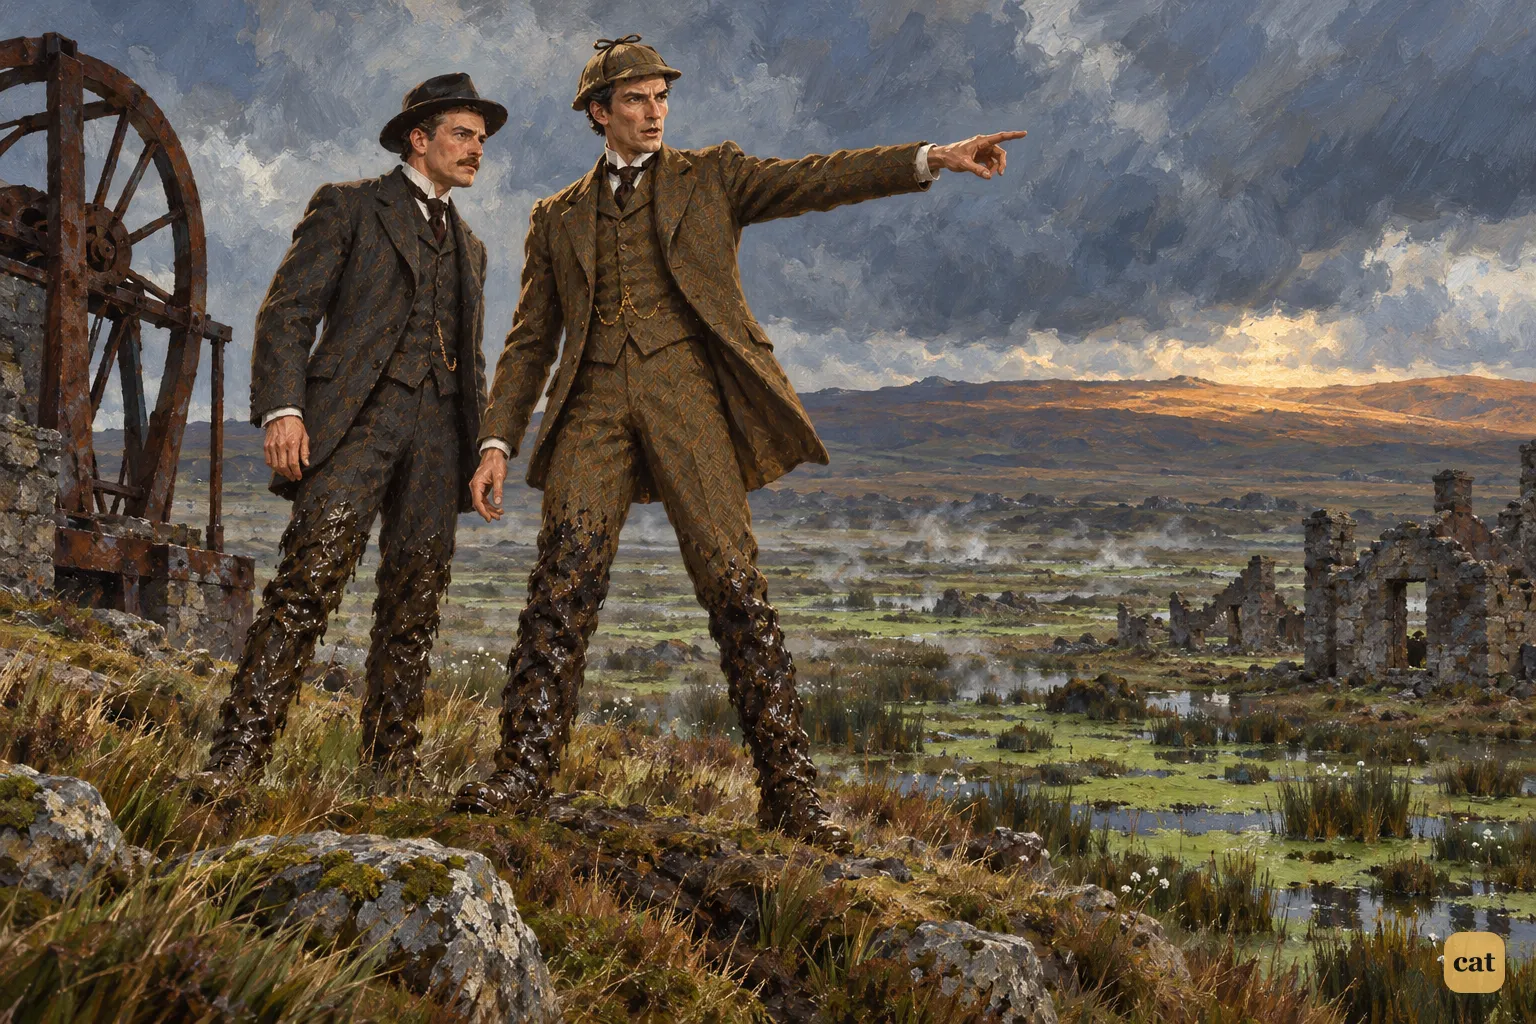
17·12 Standing on the rim of the old tin-mine island, Holmes sweeps his long arm over the endless green-splotched Grimpen Mire and names Stapleton the most dangerous man they have ever hunted.
In the text →
Chapter 18 · 8 illustrations Holmes Explains the Whole Case
-
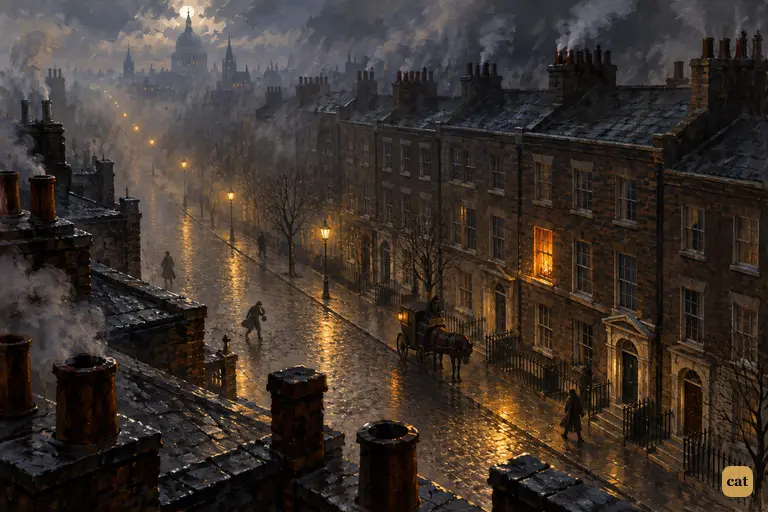
18·1 London lies in November fog; one Baker Street window glows with firelight
In the text → -
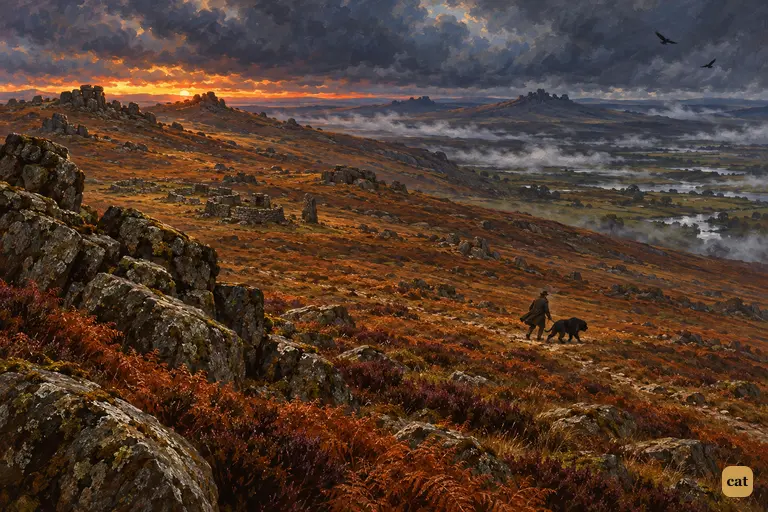
18·2 Stapleton leads the newly bought hound on foot across the open moor at a stormy dusk
In the text → -
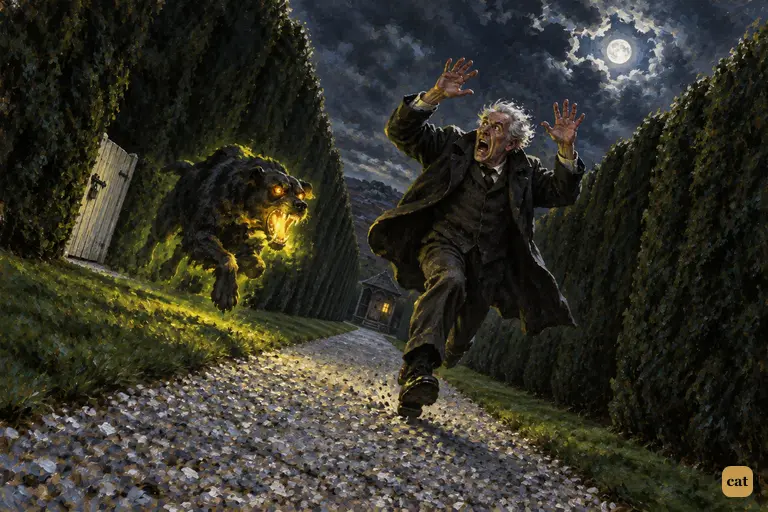
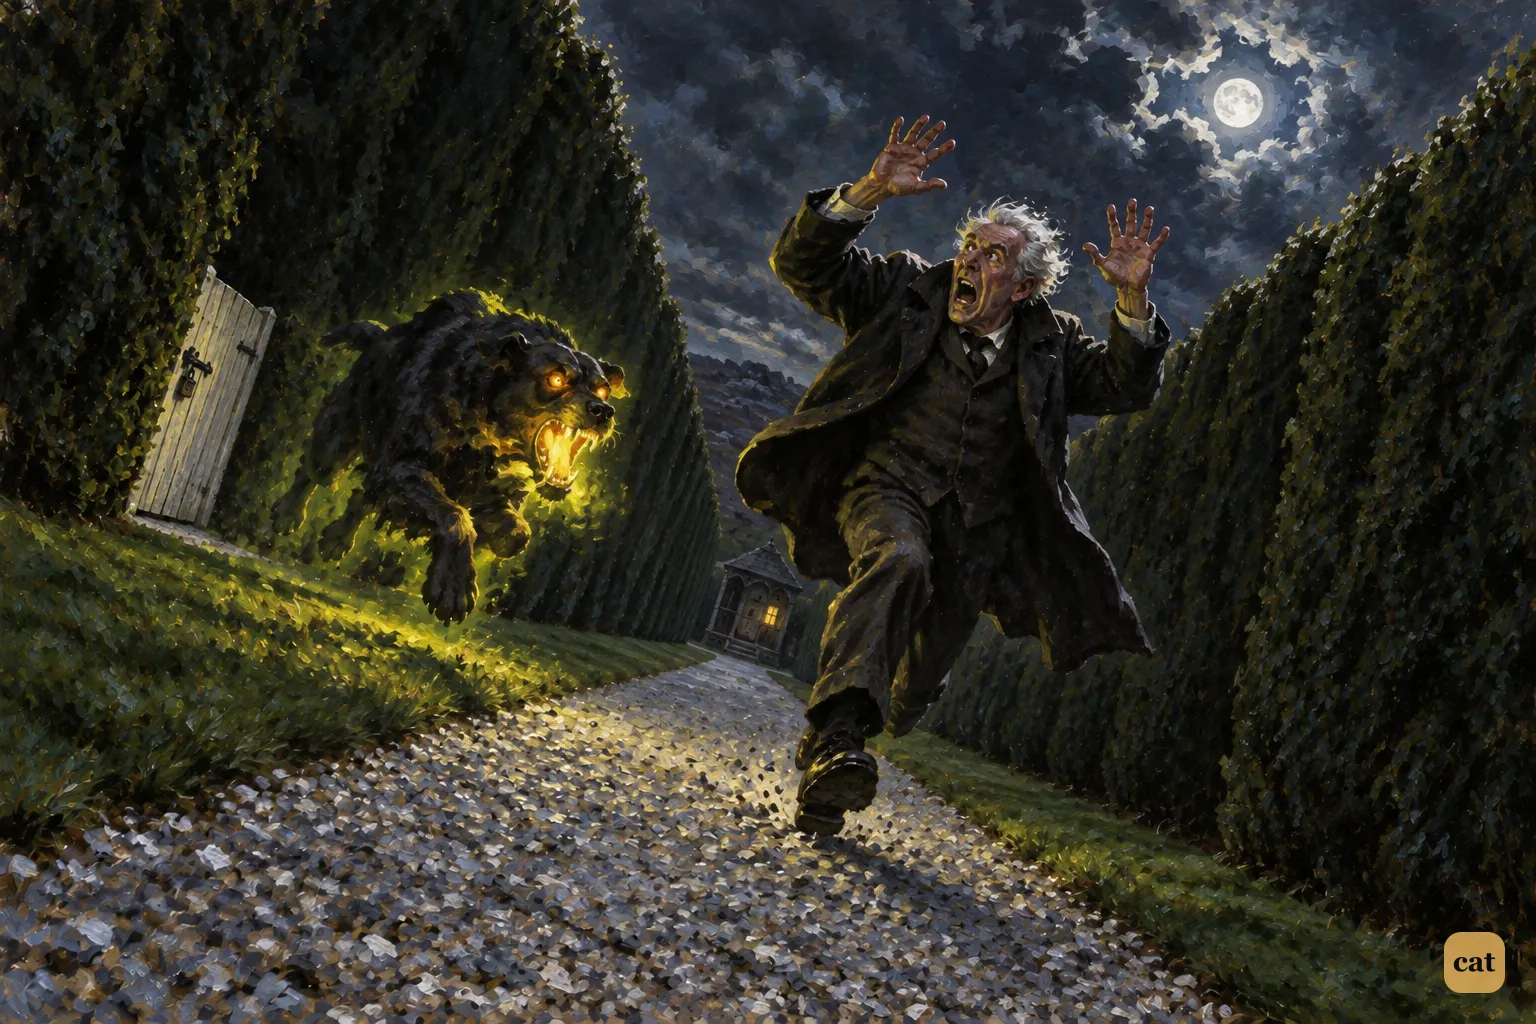
18·3 A huge black hound with flaming jaws chases Sir Charles Baskerville down the yew alley
In the text → -
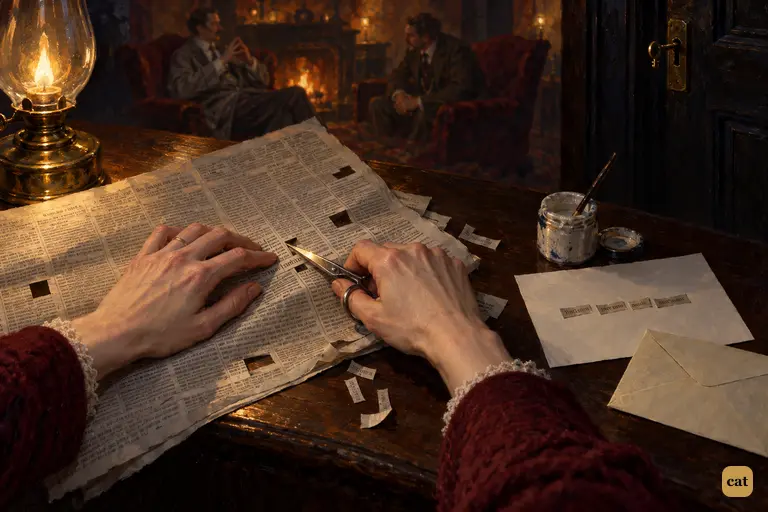
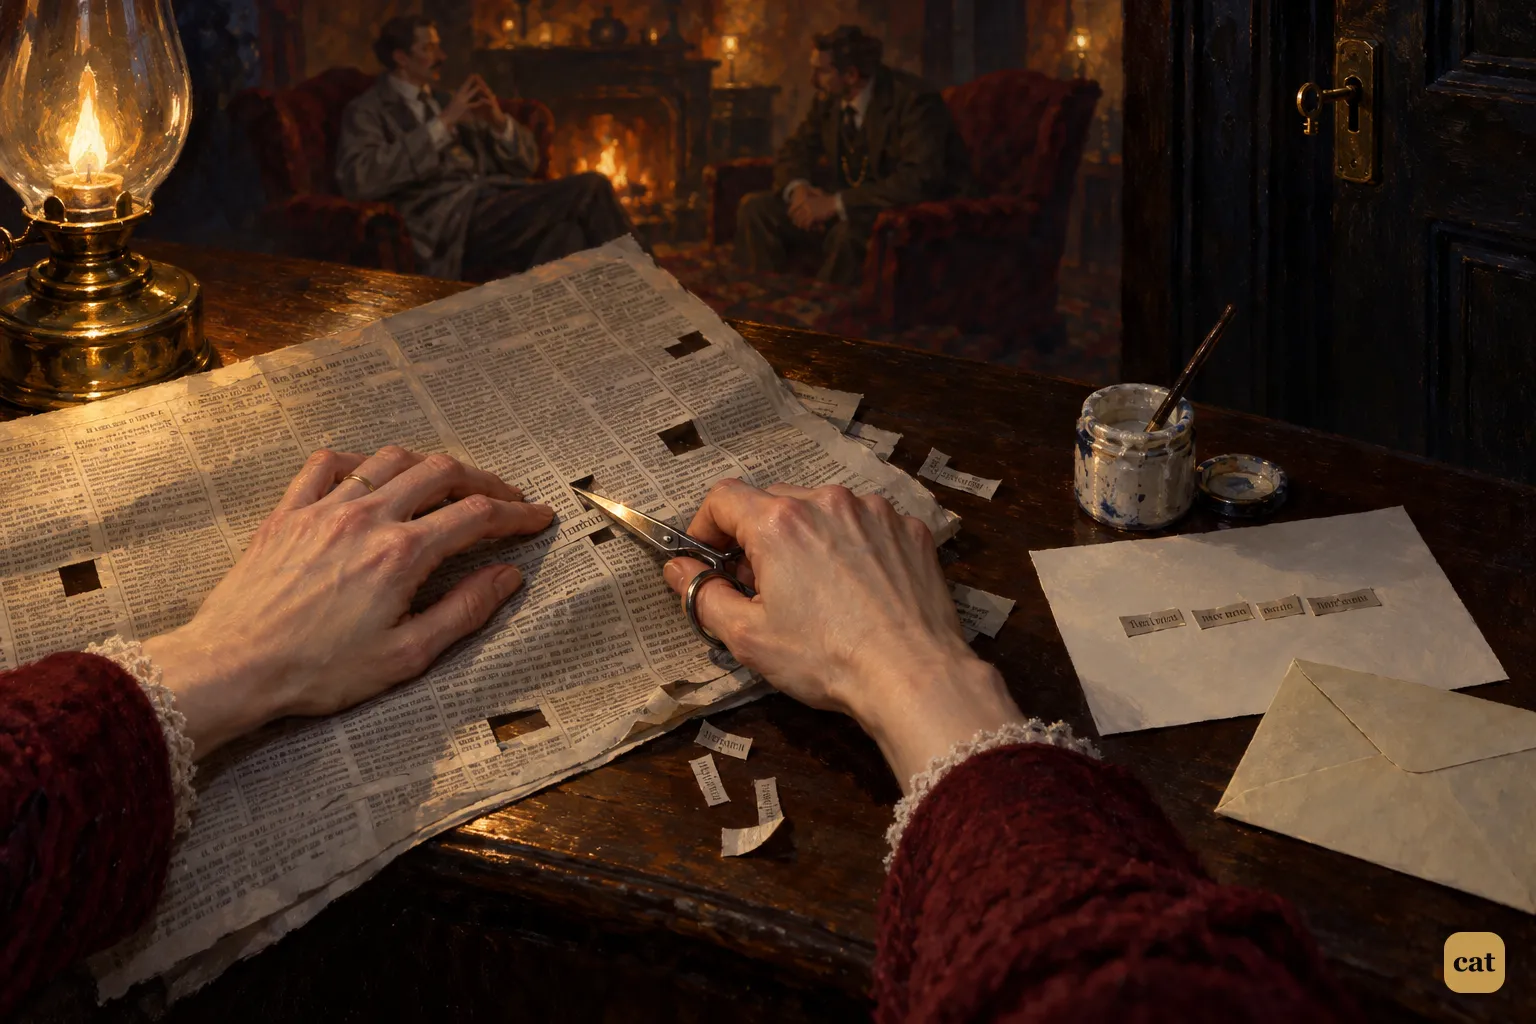
18·4 A woman's trembling hands cut printed words from a newspaper by low lamplight
In the text → -
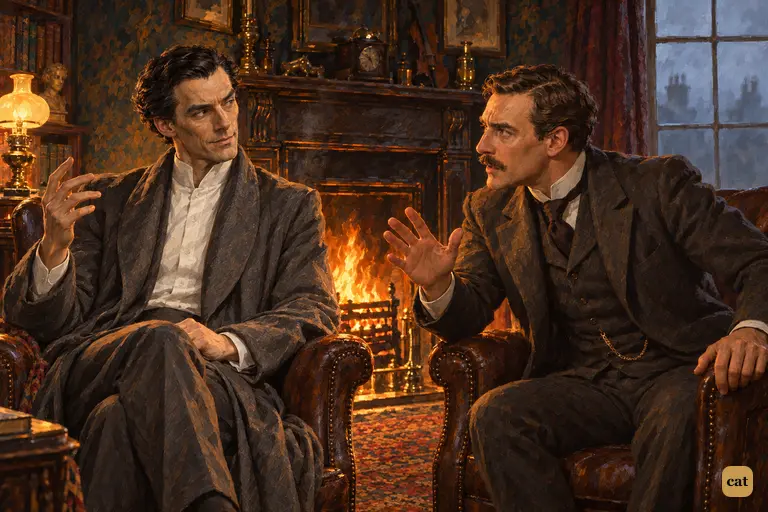
18·5 By the Baker Street fire, Watson raises his hand to stop Holmes with a question
In the text → -
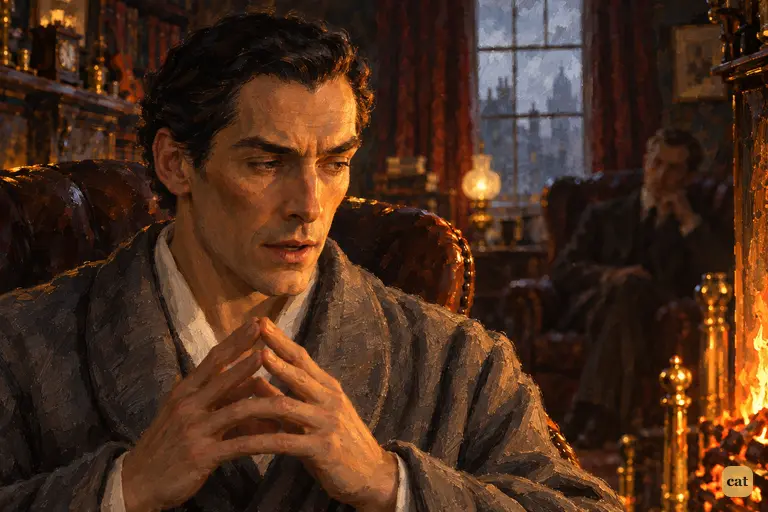
18·6 Holmes looks into the Baker Street fire, admitting he put Sir Henry at risk
In the text → -
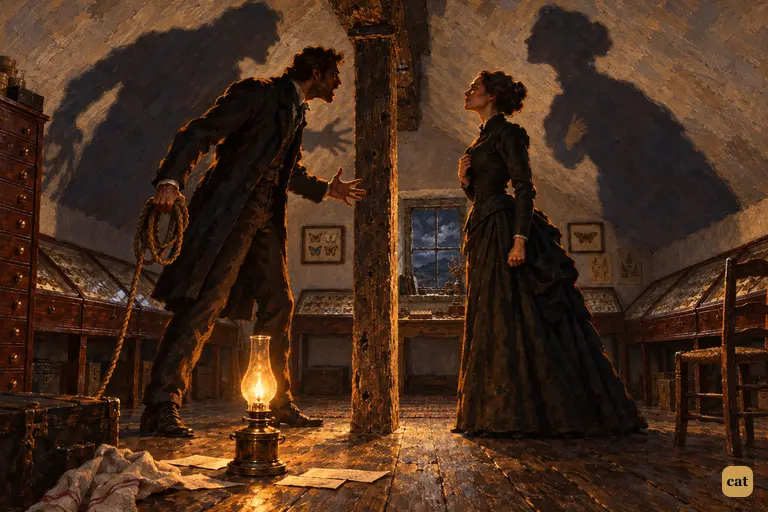
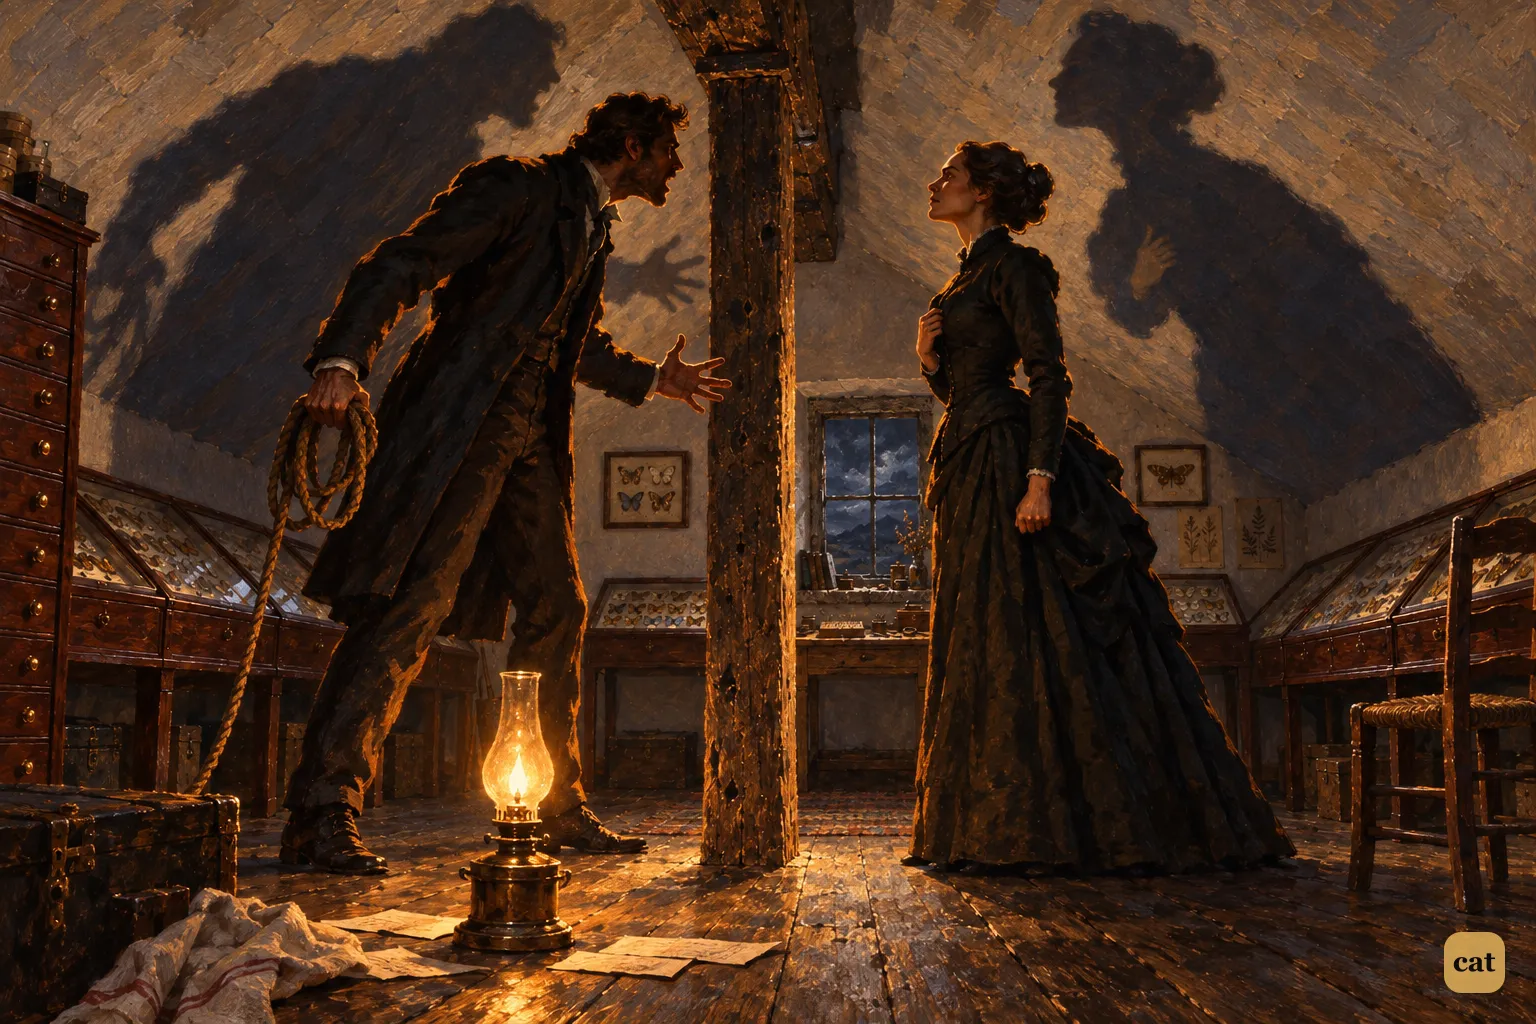
18·7 In the lamplit museum room at Merripit House, Stapleton and Beryl face each other
In the text → -
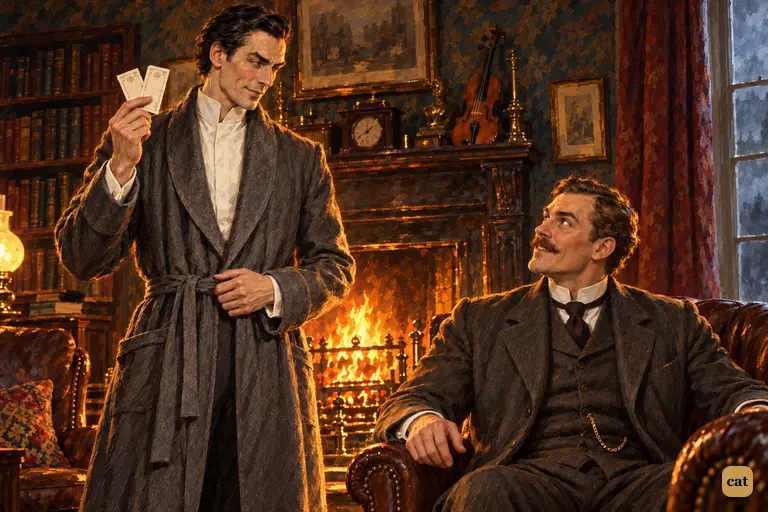
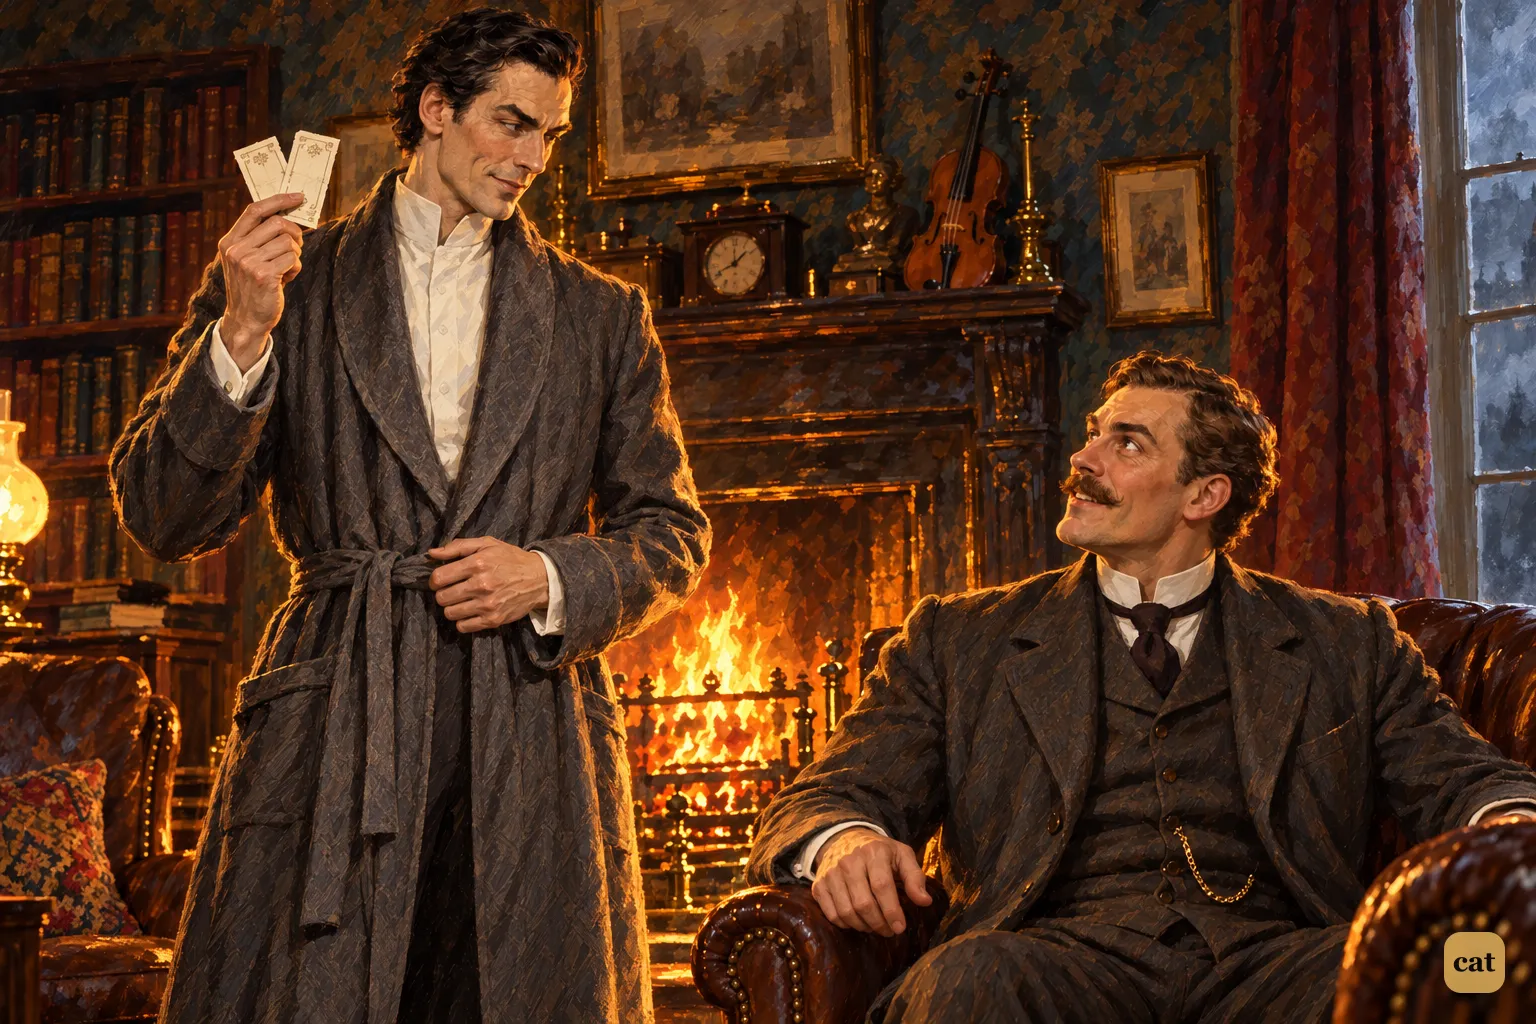
18·8 Holmes rises from his armchair by the blazing fire and holds up opera tickets
In the text →